Page 457 of 702

CAUTION
Use the headlights with the engine run-
ning to avoid discharging the vehicle
battery.
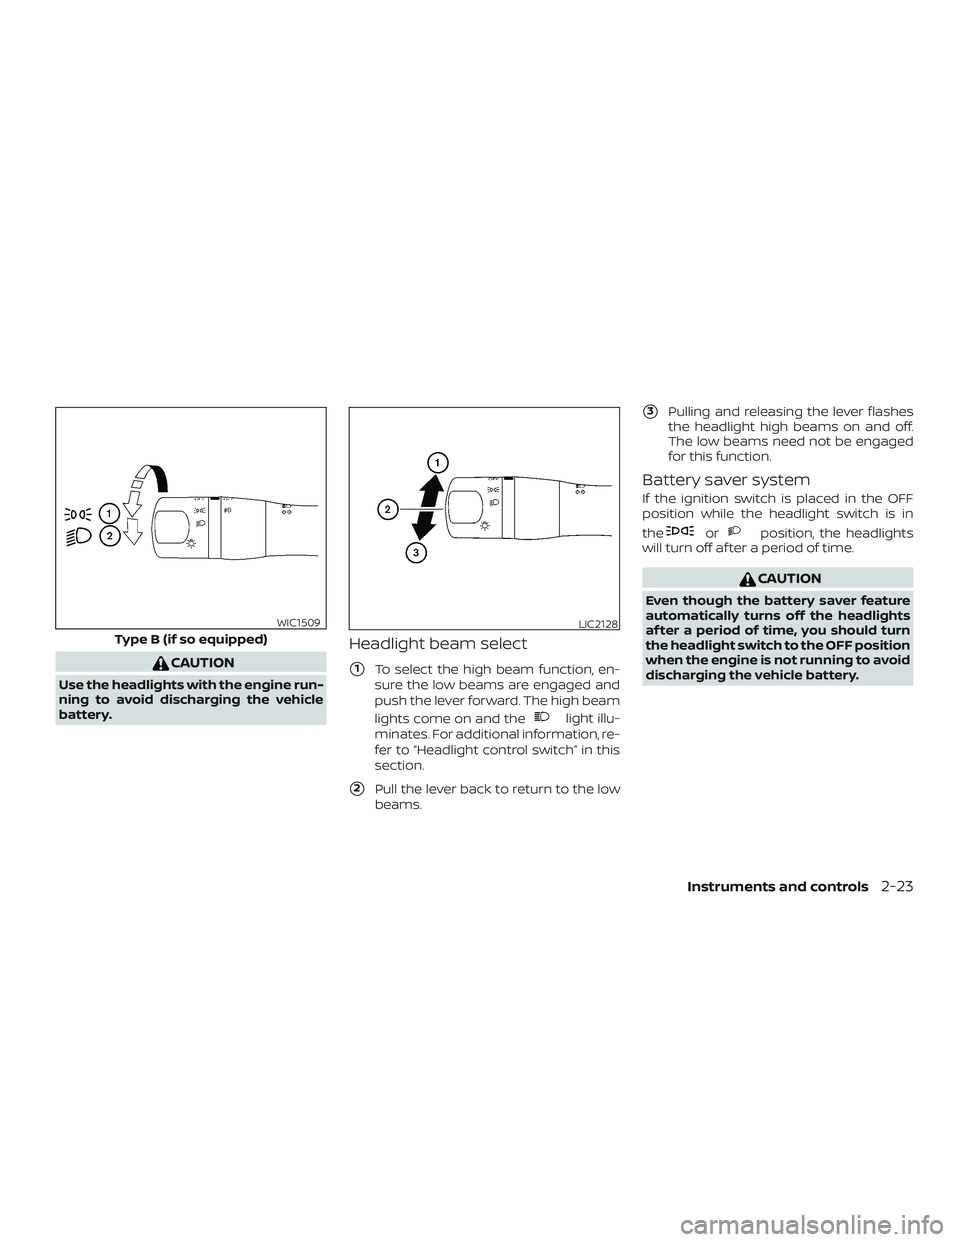
Headlight beam select
�1To select the high beam function, en-
sure the low beams are engaged and
push the lever forward. The high beam
lights come on and the
light illu-
minates. For additional information, re-
fer to “Headlight control switch” in this
section.
�2Pull the lever back to return to the low
beams.
�3Pulling and releasing the lever flashes
the headlight high beams on and off.
The low beams need not be engaged
for this function.
Battery saver system
If the ignition switch is placed in the OFF
position while the headlight switch is in
the
orposition, the headlights
will turn off af ter a period of time.
CAUTION
Even though the battery saver feature
automatically turns off the headlights
af ter a period of time, you should turn
the headlight switch to the OFF position
when the engine is not running to avoid
discharging the vehicle battery.
Type B (if so equipped)
WIC1509LIC2128
Instruments and controls2-23
Page 459 of 702

Move the lever up or down until the
turn signal begins to flash, but the lever
does not latch, and release the lever.
The turn signal will automatically flash
three times.
Choose the appropriate method to signal
a lane change based on road and traffic
conditions.
FOG LIGHT SWITCH (if so
equipped)
To turn the fog lights on, turn the headlight
switch to the
position, then turn the
fog light switch to the
position.
To turn the fog lights off, turn the fog light
switch to the OFF position.
The headlights must be on and the low
beams selected for the fog lights to oper-
ate. The fog lights automatically turn off
when the high beam headlights are se-
lected. To sound the horn, push the center pad
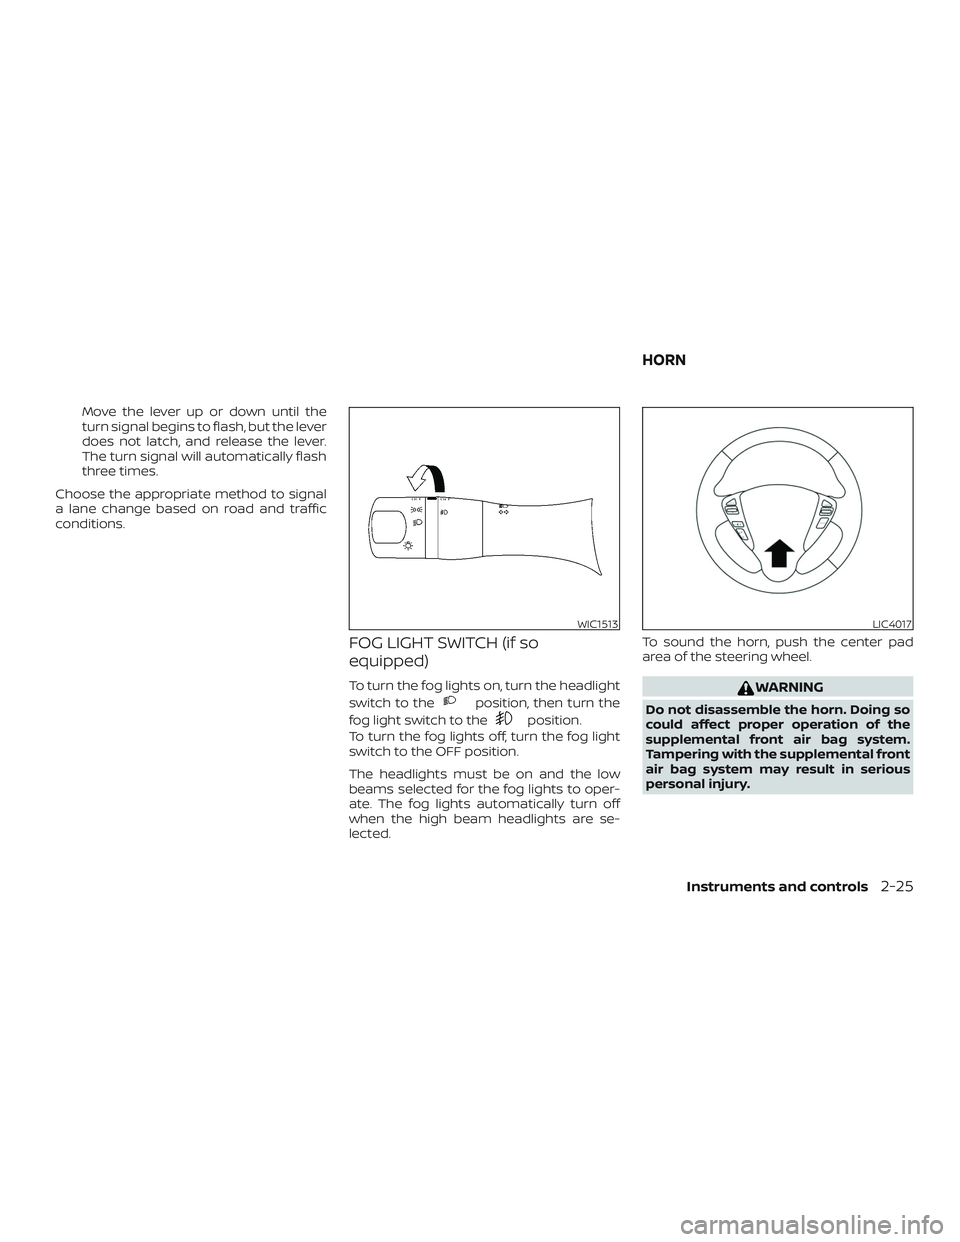
area of the steering wheel.
WARNING
Do not disassemble the horn. Doing so
could affect proper operation of the
supplemental front air bag system.
Tampering with the supplemental front
air bag system may result in serious
personal injury.
WIC1513LIC4017
HORN
Instruments and controls2-25
Page 633 of 702

Replacing the halogen headlight
bulb
The headlight is a semi-sealed beam type
which uses a replaceable headlight (halo-
gen) bulb. They can be replaced from insidethe engine compartment without remov-
ing the headlight assembly.
CAUTION
∙ High-pressure halogen gas is sealed
inside the bulb. The bulb may break if
the glass envelope is scratched or the
bulb is dropped.
∙ Aiming should not be necessary af ter replacing the H4 bulb. When aiming
adjustment is necessary, it is recom-
mended that you visit a NISSAN dealer
for this service.
∙ Do not leave the headlight assembly open without a bulb installed for a
long period of time. Dust, moisture,
smoke, etc. entering the headlight
body may affect bulb performance.
Remove the bulb from the headlight
assembly just before a replacement
bulb is installed.
∙ Only touch the base when handling the bulb. Never touch the glass enve-
lope. Touching the glass could signifi-
cantly affect bulb life and/or head-
light performance.
∙ Use the same number and wattage as shown in the chart. 1. Disconnect the battery negative cable.
2. Disconnect the electrical connector
�A
from the rear end of the bulb.
3. Pull off the rubber cap
�B.
4. Push and turn the retaining pin
�Cto
loosen it.
5. Remove the headlight bulb. Do not shake or rotate the bulb when remov-
ing it.
6. Install the new bulb in the reverse order of removal.
Fog may temporarily form inside the lens
of the exterior lights in the rain or in a car
wash. A temperature difference between
the inside and the outside of the lens
causes the fog. This is not a malfunction. If
large drops of water collect inside the lens,
it is recommended that you visit a NISSAN
dealer for servicing.
JVM0002X
Do-it-yourself8-23