Page 282 of 460
The cruise control is automatically can-
celed if:∙ You depress the brake pedal while pushing the ACCEL/RES or SET/COAST
switch. The preset speed is deleted
from memory.
∙ The vehicle slows down more than 8 mph (13 km/h) below the set speed.
∙ You move the shif t lever to N (Neutral).
To reset at a faster cruising speed, use
one of the following three methods:
∙ Depress the accelerator pedal. When the vehicle attains the desired speed,
push and release the COAST/SET
switch.
∙ Push and hold the ACCEL/RES switch. When the vehicle attains the speed you
desire, release the switch.
∙ Push and release the ACCEL/RES switch. Each time you do this, the set
speed increases by about 1 mph
(1.6 km/h). To reset at a slower cruising speed,
use
one of the following three methods:
∙ Lightly tap the brake pedal. When the vehicle attains the desired speed, push
the COAST/SET switch and release it.
∙ Push and hold the COAST/SET switch. Release the switch when the vehicle
slows to the desired speed.
∙ Push and release the COAST/SET switch. Each time you do this, the set
speed decreases by about 1 mph
(1.6 km/h).
To resume the preset speed, push and
release the ACCEL/RES switch. The vehicle
returns to the last set cruising speed when
the vehicle speed is over 25 mph (40 km/h).
To turn off the cruise control, use one of
the following three methods:
∙ Push the CANCEL switch.
∙ Tap the brake pedal.
∙ Push the ON/OFF switch off. The
Page 334 of 460
Push the switch on to warn other drivers
when you must stop or park under emer-
gency conditions. All turn signal lights flash.
Page 335 of 460
TIRE PRESSURE MONITORING
SYSTEM (TPMS)
This vehicle is equipped with the Tire Pres-
sure Monitoring System (TPMS). It monitors
tire pressure of all tires except the spare.
When the low tire pressure warning light is
lit, and the “Tire Pressure Low - Add Air”
warning appears in the vehicle information
display, one or more of your tires is signifi-
cantly under-inflated. If equipped, the sys-
tem also displays pressure of all tires (ex-
cept the spare tire) on the display screen by
sending a signal from a sensor that is in-
stalled in each wheel. If the vehicle is being
driven with low tire pressure, the TPMS will
activate and warn you of it by the low tire
pressure warning light. This system will ac-
tivate only when the vehicle is driven at
speeds above 16 mph (25 km/h). For addi-
tional information, refer to “Warning lights,
indicator lights and audible reminders” in
the “Instruments and controls” section and
“Tire Pressure Monitoring System (TPMS)” in
the “Starting and driving” section of this
manual.
Page 343 of 460
WARNING
Always follow the instructions below.
Failure to do so could result in damage
to the charging system and cause per-
sonal injury.1. If the booster battery is in another ve- hicle, position the two vehicles to bring
their batteries near each other.
Do not allow the two vehicles to
touch. 2. Apply the parking brake. Move the shif t
lever to P (Park). Switch off all unneces-
sary electrical systems (lights, heater,
air conditioner, etc.).
3. Ensure the vent caps are level and tight.
4. Connect jumper cables in the se- quence illustrated (
�A,�B,�C,�D).
Page 352 of 460
If you choose to use a tire dressing, take the
following precautions:∙ Use a water-based tire dressing. The coating on the tire dissolves more easily
than with an oil-based tire dressing.
∙ Apply a light coat of tire dressing to help prevent it from entering the tire
tread/grooves (where it would be diffi-
cult to remove).
∙ Wipe off excess tire dressing using a dry towel. Make sure the tire dressing is
completely removed from the tire
tread/grooves.
∙ Allow the tire dressing to dry as recom- mended by the tire dressing manufac-
turer. Occasionally remove loose dust from the
interior trim, plastic parts and seats using a
vacuum cleaner or sof t bristled brush. Wipe
the vinyl and leather (if so equipped) sur-
faces with a clean, sof t cloth dampened in
mild soap solution, then wipe clean with a
dry, sof t cloth.
Regular care and cleaning is required in
order to maintain the appearance of the
leather (if so equipped).
Before using any fabric protector, read the
manufacturer’s recommendations. Some
fabric protectors contain chemicals that
may stain or bleach the seat material.
Use a cloth dampened only with water to
clean the meter and gauge lens.
Page 367 of 460
CAUTION
Do not spill the fluid on any painted sur-
faces. This will damage the paint. If fluid
is spilled, immediately wash the surface
with water.
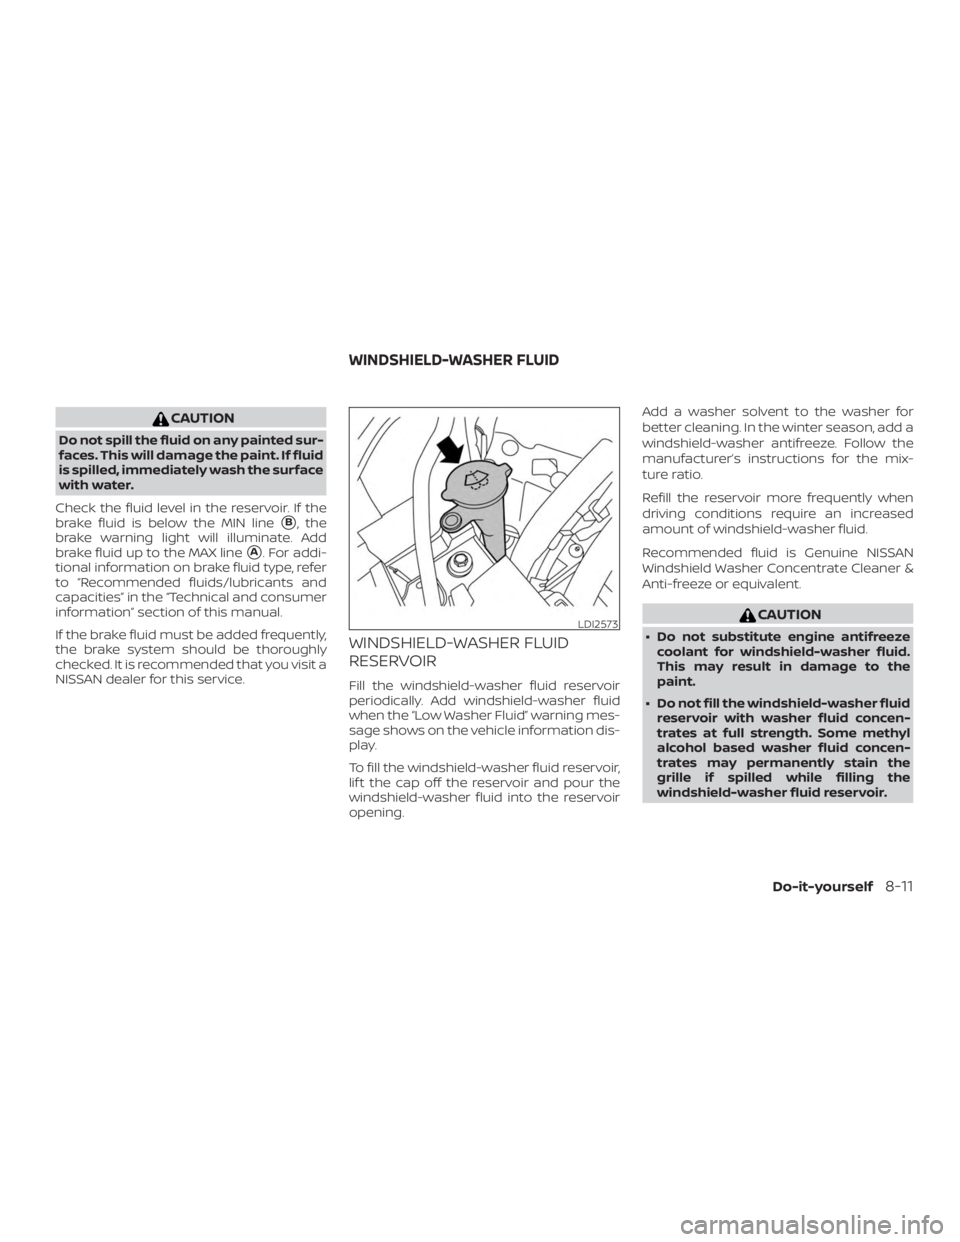
Check the fluid level in the reservoir. If the
brake fluid is below the MIN line
�B, the
brake warning light will illuminate. Add
brake fluid up to the MAX line
�A. For addi-
tional information on brake fluid type, refer
to “Recommended fluids/lubricants and
capacities” in the “Technical and consumer
information” section of this manual.
If the brake fluid must be added frequently,
the brake system should be thoroughly
checked. It is recommended that you visit a
NISSAN dealer for this service.
WINDSHIELD-WASHER FLUID
RESERVOIR
Fill the windshield-washer fluid reservoir
periodically. Add windshield-washer fluid
when the “Low Washer Fluid” warning mes-
sage shows on the vehicle information dis-
play.
To fill the windshield-washer fluid reservoir,
lif t the cap off the reservoir and pour the
windshield-washer fluid into the reservoir
opening. Add a washer solvent to the washer for
better cleaning. In the winter season, add a
windshield-washer antifreeze. Follow the
manufacturer’s instructions for the mix-
ture ratio.
Refill the reservoir more frequently when
driving conditions require an increased
amount of windshield-washer fluid.
Recommended fluid is Genuine NISSAN
Windshield Washer Concentrate Cleaner &
Anti-freeze or equivalent.
Page 381 of 460
3. Replace the battery with a new one.Recommended battery: CR2032 or
equivalent.
∙ Do not touch the internal circuit andelectric terminals as doing so could
cause a malfunction.
∙ Hold the battery by the edges. Hold- ing the battery across the contact
points will seriously deplete the stor-
age capacity.
∙ Make sure that the + side faces the bottom of the lower part.
4. Close the lid securely as illustrated with
�Cand�D.
5. Operate the buttons to check the op- eration.
If you need assistance with replacement, it
is recommended that you visit a NISSAN
dealer for this service. FCC Notice:
For USA:
This device complies with Part 15 of the
FCC Rules. Operation is subject to the fol-
lowing two conditions: (1) This device
may not cause harmful interference, and
(2) this device must accept any interfer-
ence received, including interference
that may cause undesired operation.
Note:
Changes or modifications not expressly
approved by the party responsible for
compliance could void the user’s author-
ity to operate the equipment.
For Canada:
This device complies with Industry
Canada licence-exempt RSS standard(s).
Operation is subject to the following two
conditions: (1) this device may not cause
interference, and (2) this device must ac-
cept any interference, including interfer-
ence that may cause undesired opera-
tion of the device.
HEADLIGHTS
For additional information on headlight
bulb replacement, refer to the instructions
outlined in this section.
Replacing the halogen headlight
bulb (if so equipped)
If bulb replacement is required, it is recom-
mended that you visit a NISSAN dealer for
this service.
Page 382 of 460
∙ Only touch the base when handlingthe bulb. Never touch the glass enve-
lope. Touching the glass could signifi-
cantly affect bulb life and/or head-
light performance.
∙ High pressure halogen gas is sealed inside the halogen bulb. The bulb may
break if the glass envelope is
scratched or the bulb is dropped.
∙ Use the same number and wattage as shown in the chart.
Fog may temporarily form inside the
lenses of the exterior lights in the rain or in
a car wash. A temperature difference be-
tween the inside and the outside of the
lens causes the fog. This is not a malfunc-
tion. If large drops of water collect inside
the lens, it is recommended that you visit a
NISSAN dealer for servicing.
Replacing the LED headlight bulb
(if so equipped)
If LED headlight bulb replacement is re-
quired, it is recommended that you visit a
NISSAN dealer for this service.
FOG LIGHTS (if so equipped)
For additional information on fog light bulb
replacement, refer to the instructions out-
lined in this section.
Replacing the fog light bulb
If bulb replacement is required, it is recom-
mended that you visit a NISSAN dealer for
this service.