2018 MERCEDES-BENZ SL ROADSTER fuel type
[x] Cancel search: fuel typePage 23 of 322
Turn signalsDisplay message ............................ 212
Switching on/off ........................... 107
Two-way radio
Frequencies ................................... 310
Installation ..................................... 310
Transmission output (maximum) .... 310
Type identification plate
see Vehicle identification plate
U
Umbrella holder ................................. 243
Unlocking
Emergency unlocking ....................... 80
From inside the vehicle (central
unlocking button) ............................. 79
Upshift indicator (on-board com-
puter, Mercedes-AMG vehicles) ....... 197
USB devices
Connecting to the Media Inter-
face ...............................................2 41
V
Vehicle
Correct use ...................................... 28
Data acquisition ............................... 29
Display message ............................ 222
Electronics ..................................... 310
Equipment ....................................... 25
Individual settings .......................... 194
Limited Warranty .............................2 9
Loading .......................................... 295
Locking (in an emergency) ............... 80
Locking (SmartKey) .......................... 73
Lowering ........................................ 308
Maintenance .................................... 26
Parking for a long period ................ 144
Pulling away ................................... 124
Raising ........................................... 305
Reporting problems ......................... 28
Securing from rolling away ............ 305
Tow-starting ................................... 280
Towing away .................................. 280
Transporting .................................. 282
Unlocking (in an emergency) ........... 80
Unlocking (SmartKey) ...................... 73
Vehicle data ................................... 317 Vehicle battery
see Battery (vehicle)
Vehicle data ....................................... 317
Vehicle dimensions ........................... 317
Vehicle emergency locking ................ 80
Vehicle identification number
see VIN
Vehicle identification plate .............. 311
Vehicle level
Active Body Control (ABC) (except
Mercedes-AMG vehicles) ............... 163
Active Body Control (ABC)
(Mercedes-AMG vehicles) .............. 165
Display message ............................ 215
Vehicle tool kit .................................. 270
Video
Operating the DVD ......................... 191
see also Digital Operator's Man-
ual .................................................. 236
VIN
Seat ............................................... 312
Type plate ...................................... 311W
Warning and indicator lampsABS ................................................ 229
Active Brake Assist ........................ 234
Brake Assist ................................... 234
Brakes ........................................... 228
Check Engine ................................. 232
Coolant .......................................... 232
Distance Pilot DISTRONIC ............. 234
Distance warning ........................... 234
ESP
®.............................................. 229
ESP®OFF ....................................... 230
Fuel tank ........................................ 232
General notes ................................ 227
Parking brake ................................ 231
PASSENGER AIR BAG ...................... 41
Reserve fuel ................................... 232
Restraint system ............................ 231
Seat belt ........................................ 227
SPORT handling mode ................... 231
Tire pressure monitor .................... 235
Warning triangle ................................ 269
Warranty .............................................. 25
Index21
Page 58 of 322
Rsetting a more favorable seat position for the
front-passenger seat.
Rvehicles with a multicontour seat: increasing
the air pressure in the side bolsters of the seat
backrest.
!Make sure that there are no objects in the
footwell or behind the seats. There is a danger that the seats and/or objects could be dam-
aged when PRE-SAFE
®is activated.
Should an accident not occur, the preventative
measures taken are reversed. Certain settings
must be made yourself.
XIf the seat belt pre-tensioning is not reduced,
move the seat backrest back slightly.
Seat belt pre-tensioning is released.
PRE-SAFE®PLUS (anticipatory occu-
pant protection system PLUS)
Introduction
PRE-SAFE®PLUS is only available in vehicles
with the Driving Assistance package.
Using the radar sensor system, PRE-SAFE
®
PLUS is able to detect that a head-on or rear-end
collision is imminent. In certain hazardous sit-
uations, PRE-SAFE
®PLUS takes pre-emptive
measures to protect the vehicle occupants.
Important safety notes
The intervention of PRE-SAFE®PLUS cannot
prevent an imminent collision.
The driver is not warned about the intervention
of PRE-SAFE
®PLUS.
PRE-SAFE®PLUS does not intervene if the vehi-
cle is backing up.
When driving, or when parking or exiting a park-
ing space with assistance from Parking Pilot,
PRE-SAFE
®PLUS will not apply the brakes.
Function
PRE-SAFE®PLUS intervenes in certain situa-
tions if the radar sensor system detects an
imminent head-on or rear-end collision. PRE-SAFE
®PLUS takes the following measures
depending on the hazardous situation detected:
Rif the radar sensor system detects that a
head-on collision is imminent, the seat belts
are pre-tensioned.
Rif the radar sensor system detects that a rear-
end collision is imminent:
-the brake pressure is increased if the driver
applies the brakes when the vehicle is sta-
tionary.
-the seat belts are pre-tensioned.
The PRE-SAFE®PLUS braking application is can-
celed:
Rif the accelerator pedal is depressed when a
gear is engaged
Rif the risk of a collision passes or is no longer
detected
Rif Distance Pilot DISTRONIC indicates an
intention to pull away
If the hazardous situation passes without result-
ing in an accident, the original settings are
restored.
Automatic measures after an acci-
dent
Immediately after an accident, the following
measures are implemented, depending on the
type and severity of the impact:
Rthe hazard warning lamps are switched on
Rthe emergency lighting is activated
Rthe vehicle doors are unlocked
Rthe front side windows are lowered
Rthe electrically adjustable steering wheel is
raised when the driver's door is opened
Rthe engine is switched off and the fuel supply
is switched off
Rvehicles with mbrace: automatic emergency
call
Children in the vehicle
Important safety notes
If a child younger than twelve years old and
under 5 ft (1.50 m)in height is traveling in the
vehicle:
Ralways secure the child in a child restraint
system suitable for Mercedes-Benz vehicles.
56Children in the vehicle
Safety
Page 143 of 322
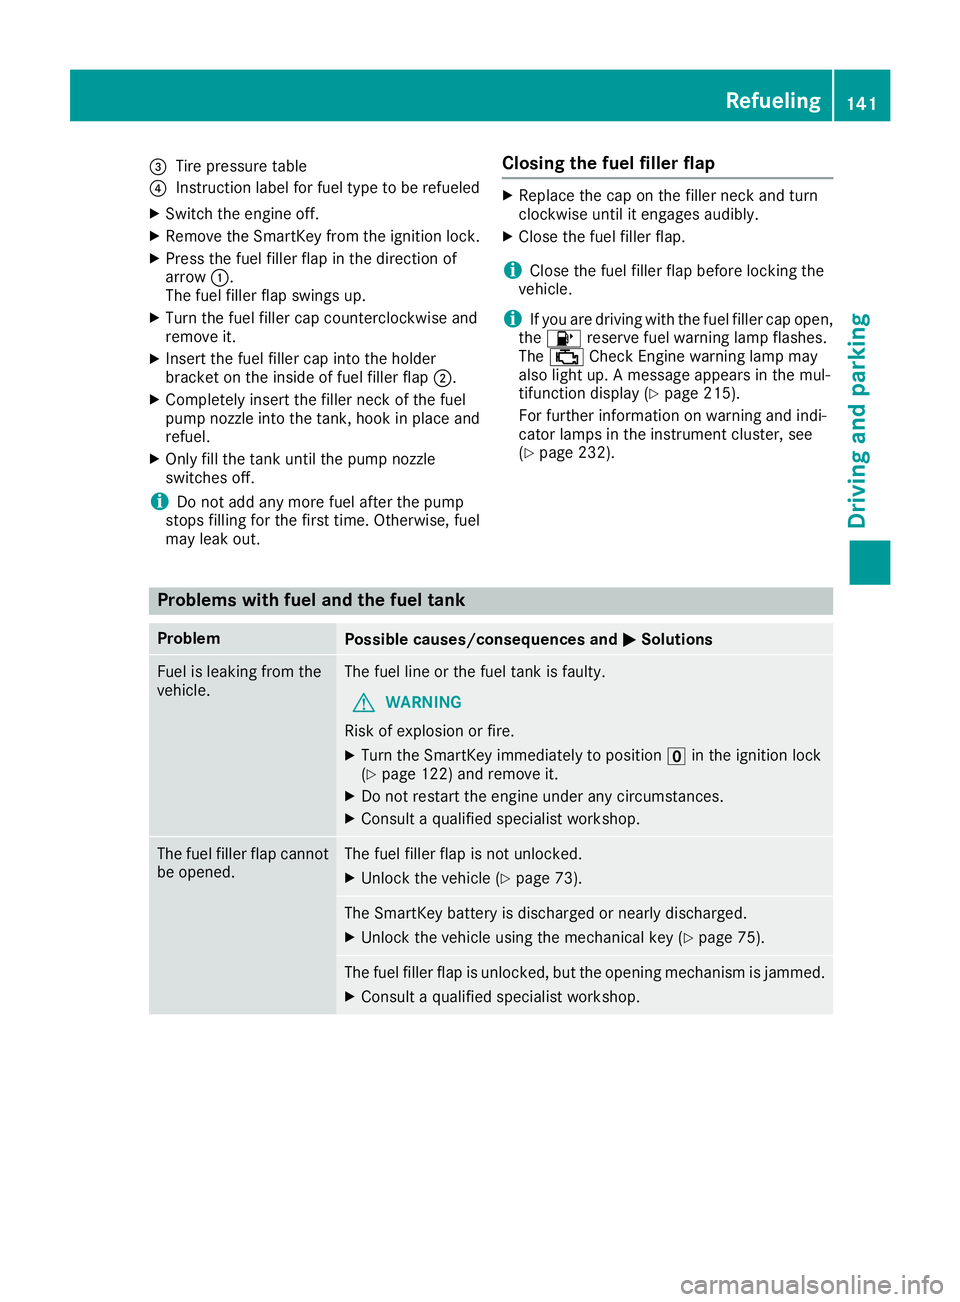
=Tire pressure table
?Instruction label for fuel type to be refueled
XSwitch the engine off.
XRemove the SmartKey from the ignition lock.
XPress the fuel filler flap in the direction of
arrow:.
The fuel filler flap swings up.
XTurn the fuel filler cap counterclockwise and
remove it.
XInsert the fuel filler cap into the holder
bracket on the inside of fuel filler flap ;.
XCompletely insert the filler neck of the fuel
pump nozzle into the tank, hook in place and
refuel.
XOnly fill the tank until the pump nozzle
switches off.
iDo not add any more fuel after the pump
stops filling for the first time. Otherwise, fuel
may leak out.
Closing the fuel filler flap
XReplace the cap on the filler neck and turn
clockwise until it engages audibly.
XClose the fuel filler flap.
iClose the fuel filler flap before locking the
vehicle.
iIf you are driving with the fuel filler cap open,
the 8 reserve fuel warning lamp flashes.
The ; Check Engine warning lamp may
also light up. A message appears in the mul-
tifunction display (
Ypage 215).
For further information on warning and indi-
cator lamps in the instrument cluster, see
(
Ypage 232).
Problems with fuel and the fuel tank
ProblemPossible causes/consequences and MSolutions
Fuel is leaking from the
vehicle.The fuel line or the fuel tank is faulty.
GWARNING
Risk of explosion or fire.
XTurn the SmartKey immediately to position uin the ignition lock
(Ypage 122) and remove it.
XDo not restart the engine under any circumstances.
XConsult a qualified specialist workshop.
The fuel filler flap cannot
be opened.The fuel filler flap is not unlocked.
XUnlock the vehicle (Ypage 73).
The SmartKey battery is discharged or nearly discharged.
XUnlock the vehicle using the mechanical key (Ypage 75).
The fuel filler flap is unlocked, but the opening mechanism is jammed.
XConsult a qualified specialist workshop.
Refueling141
Driving and parking
Z
Page 234 of 322
Engine
Warning/
indicator
lampNSignal type
Possible causes/consequences and M
Solutions
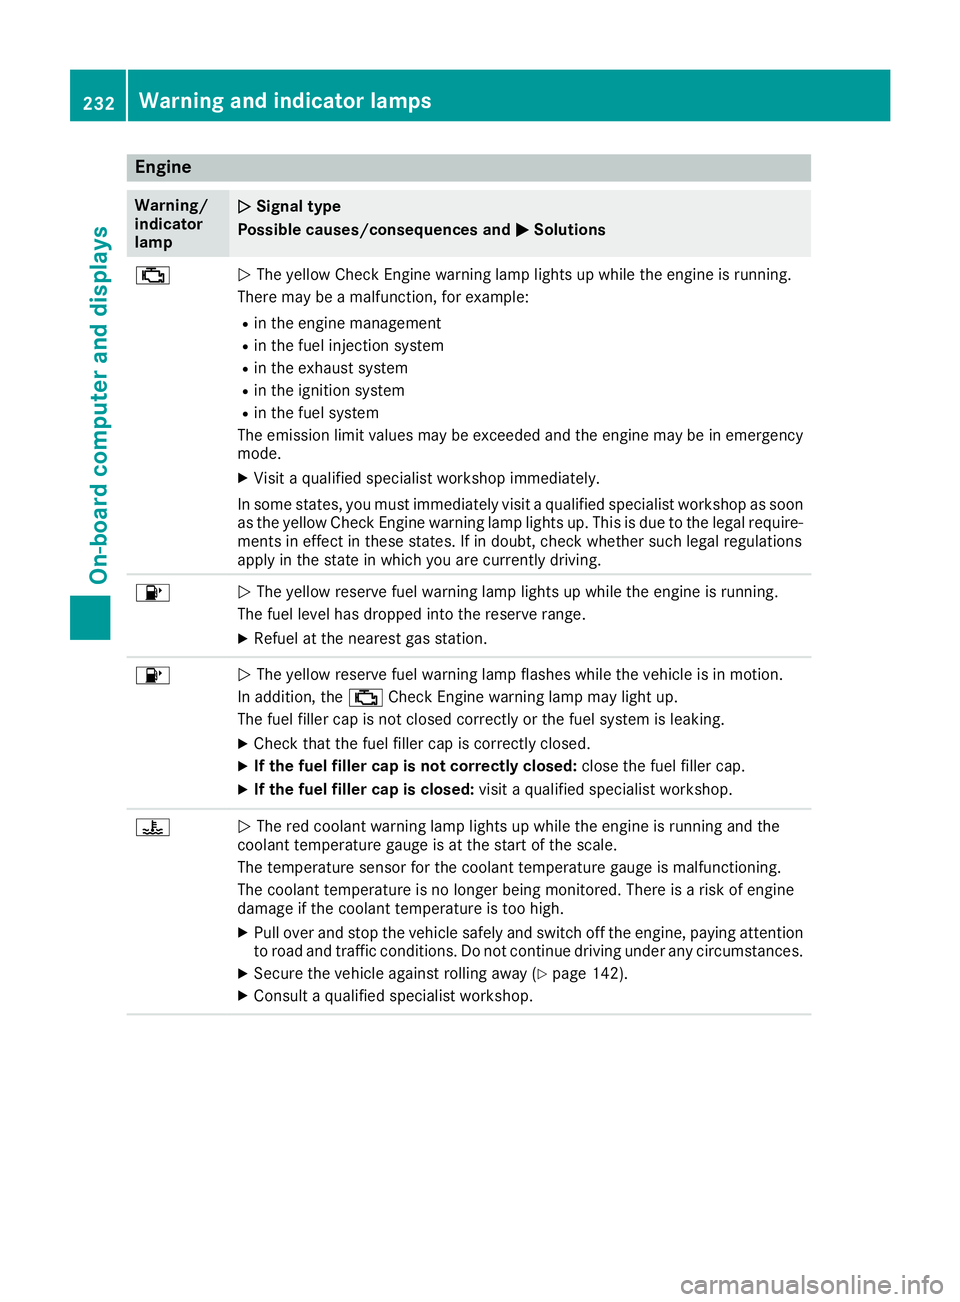
;NThe yellow Check Engine warning lamp lights up while the engine is running.
There may be a malfunction, for example:
Rin the engine management
Rin the fuel injection system
Rin the exhaust system
Rin the ignition system
Rin the fuel system
The emission limit values may be exceeded and the engine may be in emergency
mode.
XVisit a qualified specialist workshop immediately.
In some states, you must immediately visit a qualified specialist workshop as soon as the yellow Check Engine warning lamp lights up. This is due to the legal require-
ments in effect in these states. If in doubt, check whether such legal regulations
apply in the state in which you are currently driving.
8N The yellow reserve fuel warning lamp lights up while the engine is running.
The fuel level has dropped into the reserve range.
XRefuel at the nearest gas station.
8N The yellow reserve fuel warning lamp flashes while the vehicle is in motion.
In addition, the ;Check Engine warning lamp may light up.
The fuel filler cap is not closed correctly or the fuel system is leaking.
XCheck that the fuel filler cap is correctly closed.
XIf the fuel filler cap is not correctly closed: close the fuel filler cap.
XIf the fuel filler cap is closed:visit a qualified specialist workshop.
?NThe red coolant warning lamp lights up while the engine is running and the
coolant temperature gauge is at the start of the scale.
The temperature sensor for the coolant temperature gauge is malfunctioning.
The coolant temperature is no longer being monitored. There is a risk of engine
damage if the coolant temperature is too high.
XPull over and stop the vehicle safely and switch off the engine, paying attention
to road and traffic conditions. Do not continue driving under any circumstances.
XSecure the vehicle against rolling away (Ypage 142).
XConsult a qualified specialist workshop.
232Warning and indicator lamps
On-board computer and displays
Page 267 of 322
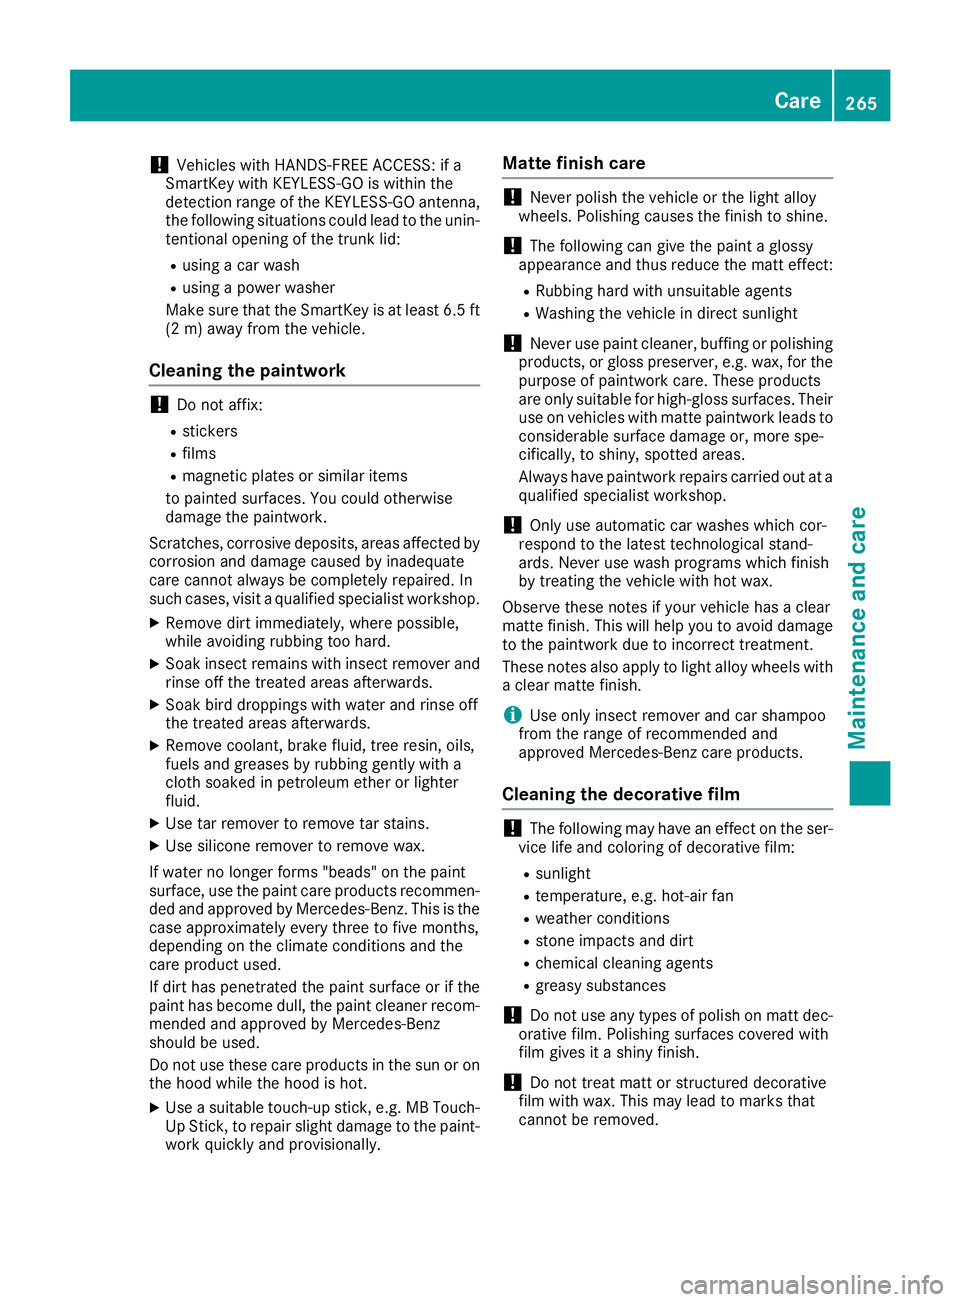
!Vehicles with HANDS-FREE ACCESS: if a
SmartKey with KEYLESS-GO is within the
detection range of the KEYLESS-GO antenna,
the following situations could lead to the unin-
tentional opening of the trunk lid:
Rusing a car wash
Rusing a power washer
Make sure that the SmartKey is at least 6.5 ft (2 m) away from the vehicle.
Cleaning the paintwork
!Do not affix:
Rstickers
Rfilms
Rmagnetic plates or similar items
to painted surfaces. You could otherwise
damage the paintwork.
Scratches, corrosive deposits, areas affected by
corrosion and damage caused by inadequate
care cannot always be completely repaired. In
such cases, visit a qualified specialist workshop.
XRemove dirt immediately, where possible,
while avoiding rubbing too hard.
XSoak insect remains with insect remover and
rinse off the treated areas afterwards.
XSoak bird droppings with water and rinse off
the treated areas afterwards.
XRemove coolant, brake fluid, tree resin, oils,
fuels and greases by rubbing gently with a
cloth soaked in petroleum ether or lighter
fluid.
XUse tar remover to remove tar stains.
XUse silicone remover to remove wax.
If water no longer forms "beads" on the paint
surface, use the paint care products recommen-
ded and approved by Mercedes-Benz. This is the
case approximately every three to five months,
depending on the climate conditions and the
care product used.
If dirt has penetrated the paint surface or if the
paint has become dull, the paint cleaner recom- mended and approved by Mercedes-Benz
should be used.
Do not use these care products in the sun or on
the hood while the hood is hot.
XUse a suitable touch-up stick, e.g. MB Touch-
Up Stick, to repair slight damage to the paint-
work quickly and provisionally.
Matte finish care
!Never polish the vehicle or the light alloy
wheels. Polishing causes the finish to shine.
!The following can give the paint a glossy
appearance and thus reduce the matt effect:
RRubbing hard with unsuitable agents
RWashing the vehicle in direct sunlight
!Never use paint cleaner, buffing or polishing
products, or gloss preserver, e.g. wax, for the
purpose of paintwork care. These products
are only suitable for high-gloss surfaces. Their
use on vehicles with matte paintwork leads to
considerable surface damage or, more spe-
cifically, to shiny, spotted areas.
Always have paintwork repairs carried out at a
qualified specialist workshop.
!Only use automatic car washes which cor-
respond to the latest technological stand-
ards. Never use wash programs which finish
by treating the vehicle with hot wax.
Observe these notes if your vehicle has a clear
matte finish. This will help you to avoid damage
to the paintwork due to incorrect treatment.
These notes also apply to light alloy wheels with
a clear matte finish.
iUse only insect remover and car shampoo
from the range of recommended and
approved Mercedes-Benz care products.
Cleaning the decorative film
!The following may have an effect on the ser-
vice life and coloring of decorative film:
Rsunlight
Rtemperature, e.g. hot-air fan
Rweather conditions
Rstone impacts and dirt
Rchemical cleaning agents
Rgreasy substances
!Do not use any types of polish on matt dec-
orative film. Polishing surfaces covered with
film gives it a shiny finish.
!Do not treat matt or structured decorative
film with wax. This may lead to marks that
cannot be removed.
Care265
Maintenance and care
Z
Page 305 of 322
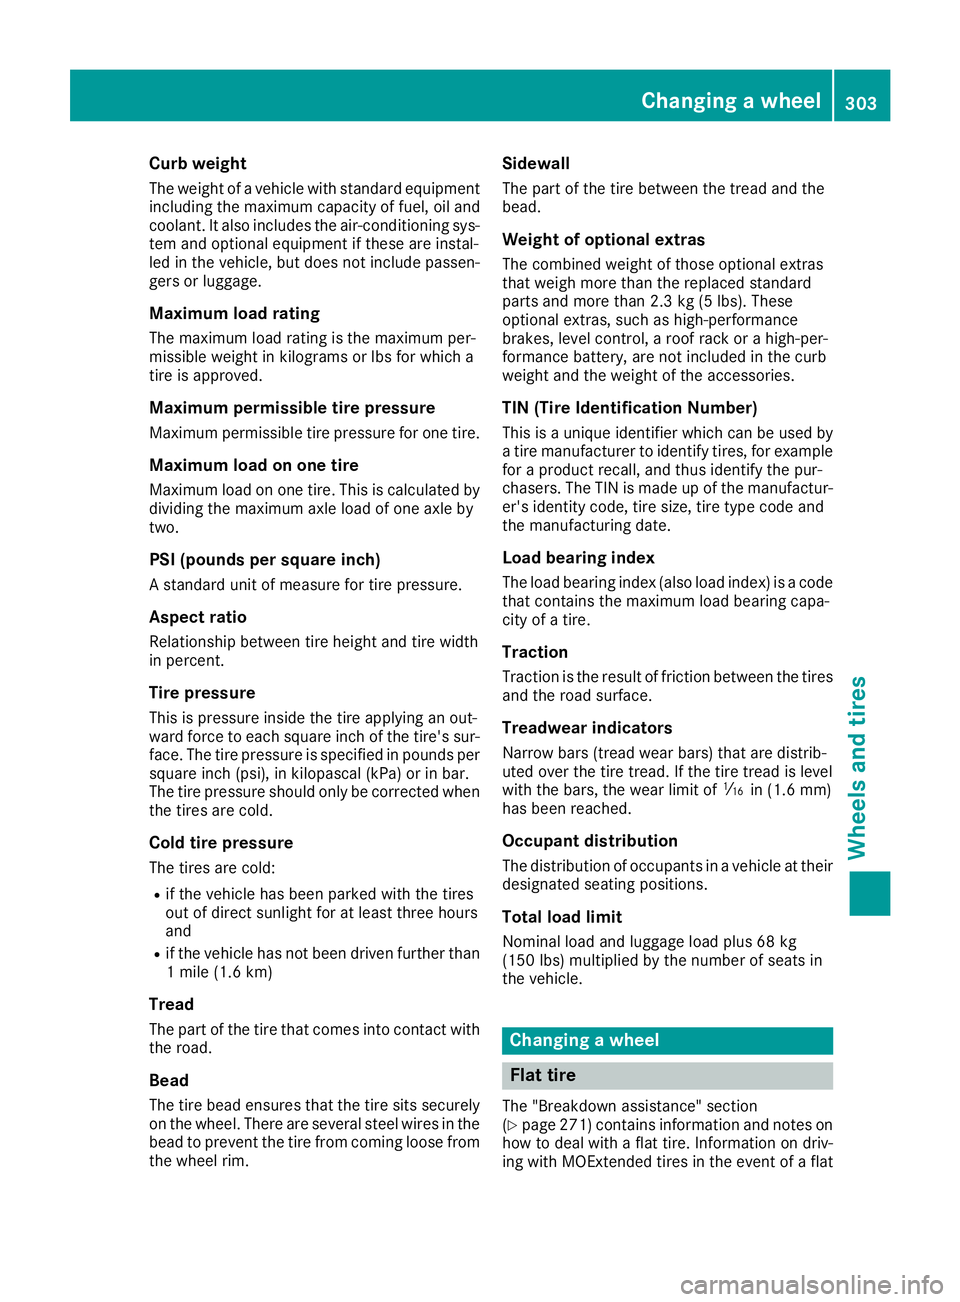
Curb weight
The weight of a vehicle with standard equipment
including the maximum capacity of fuel, oil and
coolant. It also includes the air-conditioning sys-
tem and optional equipment if these are instal-
led in the vehicle, but does not include passen-
gers or luggage.
Maximum load rating
The maximum load rating is the maximum per-
missible weight in kilograms or lbs for which a
tire is approved.
Maximum permissible tire pressure
Maximum permissible tire pressure for one tire.
Maximum load on one tire
Maximum load on one tire. This is calculated by
dividing the maximum axle load of one axle by
two.
PSI (pounds per square inch)
A standard unit of measure for tire pressure.
Aspect ratio
Relationship between tire height and tire width
in percent.
Tire pressure
This is pressure inside the tire applying an out-
ward force to each square inch of the tire's sur-
face. The tire pressure is specified in pounds per
square inch (psi), in kilopascal (kPa) or in bar.
The tire pressure should only be corrected when
the tires are cold.
Cold tire pressure
The tires are cold:
Rif the vehicle has been parked with the tires
out of direct sunlight for at least three hours
and
Rif the vehicle has not been driven further than
1 mile (1.6 km)
Tread
The part of the tire that comes into contact with
the road.
Bead
The tire bead ensures that the tire sits securely
on the wheel. There are several steel wires in the
bead to prevent the tire from coming loose from the wheel rim.
Sidewall
The part of the tire between the tread and the
bead.
Weight of optional extras
The combined weight of those optional extras
that weigh more than the replaced standard
parts and more than 2.3 kg (5 lbs).Thes e
option al extras, such as high-performance
brakes, level control, a roof rack or a high-per-
formance battery, are not included in the curb
weight and the weight of the accessories.
TIN (Tire Identification Number)
This is a unique identifier which can be used by
a tire manufacturer to identify tires, for example
for a product recall, and thus identify the pur-
chasers. The TIN is made up of the manufactur-
er's identity code, tire size, tire type code and
the manufacturing date.
Load bearing index
The load bearing index (also load index) is a code
that contains the maximum load bearing capa-
city of a tire.
Traction
Traction is the result of friction between the tires
and the road surface.
Treadwear indicators
Narrow bars (tread wear bars) that are distrib-
uted over the tire tread. If the tire tread is level
with the bars, the wear limit of áin (1.6 mm)
has been reached.
Occupant distribution
The distribution of occupants in a vehicle at their
designated seating positions.
Total load limit
Nominal load and luggage load plus 68 kg
(150 lbs) multiplied by the number of seats in
the vehicle.
Changing a wheel
Flat tire
The "Breakdown assistance" section
(Ypage 271) contains information and notes on
how to deal with a flat tire. Information on driv-
ing with MOExtended tires in the event of a flat
Changing a wheel303
Wheels and tires
Z
Page 311 of 322
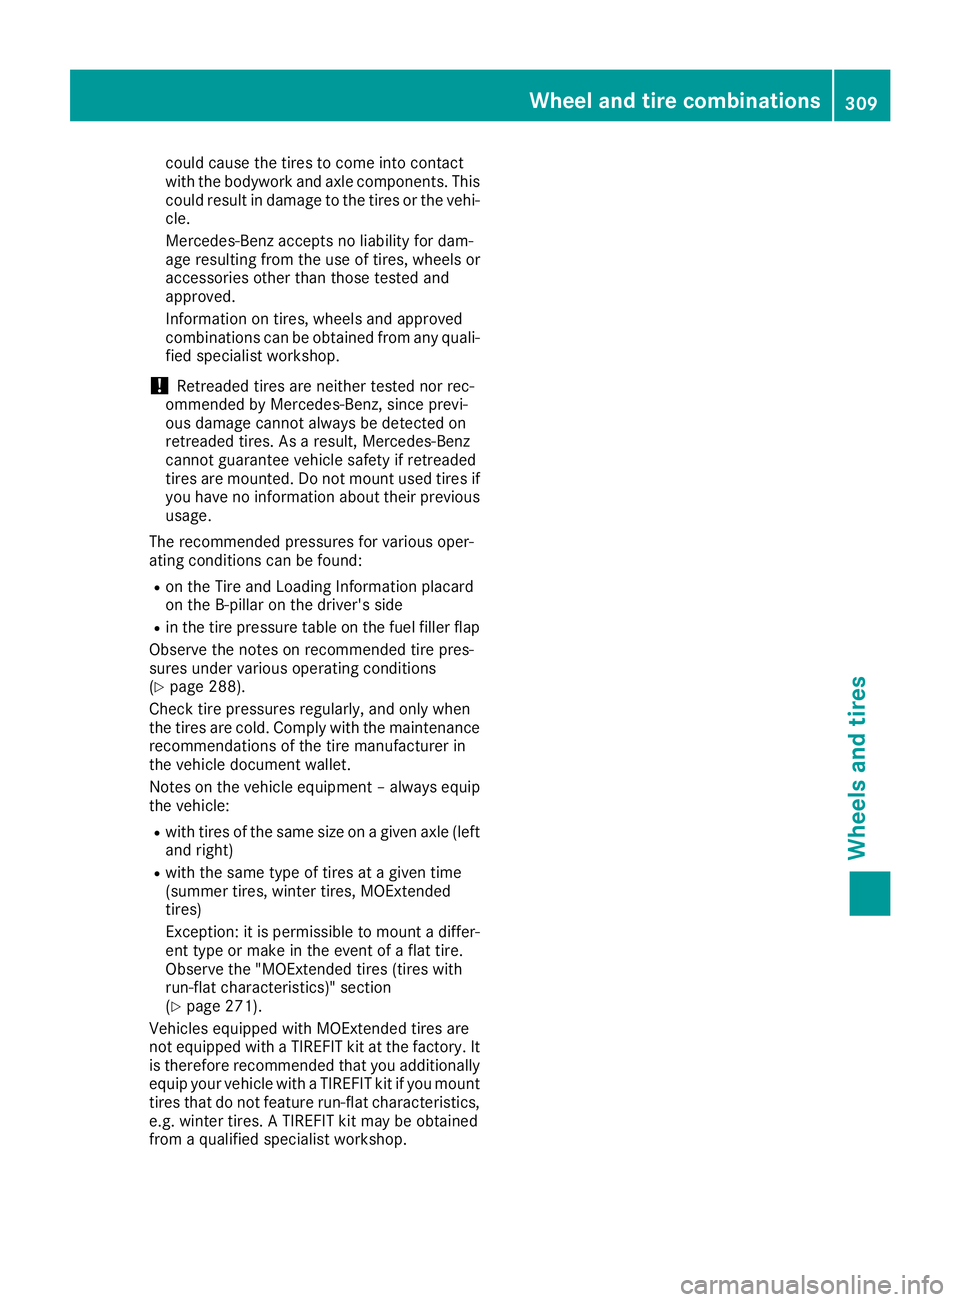
could cause the tires to come into contact
with the bodywork and axle components. This
could result in damage to the tires or the vehi-
cle.
Mercedes-Benz accepts no liability for dam-
age resulting from the use of tires, wheels or
accessories other than those tested and
approved.
Information on tires, wheels and approved
combinations can be obtained from any quali-
fied specialist workshop.
!Retreaded tires are neither tested nor rec-
ommended by Mercedes-Benz, since previ-
ous damage cannot always be detected on
retreaded tires. As a result, Mercedes-Benz
cannot guarantee vehicle safety if retreaded
tires are mounted. Do not mount used tires if you have no information about their previous
usage.
The recommended pressures for various oper-
ating conditions can be found:
Ron the Tire and Loading Information placard
on the B-pillar on the driver's side
Rin the tire pressure table on the fuel filler flap
Observe the notes on recommended tire pres-
sures under various operating conditions
(
Ypage 288).
Check tire pressures regularly, and only when
the tires are cold. Comply with the maintenance
recommendations of the tire manufacturer in
the vehicle document wallet.
Notes on the vehicle equipment – always equip
the vehicle:
Rwith tires of the same size on a given axle (left
and right)
Rwith the same type of tires at a given time
(summer tires, winter tires, MOExtended
tires)
Exception: it is permissible to mount a differ- ent type or make in the event of a flat tire.
Observe the "MOExtended tires (tires with
run-flat characteristics)" section
(
Ypage 271).
Vehicles equipped with MOExtended tires are
not equipped with a TIREFIT kit at the factory. It
is therefore recommended that you additionally
equip your vehicle with a TIREFIT kit if you mount
tires that do not feature run-flat characteristics,
e.g. winter tires. A TIREFIT kit may be obtained
from a qualified specialist workshop.
Wheel and tire combinations309
Wheels and tires
Z