2018 MERCEDES-BENZ GLE SUV tow
[x] Cancel search: towPage 179 of 398

Tips for driving with Distance Pilot
DISTRONIC
General notes
Pay particular attention in the following traffic
situations:
RCornering, entering and exiting a bend: the
ability of Distance Pilot DISTRONIC to detect
vehicles during cornering is limited. Your vehi-
cle may brake unexpectedly or late.
RDriving on a different line: Distance Pilot
DISTRONIC may not detect vehicles which are
not driving in the middle of their lane. The dis-
tance to the vehicle in front will be too short.
ROther vehicles changing lanes: Distance Pilot
DISTRONIC has not detected the vehicle cut-
ting in yet. The distance to this vehicle will be
too short.
RNarrow vehicles: Distance Pilot DISTRONIC
has not yet detected the vehicle in front on
the edge of the road because of its narrow
width. The distance to the vehicle in front willbe too short.
RObstacles and stationary vehicles: Distance
Pilot DISTRONIC does not brake for obstacles
or stationary vehicles. If, for example, the
detected vehicle turns a corner and an obsta-cle or stationary vehicle is then revealed, Dis-
tance Pilot DISTRONIC will not brake for
them.
RCrossing traffic: Distance Pilot DISTRONIC
may mistakenly detect vehicles that are
crossing your lane. Activating Distance Pil
ot
DISTRONIC at, for example, a traffic light with
crossing traffic, could cause your vehicle to
pull away at the wrong time.
In such situations, brake if necessary. Distance
Pilot DISTRONIC will then be deactivated.
Distance Pilot DISTRONIC with Steering
Pilot
General notes
Distance Pilot DISTRONIC with Steering Pilot
aids you in keeping the vehicle in the center of
the driving lane by means of moderate steering
interventions in a speed range from 0 - 125 mph (0 - 200 km/h).
It monitors the area in front of your vehicle by
means of camera system :at the top of the
windshield.
In a speed range from 0 - 37 mph (0 - 60 km/h),
the extended automatic Re-start in traffic jams
focuses on the vehicle in front, taking into
account lane markings, e.g. when following vehi-
cles in a traffic jam.
At speeds of more than 37 mph (60 km/h),
Steering Pilot focuses on clear lane markings
(left and right), only focusing on the vehicle in
front if clear lane markings are not present.
If these conditions are not present, Steering
Pilot cannot provide assistance.
Distance Pilot DISTRONIC must be active in
order for the function to be available.
Important safety notes
If you fail to adapt your driving style, Distance
Pilot DISTRONIC and Steering Pilot can neither
reduce the risk of an accident nor override the
laws of physics. It cannot take into account
road, weather or traffic conditions. Distance
Pilot DISTRONIC with Steering Pilot is only an
a
id. You are responsible for the distance to the
vehicle in front, for vehicle speed, for braking in
good time and for staying in your lane.
Distance Pilot DISTRONIC with Steering Pilot
does not detect road and traffic conditions and
does not detect all road users. If you are follow-
ing a vehicle which is driving towards the edge of
the road, your vehicle could come into contact
Driving system s177
Driving an d parking
Z
Page 180 of 398

with the curb or other road boundaries. Be par-
ticularly aware of other road users, e.g. cyclists,
that are directly next to your vehicle.
Obstacles such as traffic pylons on the lane or
projecting out into the lane are not detected.
An inappropriate steering intervention, e.g. afterintentionally driving over a lane marking, can be
corrected at any time if you steer slightly in theopposite direction.
Distance Pilot DISTRONIC with Steering Pilot
cannot continuously keep your vehicle in lane. In
some cases, the steering intervention is not suf-
ficient to bring the vehicle back to the lane. In
such cases, you must steer the vehicle yourself
to ensure that it does not leave the lane.
The support provided by the system can be
impaired if:
Rthere is poor visibility, e.g. due to insufficient
illumination of the road, or due to snow, rain,
fog or heavy spray
Rthere is glare, e.g. from oncoming traffic, the
sun or reflections (e.g. when the road surface
is wet)
Rthe windshield is dirty, fogged up, damaged or
covered, for instance by a sticker, in the vicin-
ity of the camera
Rthere are no or several unclear lane markings
for one lane, e.g. roadworks
Rthe lane markings are worn away, dark or cov-
ered up, e.g. by dirt or snow
Rthe distance to the vehicle in front is too short
and thus the lane markings cannot be detec-
ted
Rthe lane markings change quickly, e.g. lanes
branch off, cr oss one another or merge
Rthe road is narrow and winding
Rthere are strong shadows cast on the road
The system is switched to passive and no longer
assists you by performing steering interventions if:
Ryou actively change lane
Ryou switch on the turn signal
Rtake your hands off the steering wheel or do
not steer for a prolonged period of time
iAfter you have finished changing lanes,
Steering Pilot is automatically active once
more. Steering Pilot cannot provide assistance:
Ron very sharp corners
Rwhen towing a trailer
Rwhen a loss of tire pressure or a defective tire
has been detected and displayed
Observe the important safety notes on Distance Pilot DISTRONIC (
Ypage 171).
The steering interventions are carried out with a
limited steering moment. The system requires
the driver to keep his hands on the steering
wheel and to steer himself.
If you do not steer yourself or if you take your
hands off the steering wheel for a prolonged
period of time, the system will first alert you with
a visual warning. A steering wheel symbol
appears in the multifunction display. If you have
still not started to steer and have not taken hold
of the steering wheel after five seconds at the
latest, a warning tone also sounds to remind you
to take control of the vehicle. Steering Pilot is
then switched to passive. Distance Pilot
DISTRONIC remains active.
Activating Steering Pilot
XActivate Distance Pilot DISTRONIC with
Steering Pilot using the on-board computer
(
Ypage 236).
The Steering Pilot Onmessage appears
on the multifunction display. Steering Pilot is
activated.
Information in the multifunction display
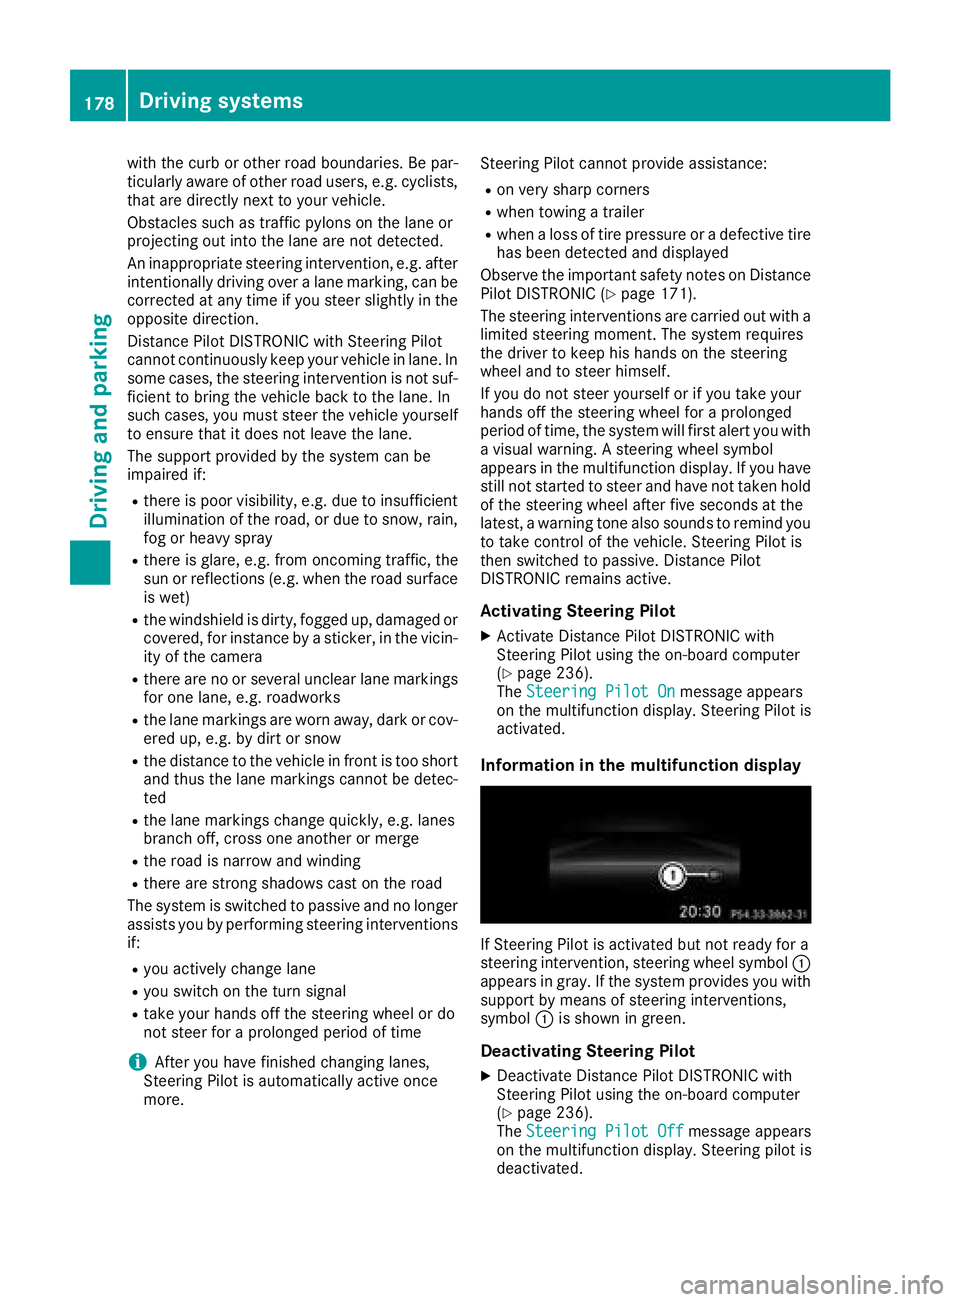
If Steering Pilot is activated but not ready for a
steering intervention, steering wheel symbol :
appears in gray. If the system provides you with support by means of steering interventions,
symbol :is shown in green.
Deactivating Steering Pilot
XDeactivate Distance Pilot DISTRONIC with
Steering Pilot using the on-board computer
(
Ypage 236).
The Steering Pilot Offmessage appears
on the multifunction display. Steering pilot is
deactivated.
178Driving systems
Driving and parking
Page 184 of 398

HOLD function
General notes
The HOLD function can assist the driver in the
following situations:
Rwhen pulling away, especially on steep slopes
Rwhen maneuvering on steep slopes
Rwhen waiting in traffic
The vehicle is kept stationary without the driver having to depress the brake pedal.
The braking effect is canceled and the HOLD
function deactivated when you depress the
accelerator pedal to pull away.
iDo not use the HOLD function when driving
off-road, on steep uphill or downhill gradients
or on slippery or loose surfaces. The HOLD
function cannot hold the vehicle on such sur-
faces.
Important safety notes
GWARNING
If the vehicle is only braked using the HOLD
function, the vehicle may roll away in the fol-
lowing situations when you leave the vehicle:
Rif there is a malfunction in the system or in the voltage supply
Rif the HOLD function is deactivated by
depressing the accelerator pedal or brake
pedal, e.g. by a vehicle occupant
Rif the electrical system in the engine com-
partment, the battery or the fuses are tam-
pered with or the battery is disconnected
There is a risk of an accident.
Always deactivate the HOLD function and
secure the vehicle against rolling away before
you leave it.
!When Distance Pilot DISTRONIC or the
HOLD function is activated, the vehicle
brakes automatically in certain situations.
To avoid damage to the vehicle, deactivate
Distance Pilot DISTRONIC and the HOLD
function in the following or similar situations:
Rwhen towing the vehicle
Rin the car wash
Deactivate the HOLD function (
Ypage 182).
Activation conditions
You can activate the HOLD function if:
Rthe vehicle is stationary
Rthe engine is running or if it has been auto-
matically switched off by the ECO start/stop
function
Rthe driver's door is closed or your seat belt is
fastened
Rthe electric parking brake is released
Rthe transmission is in position h,kori
RDistance Pilot DISTRONIC is deactivated
Activating the HOLD function
XMake sure that the activation conditions are
met.
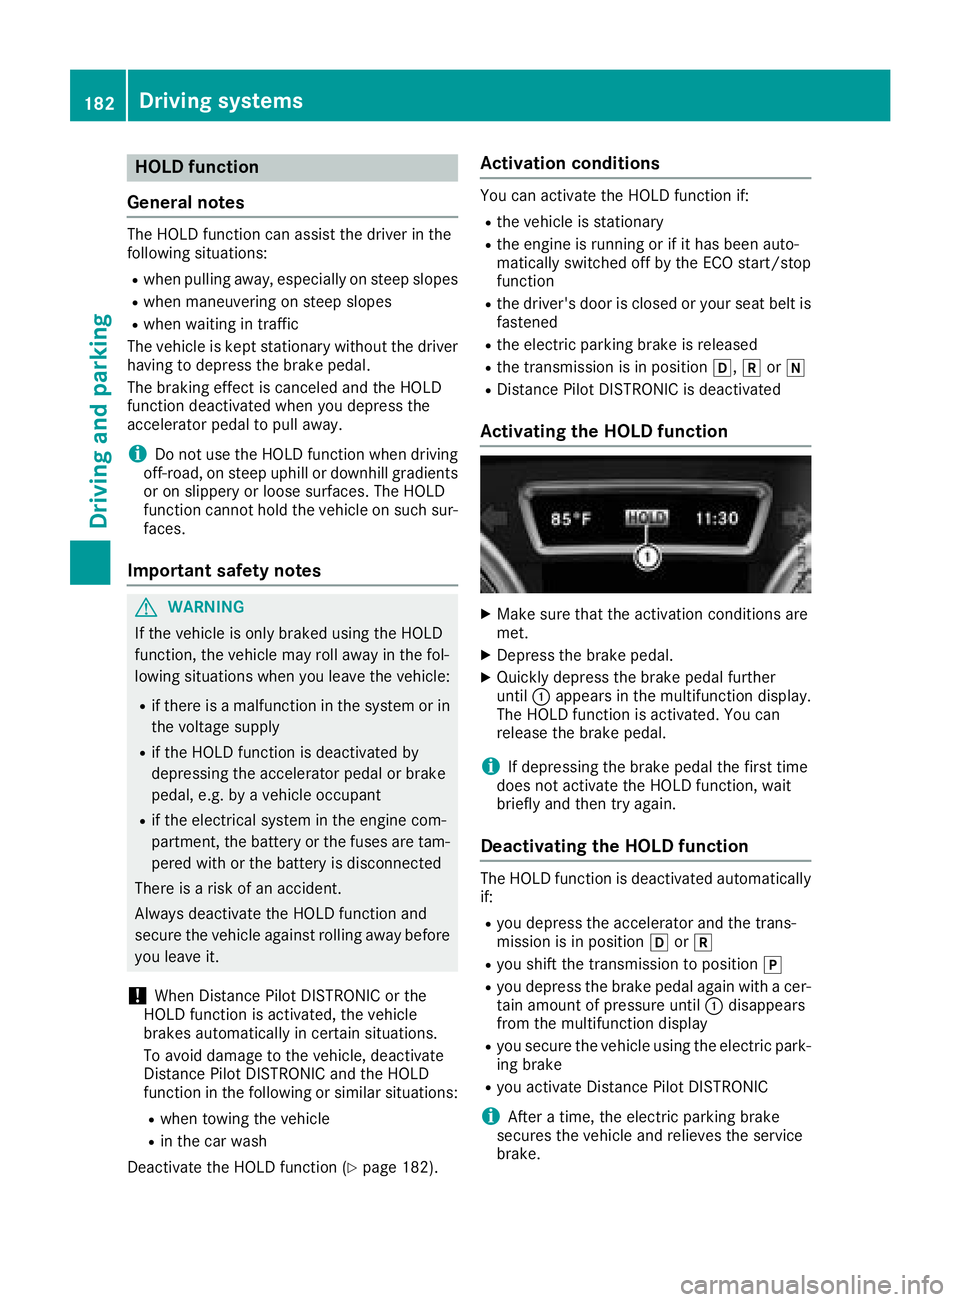
XDepress the brake pedal.
XQuickly depress the brake pedal further
until :appears in the multifunction display.
The HOLD function is activated. You can
release the brake pedal.
iIf depressing the brake pedal the first time
does not activate the HOLD function, wait
briefly and then try again.
Deactivating the HOLD function
The HOLD function is deactivated automatically
if:
Ryou depress the accelerator and the trans-
mission is in position hork
Ryou shift the transmission to position j
Ryou depress the brake pedal again with a cer-
tain amount of pressure until:disappears
from the multifunction display
Ryou secure the vehicle using the electric park- ing brake
Ryou activate Distance Pilot DISTRONIC
iAfter a time, the electric parking brake
secures the vehicle and relieves the service
brake.
182Driving systems
Driving and parking
Page 190 of 398

!Fold in the ball coupling if the trailer tow
hitch is not required. PARKTRONIC measures
the minimum detection range to an obstacle
from the bumper, not the ball coupling.
Parking Assist PARKTRONIC is deactivated for
the rear area when you establish an electrical
connection between your vehicle and a trailer.
Parking Assist PARKTRONIC is activated auto-
matically when you:
Rswitch on the ignition
Rshift the transmission to position D,Ror N
Rrelease the electric parking brake
Parking Assist PARKTRONIC is deactivated at
speeds above 11 mph (18 km/h). It is reactiva-
ted at lower speeds.
Range of the sensors
General notes
Parking Assist PARKTRONIC does not take into
account obstacles located:
Rbelow the detection range, such as persons,
animals or objects
Rabove the detection range, such as overhang-
ing loads, truck overhangs or loading ramps
:Sensors in the front bumper, left-hand side
(example)
The sensors must be free from dirt, ice or slush.
They can otherwise not function correctly. Clean
the sensors regularly, taking care not to scratch
or damage them (
Ypage 330).
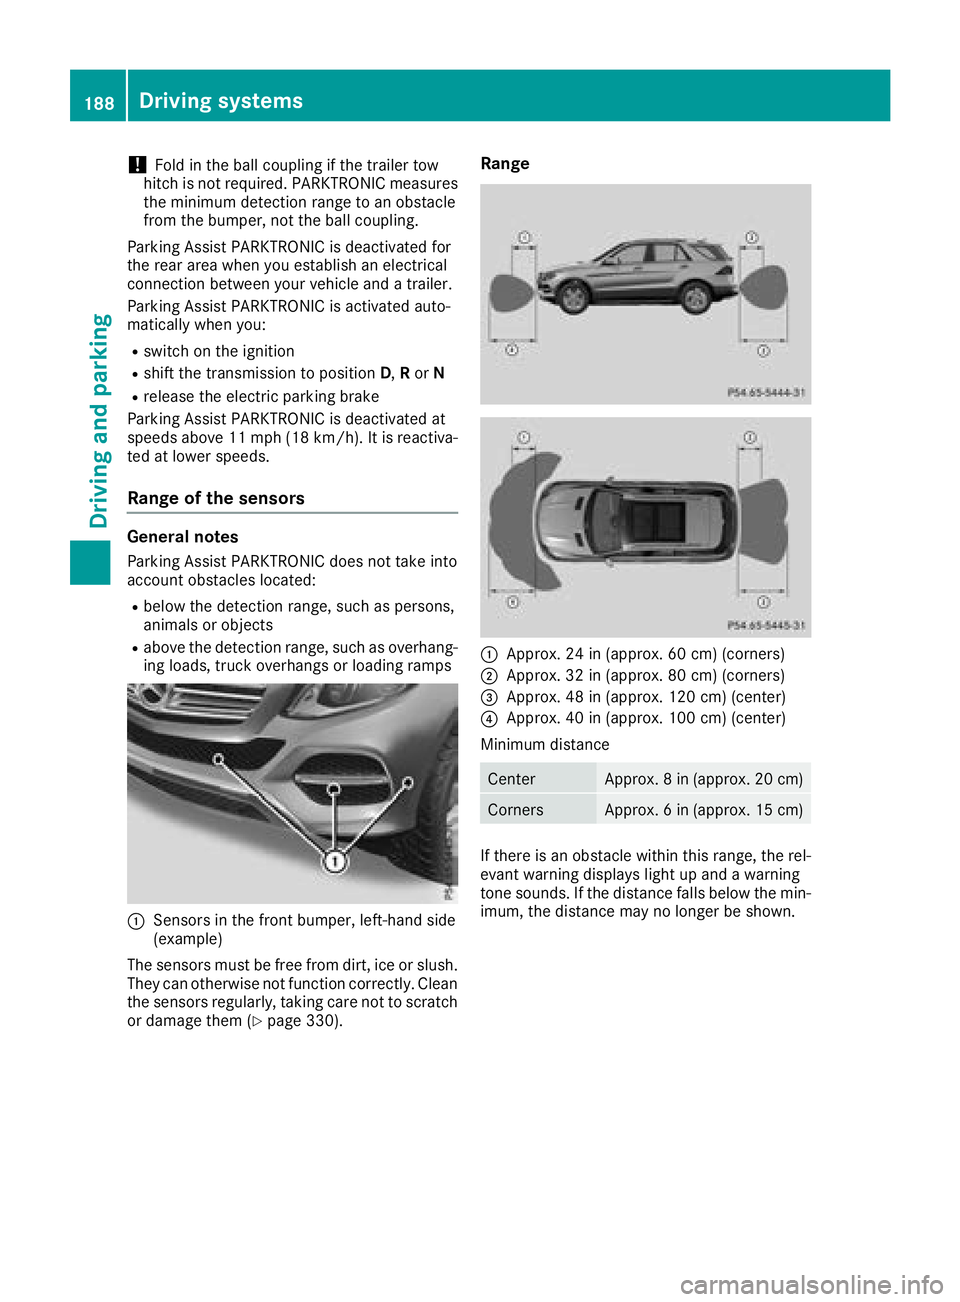
Range
:Approx. 24 in (approx. 60 cm) (corners)
;Approx. 32 in (approx. 80 cm) (corners)
=Approx. 48 in (approx. 120 cm) (center)
?Approx. 40 in (approx. 100 cm) (center)
Minimum distance
CenterApprox. 8 in (approx. 20 cm)
CornersApprox. 6 in (approx. 15 cm)
If there is an obstacle within this range, the rel-
evant warning displays light up and a warning
tone sounds. If the distance falls below the min-
imum, the distance may no longer be shown.
188Driving systems
Driving and parking
Page 194 of 398

iNote that Parking Pilot PARKTRONIC cannot
measure the depth of parking spaces if they
are at right angles to the direction of travel.
You will need to judge whether your vehicle
will fit into the parking space.
When driving at speeds below 19 mph
(30 km/h), you will see parking symbol ;as a
status indicator in the instrument cluster. When
a parking space has been detected, an arrow
towards the right or the left also appears. Park-
ing Pilot only displays parking spaces on the
front-passenger side as standard. Parking
spaces on the driver's side are displayed as
soon as the turn signal on the driver's side is
activated. When parking on the driver's side,
this must remain activated until you confirm the
use of Parking Pilot by pressing the abutton
on the multifunction steering wheel. The system
automatically determines whether the parking
space is parallel or at right angles to the direc-
tion of travel.
A parking space is displayed while you are driv-
ing past it, and until you are approximately 50 ft
(15 m) away from it.
Parking
GWARNING
If you leave the vehicle when it is only being
braked by Active Parking Assist it could roll
away if:
Rthere is a malfunction in the system or in
the voltage supply.
Rthe electrical system in the engine com-
partment, the battery or the fuses have
been tampered with.
Rthe battery is disconnected.
Rthe accelerator pedal has been depressed,
e.g. by a vehicle occupant.
There is a risk of an accident.
Before leaving the vehicle, always secure it
against rolling away.
iIf Parking Assist PARKTRONIC detects
obstacles, Parking Pilot brakes automatically
whilst the vehicle is being parked. You are
responsible for braking in good time.
XStop the vehicle when the parking space sym-
bol shows the desired parking space in the
instrument cluster.
XShift the transmission to position R.
The Start Parking Pilot? Yes: OK No:
% message appears in the multifunction
display.
XTo cancel the procedure: press the%
button on the multifunction steering wheel or
pull away.
or
XTo park using Parking Pilot: press thea
button on the multifunction steering wheel.
The Parking Pilot Active Accelerate
and Brake Observe Surroundingsmes-
sage appears in the multifunction display.
XLet go of the multifunction steering wheel.
XBack up the vehicle, being ready to brake at all
times. When backing up, drive at a speed
below approximately 6 mph (10 km/h). Oth-
erwise, Parking Pilot is canceled immediately.
Parking Pilot brakes the vehicle to a standstill when the vehicle approaches the rear border
of the parking space.
Maneuvering may be required in tight parking spaces.
The Parking Pilot Active Select D
Observe Surroundingsmessage appears in
the multifunction display.
XShift the transmission to position Dwhile the
vehicle is stationary.
Parking Pilot immediately steers in the other
direction.
The Parking Pilot Active Accelerate
and Brake Observe Surroundingsmes-
sage appears in the multifunction display.
iYou will achieve the best results by waiting
for the steering procedure to complete before
pulling away.
XDrive forwards and be ready to brake at all
times.
Parking Pilot brakes the vehicle to a standstill.
The Parking Pilot Active Select R
Observe Surroundingsmessage appears in
the multifunction display.
As soon as the parking procedure is complete,
the Parking Pilot Finished
message
appears and a warning tone sounds. The vehicle
is now parked. The vehicle is kept stationary
without the driver having to depress the brake
192Driving systems
Driving and parking
Page 197 of 398

The flap closes again when:
Ryou have finished the maneuvering process
Ryou switch off the engine
Ryou open the cargo compartment
Observe the notes on cleaning (
Ypage 330).
For technical reasons, the flap may remain
open briefly after the rear view camera has
been deactivated.
Activating/deactivating the rear view
camera
XTo activate: make sure that the SmartKey is
in position 2in the ignition lock.
XMake sure that the Activation by R gearfunction is selected in the multimedia system
(see the Digital Operator's Manual).
XEngage reverse gear.
The rear view camera flap opens. The multi-
media system shows the area behind the vehi-
cle with guide lines.
The image from the rear view camera is avail-
able throughout the maneuvering process.
XTo switch the function mode for vehicles
with trailer tow hitch: using the controller,
select symbol :for the "Reverse parking"
function or symbol ;for "Coupling up a
trailer".
The symbol of the selected function is high-
lighted.
To deactivate: the rear view camera deacti-
vates if you shift the transmission to jor after
driving forwards a short distance.
Displays in the multimedia system
The rear view camera may show a distorted view
of obstacles, show them incorrectly or not at all.
The rear view camera does not show objects in
the following positions:
Rvery close to the rear bumper
Runder the rear bumper
Rin the area immediately above the tailgate
handle
!Objects not at ground level may appear to
be further away than they actually are, e.g.:
Rthe bumper of a parked vehicle
Rthe drawbar of a trailer
Rthe ball coupling of a trailer tow hitch
Rthe rear section of an HGV
Ra slanted post
Use the guidelines only for orientation.
Approach objects no further than the bottom-
most guideline.
:Yellow guide line at a distance of approx-
imately 13 ft (4.0 m) from the rear of the
vehicle
;White guide line without turning the steering
wheel, vehicle width including the exterior
mirrors (static)
=Yellow guide line for the vehicle width
including the exterior mirrors, for current
steering wheel angle (dynamic)
?Yellow lane marking the course the tires will
take at the current steering wheel angle
(dynamic)
AYellow guide line at a distance of approx-
imately 3 ft (1.0 m) from the rear of the vehi-
cle
BVehicle center axle (marker assistance)
CBumper
DRed guide line at a distance of approximately
12 in (0.30 m) from the rear of the vehicle
The guide lines are shown when the transmis-
sion is in position k.
The distance specifications only apply to
objects that are at ground level.
Driving systems195
Driving and parking
Z
Page 199 of 398

:Yellow guide line for the vehicle width
including the exterior mirrors, for current
steering wheel angle (dynamic)
XStop the vehicle when it is almost exactly in
front of the parking space.
The white lane should be as close to parallel
with the parking space marking as possible.
:White guide line for current steering input
;Parking space marking
XTurn the steering wheel to the center position
while the vehicle is stationary.
:Red guide line at a distance of approximately
12 in (0.30 m) from the rear of the vehicle
;White guide line without steering input
=End of parking space
XBack up carefully until you have reached the
final position.
Red guide line:is then at end of parking
space =. The vehicle is almost parallel in the
parking space.
"Coupling up a trailer" function
:Vehicle center point on the yellow guide line
at a distance of approximately 1.0 m from
the rear of the vehicle
;Trailer drawbar
This function is only available on vehicles with a
trailer tow hitch.
XBefore coupling up a trailer, set the height of
trailer drawbar ;so that it is slightly higher
than the ball coupling.
XPosition the vehicle centrally in front of trailer
drawbar ;.
:Red guide line at a distance of approximately
0.30 m from the ball coupling
;Trailer drawbar marker assistant
=Trailer drawbar
?Symbol for the "Coupling up a trailer" func-
tion
ABall coupling
Driving systems197
Driving and parking
Z
Page 200 of 398

iFor technical reasons, the ball coupling of
the trailer tow hitch in the multimedia system
display is either only partially visible or not at
all.
XSelect symbol ?using the controller.
The "Coupling up a trailer" function is selec-
ted. The distance specifications now only
apply to objects that are at the same level as
the ball coupling.
XBack up carefully, making sure that trailer
drawbar locating aid ;points approximately
in the direction of trailer drawbar =.
XBack up carefully until trailer drawbar =rea-
ches the red guide line.
The distance between the trailer drawbar and the red guide line is now approximately
0.30 m.
XCoupl eup the trailer (Ypage 220).
180° view
:Symbol for the 180° view function
;Your vehicle
=Warning displays for Parking Assist
PARKTRONIC
You can also use the rear view camera to select
a 180° view.
When Parking Assist PARKTRONIC is opera-
tional (
Ypage 188), a symbol for your own vehi-
cle appears in the multimedia system. If the
Parking Assist PARKTRONIC warning displays
are active, warning displays =light up in the
multimedia system in yellow or red accordingly.
360° camera
General notes
The 360° camera is a system consisting of four
cameras.
The system processes images from the follow-
ing cameras:
RRear view camera
RFront camera
RTwo cameras in the exterior rear view mirrors
The cameras cover the immediate surroundings
of the vehicle. The 360° camera assists you, for
instance when parking or at exits with reduced
visibility.
You can show pictures from the 360° camera in
full-screen mode or in seven different split-
screen views on the multimedia system display.
A split-screen view also includes a top view of
the vehicle. This view is calculated from the data
supplied by the installed cameras (virtual cam-
era).
The six split-screen views are:
RTop view and picture from the rear view cam-
era (130° viewing angle)
RTop view and image from the front camera
(130° viewing angle without displaying the
maximum steering wheel angle)
RTop view and enlarged rear view
RTop view and enlarged front view
RTop view and trailer view (vehicles with trailer
tow hitch)
RTop view and rear-view images from the exte-
rior mirror cameras (rear wheel view)
RTop view and forward-view images from the
exterior mirror cameras (front wheel view)
When the function is active and you shift the
transmission from hork toi, the dynamic
guide lines are hidden.
When you shift between transmission positions
h and k, you see the previously selected front
or rear view.
Distances measured by Parking Assist
PARKTRONIC will also be optically displayed:
Rin split screen view as red or yellow brackets
around the vehicle icon in the top view, or
Rat the bottom right as red or yellow brackets
around the vehicle symbol in full-screen mode
The line thickness and color of the brackets
show how far the vehicle is away from an object:
198Driving system s
Driving an d parking