2018 MERCEDES-BENZ CLA COUPE ECO mode
[x] Cancel search: ECO modePage 232 of 326
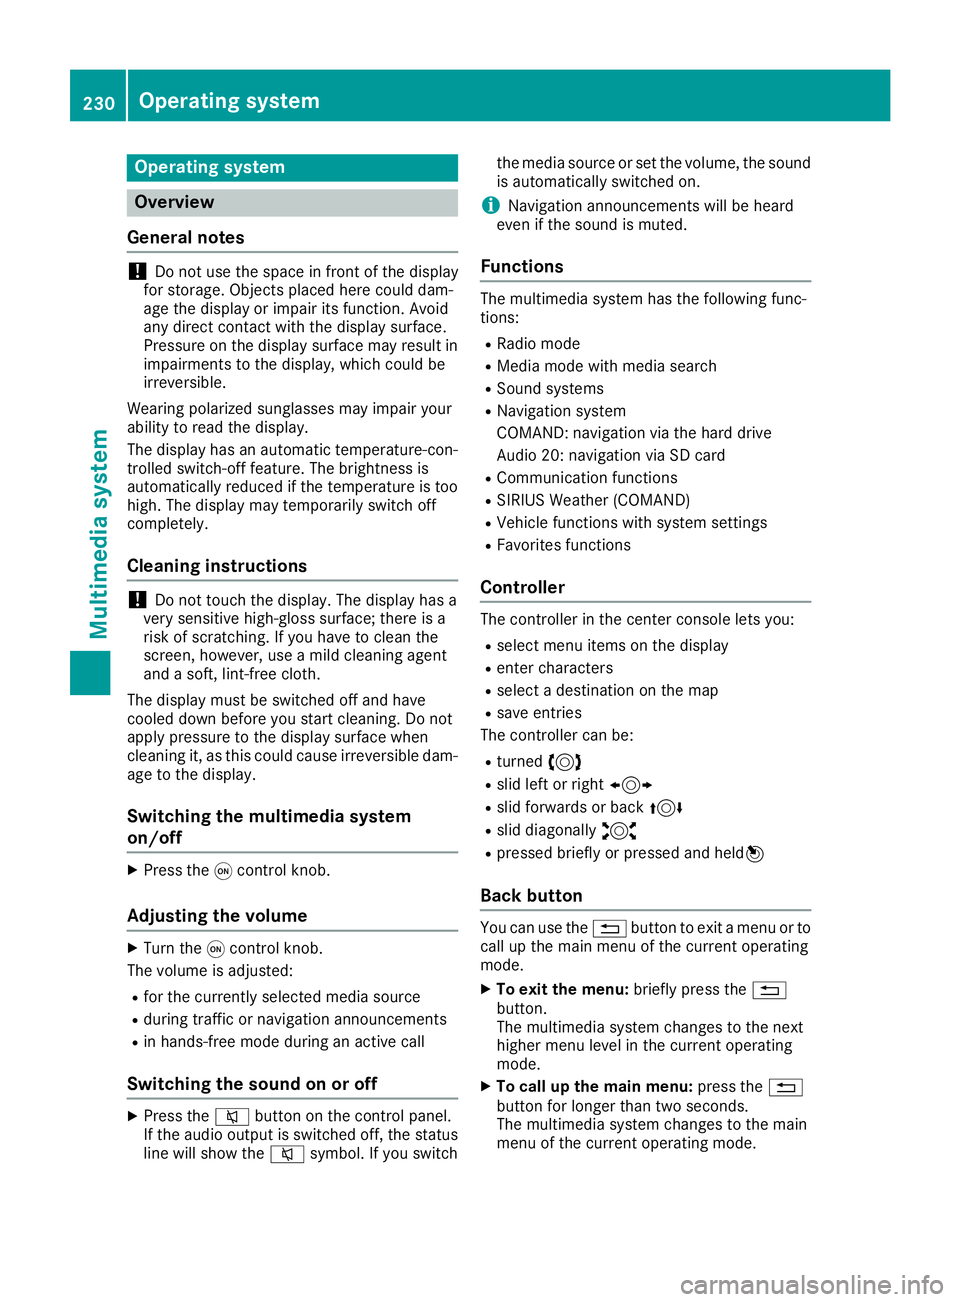
Operating system
Overview
General notes
!Do not use the space in frontoft he display
for storage. Objects placed here could dam-
age the display or impair its function .Avoid
any direct contact with the display surface.
Pressure on the display surface may result in
impairment stothe display, which could be
irreversible.
Wearing polarized sunglasses may impair your
ability to read the display.
The display has an automatic temperature-con-
trolled switch-off feature. The brightness is
automatically reduced if the temperature is too
high. The display may temporarily switch off
completely.
Cleaning instructions
!Do not touch the display. The display has a
very sensitive high-gloss surface; there is a
risk of scratching .Ifyou have to clean the
screen,h owever, use amild cleanin gagent
and asoft,l int-free cloth.
The display must be switched off and have
cooled down before you start cleaning. Do not
apply pressure to the display surface when
cleanin git, as this could cause irreversible dam-
age to the display.
Switching the multimedia system
on/off
XPress the qcontrol knob.
Adjusting the volume
XTurn the qcontrol knob.
The volume is adjusted:
Rfor the currently selected media source
Rduring traffic or navigation announcements
Rin hands-free mode during an active call
Switching the sound on or off
XPress the 8button on the control panel.
If the audio output is switched off, the status
line will show the 8symbol. If you switch the media source or set the volume, the sound
is automatically switched on.
iNavigation announcements will be heard
even if the sound is muted.
Functions
The multimedia system has the following func-
tions:
RRadio mode
RMedia mode with media search
RSound systems
RNavigation system
COMAND :navigation via the hard drive
Audio 20: navigation via SD card
RCommunication functions
RSIRIUS Weather (COMAND)
RVehicle function swith system settings
RFavorites functions
Controller
The controller in the center console lets you:
Rselect menu items on the display
Renter characters
Rselect adestination on the map
Rsave entries
The controller can be:
Rturned 3
Rslid left or right 1
Rslid forwards or back 4
Rslid diagonally2
Rpressed briefly or pressed and held 7
Back button
You can use the%button to exit amenu or to
call up the main menu of the currento perating
mode.
XTo exit the menu: briefly press the%
button.
The multimedia system changes to the next
higher menu level in the currento perating
mode.
XTo call up the main menu: press the%
button for longer than two seconds.
The multimedia system changes to the main
menu of the currento peratingmode.
230Operating system
Multimedia system
Page 233 of 326
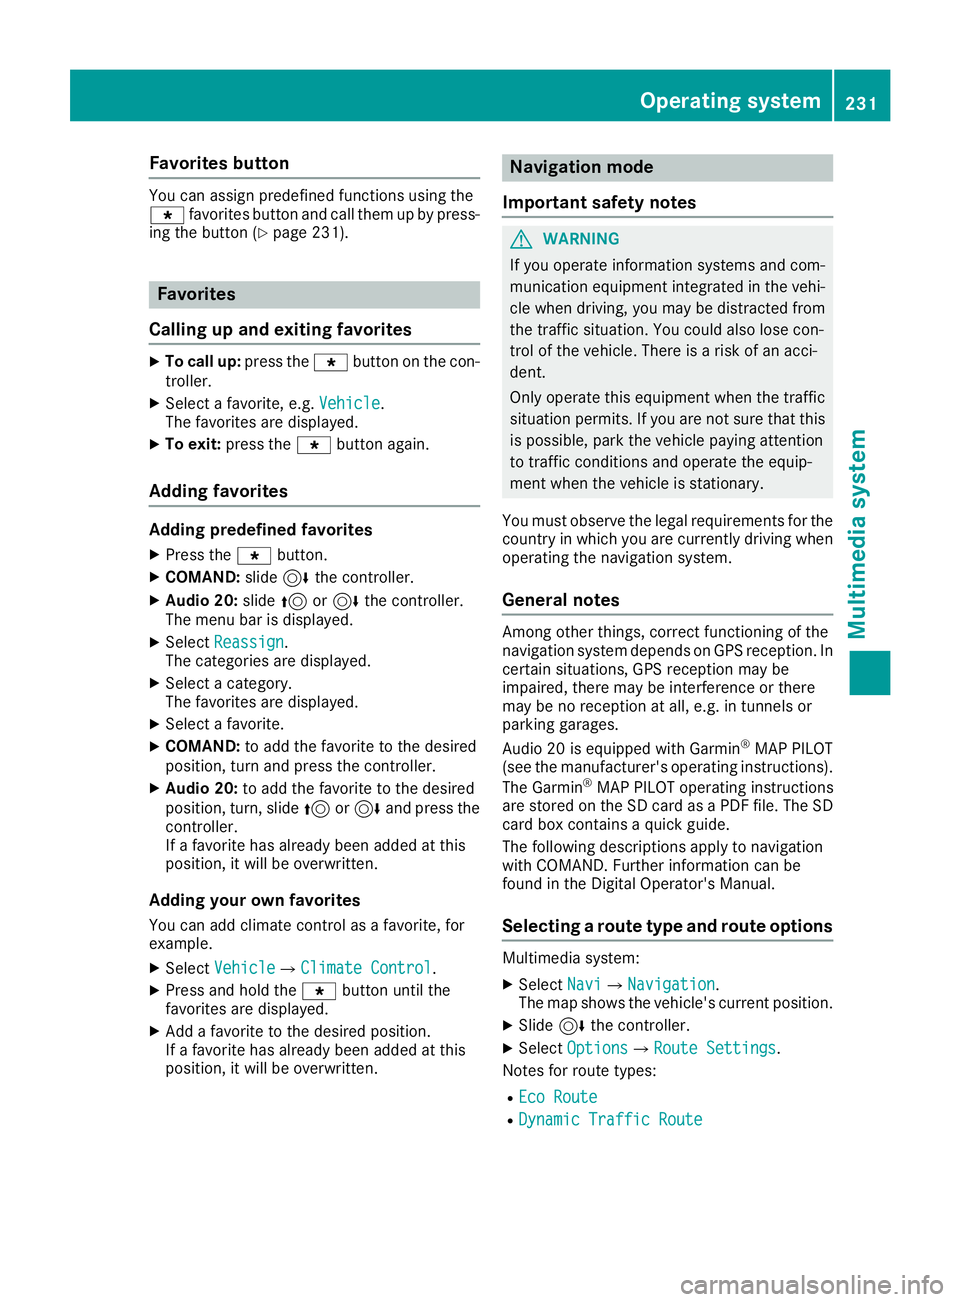
Favorites button
You can assign predefinedfunction susingthe
g favorite sbutto nand call them up by press-
ing th ebutto n(
Ypage 231).
Favorites
Calling up and exiting favorites
XTo call up :press th eg buttonont hecon-
troller .
XSelectafavorite ,e.g.Vehicl e.
The favorite sare displayed.
XTo exit :press th eg buttonagain .
Adding favorites
Adding predefined favorites
XPress th eg button.
XCOMAND: slide6thec ontroll er.
XAudio 20: slide5or6 thec ontroll er.
The men ubar is displayed.
XSelec tReassign.
The categories are displayed.
XSelec tacategory.
The favorite sare displayed.
XSelec tafavorite .
XCOMAND: to add thefavorite to th edesired
position ,tur na nd press th econtroll er.
XAudio 20: to add thefavorite to th edesired
position ,turn, slide 5or6 and press th e
controller.
If af avorite has already been added at this
position ,itwill be overwritten.
Adding youro wn favorites
You can add climat econtro lasa favorite ,for
example.
XSelec tVehicl eQClimate Contro l.
XPress and hold th eg buttonuntil th e
favorite sare displayed.
XAddaf avorite to th edesired position .
If af avorite has already been added at this
position ,itwill be overwritten.
Navigation mode
Important safety notes
GWARNIN G
If you operate information systems and com-
munication equipmen tintegrate dinthevehi-
cle when driving ,you may be distracte dfrom
th et raffic situation .You could also lose con-
trol of th evehicle. Ther eisariskofana cci-
dent.
Only operate this equipmen twhen th etraffic
situation permits. If you are no tsure that this
is possible ,park th evehicl epayin gattention
to traffic condition sand operate th eequip-
men twhen th evehicl eiss tationary.
You must observ ethe legal requirements for th e
country in whic hyou are currentl ydriving when
operating th enavigation system.
General notes
Amon gother things, correct functioning of th e
navigation system depend sonGPS reception .In
certai nsituations, GPS reception may be
impaired ,the re may be interferenc eorthere
may be no reception at all, e.g. in tunnels or
parking garages.
Audio 20 is equipped wit hGarmin
®MAPPILOT
(see th emanufacturer' soperating instructions).
The Garmin
®MA PPILOT operating instruction s
are store dontheSD car dasaP DFfile.The SD
car dbox contains aquickg uide .
The followin gdescription sapply to navigation
wit hC OMAND .Further information can be
foun dint heDigital Operator's Manual.
Selecting aroute type and route options
Multimedia system:
XSelec tNav iQNa vigation.
The map shows th evehicle's curren tposition .
XSlide6thec ontroll er.
XSelectOption sQRouteS ettings.
Notes for rout etypes:
REco Route
RDynami cTraffi cRoute
Operating system231
Multimedia system
Z
Page 237 of 326
XAuthorizationusingS ecur eSimple Pai r-
ing:
Ac odeisd isplayed inthem ultimedia system
and on th emobile phone.
XConfir mcodeont hemob ilephone. Depend-
ing on th emobile phoneu sed, confirm the
connection to th emultimedia system and for
th eP BAPa nd MAPB luetooth
®profiles. The
prompt to confirm may tak euptotwo
minute stobed isplayed (see th emanufactur-
er' so peratin ginstructions).
XIfth ec odes are different :select Noon the
multimedia system.
The proces siscanceled.
Repeat authorization.
or
XAuthorizatio nbyentering apasskey
(passcode): enterany one- to sixteen-digit
number sequenc ewhichy ou have chosen
yourself int othe passke yinput menu.
XPress ¬to confirm.
XEnterand confirm th epasske yonthe mob ile
phone. Dependin gonthemob ilephoneu sed,
confirm th econnectio ntothemultimedia sys-
te ma nd for th ePBAPa nd MAPB luetooth
®
profiles. The prompt to confirm may tak eup
to two minute stobedisplayed (see th eman-
ufacturer' soperatin ginstructions).
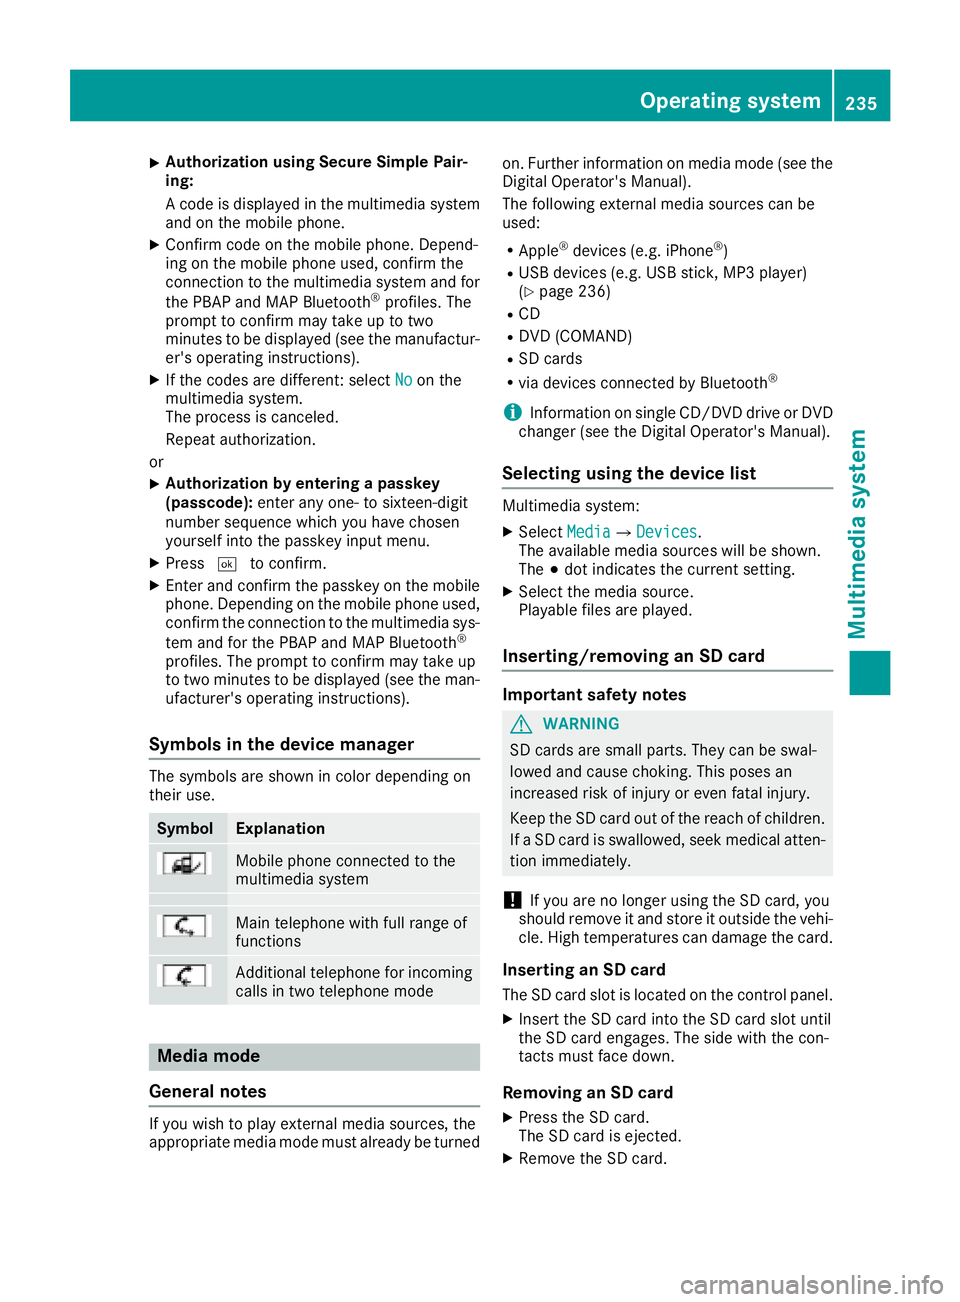
Symbols in th edevice manager
The symbols are shown in color dependingon
their use.
SymbolExplanation
Mobile phonec onnected to the
multimedia system
Main telephone withfull range of
functions
Ad ditional telephone for incoming
calls intwo telephone mode
Media mode
General notes
If you wish toplay external medi asources ,the
appropriat emediam odem ust alread ybeturned on.F
urther informatio nonmediam ode(see the
Digital Operator's Manual).
The followinge xternalmediasources can be
used:
RApple®device s(e.g. iPhone®)
RUSBd evices(e.g. USBs tick ,M P3 player)
(Ypage 236)
RCD
RDV D(COMAND)
RSD cards
Rvia device sconnected by Bluetooth®
iInformation on single CD/DV DdriveorD VD
changer (see th eDigital Operator's Manual).
Selecting usin gthe device list
Multimedia system:
XSelectMediaQDevices.
The available medi asources willbe shown.
The #dot indicates th ecurren tsetting.
XSelect th emediasource.
Playable filesare played.
Inserting/removing an SD card
Important safety notes
GWARNING
SD cardsare smal lparts. They can beswal-
lowed and caus echoking. This posesa n
increased ris kofinjury or eve nfatal injury.
Keep th eSDc ardo ut of th ereac hofc hildren.
If aS Dc ardiss wallowed, seek medical atten-
tio nimmediately.
!If you are no longer usingt heSD card,you
should remove it and store itoutside thev ehi-
cle .Hight em peratures can damag ethe card.
Insertin ganSDc ard
TheSDcardslot islocate donthecontrol panel.
XInsertt heSD cardintot he SD cardslot until
th eS Dc arde ngages.T he side withthe con-
tacts must fac edown.
Removing an SD card
XPress th eSDc ard.
The SD car disejected.
XRemo vetheS Dc ard.
Operatin gsystem235
Multimedia system
Z
Page 255 of 326
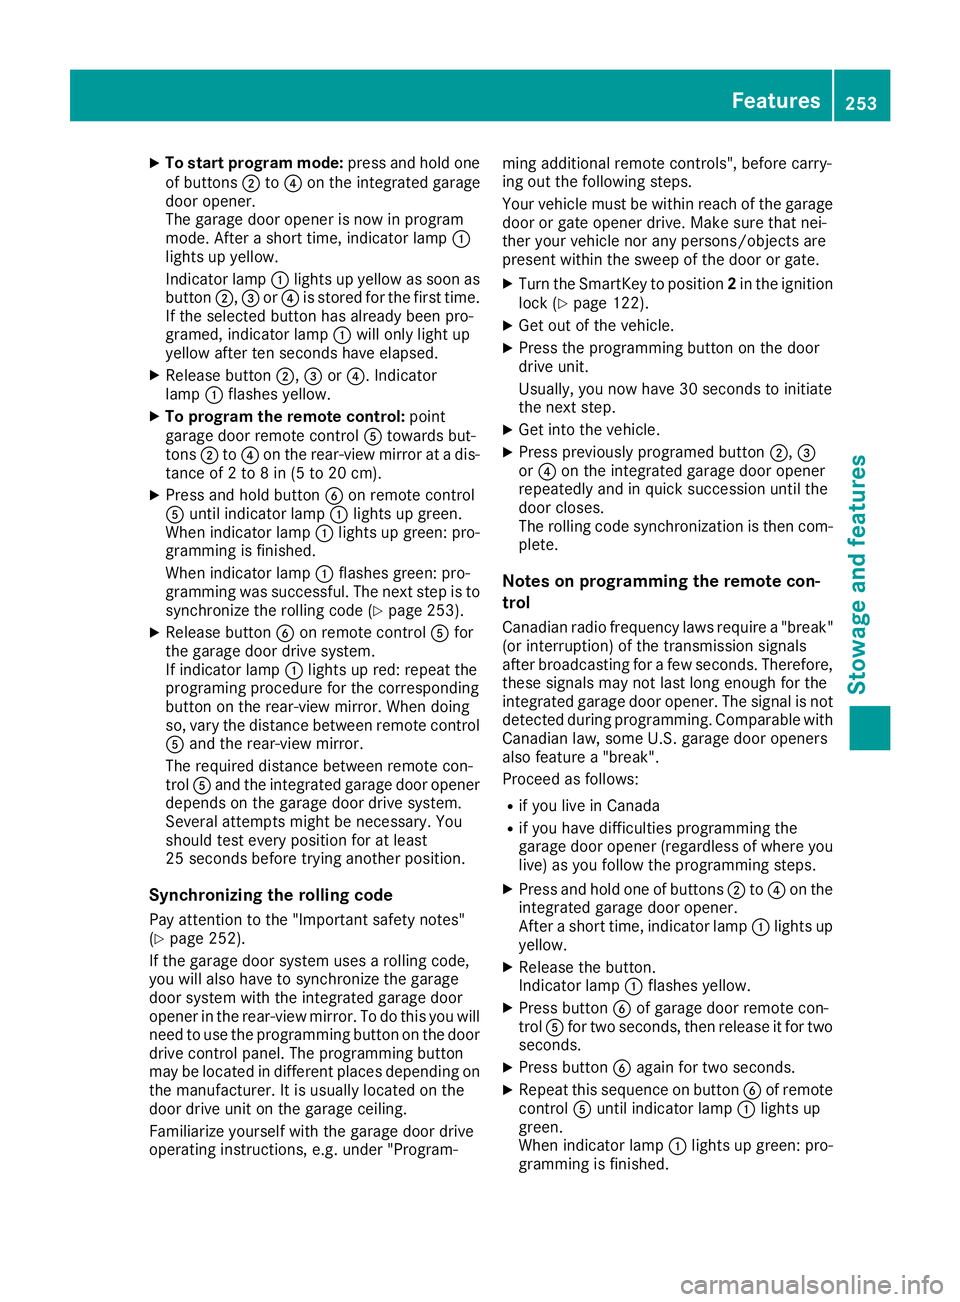
XTo start program mode:press and holdone
of buttons ;to? on the integrated garage
door opener.
The garag edooro penerisn ow in program
mode. After ashort time ,indicator lamp :
lights up yellow.
Indicato rlam p: lights up yellow as soona s
button ;,=or? is stored for the first time.
If the selecte dbutton hasa lready been pro-
gramed,i ndicator lamp :will onlyl ight up
yellow afte rten seconds have elapsed.
XReleas ebutton ;, =or?.I ndicator
lamp :flashesy ellow.
XTo program the remote control: point
garag edoorremote control Atoward sbut-
tons ;to? on the rear-view mirror at adis-
tance of 2to8in(5t o20c m).
XPress and hol dbutton Bon remote control
A unti lindicator lamp :lights up green.
Whe nindicator lamp :lights up green: pro-
gramming is finished.
Whe nindicator lamp :flashesg reen: pro-
gramming wa ssuccessful. The next step is to
synchronize the rolling code(
Ypage 253).
XReleas ebutton Bon remote control Afor
the garag edoord rive system.
If indicator lamp :lights up red:r epeatthe
programing procedur efor the corresponding
button on the rear-view mirror. Whe ndoing
so, var ythe distance between remote control
A and the re
ar-view mirror.
The required distance between remote con-
trol Aand the integrated garag edooropener
depends on the garag edoord rive system.
Several attempts might be necessary.Y ou
shoul dtest every positio nfor at least
25 seconds before trying another position.
Synchronizin gthe rolling code
Paya ttentio ntothe "Important safety notes"
(Ypage 252).
If the garag edoors ystem uses arolling code,
yo uw illa lsoh avetos ynchronize the garage
door system with the integrated garag edoor
opene rinthe rear-view mirror. To do thisy ouwill
nee dtou sethe programming button on the door
drive controlp anel.T he programming button
maybel ocate dind ifferent place sdepen ding on
the manufacturer. It is usuall yloc ate dont he
door drive uni tonthe garag eceiling.
Familiarize yoursel fwitht he garag edoord rive
operating instructions, e.g .under "Program- ming additional remote controls", before carry-
ing outt
he following steps.
Your vehicl emustbew ithinr each of the garage
door or gate opene rdrive. Make sure thatn ei-
ther your vehicl enor any persons/objects are
present withint he sweepofthe door or gate.
XTurn the SmartKey to position 2in the ignition
lock (Ypage 122).
XGe toutof the vehicle.
XPress the programming button on the door
drive unit.
Usually ,you now have 30 seconds to initiate
the next step.
XGe tinto the vehicle.
XPress previously programed button ;,=
or ? on the integrated garag edooro pener
repeatedly and in quick succession unti lthe
door closes.
The rolling codes ynchronizatio nist hen com-
plete.
Note sonp rogrammin gthe remote con-
trol
Canadia nradio frequency laws require a"break"
(o ri nterruption) of the transmission signals
afte rbroadcasting for afew seconds. Therefore,
thes esignals mayn ot last long enough for the
integrated garag edooro pener. The signalisn ot
detectedd uring programming. Comparable with
Canadia nlaw ,someU .S. garag edooro peners
also feature a"break".
Proceedasf ollows:
Rif youliveinC anada
Rif yo uhaved ifficultie sprogramming the
garag edooro pener(regardless of where you
live) as yo ufollo wthe programming steps.
XPress and hol done of buttons ;to? on the
integrated garag edooro pener.
After ashort time ,indicator lamp :lights up
yellow.
XReleas ethe button.
Indicato rlam p: flashesy ellow.
XPress button Bof garag edoorre mote con-
trol Afor two seconds, then release it for two
seconds.
XPress button Bagai nfor two seconds.
XRepeat thiss equence on button Bof remote
control Aunti lindicator lamp :lights up
green.
Whe nindicator lamp :lights up green: pro-
gramming is finished.
Features253
Stowag eand featur es
Z
Page 274 of 326
system (Canadaonly) or tire pressure monitor
(USA only).
If ap ressure loss warning message appears
in the multifunction display:
Robserve the instructions in the displaym es-
sages (Ypage 211).
Rcheck the tire for damage
Rif driving on, observe the following notes
The driving distance possible in run-flat mode is
approximately 50 miles (80 km) when the vehi-
cle is partiallyl aden. When the vehicle is fully
laden it is approximately 19 miles (30 km).
In addition to the vehicle load, the driving dis-
tance possible depends upon:
Rvehicle speed
Rroad condition
Routside temperature
The driving distance possible in run-flat mode
may be reduced by extreme driving conditions
or maneuvers, or it can be increased through a
moderate style of driving.
The driving distance possible in run-flat mode is
counted from the moment the tire pressure loss
warning appears in the multifunction display.
You must not exceed amaximum speed of
50 mph (80 km/h).
When replacing one or all tires, please observe
the following specifications for your vehicle's
tires:
Rsize
Rtype and
Rthe "MOExtended" marking
If at ire has gone flat and cannot be replaced
with aMOExtended tire, astandard tire may be
used as atemporary measure. Make sure that
you use the proper size and type (summer or
winter tire).
Vehicles equipped with MOExtended tires are
not equipped with aTIREFIT kit at the factory. It
is therefore recommended that you additionally
equip your vehicle with aTIREFIT kit if you mount
tires that do not feature run-flat properties, e.g.
winter tires. ATIREFIT kit may be obtained from
aq ualified specialist workshop.
Important safety notes
GWARNING
When driving in emergency mode, the driving
characteristics deteriorate, e.g. when corner-
ing, accelerating quickly and when braking.
There is arisk of an accident.
Do not exceed the stated maximum speed.
Avoid abrupt steering and driving maneuvers, and driving over obstacles (curbs, potholes,
off-road). This applies in particular to aladen
vehicle.
Stop driving in emergency mode if:
Ryou hear banging noises.
Rthe vehicle starts to shake.
Ryou see smoke and smell rubber.
RESP®is intervenin gconstantly.
Rthere are tears in the sidewalls of the tire.
After driving in emergency mode, have the
wheel rims checked at aqualified specialist
workshop with regard to their further use. The
defective tire must be replaced in every case.
TIREFIT kit
Important safety notes
TIREFIT is atire sealant.
Only valid for USA: You can use TIREFIT to seal
punctures of up to 0.16 in (4 mm), particularly
those in the tire tread. You can use TIREFIT at
outside temperatures down to Ò4‡(Ò20 †).
GWARNING
In the following situations, the tire sealant is
unable to provide sufficient breakdown assis-
tance, as it is unable to seal the tire properly:
Rthere are cuts or punctures in the tire larger
than those mentioned above.
Rthe wheel rim is damaged.
Ryou have driven at very low tire pressures or on aflat tire.
There is arisk of an accident.
Do not drive the vehicle. Contact aqualified
specialist workshop.
GWARNING
The tire sealant is harmful and causes irrita-
tion. It must not come into contact with your
skin, eyes or clothing or be swallowed. Do not
272Flat tire
Breakdown assistance
Page 289 of 326
Important safety notes
GWARNING
If wheels and tires of th ewrong siz eare used,
th ew hee lbrakes or suspension component s
may be damaged. Ther eisariskofana cci-
dent.
Always replace wheels and tires wit hthose
that fulfill th especification softheoriginal
part .
When replacing wheels, mak esuretou se the
correct:
Rdesignation
Rmodel
When replacing tires ,makes uretou se the
correct:
Rdesignation
Rmanufacturer
Rmodel
GWARNIN G
Af lat tire severely impairs th edriving ,steer -
ing and braking characteristics of th evehicle.
Ther eisar iskofa ccident.
Tires without run-flat characteristics :
Rdo notdrivew ithaf lat tire.
Rimmediately replace th eflat tire wit hyour
emergenc yspar ew hee lors parew heel, or
consult aqualified specialist workshop.
Tires wit hrun-flat characteristics :
Rpay attention to theinformation and warn -
ing notice sonMOExtended tires (tire swith
run-flat characteristics).
Accessories that are no tapprove dfor your vehi-
cle by Mercedes-Ben zorare notbein gused cor-
rectl ycan impair th eoperating safety.
Before purchasing and usin gnon-ap proved
accessories, visit aqualified specialist work-
sho pand inquire about :
Rsuitability
Rlegal stipulation s
Rfactory recommendation sFurther information regarding wheels and tires
can be foun
dunder "Wheel/tire combinations"
(
Ypage 312).
You can ask for information regarding permitte d
wheel/tire combination satanauthorized
Mercedes-Ben zCenter.
Information on tire pressur ecan be found:
Ron th eTirea nd Loading Information placard
on th eB-pillar on th edriver' sside
(
Ypage 298)
Rin th etirep ressur etable in th efuel filler flap
(Ypage 139)
Runder "Tir epressure" (Ypage 290)
Operation
Information on driving
Checkthe tire pressur ewhen th evehicl eis
heavily laden and adjust prio rtoatrip.
While driving ,pay attention to vibrations, noises
and unusual handlin gcharacteristics ,e.g.p ull-
ing to on eside .This may indicat ethatthe
wheels or tires are damaged. If you suspec ttha t
at ireisd efective, reduce your spee dimmedi-
ately. Stop th evehicl eass oonasp ossible to
chec kthe wheels and tires for damage. Hidden
tire damag ecould also be causing th eunusual
handlin gcharacteristics .Ifyou fin dnos ignsof
damage, hav ethe tires and wheels checke data
qualified specialist workshop.
When parking your vehicle, mak esuret hatthe
tires do no tget deformed by th ecurboro ther
obstacles. If they canno tbeavoided, driv eover
obstacles suc hascurbs slowly and at an obtuse
angle. Otherwise, you may damag ethe wheels
or tires .
Regula rchecking of wheels and tires
GWARNIN G
Damaged tires can caus etirei nflation pres-
sur eloss .Asar esult,you could lose control of
your vehicle. Ther eisariskofa ccident.
Chec kthe tires regularly for sign sofdamage
and replace any damaged tires immediately.
Operation287
Wheels and tires
Z
Page 291 of 326

with run-flat characteristics)"section
(Ypage 271).
ROnly mountt ires of thecorrects izeontot he
wheels.
RBreak in new tires at moderates peeds for the
first6 0miles (100km).The newt ires only
reacht heir full performanc eafter this dis-
tance.
RDo not drivew ith tires which have too little
tread depth, as this significantly reduces the
traction on wet roads (hydroplaning).
RReplace th etires after six years at th elatest,
regardless of wear.
Observe th enotes on th eemergency spare
wheel (
Ypage 312).
MOExtended tires (tires with run-flat
properties)
With MOExtended tires (tires with run flat char-
acteristics) ,you can continue to drivey our vehi-
cle even if there is atotal loss of pressure in one
or moret ires.
MOExtended tires may only be used in conjunc-
tio nw ith an activated tir epressure loss warning
system (Canada only) or tir epressure monitor
(USAo nly) and only on wheels specifically tes-
ted by Mercedes-Benz.
Notes on driving with MOExtended tires with a
flat tir e(
Ypage 271).
Vehicles equipped with MOExtended tires are
not equipped with aTIREFIT kit at th efactory. It
is therefore recommended that you additionally
equip your vehicle with aTIREFIT kit if you mount
tires that do not feature run-flat properties, e.g.
winter tires. ATIREFI Tkit may be obtained from
aq ualified specialist workshop.
Winter operation
General notes
Have your vehicle winter-proofed at aqualified
specialist workshop at th eonset of winter.
Observe th enotes in th e"Changing awheel"
sectio n(
Ypage 307).
Driving with summer tires
At temperatures below 45 ‡(+7 †) ,summe r
tire slos ee lasticit ya nd therefore traction and
braking power.C hange thetires on your vehicle
to M+S tires. Usings ummer tires at verycold
temperatures coul dcaus ecrack stof orm,
therebyd amaging th etires permanently.
Mercedes-Ben zcanno taccept responsibilityf or
this type of damage.
GWARNING
Damaged tires can caus etirei nflation pres-
sure loss.Asar esult, you couldlose control of
your vehicle .Thereisar isk of accident.
Checkt hetires regularly for signsofd amage
and replace any damage dtires immediately.
M+S tires
GWARNING
M+S tires with atiret read depthofl ess than
ã in(4 mm )are no tsuitable for use in winter
and do no tprovide sufficient traction.T hereis
ar isk of an accident.
M+S tires with atread depthofl ess thanãin
(4 mm) must be replaced immediately.
At temperatures below 45 ‡(+7 †), use winter
tires or all-season tires. Both type softire are
identified by the M+S marking.
Only winter tires bearing the isnowflake
symbol in addition to the M+S marking provide
the best possibleg rip in wintry road conditions.
Only these tires wil lallow driving safety systems
such as ABS and ESP
®to function optimally in
winter. Theset ires have beend eveloped specif-
ically for driving in snow.
Use M+S tires of the same make and tread on all
wheels to maintain safe handling characteris-
tics.
Always observe the maximu mpermissible
speeds pecified for the M+S tires you have
mounted.
Wintero peration289
Wheels and tires
Z
Page 318 of 326
Other identifications, for example:
R0W-30
R5W-30
R5W-40
Fuel
Important safety notes
GWARNING
Fuel is highly flammable. If you handle fuel
incorrectly, there is arisk of fire and explo-
sion.
You must avoid fire, open flames, creating
sparks and smoking. Switch off the engine
and, if applicable, the auxiliary heating before refueling.
GWARNING
Fuel is poisonous and hazardous to health.
There is arisk of injury.
You must make sure that fuel does not come into contact with your skin, eyes or clothing
and that it is not swallowed. Do not inhale fuel
vapors. Keep fuel awayf rom children.
If you or others come into contact with fuel,
observe the following:
RWash awayf uel from skin immediately
using soap and water.
RIf fuel comes into contact with your eyes,
immediately rinse them thoroughly with
clean water. Seek medical assistance with-
out delay.
RIf fuel is swallowed, seek medical assis-
tance without delay.Don ot induce vomit-
ing.
RImmediately change out of clothing which
has come into contact with fuel.
Tank capacity
ModelTotal capa- city
CLA 25013.2 US gal(50.0 l)
Allo ther models14.8 US gal
(56.0 l)
ModelOf which
reserve
Mercedes‑AM GvehiclesApprox.
2.1 US gal (8.0 l)
All other modelsApprox.
1.6 US gal (6.0 l)
Gasoline
Fuel grade
!Do not use diesel to refue lvehicles with a
gasoline engine. Do not switch on the ignition
if you accidentally refue lwith the wrong fuel.
Otherwise, the fuel wil lenter the fuel system.
Even smal lamounts of the wrong fuel could
resul tind amage to the fuel system and the
engine. Notify aqualified specialist workshop
and have the fuel tank and fuel lines drained
completely.
!Only refue lusing unleaded premium grade
gasoline with at least 91 AKI/95 RON.
iE10 fuel contains up to 10% bioethanol.
Yourv ehicleisE 10-compatible. You can
refue lyou rv ehicleu sing E10 fuel.
!Only use the fuel recommended. Operating
the vehiclew ith other fuelscan leadtod am-
age to the fuel system, engine and exhaust
system.
!Do not use the following:
RGasoline with more than 10% ethanol
RE100 (100% ethanol)
RGasoline with methanol
RM100 (100% methanol)
RGasoline with metalliferous additives
RDiesel
316Service products and fillingc apacities
Technical data