2018 MERCEDES-BENZ AMG GT ROADSTER trip computer
[x] Cancel search: trip computerPage 171 of 409
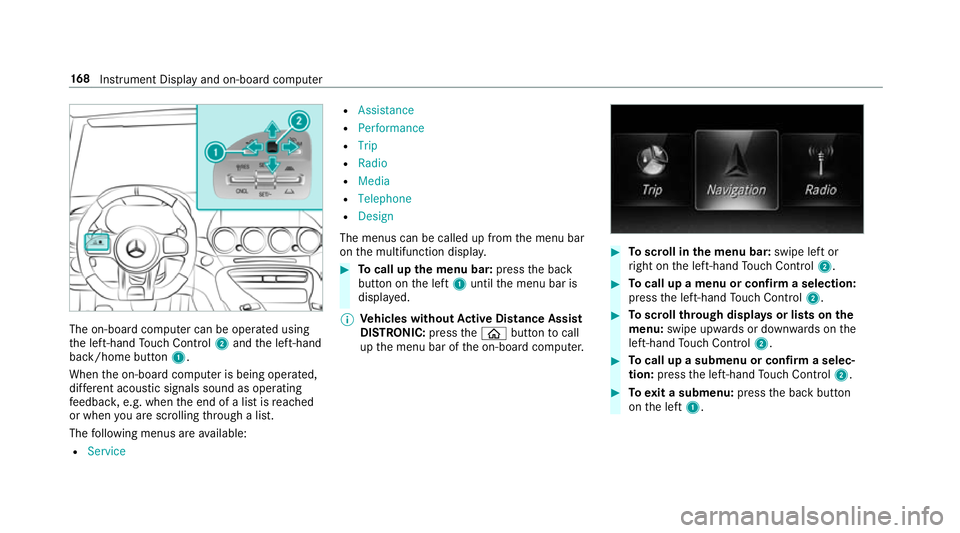
The on-board computer can be operated using
th e left-hand Touch Control 2and the left-hand
back/home button 1.
When the on-board computer is being operated,
dif fere nt acoustic signals sound as operating
fe edbac k,e.g. when the end of a list is reached
or when you are sc rolling thro ugh a list.
The following menus are available:
R Service R
Assistance
R Performance
R Trip
R Radio
R Media
R Telephone
R Design
The menus can be called up from the menu bar
on the multifunction displa y. #
Tocall up the menu bar: pressthe back
button on the left 1until the menu bar is
displa yed.
% Ve
hicles without Active Di stance Assist
DISTRO NIC:press theò button tocall
up the menu bar of the on-board computer. #
Toscroll in the menu bar: swipe left or
ri ght on the left-hand Touch Control 2. #
Tocall up a menu or confirm a selection:
press the left-hand Touch Control 2. #
Toscroll through displa ysor lists on the
menu: swipe upwards or down wards on the
left-hand Touch Control 2. #
Tocall up a submenu or confirm a selec‐
tion: press the left-hand Touch Control 2. #
Toexit a submenu: pressthe back button
on the left 1. 16 8
Instrument Display and on-board computer
Page 172 of 409
Setting
the design
On-board computer: 4 Design
The following designs can be selec ted:
R Supersport
R Sport
R Classic #
Toselect a design: swipe upwards or down‐
wa rds on the left-hand Touch Control. #
Press the left-hand Touch Control.
The instrument displ ayis shown in the selec‐
te d design. Setting
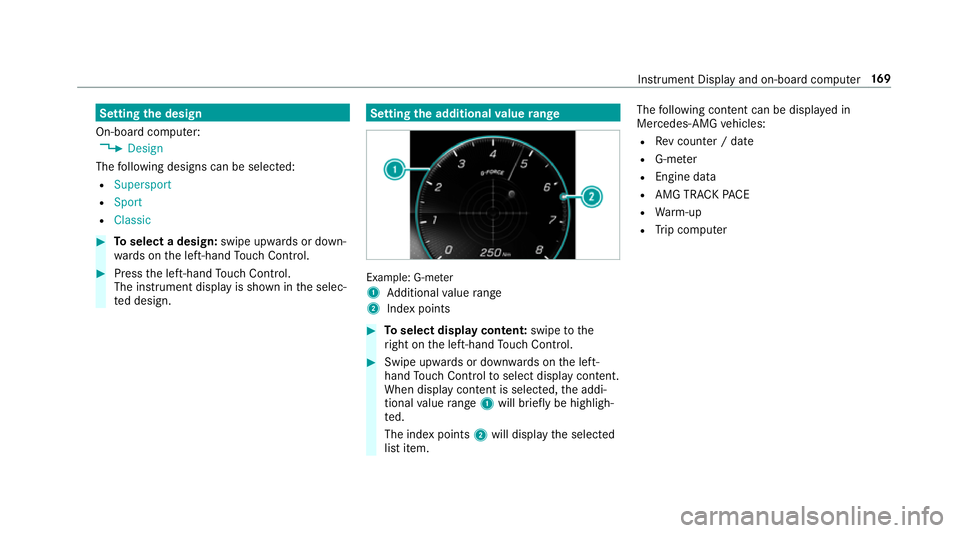
the additional value range Example: G-me
ter
1 Additional value range
2 Index points #
Toselect display content: swipetothe
ri ght on the left-hand Touch Control. #
Swipe upwards or down wards on the left-
hand Touch Control toselect display content.
When display content is selected, the addi‐
tional value range 1will brie fly be highligh‐
te d.
The index points 2will display the selected
list item. The
following con tent can be displ ayed in
Mercedes-AMG vehicles:
R Rev counter / date
R G-me ter
R Engine da ta
R AMG TR ACKPA CE
R Warm-up
R Trip computer Instrument Display and on-board computer
16 9
Page 177 of 409
#
Select Lap List.
The lap statistics will be displa yed. #
Display thest atistics of the next lap byswip‐
ing up or down on the left-hand Touch Con‐
trol.
The fastest lap is indicated byflashing sym‐
bol 1. #
Torese t:stop RACETIMER and press the
left-hand Touch Control. #
Select Resetand press the left-hand Touch
Control.
All laps will be dele ted. Calling up displa
yson the trip menu On-board computer:
4 Trip
% You can view information about the journey
in the left-hand area of the instrument dis‐
pla y. #
Toselect a displa y:swipe upwards or down‐
wa rds on the left-hand Touch Control. Displa
yson theTrip menu:
R Standard display
R Range and cur rent fuel consu mption
If th ere is only a small amount of fuel left in
th e fuel tank, the display will show a vehicle
being refuelled ins tead of thera nge.
R ECO displ ay(/ page 118)
R Trip computer From startandFrom reset
R Digital speedom eter Example:
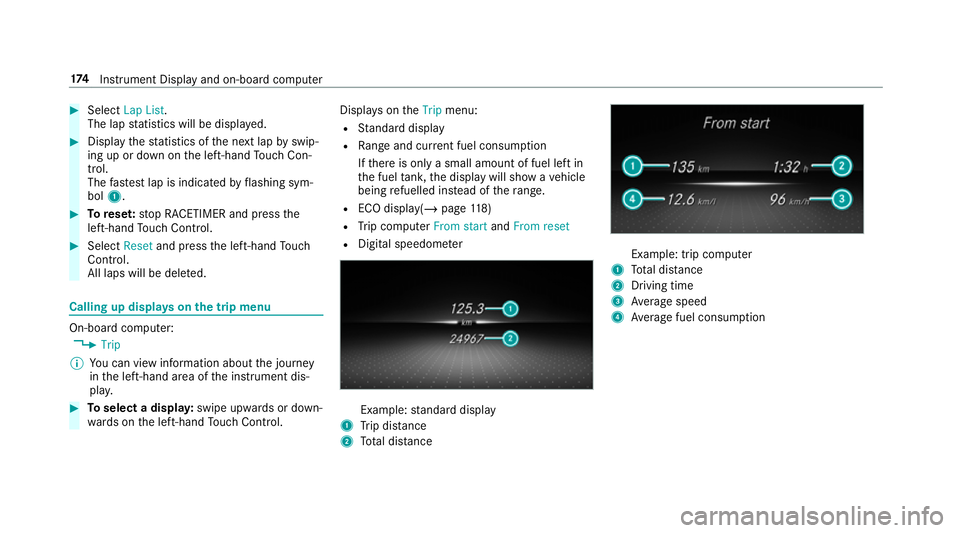
standard display
1 Trip dis tance
2 Total dis tance Example: trip compu
ter
1 Total dis tance
2 Driving time
3 Average speed
4 Average fuel consum ption 174
Instrument Display and on-board computer
Page 178 of 409
Re
setting values on the trip menu of the on-
board compu ter On-board computer:
4 Trip
% The spelling on the main menu displa yed
may dif fer. Therefore, obser vethe menu
ove rview forth e instrument display
(/ page 167).
Yo u can reset theva lues of thefo llowing func‐
tions:
R Trip dis tance
R Trip computer From startandFrom reset
R ECO displa y(/ page 118) #
Toselect the function tobe rese t:swipe
upwards or down wards on the left-hand
To uch Control. #
Press the left-hand Touch Control. #
Select Yes. #
Press the left-hand Touch Control. If
yo u press and hold the left-hand Touch Con‐
trol, theva lues of the function will be reset
immediatel y. Selecting
radio stations using the on-boa rd
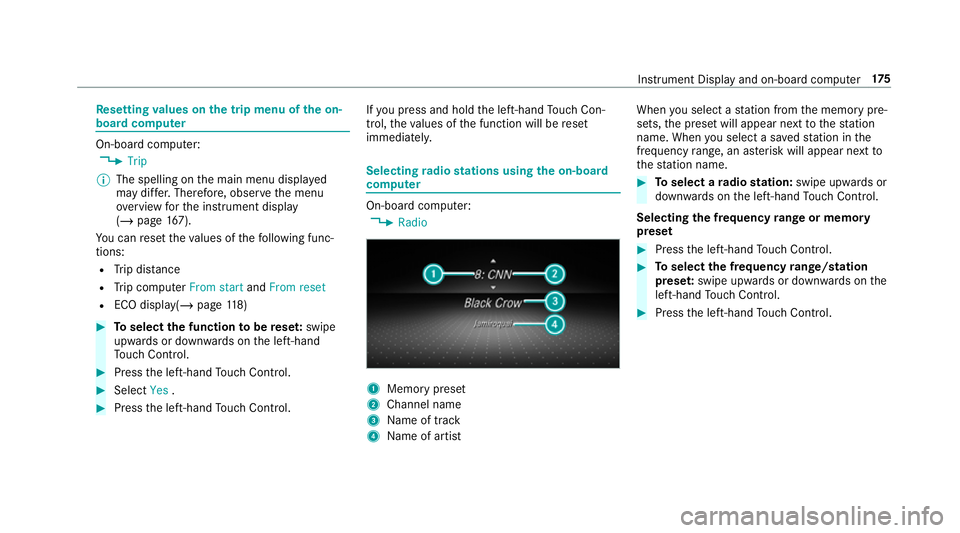
compu ter On-board computer:
4 Radio 1
Memory preset
2 Channel name
3 Name of track
4 Name of artist When
you select a station from the memory pre‐
sets, the preset will appear next tothest ation
name. When you select a sa vedstation in the
frequency range, an as terisk will appear next to
th est ation name. #
Toselect a radio station: swipe upwards or
down wards on the left-hand Touch Control.
Selecting the frequency range or memory
preset #
Press the left-hand Touch Control. #
Toselect the frequency range/station
prese t:swipe upwards or down wards on the
left-hand Touch Control. #
Press the left-hand Touch Control. In
stru ment Display and on-board computer 175
Page 402 of 409
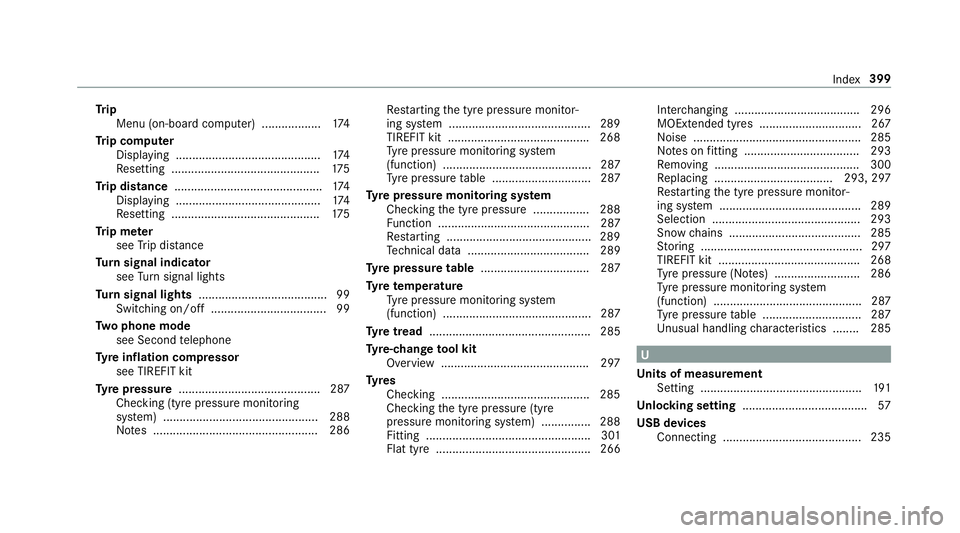
Tr
ip
Menu (on-board computer) .................. 174
Tr ip computer
Displaying ............................................ 174
Re setting ............................................. 175
Tr ip distance ............................................ .174
Displ aying ............................................ 174
Re setting ............................................. 175
Tr ip me ter
see Trip dis tance
Tu rn signal indicator
see Turn signal lights
Tu rn signal lights ....................................... 99
Switching on/off ................................... 99
Tw o phone mode
see Second telephone
Ty re inflation compressor
see TIREFIT kit
Ty re pressure ........................................... 287
Checking (ty repressure monitoring
sy stem) ............................................... 288
No tes .................................................. 286 Re
starting the tyre pressure monitor‐
ing sy stem ...........................................2 89
TIREFIT kit .......................................... .268
Ty re pressure monitoring sy stem
(function) ............................................. 287
Ty re pressure table .............................. 287
Ty re pressure moni toring sy stem
Checking the tyre pressure ................. 288
Fu nction .............................................. 287
Re starting ............................................ 289
Te ch nical da ta..................................... 289
Ty re pressure table ................................. 287
Ty re temp erature
Ty re pressure monitoring sy stem
(function) ............................................. 287
Ty re tread ................................................. 285
Ty re-change tool kit
Overview ............................................ .297
Ty res
Checking ............................................ .285
Che cking the tyre pressure (tyre
pressure monitoring sy stem) ............... 288
Fitting .................................................. 301
Flat tyre ............................................... 266 Inter
changing ...................................... 296
MOExtended tyres .............................. .267
No ise .................................................. .285
No tes on fitting ................................... 293
Re moving ............................................ 300
Re placing .................................... 293, 297
Re starting the tyre pressure monitor‐
ing sy stem ...........................................2 89
Selection ............................................. 293
Snow chains ........................................ 285
St oring .................................................2 97
TIREFIT kit ...........................................2 68
Ty re pressure (N otes) .......................... 286
Ty re pressure monitoring sy stem
(function) ............................................. 287
Ty re pressure table .............................. 287
Un usual handling characteristics ........ 285 U
Un its of measurement
Setting ................................................ .191
Un locking setting ...................................... 57
USB devices Connecting .......................................... 235 Index
399