2018 MERCEDES-BENZ AMG GT ROADSTER fuel cap
[x] Cancel search: fuel capPage 12 of 294

Emergency brakingsee BAS (Brake Assist System)
Emergency release
Driver's door .................................... 73
Trunk .............................................. .76
Vehicle .............................................7 3
Emergency Tensioning Devices
Activation ........................................ .52
Emissions control
Service and warranty information .... 25
Engine
Check Engine warning lamp .......... .203
Display message ............................ 186
ECO start/stop function ................ 113
Engine number ............................... 286
Irregular running ............................ 115
Jump-starting ................................. 254
Starting problems .......................... 115
Starting the engine with the
SmartKey ....................................... 112
Starting with the Start/Stop but-
ton ................................................. 112
Switching off .................................. 128
Tow-starting (vehicle) ..................... 259
Engine electronics
Notes ............................................. 285
Problem (malfunction) ................... 115
Engine oil
Adding ...........................................2 37
Additives ........................................ 289
Checking the oil level ..................... 235
Checking the oil level using the
dipstick .......................................... 235
Checking the oil level using the
on-board computer ........................ 236
Display message ............................ 187
Filling capacity ............................... 289
Notes about oil grades ................... 289
Notes on oil level/consumption .... 235
Temperature (on-board com-
puter) ............................................. 170
Engine oil additives
see Additives (engine oil)
Ente ring an addre
ss
see also Digital Operator's Man-
ual ..................................................2 08
ESC (Electronic Stability Control)
see ESP
®(Electronic Stability Program) ESP
®(Electronic Stability Pro-
gram)
AMG menu (on-board computer) ... 171
Characteristics ................................. 62
Deactivating/activating ................... 62
Deactivating/activating (button
in AMG vehicles) .............................. 63
Display message ............................ 175
Function/notes ................................ 62
General notes .................................. 62
Important safety information ........... 62
Warning lamp ................................. 200
ETS (Electronic Traction System) ....... 62
Exhaust check ................................... 131
Exhaust pipe (cleaning instruc-
tions) ..................................................2 45
Exterior lighting
Cleaning ......................................... 244
see Lights
Exterior mirror
Calling up a stored setting (mem-
ory function) ....................................9 5
Exterior mirrors
Adjusting ........................................ .92
Dipping (automatic) .........................9 3
Folding in/out (automatically) ......... 92
Folding in/out (electrically) ............. 92
Out of position (troubleshooting) ..... 93
Setting ............................................. 92
Storing settings (memory func-
tion) ................................................. 94
Storing the parking position ............. 93
F
Favorites
Overview ........................................ 211
Features ............................................. 219
Filler cap
see Refueling
Flat tire
Changing a wheel/mounting the
spare wheel ................................... 279
Preparing the vehicle ..................... 249
TIREFIT kit ...................................... 250
Floormats ........................................... 232
Frequencies
Mobile phone ................................. 285
10Index
Page 13 of 294
Two-way radio ................................ 285
Front-passenger seat
see Seat
Fuel
Additives ........................................2 88
Consumption statistics .................. 162
Displaying the current consump-
tion ................................................ 162
Displaying the range ......................1 62
Driving tips ....................................1 31
E10 ................................................ 287
Fuel gauge ....................................... 34
Grade (gasoline) ............................ 287
Important safety notes .................. 287
Problem (malfunction) ................... 127
Refueling ........................................ 125
Tank content/reserve fuel ............. 287
Fuel filler flap
Closing ...........................................1 26
General information ....................... 126
Opening ......................................... 126
Problem (malfunction) ................... 127
Fuel level
Calling up the range (on-board
computer) ...................................... 162
Fuel tank
Capacity ........................................ 287
Problem (malfunction) ................... 127
Fuses
Allocation chart .............................2 60
Before changing .............................2 60
Fuse box in the front-passenger
footwell .......................................... 260
Fuse box in the rear compartment .. 260
Important safety notes .................. 259
G
G-Meter (on-board computer) .......... 171
Garage door opener
Clearing the memory ..................... 232
General notes ................................ 230
Important safety notes .................. 230
Opening/closing the garage door .. 232
Problems when programming ........2 32
Programming (button in the rear-
view mirror) ................................... 230
Synchronizing the rolling code ....... 231 Gasoline
............................................. 287
Gear indicator (on-board com-
puter) ..................................................1 70
Genuine parts ...................................... 24
Glove box ...........................................2 18
Google™ Local Search
see also Digital Operator's Man-
ual ..................................................2 08
H
Handling control system
see ESP®(Electronic Stability Program)
Handwriting recognition
Switching text reader function
on/off ............................................ 211
Touchpad ....................................... 210
Hazard warning lamps ........................ 98
Head bags
Operation ......................................... 47
Head level heating (AIRSCARF) .......... 89
Head restraints
Adjusting ......................................... 86
Headlamps
Cleaning system (notes) ................ 290
Fogging up ....................................... 99
see Automatic headlamp mode
Heating
see Climate control
High beam flasher ............................... 97
High-beam headlamps
Display message ............................ 185
Switching on/off .............................. 97
Hill start assist .................................. 112
HOLD function
Activating ....................................... 144
Activation conditions ..................... 144
Deactivating ................................... 145
Display message ............................ 189
General notes ................................ 144
Home address
see also Digital Operator's Man-
ual ..................................................2 08
Hood
Closing ...........................................2 35
Display message ............................ 195
Important safety notes .................. 234
Opening ......................................... 234
Index11
Page 128 of 294
!Use a filter when adding fuel from a fuel can.
The fuel lines and/or the fuel injection system
could otherwise be blocked by particles from
the fuel can.
If you overfill the fuel tank, fuel could spray out
when the fuel pump nozzle is removed.
For further information on fuel and fuel quality
(
Ypage 286).
Refueling
General information
Pay attention to the important safety notes
(Ypage 125).
If you unlock/lock the vehicle from the outside, the fuel filler flap also unlocks/locks.
The position of the fuel filler cap is displayed
8 in the instrument cluster. The arrow next
to the filling pump indicates the side of the vehi-
cle.
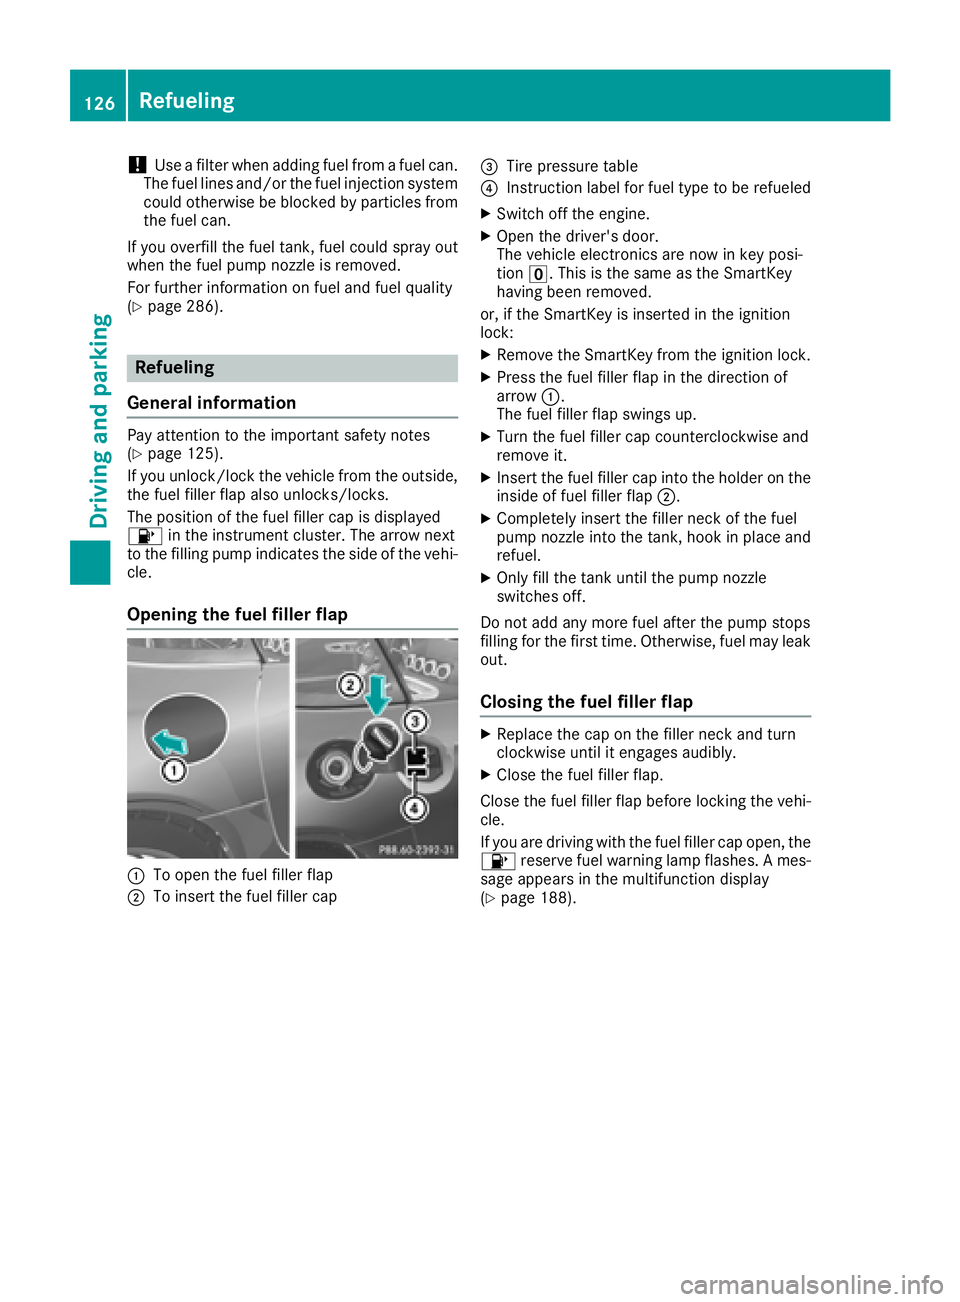
Opening the fuel filler flap
:To open the fuel filler flap
;To insert the fuel filler cap
=Tire pressure table
?Instruction label for fuel type to be refueled
XSwitch off the engine.
XOpen the driver's door.
The vehicle electronics are now in key posi-
tion u. This is the same as the SmartKey
having been removed.
or, if the SmartKey is inserted in the ignition
lock:
XRemove the SmartKey from the ignition lock.
XPress the fuel filler flap in the direction of
arrow :.
The fuel filler flap swings up.
XTurn the fuel filler cap counterclockwise and
remove it.
XInsert the fuel filler cap into the holder on the
inside of fuel filler flap ;.
XCompletely insert the filler neck of the fuel
pump nozzle into the tank, hook in place and
refuel.
XOnly fill the tank until the pump nozzle
switches off.
Do not add any more fuel after the pump stops
filling for the first time. Otherwise, fuel may leak
out.
Closing the fuel filler flap
XReplace the cap on the filler neck and turn
clockwise until it engages audibly.
XClose the fuel filler flap.
Close the fuel filler flap before locking the vehi-
cle.
If you are driving with the fuel filler cap open, the 8 reserve fuel warning lamp flashes. A mes-
sage appears in the multifunction display
(
Ypage 188).
126Refueling
Driving and parking
Page 190 of 294
Display messagesPossible causes/consequences andMSolutions
4
Engine Oil ReduceOil Level
You haveadded to omuc hengin eoil. The engin eor catalytic converter
may be damaged.
XSiphon off excess engin eoil until it is at th especified level. Observ e
th elegal requirements .
4
Engine Oil LevelCannot Be Measured
The measuringsystem is faulty.
XVisit aqualified specialist workshop .
8
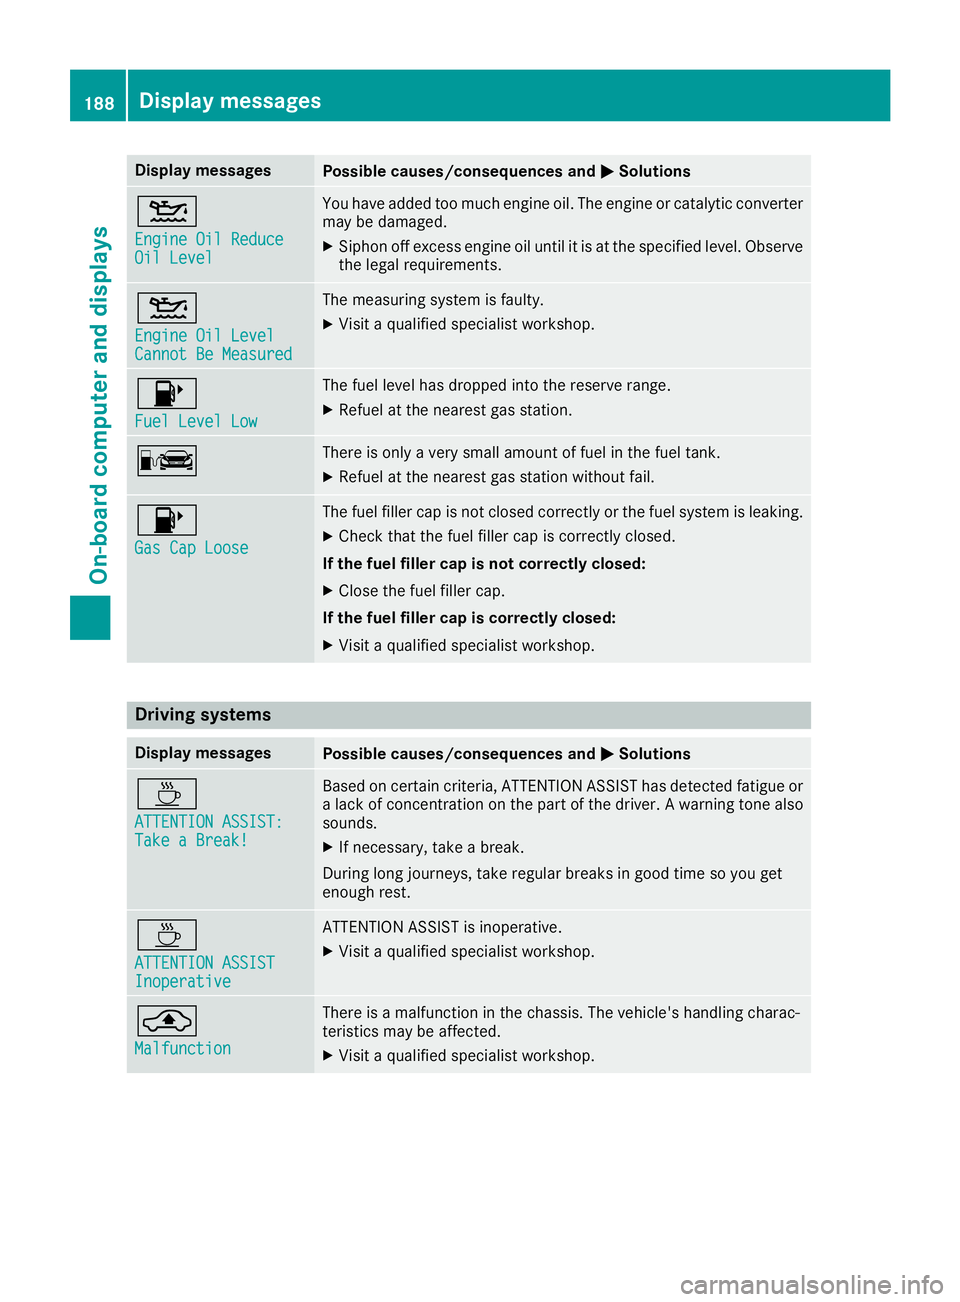
FuelLevel Low
The fuel level has dropped int oth ereserv erange.
XRefue lat th eneares tgas station .
CThere is only aver ysmall amount of fuel in th efuel tank.
XRefue lat th eneares tgas station without fail .
8
Gas Cap Loose
The fuel filler cap is notclosed correctl yor th efuel system is leaking .
XCheckthat th efuel filler cap is correctl yclosed .
If th efuel filler cap is not correctl yclosed :
XCloseth efuel filler cap .
If th efuel filler cap is correctl yclosed :
XVisitaqualified specialist workshop .
Driving systems
Display messagesPossible causes/consequences and MSolutions
À
ATTENTION ASSIST:Take a Break!
Based on certain criteria, ATTENTION ASSIST has detecte dfatigue or
a lack of concentration on th epart of th edriver . Awarning tone also
sounds.
XIf necessary, tak e abreak.
During lon gjourneys, tak eregular breaks in goo dtime so you get
enough rest.
À
ATTENTION ASSISTInoperative
ATTENTION ASSIST is inoperative.
XVisit aqualified specialist workshop .
¨
Malfunction
There isamalfunction in th echassis. The vehicle's handlin gcharac -
teristics may be affected.
XVisit aqualified specialist workshop .
188Display messages
On-board computer and displays
Page 205 of 294
Engine
Warning/
indicator
lampNSignal type
Possible causes/consequences and M
Solutions
;NThe yellow Check Engine warning lamp lights up while the engine is running.
There may be a malfunction, for example:
Rin the engine management
Rin the fuel injection system
Rin the exhaust system
Rin the ignition system
Rin the fuel system
The emission limit values may be exceeded and the engine may be in emergency
mode.
XHave the vehicle checked as soon as possible at a qualified specialist workshop.
In some states, you must immediately visit a qualified specialist workshop as soon as the yellow Check Engine warning lamp lights up. This is due to the legal require-
ments in effect in these states. If in doubt, check whether such legal regulations
apply in the state in which you are currently driving.
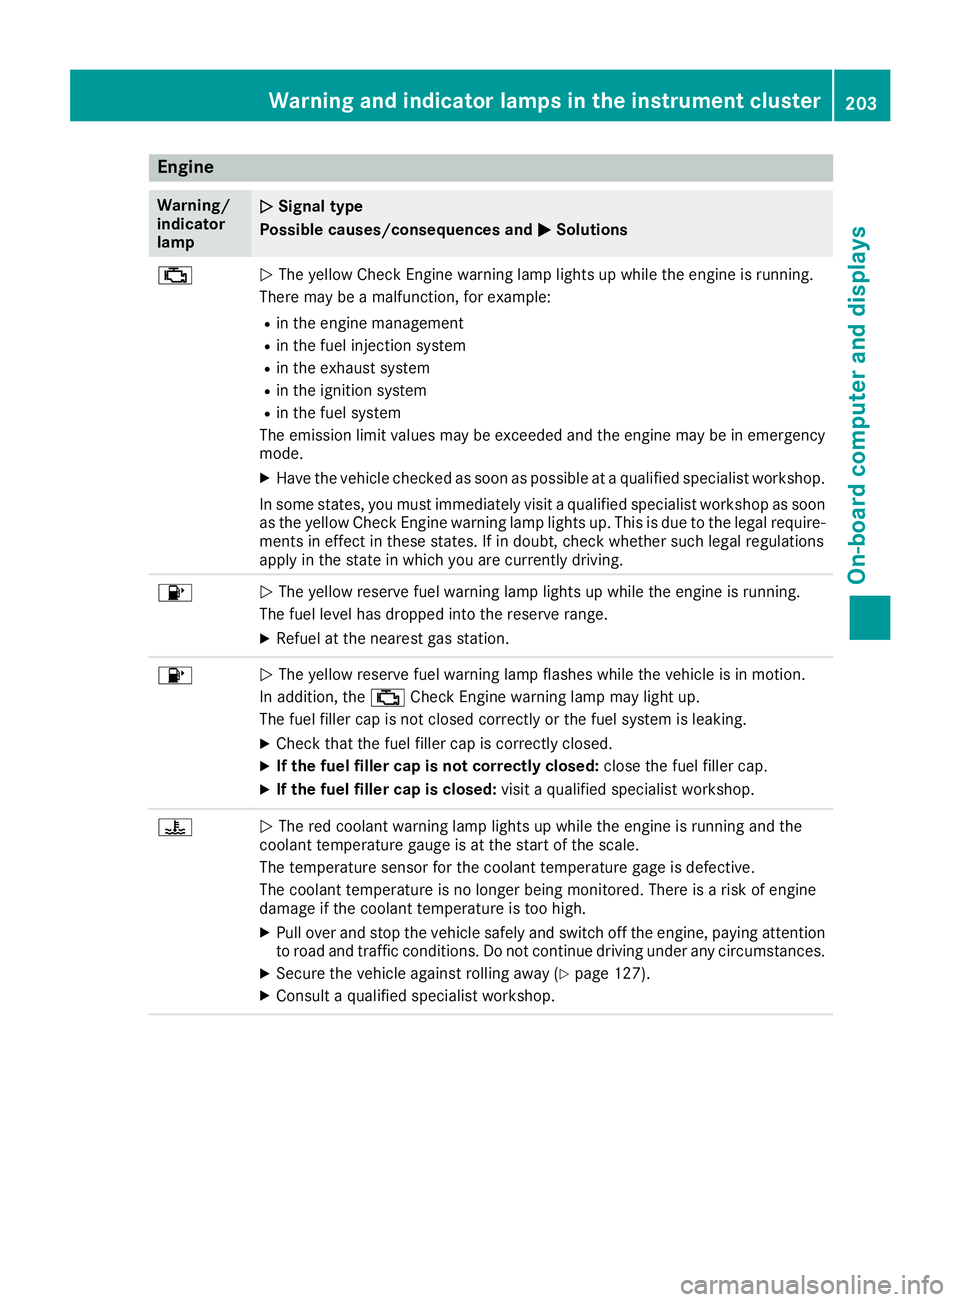
8N The yellow reserve fuel warning lamp lights up while the engine is running.
The fuel level has dropped into the reserve range.
XRefuel at the nearest gas station.
8N The yellow reserve fuel warning lamp flashes while the vehicle is in motion.
In addition, the ;Check Engine warning lamp may light up.
The fuel filler cap is not closed correctly or the fuel system is leaking.
XCheck that the fuel filler cap is correctly closed.
XIf the fuel filler cap is not correctly closed: close the fuel filler cap.
XIf the fuel filler cap is closed:visit a qualified specialist workshop.
?NThe red coolant warning lamp lights up while the engine is running and the
coolant temperature gauge is at the start of the scale.
The temperature sensor for the coolant temperature gage is defective.
The coolant temperature is no longer being monitored. There is a risk of engine
damage if the coolant temperature is too high.
XPull over and stop the vehicle safely and switch off the engine, paying attention
to road and traffic conditions. Do not continue driving under any circumstances.
XSecure the vehicle against rolling away (Ypage 127).
XConsult a qualified specialist workshop.
Warning and indicator lamps in the instrument cluster203
On-board computer and displays
Z
Page 254 of 294

GWARNING
If the required tire pressure is not reached
after the specified time, the tire is too badly
damaged. The tire sealant cannot repair the
tire in this instance. Damaged tires and a tire
pressure that is too low can significantly
impair the vehicle's braking and driving char-
acteristics. There is a risk of accident.
Do not continue driving. Contact a qualified
specialist workshop.
Tire pressure reached
GWARNING
A tire temporarily sealed with tire sealant
impairs the driving characteristics and is not
suitable for higher speeds. There is a risk of
accident.
You should therefore adapt your driving style
accordingly and drive carefully. Do not exceed the specified maximum speed with a tire that
has been repaired using tire sealant.
The maximum permissible speed for a tire
sealed with tire sealant is 50 mph (80 km/h).
The upper part of the TIREFIT sticker must be
affixed to the instrument cluster in the driver's
field of vision.
!Residue from the tire sealant may come out
of the filler hose after use. This could cause
stains.
Therefore, place the filler hose in the plastic
bag which contained the TIREFIT kit.
HEnvironmental note
Have the used tire sealant bottle disposed of
professionally, e.g. at a qualified specialist
workshop.
If a tire pressure of 180 kPa (1.8 bar/26 psi) has
been attained after five minutes:
XSwitch off the tire inflation compressor.
XUnscrew the filler hose from the valve of the
faulty tire.
Tire sealant may escape when the filler hose is
unscrewed.
XStow the tire sealant bottle and the tire infla-
tion compressor.
XPull away immediately.
XStop after driving for approximately ten
minutes and check the tire pressure with the
tire inflation compressor.
The tire pressure must now be at least
130 kPa (1.3 bar/19 psi).
GWARNING
If the required tire pressure is not reached
after driving for a short period, the tire is too
badly damaged. The tire sealant cannot repair
the tire in this instance. Damaged tires and a
tire pressure that is too low can significantly
impair the vehicle's braking and driving char-
acteristics. There is a risk of accident.
Do not continue driving. Contact a qualified
specialist workshop.
iIn cases such as the one mentioned above,
contact an authorized Mercedes-Benz Cen-
ter. Or call 1-800-FOR-MERCedes (in the
USA) or 1-800-387-0100 (in Canada).
XCorrect the tire pressure if it is still at least
130 kPa (1.3 bar/19 psi). See the Tire and
Loading Information placard on the driver's
side B-pillar or the tire pressure table in the
fuel filler flap for values.
XTo increase the tire pressure: switch on the
tire inflation compressor.
XTo reduce the tire pressure: depress pres-
sure release button :next to pressure
gauge ;.
XWhen the tire pressure is correct, unscrew the
filler hose from the valve of the sealed tire.
Tire sealant may escape when the filler hose is
unscrewed.
XScrew the valve cap onto the tire valve of the
sealed tire.
252Flat tire
Breakdown assistance
Page 267 of 294
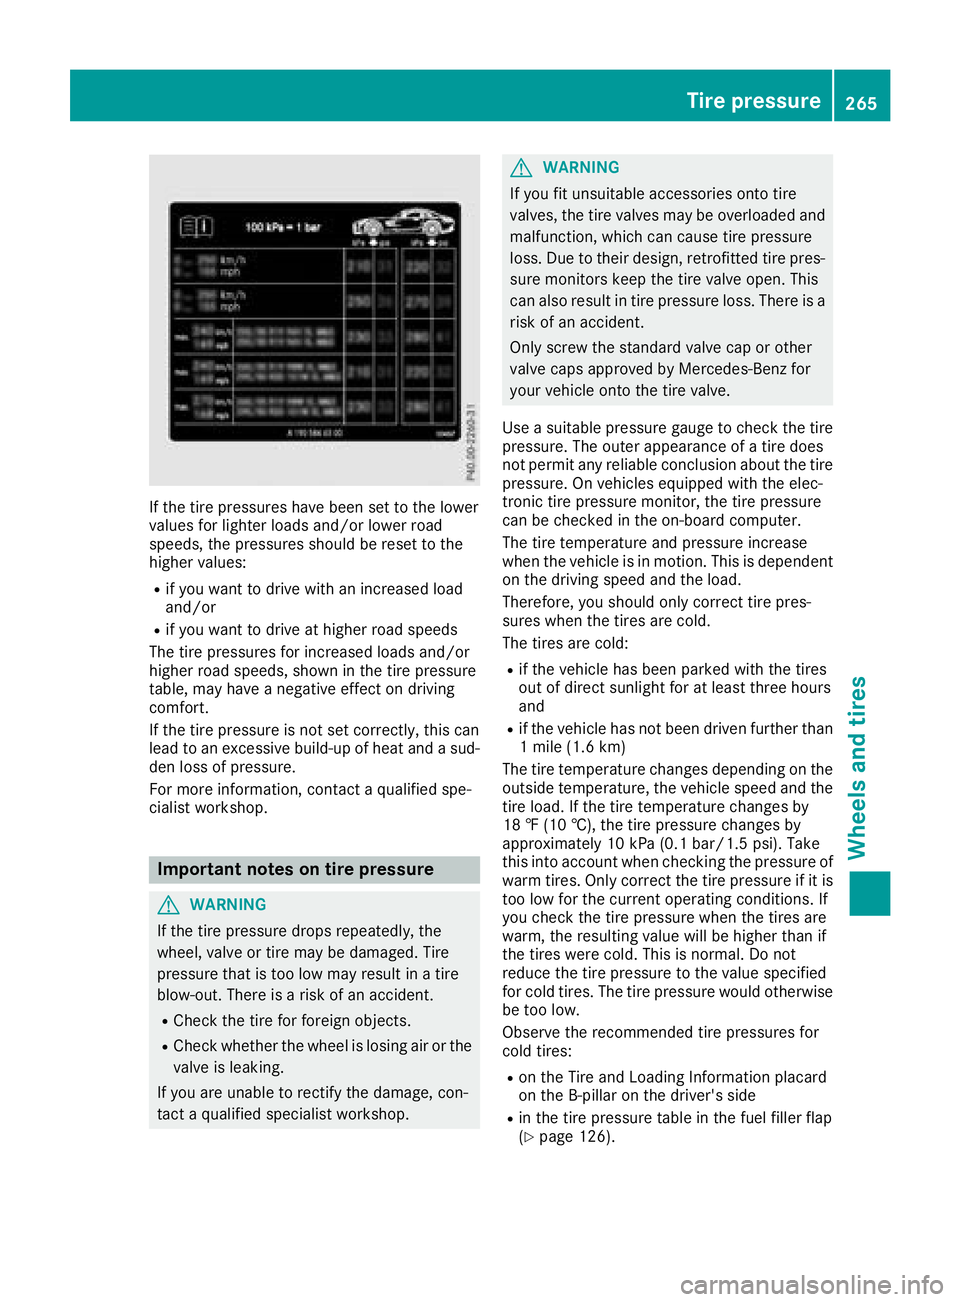
If the tire pressures have been set to the lower
values for lighter loads and/or lower road
speeds, the pressures should be reset to the
higher values:
Rif you want to drive with an increased load
and/or
Rif you want to drive at higher road speeds
The tire pressures for increased loads and/or
higher road speeds, shown in the tire pressure
table, may have a negative effect on driving
comfort.
If the tire pressure is not set correctly, this can
lead to an excessive build-up of heat and a sud-
den loss of pressure.
For more information, contact a qualified spe-
cialist workshop.
Important notes on tire pressure
GWARNING
If the tire pressure drops repeatedly, the
wheel, valve or tire may be damaged. Tire
pressure that is too low may result in a tire
blow-out. There is a risk of an accident.
RCheck the tire for foreign objects.
RCheck whether the wheel is losing air or the valve is leaking.
If you are unable to rectify the damage, con-
tact a qualified specialist workshop.
GWARNING
If you fit unsuitable accessories onto tire
valves, the tire valves may be overloaded and
malfunction, which can cause tire pressure
loss. Due to their design, retrofitted tire pres- sure monitors keep the tire valve open. This
can also result in tire pressure loss. There is a
risk of an accident.
Only screw the standard valve cap or other
valve caps approved by Mercedes-Benz for
your vehicle onto the tire valve.
Use a suitable pressure gauge to check the tire
pressure. The outer appearance of a tire does
not permit any reliable conclusion about the tire pressure. On vehicles equipped with the elec-
tronic tire pressure monitor, the tire pressure
can be checked in the on-board computer.
The tire temperature and pressure increase
when the vehicle is in motion. This is dependent
on the driving speed and the load.
Therefore, you should only correct tire pres-
sures when the tires are cold.
The tires are cold:
Rif the vehicle has been parked with the tires
out of direct sunlight for at least three hours
and
Rif the vehicle has not been driven further than
1 mile (1.6 km)
The tire temperature changes depending on the
outside temperature, the vehicle speed and the
tire load. If the tire temperature changes by
18 ‡ (10 †), the tire pressure changes by
approximately 10 kPa (0.1 bar/1.5 psi). Take
this into account when checking the pressure of
warm tires. Only correct the tire pressure if it is
too low for the current operating conditions. If
you check the tire pressure when the tires are
warm, the resulting value will be higher than if
the tires were cold. This is normal. Do not
reduce the tire pressure to the value specified
for cold tires. The tire pressure would otherwise
be too low.
Observe the recommended tire pressures for
cold tires:
Ron the Tire and Loading Information placard
on the B-pillar on the driver's side
Rin the tire pressure table in the fuel filler flap
(Ypage 126).
Tire pressure265
Wheels and tires
Z
Page 268 of 294

Underinflated or overinflated tires
Underinflated tires
GWARNING
Tires with pressure that is too low can over-
heat and burst as a consequence. In addition, they also suffer from excessive and/or irreg-
ular wear, which can severely impair the brak-
ing properties and the driving characteristics.
There is a risk of an accident.
Avoid tire pressures that are too low in all the
tires, including the spare wheel.
Underinflated tires may:
Roverheat, leading to tire defects
Radversely affect handling
Rwear excessively and/or unevenly
Rhave an adverse effect on fuel consumption
Overinflated tires
GWARNING
Tires with excessively high pressure can burst
because they are damaged more easily by
road debris, potholes etc. In addition, they
also suffer from irregular wear, which can
severely impair the braking properties and the driving characteristics. There is a risk of an
accident.
Avoid tire pressures that are too high in all the
tires, including the spare wheel.
Overinflated tires may:
Rincrease the braking distance
Radversely affect handling
Rwear excessively and/or unevenly
Rhave an adverse effect on ride comfort
Rbe more susceptible to damage
Maximum tire pressures
:Example: maximum permissible tire pres-
sure
Never exceed the maximum permissible tire
inflation pressure. Always observe the recom-
mended tire pressure for your vehicle when
adjusting the tire pressure (
Ypage 264).
iThe actual values for tires are vehicle-spe-
cific and may deviate from the values in the
illustration.
Checking the tire pressures
Important safety notes
Observe the notes on tire pressure
(Ypage 264).
Information on air pressure for the tires on your
vehicle can be found:
Ron the vehicle's Tire and Loading Information
placard on the B-pillar
Rin the tire pressure table in the fuel filler flap
(Ypage 126)
Rin the "Tire pressure" section
Checking tire pressures manually
To determine and set the correct tire pressure,
proceed as follows:
XRemove the valve cap of the tire that is to be
checked.
XPress the tire pressure gage securely onto the
valve.
XRead the tire pressure and compare it to the
recommended value on the Tire and Loading
Information placard or the tire pressure table
(
Ypage 264).
266Tire pressure
Wheels and tires