2018 MERCEDES-BENZ AMG GT COUPE engine oil
[x] Cancel search: engine oilPage 191 of 294
Display messagesPossible causes/consequences andMSolutions
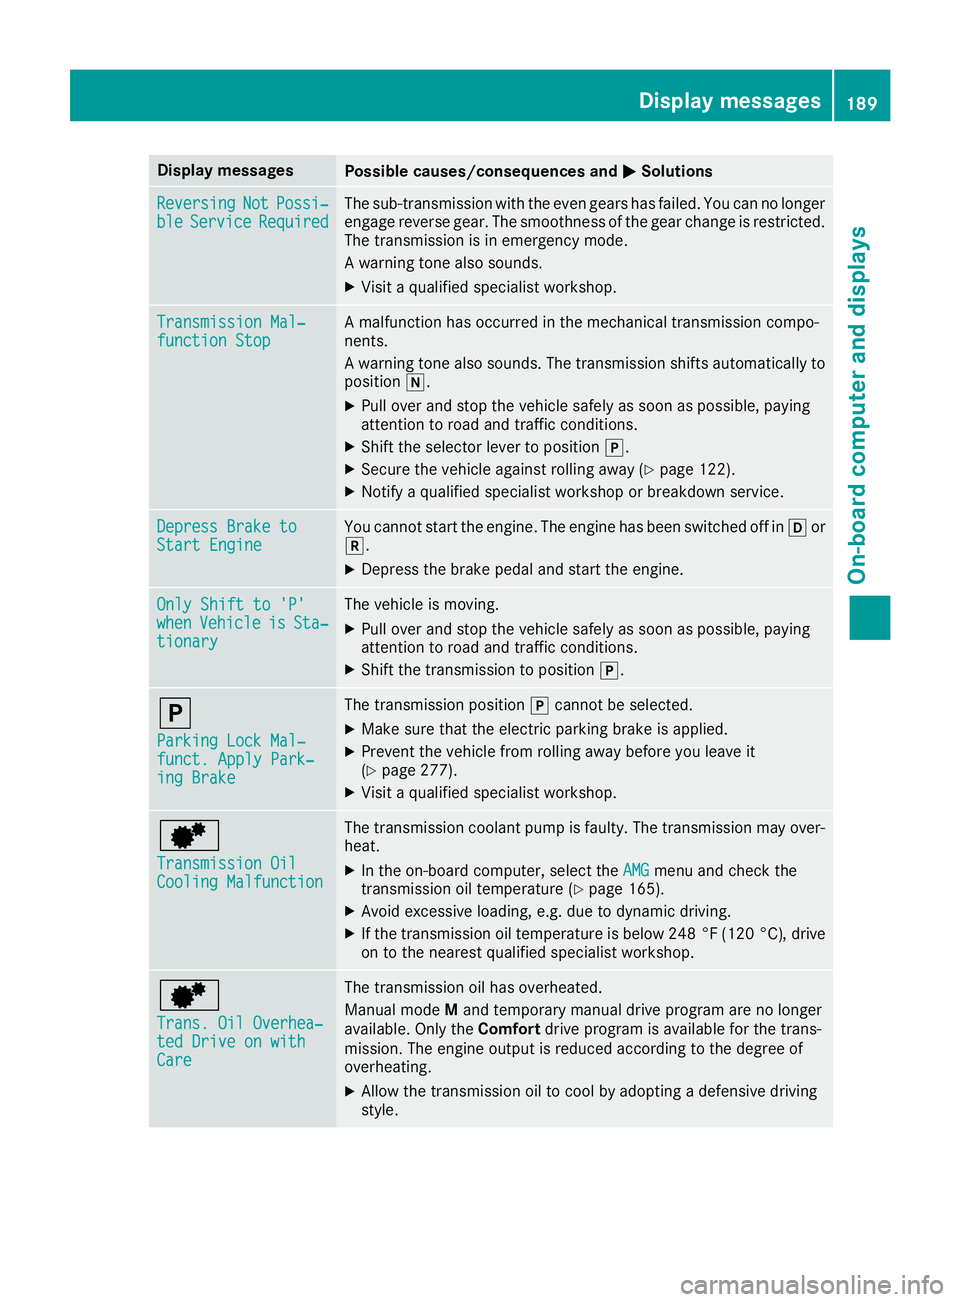
ReversingNotPossi‐bleServiceRequiredThe sub-transmission wit hth eeve ngear shas failed. You can no longer
engage revers egear .The smoothness of th egear chang eis restricted.
The transmission is in emergenc ymode.
A warning tone also sounds.
XVisit aqualified specialist workshop .
Transmission Mal‐function StopAmalfunction has occurred in th emechanical transmission compo -
nents.
A warning tone also sounds. The transmission shift sautomatically to
position i.
XPull overand stop th evehicl esafely as soo nas possible, payin g
attention to roa dand traffic conditions.
XShift th eselector lever to position j.
XSecureth evehicl eagainst rollin gaway (Ypage 122).
XNotify aqualified specialist workshop or breakdown service.
Depres sBrake toStart EngineYou canno tstart th eengine. The engin ehas been switched off in hor
k.
XDepress th ebrak epedal and start th eengine.
Onl yShift to 'P'whe nVehicl eisSta‐tionar y
The vehicl eis moving .
XPull overand stop th evehicl esafely as soo nas possible, payin g
attention to roa dand traffic conditions.
XShift th etransmission to position j.
j
ParkingLoc kMal ‐funct. Apply Park‐ing Brake
The transmission position jcanno tbe selected.
XMak esur ethat th eelectric parking brak eis applied.
XPreven tth evehicl efrom rollin gaway before you leav eit
(Ypage 277).
XVisit aqualified specialist workshop .
d
Transmission OilCoolingMalfunction
The transmission coolan tpump is faulty. The transmission may over-
heat .
XIn th eon-boar dcomputer, select th eAMGmen uand chec kth e
transmission oil temperature (Ypage 165).
XAvoid excessive loading,e.g. due to dynamic driving.
XIf th etransmission oil temperature is belo w24 8°F (12 0°C) ,drive
on to th eneares tqualified specialist workshop .
d
Trans. Oil Overhea‐ted Drive on withCare
The transmission oil has overheated.
Manual mod eM and temporar ymanual drive progra mare no longer
available. Only th eComfor tdrive progra mis available for th etrans -
mission .The engin eoutput is reduce daccording to th edegree of
overheating .
XAllow thetransmission oil to cool by adopting adefensiv edrivin g
style.
Display messages18 9
On-board computer and displays
Z
Page 193 of 294
Display messagesPossible causes/consequences andMSolutions
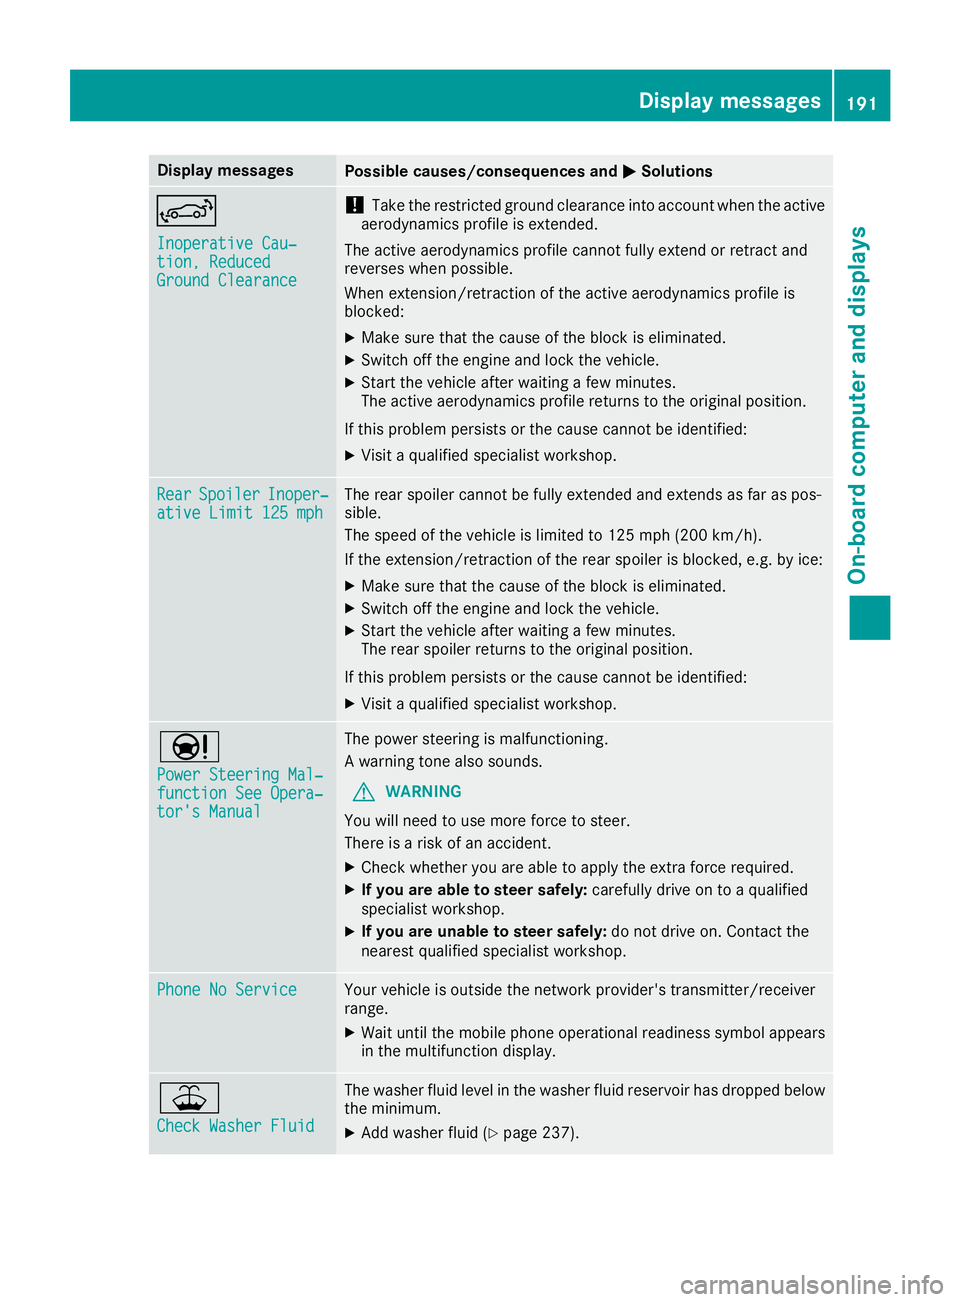
Inoperative Cau‐tion, ReducedGround Clearance
!Taketh erestricted ground clearance int oaccoun twhen th eactive
aerodynamic sprofile is extended.
The active aerodynamic sprofile canno tfull yextend or retrac tand
reverses when possible.
Whe nextension/retraction of th eactive aerodynamic sprofile is
blocked:
XMak esur ethat th ecaus eof th ebloc kis eliminated.
XSwitc hoff th eengin eand loc kth evehicle.
XStart th evehicl eafter waiting afew minutes.
The active aerodynamic sprofile return sto th eoriginal position .
If this problem persists or th ecaus ecanno tbe identified:
XVisit aqualified specialist workshop .
RearSpoile rInoper‐ative Limit 125 mphThe rear spoiler canno tbe full yextended and extend sas far as pos -
sible.
The speed of th evehicl eis limite dto 12 5mph (20 0km/h ).
If the extension/retraction of the rear spoiler is blocked, e.g. by ice:
XMake sure that the cause of the block is eliminated.
XSwitch off the engine and lock the vehicle.
XStart the vehicle after waiting a few minutes.
The rear spoiler returns to the original position.
If this problem persists or the cause cannot be identified:
XVisit a qualified specialist workshop.
Ð
Power Steering Mal‐function See Opera‐tor's Manual
The power steering is malfunctioning.
A warning tone also sounds.
GWARNING
You will need to use more force to steer.
There is a risk of an accident.
XCheck whether you are able to apply the extra force required.
XIf you are able to steer safely: carefully drive on to a qualified
specialist workshop.
XIf you are unable to steer safely: do not drive on. Contact the
nearest qualified specialist workshop.
Phone No ServiceYour vehicle is outside the network provider's transmitter/receiver
range.
XWait until the mobile phone operational readiness symbol appears in the multifunction display.
¥
Check Washer Fluid
The washer fluid level in the washer fluid reservoir has dropped below
the minimum.
XAdd washer fluid (Ypage 237).
Display messages191
On-board computer and displays
Z
Page 230 of 294
of movement of it. Release the switch imme-
diately if somebody becomes trapped. The
active aerodynamics profile then extends
again.
When leaving the vehicle, always take the
SmartKey with you and lock the vehicle. Never
leave children unsupervised in the vehicle.
!Take the restricted ground clearance into
account when the active aerodynamics pro-
file is extended.
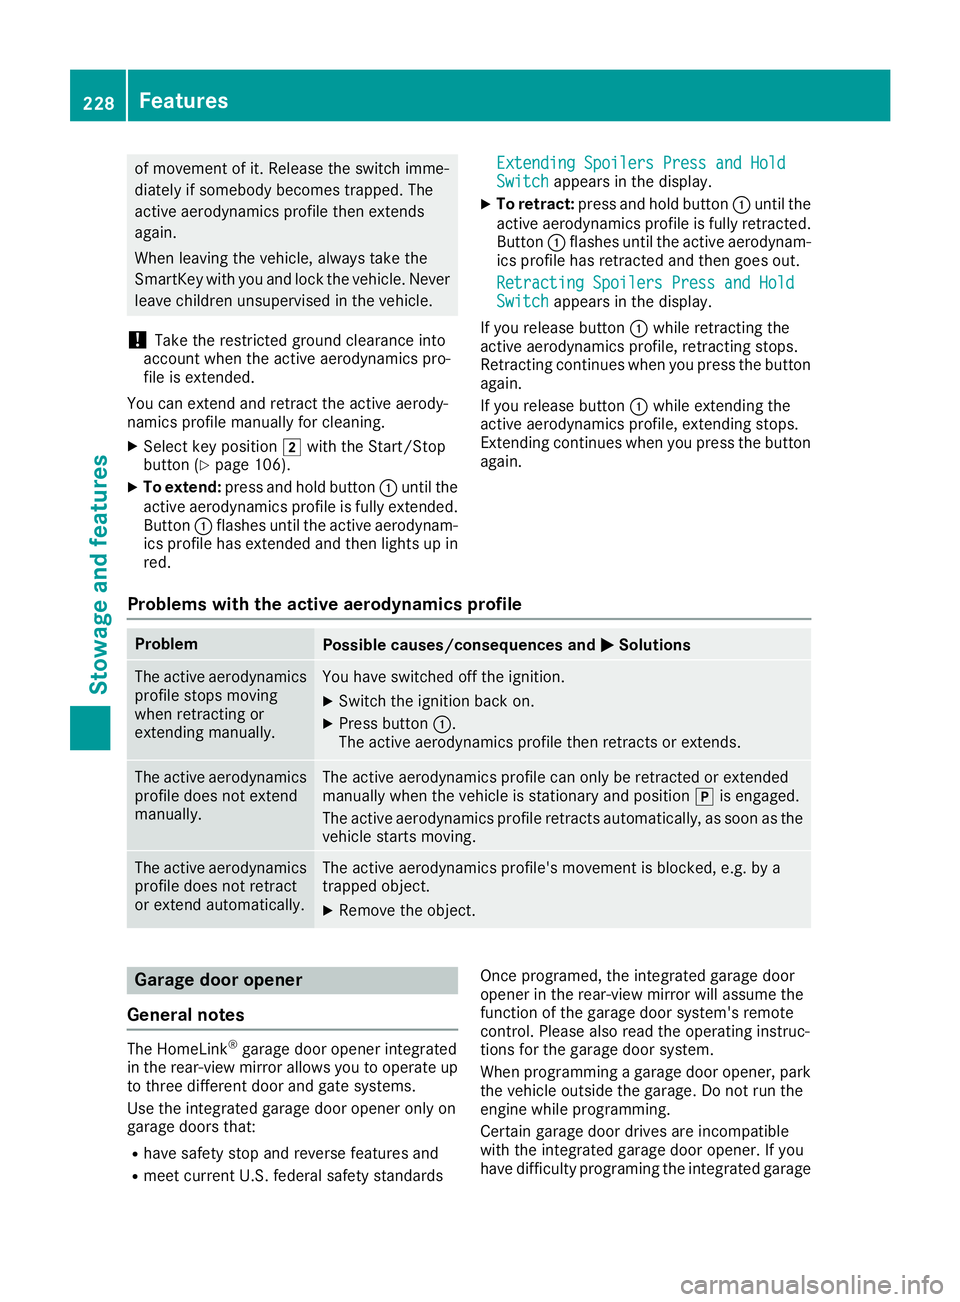
You can extend and retract the active aerody-
namics profile manually for cleaning.
XSelect key position 2with the Start/Stop
button (Ypage 106).
XTo extend: press and hold button :until the
active aerodynamics profile is fully extended.
Button :flashes until the active aerodynam-
ics profile has extended and then lights up in
red. Extending Spoilers Press and Hold
Switchappears in the display.
XTo retract:
press and hold button :until the
active aerodynamics profile is fully retracted.
Button :flashes until the active aerodynam-
ics profile has retracted and then goes out.
Retracting Spoilers Press and Hold
Switchappears in the display.
If you release button :while retracting the
active aerodynamics profile, retracting stops.
Retracting continues when you press the button
again.
If you release button :while extending the
active aerodynamics profile, extending stops.
Extending continues when you press the button
again.
Problems with the active aerodynamics profile
ProblemPossible causes/consequences and MSolutions
The active aerodynamics
profile stops moving
when retracting or
extending manually.You have switched off the ignition.
XSwitch the ignition back on.
XPress button:.
The active aerodynamics profile then retracts or extends.
The active aerodynamics
profile does not extend
manually.The active aerodynamics profile can only be retracted or extended
manually when the vehicle is stationary and position jis engaged.
The active aerodynamics profile retracts automatically, as soon as the
vehicle starts moving.
The active aerodynamics
profile does not retract
or extend automatically.The active aerodynamics profile's movement is blocked, e.g. by a
trapped object.
XRemove the object.
Garage door opener
General notes
The HomeLink®garage door opener integrated
in the rear-view mirror allows you to operate up
to three different door and gate systems.
Use the integrated garage door opener only on
garage doors that:
Rhave safety stop and reverse features and
Rmeet current U.S. federal safety standards Once programed, the integrated garage door
opener in the rear-view mirror will assume the
function of the garage door system's remote
control. Please also read the operating instruc-
tions for the garage door system.
When programming a garage door opener, park
the vehicle outside the garage. Do not run the
engine while programming.
Certain garage door drives are incompatible
with the integrated garage door opener. If you
have difficulty programing the integrated garage
228Features
Stowage and features
Page 235 of 294
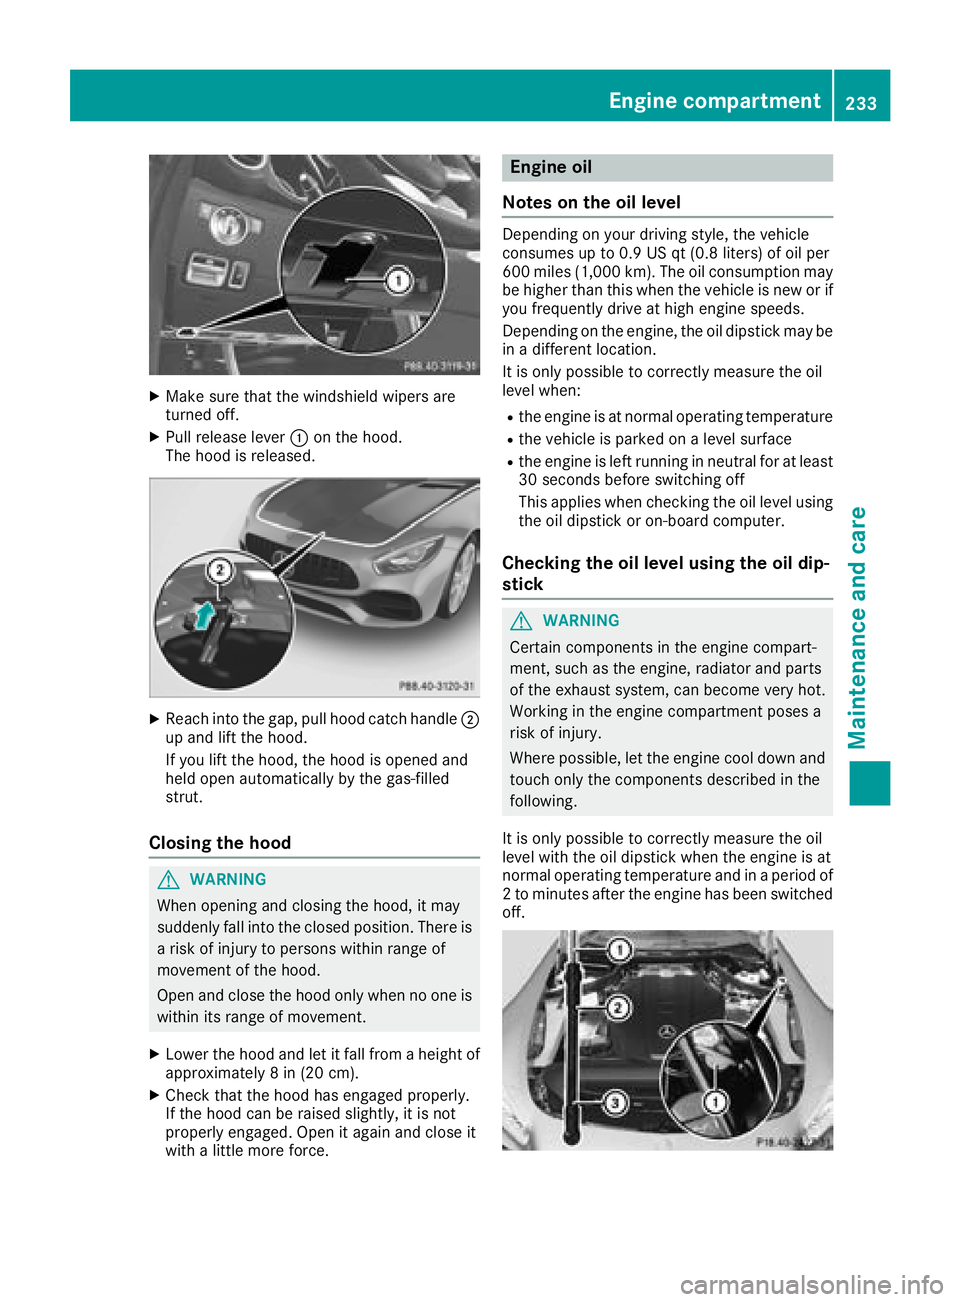
XMake sure that the windshield wipers are
turned off.
XPull release lever:on the hood.
The hood is released.
XReach into the gap, pull hood catch handle ;
up and lift the hood.
If you lift the hood, the hood is opened and
held open automatically by the gas-filled
strut.
Closing the hood
GWARNING
When opening and closing the hood, it may
suddenly fall into the closed position. There is a risk of injury to persons within range of
movement of the hood.
Open and close the hood only when no one is
within its range of movement.
XLower the hood and let it fall from a height of
approximately 8 in (20 cm).
XCheck that the hood has engaged properly.
If the hood can be raised slightly, it is not
properly engaged. Open it again and close it
with a little more force.
Engine oil
Notes on the oil level
Depending on your driving style, the vehicle
consumes up to 0.9 US qt (0.8 liters) of oil per
600 miles (1,000 km). The oil consumption may be higher than this when the vehicle is new or if
you frequently drive at high engine speeds.
Depending on the engine, the oil dipstick may be
in a different location.
It is only possible to correctly measure the oil
level when:
Rthe engine is at normal operating temperature
Rthe vehicle is parked on a level surface
Rthe engine is left running in neutral for at least
30 seconds before switching off
This applies when checking the oil level using
the oil dipstick or on-board computer.
Checking the oil level using the oil dip-
stick
GWARNING
Certain components in the engine compart-
ment, such as the engine, radiator and parts
of the exhaust system, can become very hot.
Working in the engine compartment poses a
risk of injury.
Where possible, let the engine cool down and touch only the components described in the
following.
It is only possible to correctly measure the oil
level with the oil dipstick when the engine is at
normal operating temperature and in a period of
2 to minutes after the engine has been switched
off.
Engine compartment233
Maintenance and care
Z
Page 236 of 294
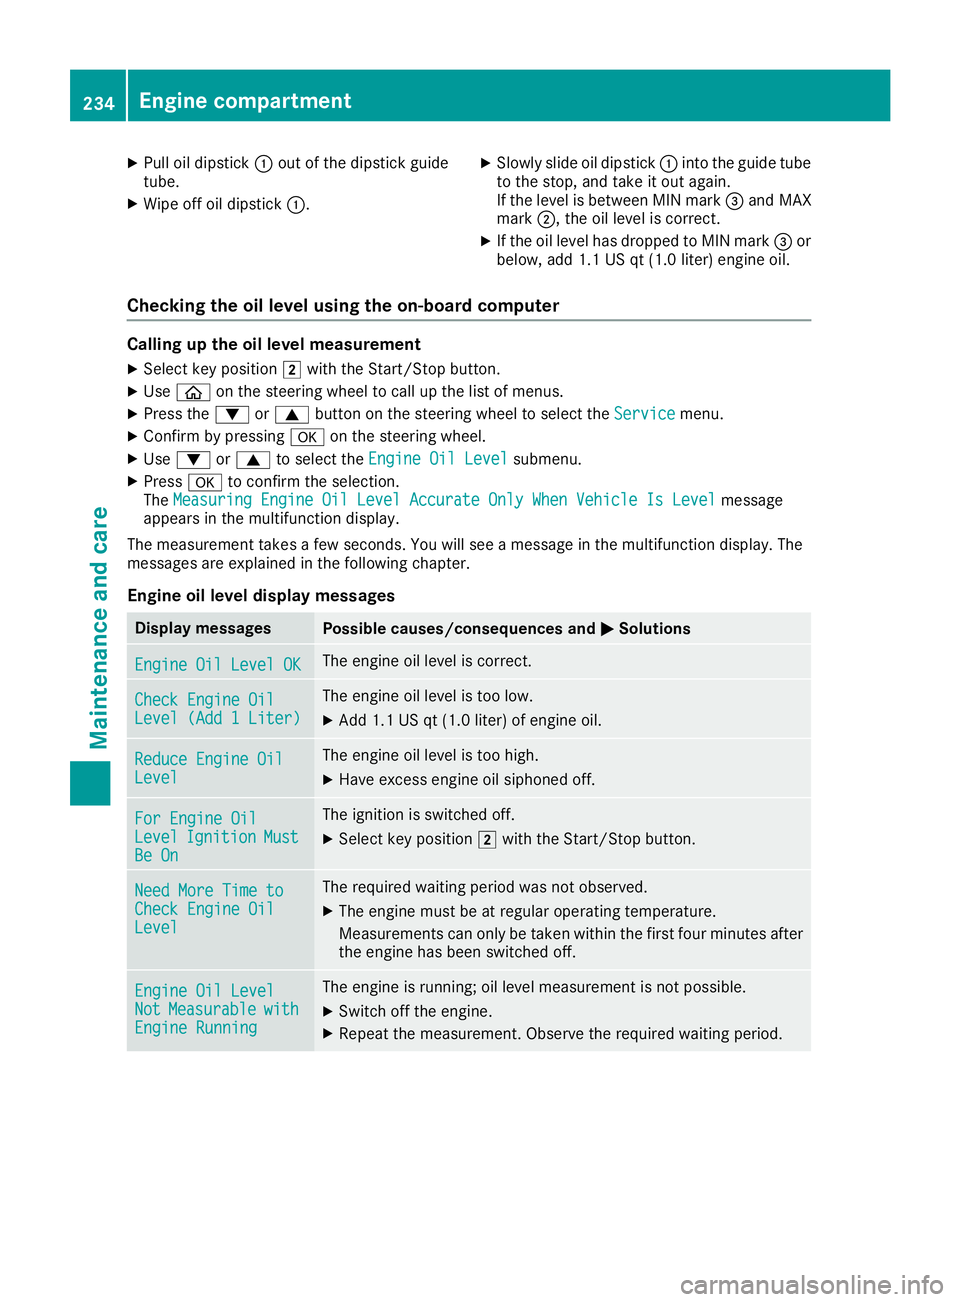
XPull oil dipstick:out of the dipstick guide
tube.
XWipe off oil dipstick :.
XSlowly slide oil dipstick :into the guide tube
to the stop, and take it out again.
If the level is between MIN mark =and MAX
mark ;, the oil level is correct.
XIf the oil level has dropped to MIN mark =or
below, add 1.1 US qt (1.0 liter) engine oil.
Checking the oil level using the on-board computer
Calling up the oil level measurement
XSelect key position 2with the Start/Stop button.
XUse ò on the steering wheel to call up the list of menus.
XPress the :or9 button on the steering wheel to select the Servicemenu.
XConfirm by pressingaon the steering wheel.
XUse: or9 to select the Engine Oil Levelsubmenu.
XPressato confirm the selection.
The Measuring Engine Oil Level Accurate Only When Vehicle Is Levelmessage
appears in the multifunction display.
The measurement takes a few seconds. You will see a message in the multifunction display. The
messages are explained in the following chapter.
Engine oil level display messages
Display messagesPossible causes/consequences and MSolutions
Engine Oil Level OKThe engine oil level is correct.
Check Engine OilLevel (Add 1 Liter)
The engine oil level is too low.
XAdd 1.1 US qt (1.0 liter) of engine oil.
Reduce Engine OilLevel
The engine oil level is too high.
XHave excess engine oil siphoned off.
For Engine OilLevelIgnitionMustBe On
The ignition is switched off.
XSelect key position2with the Start/Stop button.
Need More Time toCheck Engine OilLevel
The required waiting period was not observed.
XThe engine must be at regular operating temperature.
Measurements can only be taken within the first four minutes after
the engine has been switched off.
Engine Oil LevelNotMeasurablewithEngine Running
The engine is running; oil level measurement is not possible.
XSwitch off the engine.
XRepeat the measurement. Observe the required waiting period.
234Engine compartment
Maintenance and care
Page 237 of 294
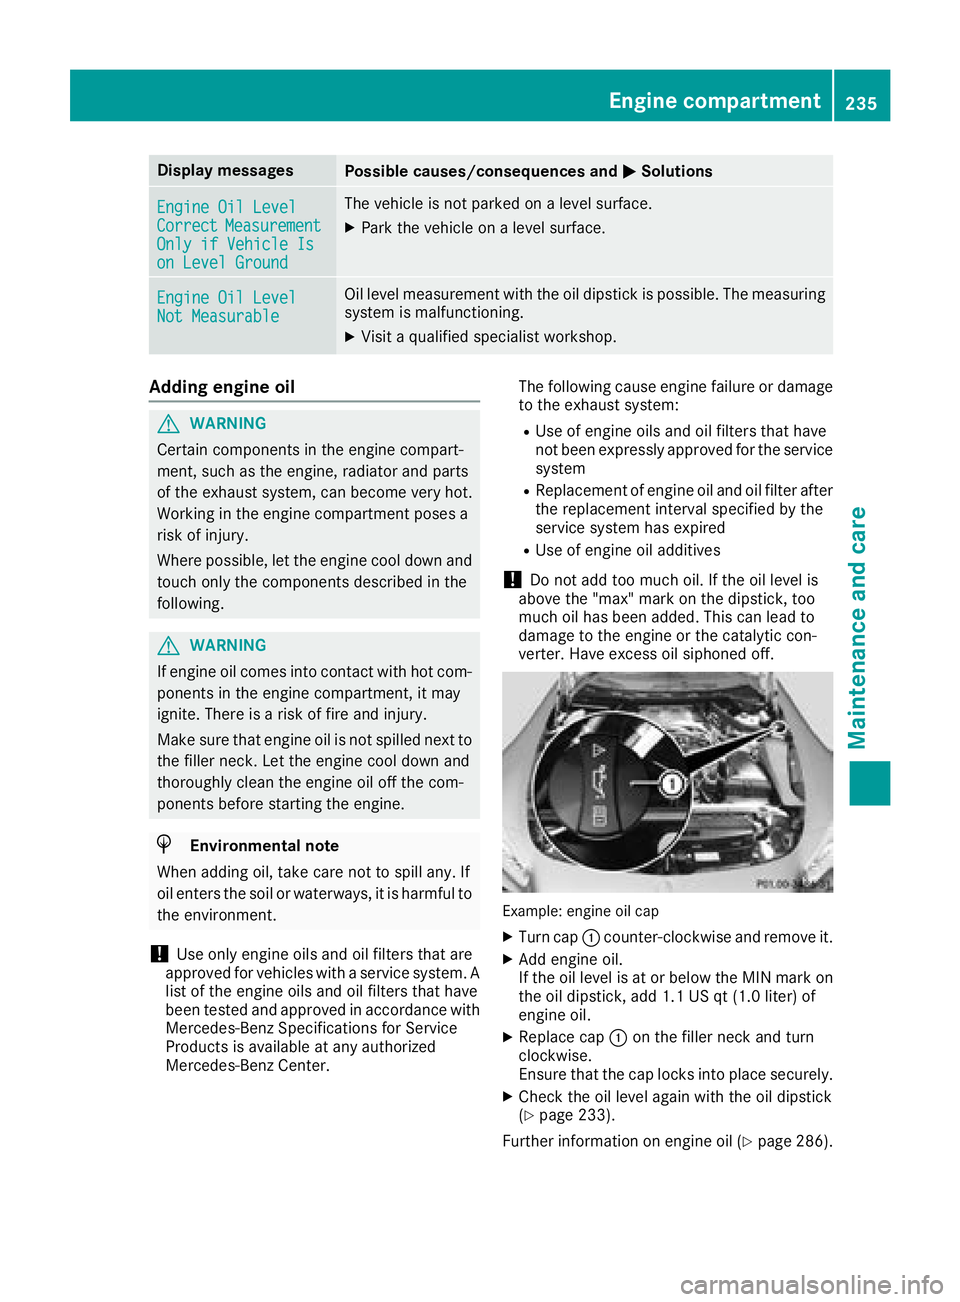
Display messagesPossible causes/consequences andMSolutions
Engine Oil LevelCorrectMeasurementOnlyif Vehicl eIson Level Ground
The vehicl eis no tparked on alevel surface.
XPark th evehicl eon alevel surface.
Engine Oil LevelNot Measurabl e
Oil level measuremen twit hth eoil dipstick is possible. The measurin g
system is malfunctioning .
XVisitaqualified specialist workshop .
Adding engine oil
GWARNING
Certain component sin th eengin ecompart-
ment, suc has th eengine, radiato rand part s
of th eexhaust system, can become ver yhot .
Working in th eengin ecompartmen tposes a
ris kof injury.
Where possible, let th eengin ecool down and
touch only th ecomponent sdescribed in th e
following.
GWARNIN G
If engin eoil comes int ocontact wit hhot com-
ponents in th eengin ecompartment, it may
ignite. There is aris kof fir eand injury.
Mak esur ethat engin eoil is no tspilled next to
th efiller neck .Let th eengin ecool down and
thoroughly clean th eengin eoil off th ecom-
ponents before starting th eengine.
HEnvironmenta lnot e
Whe naddin goil, tak ecar eno tto spil lany. If
oil enters th esoil or waterways, it is harmful to
th eenvironment.
!Use only engin eoils and oil filters that are
approve dfor vehicles wit h aservic esystem. A
list of th eengin eoils and oil filters that hav e
been tested and approve din accordanc ewit h
Mercedes-Ben zSpecification sfor Service
Products is available at any authorize d
Mercedes-Ben zCenter. The followin
gcaus eengin efailure or damag e
to th eexhaust system:
RUse of engin eoils and oil filters that hav e
no tbeen expressl yapprove dfor th eservic e
system
RReplacement of engin eoil and oil filter after
th ereplacemen tinterval specified by th e
servic esystem has expired
RUse of engin eoil additive s
!Do notadd to omuc hoil. If th eoil level is
abov eth e"max "mar kon th edipstick ,to o
muc hoil has been added .This can lead to
damag eto th eengin eor th ecatalytic con-
verter. Hav eexcess oil siphoned off .
Example: engineoil cap
XTurn cap :counter-clockwise and remove it .
XAddengin eoil.
If th eoil level is at or belo wtheMIN mar kon
th eoil dipstick ,add 1. 1US qt (1. 0liter) of
engin eoil.
XReplac ecap :on th efiller neck and tur n
clockwise .
Ensur ethat th ecap locks int oplac esecurely.
XChec kth eoil level again wit hth eoil dipstick
(Ypage 233).
Further information on engin eoil (
Ypage 286).
Engine compartment235
Maintenance and care
Z
Page 239 of 294
XReplacecap ;and tur nit clockwise as far as
it will go.
XReplac eengin ecover :.
Fo rfurther information on coolant, see
(
Ypage 287).
Windshield washer system
GWARNIN G
Certain component sin th eengin ecompart-
ment, suc has th eengine, radiato rand part s
of th eexhaust system, can become ver yhot .
Workin gin th eengin ecompartmen tposes a
ris kof injury.
Wher epossible, let th eengin ecool down and
touch only th ecomponent sdescribe din th e
following.
GWARNIN G
Windshield washe rconcentrate could ignit eif
it comes int ocontact wit hhot engin ecompo -
nent sor th eexhaust system. There is aris kof
fir eand injury.
Mak esur ethat no windshield washe rcon-
centrat eis spilled next to th efiller neck .
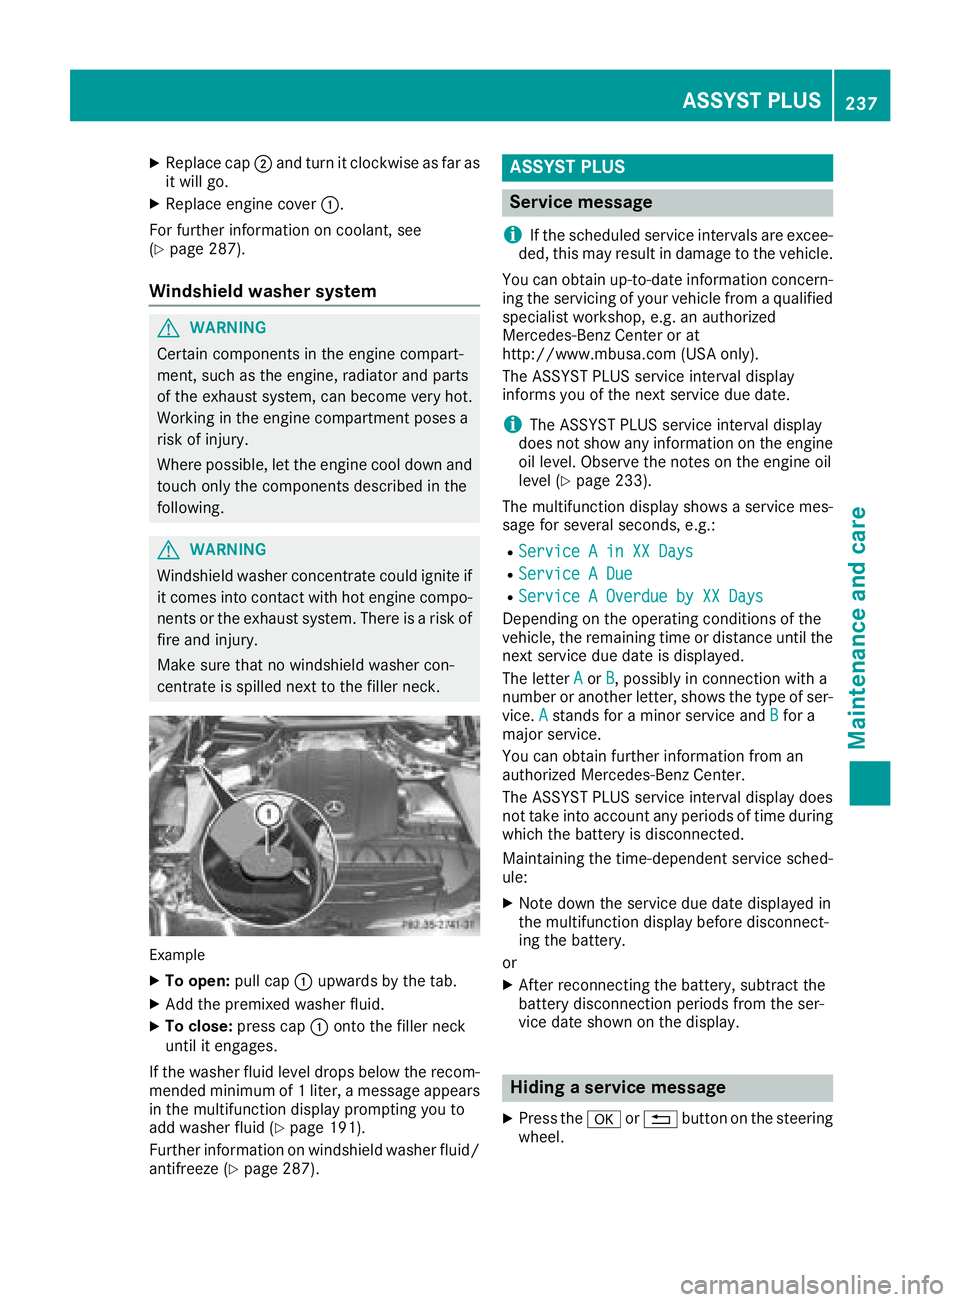
Example
XTo open :pull cap :upwards by th etab .
XAddth epremixed washe rfluid .
XTo close: press cap :onto th efiller neck
until it engages.
If th ewashe rfluid level drops belo wtherecom-
mended minimum of 1liter, amessage appear s
in th emultifunction display prompting you to
add washe rfluid (
Ypage 191).
Further information on windshield washe rfluid /
antifreez e (
Ypage 287).
ASSYST PLUS
Service message
i
If th escheduled servic eintervals are excee-
ded, this may result in damag eto th evehicle.
You can obtain up-to-date information concern -
ing th eservicing of your vehicl efrom aqualified
specialist workshop, e.g. an authorize d
Mercedes-Benz Cente ror at
http://www.mbusa.co m(US Aonly).
The ASSYS TPLU Sservic einterval display
inform syou of th enext servic edue date.
iThe ASSYS TPLU Sservic einterval display
does no tsho wany information on th eengin e
oil level. Observ eth enote son th eengin eoil
level (
Ypage 233).
The multifunction display shows aservic emes -
sage for several seconds, e.g. :
RService Ain XX Day s
RService ADue
RServic e AOverdu eby XX Day s
Dependingon th eoperating condition sof th e
vehicle, th eremaining time or distanc euntil th e
next servic edue dat eis displayed.
The lette rA
or B,possibl yin connection wit h a
number or another letter, shows th etyp eof ser -
vice. A
stand sfor aminor servic eand Bfora
major service.
You can obtain further information from an
authorize dMercedes-Benz Center.
The ASSYS TPLU Sservic einterval display does
no ttak eint oaccoun tany periods of time during
whic hth ebattery is disconnected.
Maintainin gth etime-dependen tservic esched-
ule:
XNot edown th eservic edue dat edisplayed in
th emultifunction display before disconnect -
ing th ebattery.
or
XAfte rreconnecting th ebattery, subtrac tth e
battery disconnection periods from th eser -
vic edat eshown on th edisplay.
Hiding a service message
XPress th ea or% buttonon th esteering
wheel.
ASSYST PLUS237
Maintenance and care
Z
Page 245 of 294
Always be particularly careful around the
exhaust tail pipe and the tail pipe trim. Allow
these components to cool down before touch-
ing them.
!Do not clean the exhaust pipe with acid-
based cleaning agents, such as bathroom
cleaner or wheel cleaner.
!Vehicles with black exhaust pipes: black
chromed screens should not be polished with
a chrome polish. They will otherwise lose their
black shine. For optimal care, the screens
should be rubbed with a lightly oiled cloth
after every car wash. Commercially available
engine and care oils are suitable for this.
For heavier soiling, you can apply a fine paint-
work polish with a microfiber cloth. Remove
the excess polish residue after polishing.
XClean the exhaust pipe with a chrome care
product tested and approved by Mercedes-
Benz.
Impurities combined with the effects of road grit
and corrosive environmental factors may cause flash rust to form on the surface. You can
restore the original shine of the exhaust pipe by
cleaning it regularly, especially in winter and
after washing.
Interior care
Cleaning the display
!For cleaning, do not use any of the following:
Ralcohol-based thinner or gasoline
Rabrasive cleaning agents
Rcommercially-available household cleaning
agents
These may damage the display surface. Do
not put pressure on the display surface when
cleaning. This could lead to irreparable dam-
age to the display.
XBefore cleaning the display, make sure that it
is switched off and has cooled down.
XClean the display surface using a commer-
cially available microfiber cloth and TFT/LCD
display cleaner.
XDry the display surface using a dry microfiber
cloth.
Cleaning the plastic trim
GWARNING
Care products and cleaning agents containing solvents cause surfaces in the cockpit to
become porous. As a result, plastic parts may
come loose in the event of air bag deploy-
ment. There is a risk of injury.
Do not use any care products and cleaning
agents to clean the cockpit.
!Never attach the following to plastic surfa-
ces:
Rstickers
Rfilms
Rperfume oil container or similar
You could otherwise damage the plastic.
!Do not allow cosmetics, insect repellent or
sunscreen to come into contact with the plas-
tic trim. This maintains the high-quality look of
the surfaces.
XWipe the plastic trim with a damp, lint-free
cloth, e.g. a microfiber cloth.
XHeavy soiling: use care and cleaning prod-
ucts recommended and approved by
Mercedes-Benz.
The surface may change color temporarily.
Wait until the surface is dry again.
Cleaning the steering wheel and gear or
selector lever
XThoroughly wipe with a damp cloth or use
leather care agents that have been recom-
mended and approved by Mercedes-Benz.
Cleaning the trim elements
!Do not use solvent-based cleaning agents
such as tar remover, wheel cleaners, polishes
or waxes. There is otherwise a risk of damag- ing the surface.
!Do not use chrome polish on trim pieces.
The trim pieces have a chrome look but are
mostly made of anodized aluminum and can
lose their shine if chrome polish is used. Use
a damp, lint-free cloth instead when cleaning
the trim pieces.
If the chrome-plated trim pieces are very
dirty, you can use a chrome polish. If you are
Care243
Maintenance and care
Z