Page 454 of 792

454 5-7. Connecting Bluetooth ®
RX450h_RX450hL _U_OM48F85UWhen you register a phone, auto conn ection will be activated. It is recom-
mended to have the system set to this mode and leave the Bluetooth ®
phone in a
place where a good connection can be established.
When the power switch is turned to ACCESSORY or ON mode, the system will
search for a nearby cellular phone you have registered.
Next, the system automatically connects with the most recent phone that was
connected. The connected result is displayed.
When automatic connection priority is se t to on and there is more than one reg-
istered Bluetooth ®
phone available, the system will automatically connect to the
Bluetooth ®
phone with the highest priority. ( → P. 456)
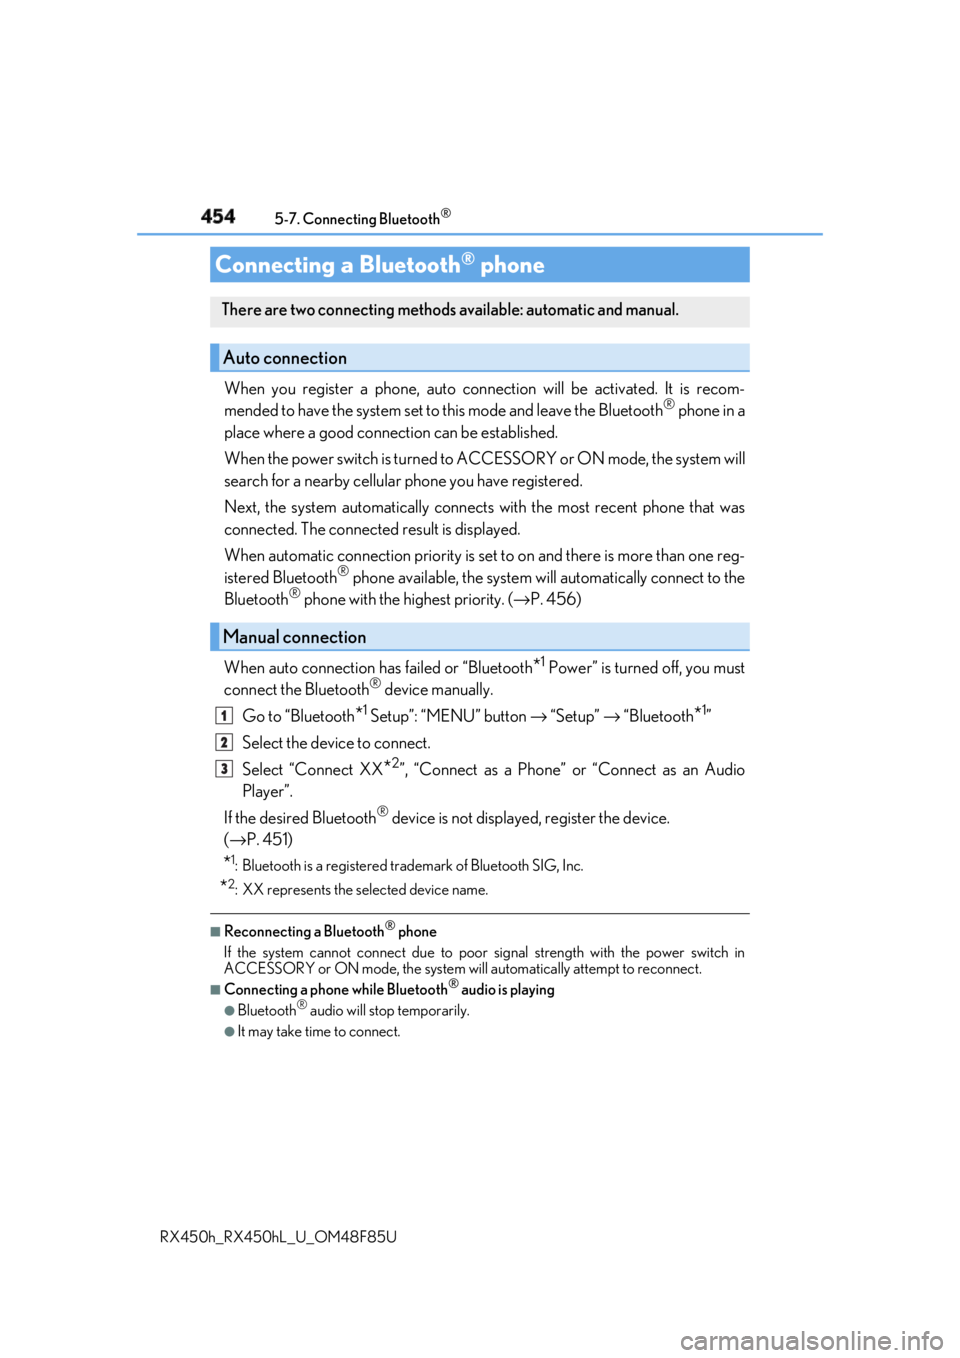
When auto connection has failed or “Bluetooth
* 1
Power” is turned off, you must
connect the Bluetooth ®
device manually.
Go to “Bluetooth
* 1
Setup”: “MENU” button → “Setup” → “Bluetooth
* 1
”
Select the device to connect.
Select “Connect XX
* 2
”, “Connect as a Phone” or “Connect as an Audio
Player”.
If the desired Bluetooth ®
device is not displayed, register the device.
( → P. 451)
* 1
: Bluetooth is a registered trademark of Bluetooth SIG, Inc.
* 2
: XX represents the selected device name. ■
Reconnecting a Bluetooth ®
phone
If the system cannot connect due to poor signal strength with the power switch in
ACCESSORY or ON mode, the system will automatically attempt to reconnect. ■
Connecting a phone while Bluetooth ®
audio is playing●
Bluetooth ®
audio will stop temporarily.●
It may take time to connect.Connecting a Bluetooth ®
phoneThere are two connecting methods available: automatic and manual.
Auto connection
Manual connection 1
2
3
Page 573 of 792

5736-5. Using the other interior features
6
Interior features
RX450h_RX450hL _U_OM48F85U■
Safety Connect Serv ices Information●
Phone calls using the vehicles Bluetooth ®
technology will not be possible during Safety
Connect. ●
Safety Connect is available be ginning Fall 2009 on select Lexus models (in the contig-
uous United States only). Contact with th e Safety Connect respon se center is depen-
dent upon the telematics device being in operative condition, cellular connection
availability, and GPS sa tellite signal receptio n, which can limit the ability to reach the
response center or receive emergency se rvice support. Enro llment and Telematics
Subscription Service Agreement required. A va riety of subscription terms is available;
charges vary by subscription term selected and location. ●
Automatic Collision Notification, Emergenc y Assistance and Stolen Vehicle Location
will function in the United States, includin g Hawaii and Alaska, Puerto Rico and in Can-
ada, and Enhanced Roadside Assistance will function in the United States, Puerto Rico
and in Canada. ●
Automatic Collision Notification, Emergency Assistance, Stolen Vehicle Location and
Enhanced Roadside Assistance will not func tion in the United States Virgin Islands.
No Safety Connect services will function outs ide of the United States in countries other
than Canada.
For vehicles first sold in the USVI, no Safety Connect services will function in and out-
side the United States Virgin Islands. ●
Safety Connect services are not subject to section 255 of the Telecommunications Act
and the device is not TTY compatible. ■
Languages
The Safety Connect response ce nter will offer support in mu ltiple languages. The Safety
Connect system will offer voice prompts in English, Spanish and French. Please indicate
your language of ch oice when enrolling.■
When contacting the response center
You may be unable to contact the resp onse center if the network is busy.
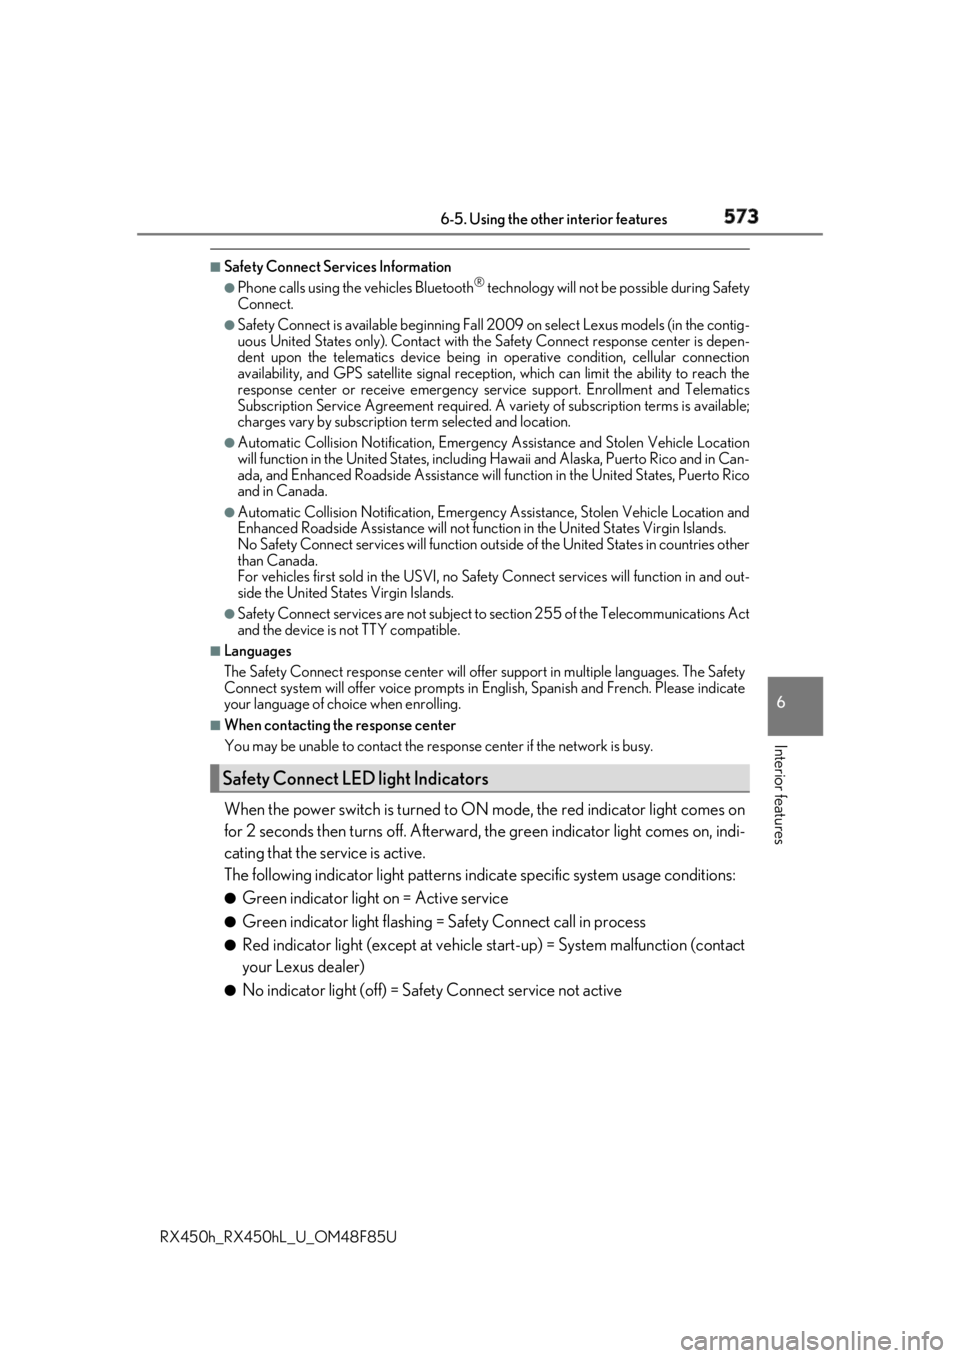
When the power switch is turned to ON mode, the red indicator light comes on
for 2 seconds then turns off. Afterward, the green indi cator light comes on, indi-
cating that the service is active.
The following indicator light patterns indicate specific system usage conditions: ●
Green indicator light on = Active service ●
Green indicator light flashing = Safety Connect call in process●
Red indicator light (except at vehicle start-up) = System malfunction (contact
your Lexus dealer) ●
No indicator light (off) = Safety Connect service not activeSafety Connect LED light Indicators
Page 616 of 792

616 7-3. Do-it-yourself maintenance
RX450h_RX450hL _U_OM48F85U■
Situations in which the tire pressure warning system may not operate properly ●
In the following cases, the tire pressure warning system may not operate properly.
• If non-genuine Lexus wheels are used.
• A tire has been replaced with a tire that is not an OE (Original Equipment) tire.
• A tire has been replaced with a tire that is not of the specified size.
• Tire chains, etc. are equipped.
• If a window tint that affects th e radio wave signals is installed.
• If there is a lot of snow or ice on the vehi cle, particularly around the wheels or wheel
housings.
• If the tire inflation pressure is extr emely higher than the specified level.
• If wheel without the tire pressure warning valve and transmitter is used.
• If the ID code on the tire pressure warning valves and transmitters is not registered
in the tire pressure warning computer. ●
Performance may be affected in the following situations.
• Near a TV tower, electric power plant, gas station, radio station, large display, air-
port or other facility that generates st rong radio waves or electrical noise.
• When carrying a portable radio, cellular phone, cordless phon e or other wireless
communication device.
If tire position information is not correctl y displayed due to the radio wave conditions,
the display may be corrected by driving and changing the radio wave conditions. ●
When the vehicle is parked, the time taken for the warning to start or go off could be
extended. ●
When tire inflation pressure declines rapidly for example when a tire has burst, the
warning may not function. ■
The initialization operation ●
Make sure to carry out initialization afte r adjusting the tire inflation pressure.
Also, make sure the tires are cold before carryi ng out initialization or tire inflation pres-
sure adjustment. ●
If you have accidentally turned the power switch off during in itialization, it is not neces-
sary to press the reset switch again as initialization will re start automatically when the
power switch has been turned to ON mode for the next time. ●
If you accidentally press the re set switch when initialization is not necessary, adjust the
tire inflation pressure to the specified leve l when the tires are co ld, and conduct initial-
ization again. ●
While the position of each tire is being de termined and the inflation pressures are not
being displayed on the multi-info rmation display, if the inflat ion pressure of a tire drops,
the tire pressure warning light will come on.
Page 638 of 792
638 7-3. Do-it-yourself maintenance
RX450h_RX450hL _U_OM48F85U■
Front
Bulb locations
Front turn signal light (vehic les with single-beam headlights)
Front side marker light (vehic les with single-beam headlights)1
2
Page 639 of 792
6397-3. Do-it-yourself maintenance
7
Maintenance and care
RX450h_RX450hL _U_OM48F85U■
Rear
Back-up light
Rear turn signal light (vehicles with single-beam headlights) 1
2
Page 642 of 792
642 7-3. Do-it-yourself maintenance
RX450h_RX450hL _U_OM48F85U■
Front turn signal lights (vehic les with single-beam headlights)
To ensure enough space to per-
form work, turn the steering
wheel to rotate the front wheel
away from the bulb to be
replaced.
Remove the 3 fender liner clips. Turn the steering wheel to the left
when replacing the right side light
bulb, and turn the steering wheel to
the right when replacing the left side
light bulb.
When removing a fender liner clip,
use a flathead screwdriver to pry the
center portion out and then remove
the whole clip.
Pull back the fender liner until the
connector is visible.
Partially remove the fender liner
and turn the bulb base counter-
clockwise and remove it. 1
8 2
3
Page 643 of 792
6437-3. Do-it-yourself maintenance
7
Maintenance and care
RX450h_RX450hL _U_OM48F85URemove the light bulb.
Install a new light bulb and then
install the bulb base to the light
unit by inserting it and turning it
clockwise. After installing th e bulb base, wiggle
it lightly to make sure it is securely
installed and turn on the turn signal
lights to visually check that there is no
light leaking from between the bulb
base and light unit.
Reinstall the fender liner and
install the 3 fender liner clips. 4
5
6
Page 644 of 792
644 7-3. Do-it-yourself maintenance
RX450h_RX450hL _U_OM48F85U■
Rear turn signal lights (vehic les with single-beam headlights)
Open the back door and apply
protective tape to the vehicle
body around the taillight. Use masking tape, etc. Do not use
duct tape, as it may leave residue or
damage the paint when removed.
Using a flathead screwdriver,
remove the cover. To prevent scratching the vehicle,
wrap the tip of the flathead screw-
driver with a cloth, etc.
Remove the 2 screws. 1
2
3