Page 466 of 497
7-59
7
Maintenance
5. Insert a new bulb by inserting itinto the socket and rotating it until
it locks into place.
6. Install the socket in the assembly by aligning the tabs on the socket
with the slots in the assembly.
7. Push the socket into the assembly and turn the socket clockwise.
Position lamp and daytime running
light
If the LED lamp does not operate, we
recommend that you have the vehicle
checked by a HYUNDAI authorised
repairer.
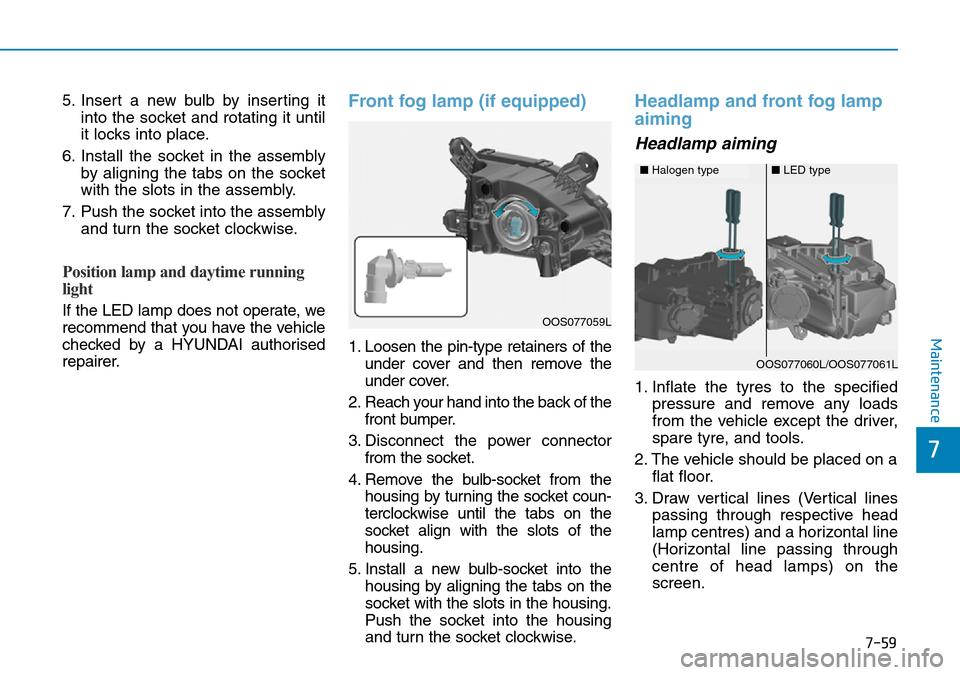
Front fog lamp (if equipped)
1. Loosen the pin-type retainers of theunder cover and then remove the
under cover.
2. Reach your hand into the back of the front bumper.
3. Disconnect the power connector from the socket.
4. Remove the bulb-socket from the housing by turning the socket coun-
terclockwise until the tabs on the
socket align with the slots of the
housing.
5. Install a new bulb-socket into the housing by aligning the tabs on the
socket with the slots in the housing.
Push the socket into the housing
and turn the socket clockwise.
Headlamp and front fog lamp
aiming
Headlamp aiming
1. Inflate the tyres to the specified pressure and remove any loads
from the vehicle except the driver,
spare tyre, and tools.
2. The vehicle should be placed on a flat floor.
3. Draw vertical lines (Vertical lines passing through respective head
lamp centres) and a horizontal line
(Horizontal line passing through
centre of head lamps) on the
screen.
OOS077059L
■Halogen type■LED type
OOS077060L/OOS077061L
Page 471 of 497
7-64
Maintenance
Side repeater lamp replace-
ment
If the light bulb does not operate, we
recommend that you have the vehicle
checked by a HYUNDAI authorised
repairer.
Rear combination lamp bulb
replacement(1) Stop/Tail lamp
(2) Tail lamp(Type A), Stop/Tail lamp (Type B)
(3) Turn signal lamp
(4) Rear fog lamp
(5) Backup lamp
Stop/Tail lamp
1. Turn off the engine.
2. Open the tailgate.
3. Loosen the lamp assembly retain- ing screws with a cross-tip screw-
driver.
OOS077039
OOS077066L
OOS077040
OOS077041
OOS077067L
■Type B (LED)
■Type A (Standard)
Page 473 of 497
7-66
Maintenance
6. Insert a new bulb by inserting it into the socket and rotating it until
it locks into place.
7. Install the socket into the assem- bly by aligning the tabs on the
socket with the slots in the assem-
bly. Push the socket into the
assembly and turn the socket
clockwise.
8. Reinstall the lamp assembly to the body of the vehicle.
Tail / Stop lamp (Type B)
If the LED lamp does not operate, we
recommend you to have the vehicle
checked by a HYUNDAI authorised
repairer.
Turn signal lamp / Back up lamp /
Rear fog lamp
If these lamps do not operate, we
recommend you to have the vehicle
checked by a HYUNDAI authorised
repairer.
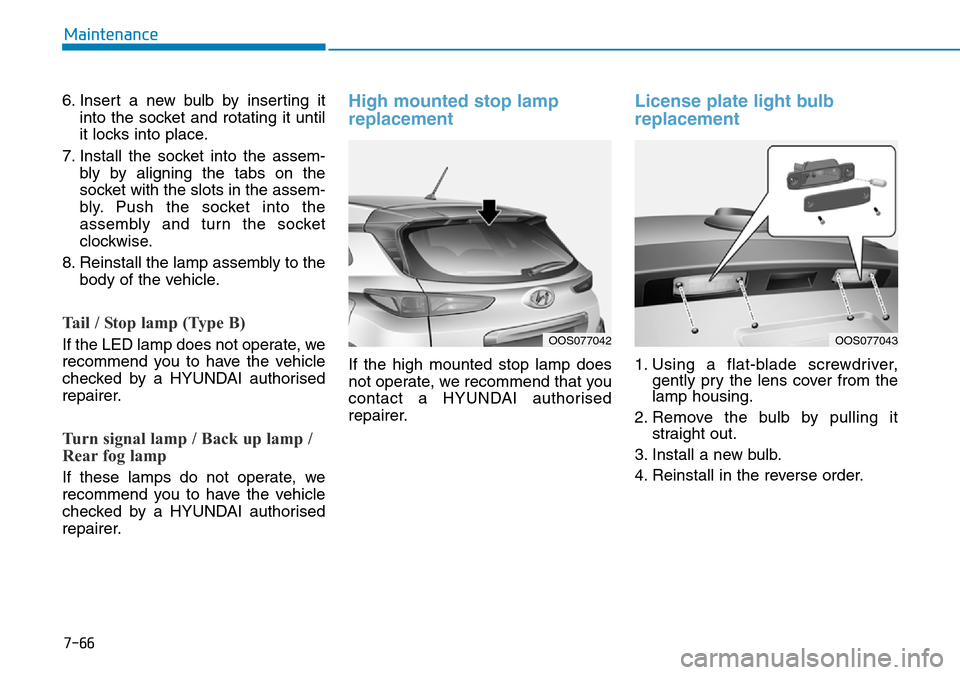
High mounted stop lamp
replacement
If the high mounted stop lamp does
not operate, we recommend that you
contact a HYUNDAI authorised
repairer.
License plate light bulb
replacement
1. Using a flat-blade screwdriver,gently pry the lens cover from the
lamp housing.
2. Remove the bulb by pulling it straight out.
3. Install a new bulb.
4. Reinstall in the reverse order.
OOS077042OOS077043
Page 474 of 497
7-67
7
Maintenance
Interior light bulb replacement
■Map lamp (Type A)
OOS077053
OOS077044
■Room lamp (Type A)
■Room lamp (Type B)OOS077054
OOS077045
■Map lamp (Type B)
Map lamp, room lamp, vanity mirror lamp and luggage compartment lamp
■Vanity mirror lamp
■ Luggage compartment lampOOS077046
OOS077048
Page 475 of 497
7-68
Maintenance
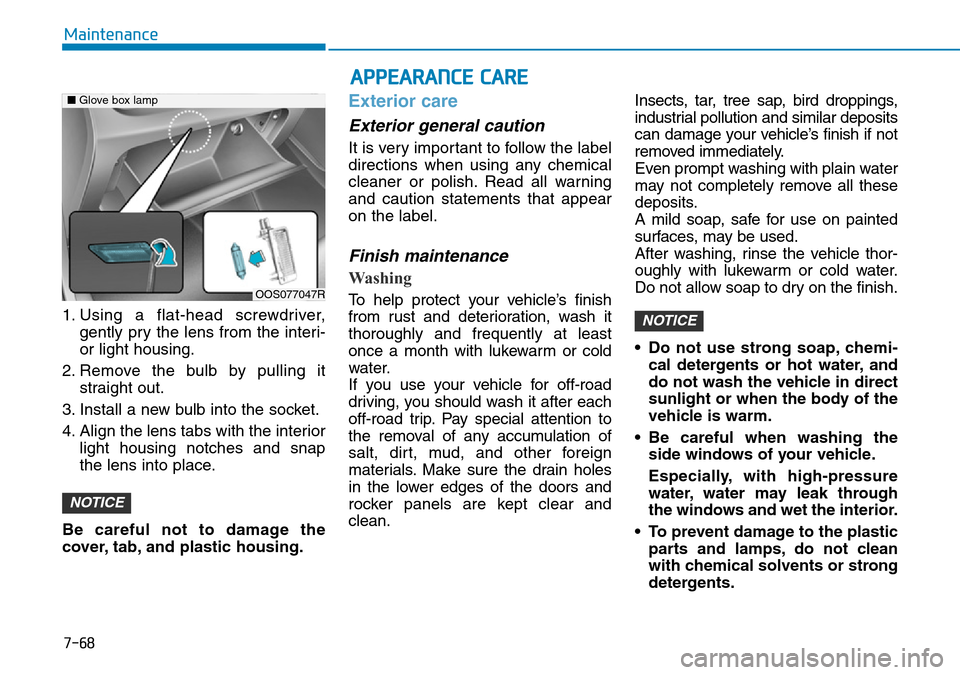
1. Using a flat-head screwdriver, gently pry the lens from the interi-
or light housing.
2. Remove the bulb by pulling it straight out.
3. Install a new bulb into the socket.
4. Align the lens tabs with the interior light housing notches and snap
the lens into place.
Be careful not to damage the
cover, tab, and plastic housing.
Exterior care
Exterior general caution
It is very important to follow the label
directions when using any chemical
cleaner or polish. Read all warning
and caution statements that appear
on the label.
Finish maintenance
Washing
To help protect your vehicle’s finish
from rust and deterioration, wash it
thoroughly and frequently at least
once a month with lukewarm or cold
water.
If you use your vehicle for off-road
driving, you should wash it after each
off-road trip. Pay special attention to
the removal of any accumulation of
salt, dirt, mud, and other foreign
materials. Make sure the drain holes
in the lower edges of the doors and
rocker panels are kept clear and
clean. Insects, tar, tree sap, bird droppings,
industrial pollution and similar deposits
can damage your vehicle’s finish if not
removed immediately.
Even prompt washing with plain water
may not completely remove all these
deposits.
A mild soap, safe for use on painted
surfaces, may be used.
After washing, rinse the vehicle thor-
oughly with lukewarm or cold water.
Do not allow soap to dry on the finish.
• Do not use strong soap, chemi-
cal detergents or hot water, and
do not wash the vehicle in direct
sunlight or when the body of the
vehicle is warm.
• Be careful when washing the side windows of your vehicle.
Especially, with high-pressure
water, water may leak through
the windows and wet the interior.
• To prevent damage to the plastic parts and lamps, do not clean
with chemical solvents or strong
detergents.
NOTICE
NOTICE
■ Glove box lamp
OOS077047R
APPEARANCE CARE
Page 476 of 497
7-69
7
MaintenanceHigh-pressure washing
• When using high-pressure washers,make sure to maintain sufficient dis-
tance from the vehicle.
Insufficient clearance or excessive
pressure can lead to component
damage or water penetration.
• Do not spray the camera, sensors or its surrounding area directly with a
high pressure washer. Shock
applied from high pressure water
may cause the device to not operate
normally.
• Do not bring the nozzle tip close to boots (rubber or plastic covers) or
connectors as they may be dam-
aged if they come into contact with
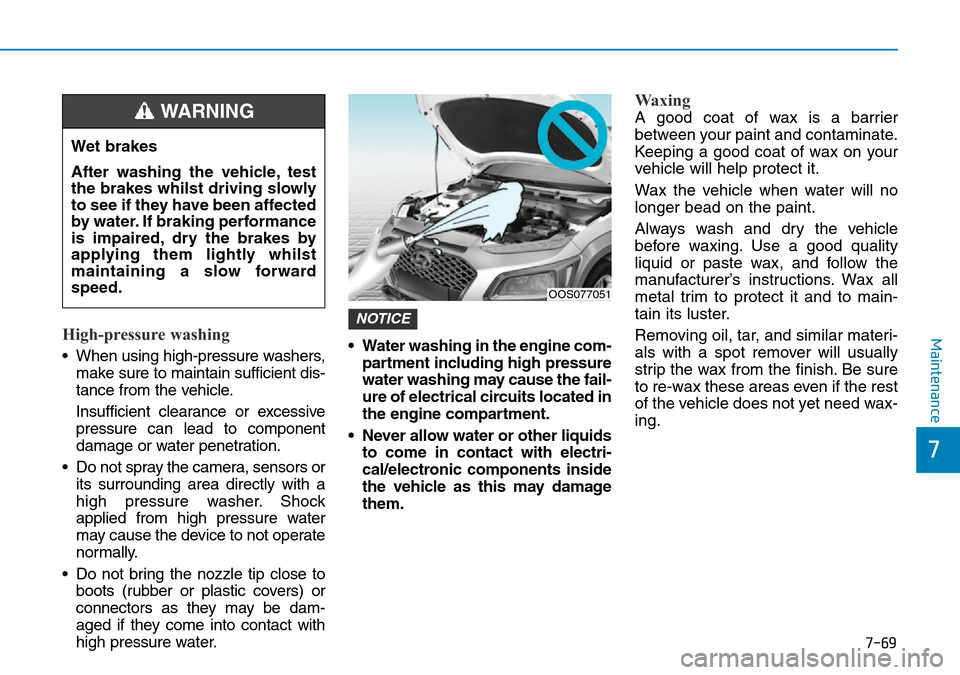
high pressure water. • Water washing in the engine com-
partment including high pressure
water washing may cause the fail-
ure of electrical circuits located in
the engine compartment.
• Never allow water or other liquids to come in contact with electri-
cal/electronic components inside
the vehicle as this may damage
them.
Waxing
A good coat of wax is a barrier
between your paint and contaminate.
Keeping a good coat of wax on your
vehicle will help protect it.
Wax the vehicle when water will no
longer bead on the paint.
Always wash and dry the vehicle
before waxing. Use a good quality
liquid or paste wax, and follow the
manufacturer’s instructions. Wax all
metal trim to protect it and to main-
tain its luster.
Removing oil, tar, and similar materi-
als with a spot remover will usually
strip the wax from the finish. Be sure
to re-wax these areas even if the rest
of the vehicle does not yet need wax-
ing.
NOTICE
Wet brakes
After washing the vehicle, test
the brakes whilst driving slowly
to see if they have been affected
by water. If braking performance
is impaired, dry the brakes by
applying them lightly whilst
maintaining a slow forward
speed.
WARNING
OOS077051
Page 477 of 497
7-70
Maintenance
• Wiping dust or dirt off the body with a dry cloth will scratch the
finish.
• Do not use steel wool, abrasive cleaners, or strong detergents
containing highly alkaline or
caustic agents on chrome-plated
or anodized aluminium parts.
This may result in damage to the
protective coating and cause dis-
colouration or paint deteriora-
tion.
Finish damage repair
Deep scratches or stone chips in the
painted surface must be repaired
promptly. Exposed metal will quickly
rust and may develop into a major
repair expense.
If your vehicle is damaged and
requires any metal repair or
replacement, be sure the body
shop applies anti-corrosion materi-
als to the parts repaired or replaced.
Bright-metal maintenance
• To remove road tar and insects,use a tar remover, not a scraper or
other sharp object.
• To protect the surfaces of bright- metal parts from corrosion, apply a
coating of wax or chrome preser-
vative and rub to a high luster.
• During winter weather or in coastal areas, cover the bright metal parts
with a heavier coating of wax or
preservative. If necessary, coat the
parts with non-corrosive petroleum
jelly or other protective compound.
Underbody maintenance
Corrosive materials used for ice and
snow removal and dust control may
collect on the underbody. If these
materials are not removed, acceler-
ated rusting can occur on underbody
parts such as the fuel lines, frame,
floor pan and exhaust system, even
though they have been treated with
rust protection. Thoroughly flush the vehicle under-
body and wheel openings with luke-
warm or cold water once a month,
after off-road driving and at the end of
each winter. Pay special attention to
these areas because it is difficult to
see all the mud and dirt. It will do
more harm than good to wet down the
road grime without removing it. The
lower edges of doors, rocker panels,
and frame members have drain holes
that should not be allowed to clog with
dirt; trapped water in these areas can
cause rusting.
NOTICE
NOTICE
After washing the vehicle, test
the brakes whilst driving slowly
to see if they have been affected
by water. If braking performance
is impaired, dry the brakes by
applying them lightly whilst
maintaining a slow forward
speed.
WARNING
Page 481 of 497
7-74
Maintenance• Caring for the leather seats- Vacuum the seat periodically toremove dust and sand on the seat.
It will prevent abrasion or damage
of the leather and maintain its qual-
ity.
- Wipe the natural leather seat cover often with dry or soft cloth.
- Use of proper leather protector may prevent abrasion of the cover
and helps maintain the colour. Be
sure to read the instructions and
consult a specialist when using
leather coating or protective agent.
- Light coloured (beige, cream beige) leather is easily contaminat-
ed and the stain is noticeable.
Clean the seats frequently.
- Avoid wiping with wet cloth. It may cause the surface to crack. • Cleaning the leather seats
- Remove all contaminations instant-ly. Refer to instructions below for
removal of each contaminant.
- Cosmetic products (sunscreen, foundation, etc.)
Apply cleansing cream on a cloth
and wipe the contaminated spot.
Wipe off the cream with a wet cloth
and remove water with a dry cloth.
- Beverages (coffee, soft drink, etc.) Apply a small amount of neutral
detergent and wipe until contami-
nations do not smear.
- Oil Remove oil instantly with
absorbable cloth and wipe with
stain remover used only for natu-
ral leather.
- Chewing gum Harden the gum with ice and
remove gradually.
•Wrinkles or abrasions which
appear naturally from usage
are not covered by warranty.
•Belts with metallic acces-
sories, zippers or keys inside
the back pocket may damage
the seat fabric.
•Make sure not to wet the seat.
It may change the nature of
natural leather.
•Jeans or clothes which could
bleach may contaminate the
surface of the seat covering
fabric.
CAUTION