Page 431 of 541
7-46
Maintenance
Fuse/Relay Panel Description
Instrument panel fuse panel
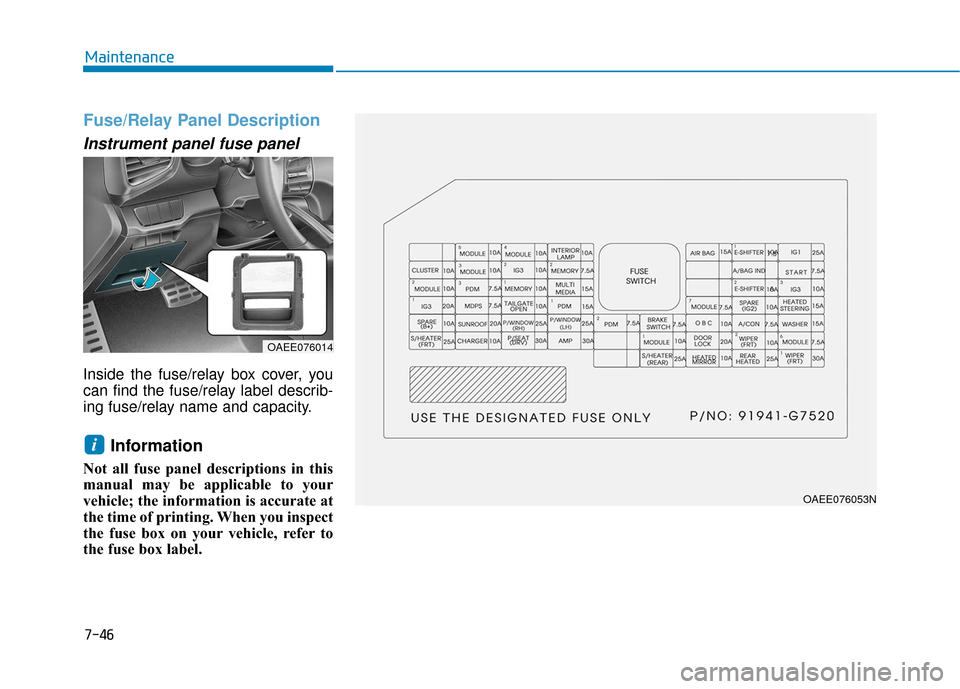
Inside the fuse/relay box cover, you
can find the fuse/relay label describ-
ing fuse/relay name and capacity.
Information
Not all fuse panel descriptions in this
manual may be applicable to your
vehicle; the information is accurate at
the time of printing. When you inspect
the fuse box on your vehicle, refer to
the fuse box label.
i
OAEE076014
OAEE076053N
Page 436 of 541
7-51
7
Maintenance
Motor compartment fuse panel
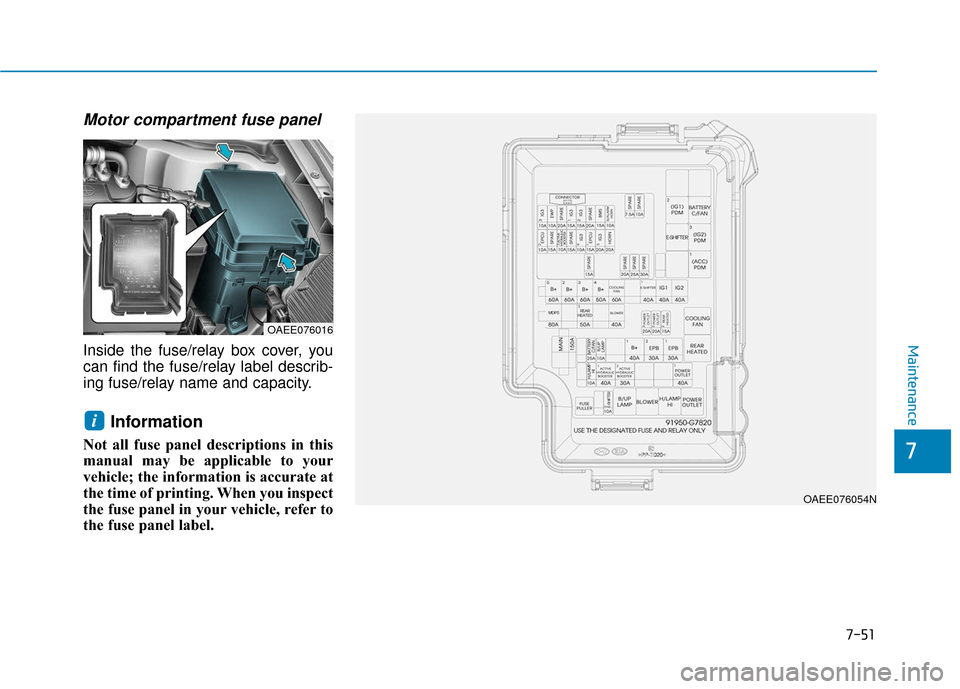
Inside the fuse/relay box cover, you
can find the fuse/relay label describ-
ing fuse/relay name and capacity.
Information
Not all fuse panel descriptions in this
manual may be applicable to your
vehicle; the information is accurate at
the time of printing. When you inspect
the fuse panel in your vehicle, refer to
the fuse panel label.
i
OAEE076016
OAEE076054N
Page 439 of 541
7-54
Maintenance
Motor compartment fuse panel(Battery terminal cover)
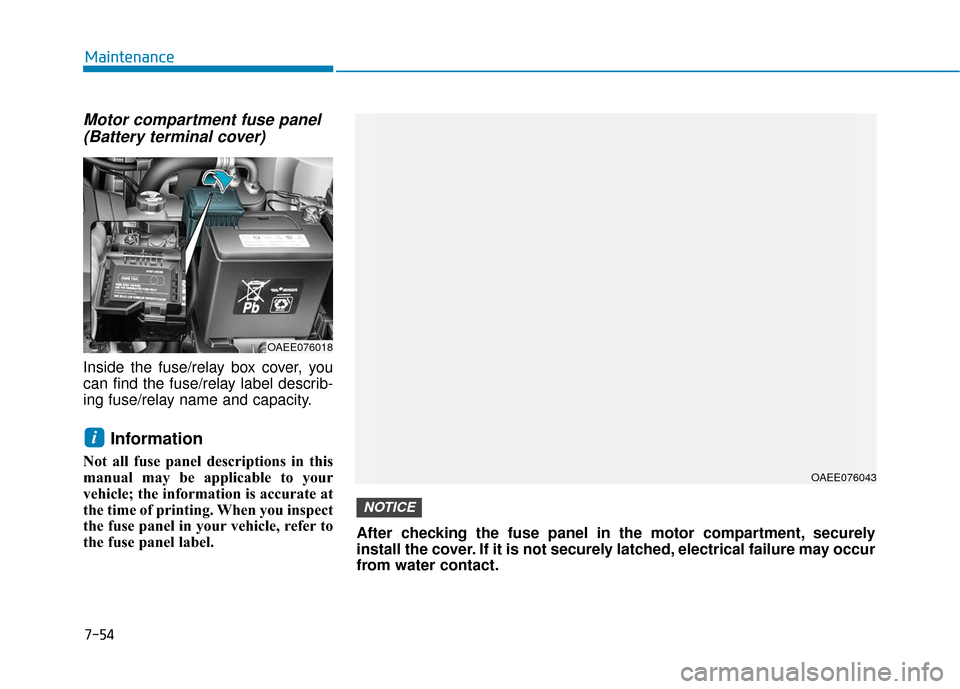
Inside the fuse/relay box cover, you
can find the fuse/relay label describ-
ing fuse/relay name and capacity.
Information
Not all fuse panel descriptions in this
manual may be applicable to your
vehicle; the information is accurate at
the time of printing. When you inspect
the fuse panel in your vehicle, refer to
the fuse panel label.
i
OAEE076018
OAEE076043
After checking the fuse panel in the motor compartment, securely
install the cover. If it is not securely latched, electrical failure may occur
from water contact.
NOTICE
Page 440 of 541
7-55
7
Maintenance
L
LI
IG
G H
H T
T
B
B U
U L
LB
B S
S
Consult an authorized HYUNDAI
dealer to replace most vehicle light
bulbs. It is difficult to replace vehicle
light bulbs because other parts of the
vehicle must be removed before you
can get to the bulb. This is especially
true for removing the headlamp
assembly to get to the bulb(s).
Removing/installing the headlamp
assembly can result in damage to
the vehicle.
Information
After heavy driving, rain or washing,
lamps could appear frosty. This condi-
tion is caused by the temperature dif-
ference between the lamp inside and
the outside temperature. This is simi-
lar to the condensation on your win-
dows inside your vehicle during the
rain and doesn ’t indicate a problem
with your vehicle. If the water leaks
into the lamp bulb circuitry, have your
vehicle checked by an authorized
HYUNDAI dealer.
Information
• A normally functioning lamp may flicker momentarily to stabilize the
vehicle’s electrical control system.
However, if the lamp goes out after
flickering momentarily, or contin-
ues to flicker, we recommend the
system be checked by an authorized
HYUNDAI dealer.
• The position lamp may not turn on when the position lamp switch is
turned on, but the position lamp and
headlamp switch may turn on when
the headlamp switch is turned on.
This may be caused by network fail-
ure or vehicle electrical control sys-
tem malfunction. If this occurs, we
recommend the system be checked
by an authorized HYUNDAI dealer.
i
i
Prior to replacing a lamp,
depress the foot brake, shift
to P (Park), apply the parking
brake, place the POWER but-
ton in the OFF position and
take the key with you when
leaving the vehicle to avoid
sudden movement of the vehi-
cle and to prevent possible
electric shock.
Be aware the bulbs may be
hot and may burn your fin-
gers.
WARNING
Page 442 of 541

7-57
7
Maintenance
Headlamp and parking lamp
1. Open the hood.
2. Disconnect the negative batterycable.
3. Remove the headlamp bulb cover (1) by turning it counterclockwise.
4. Disconnect the headlamp bulb socket-connector. (for low beam
and high beam)
5. Remove the bulb from the head- lamp assembly.
6. Install a new bulb. 7. Connect the headlamp bulb sock-
et-connector. (for low beam and
high beam)
8. Install the headlamp bulb cover (1) by turning it clockwise.
Information
The headlamp aiming should be
adjusted after an accident or after the
headlamp assembly is reinstalled at an
authorized HYUNDAI dealer.
Turn signal
1. Open the hood.
2. Disconnect the negative batterycable.
3. Remove the socket from the assembly by turning the socket
counterclockwise until the tabs on
the socket align with the slots on
the assembly.
4. Remove the bulb from the socket by pressing it in and rotating it
counterclockwise until the tabs on
the bulb align with the slots in the
socket. Pull the bulb out of the
socket.
i
OAE076030
Parking lampLow beam
OAE076031
High beam
Page 445 of 541
7-60
Maintenance
Headlamp (High)
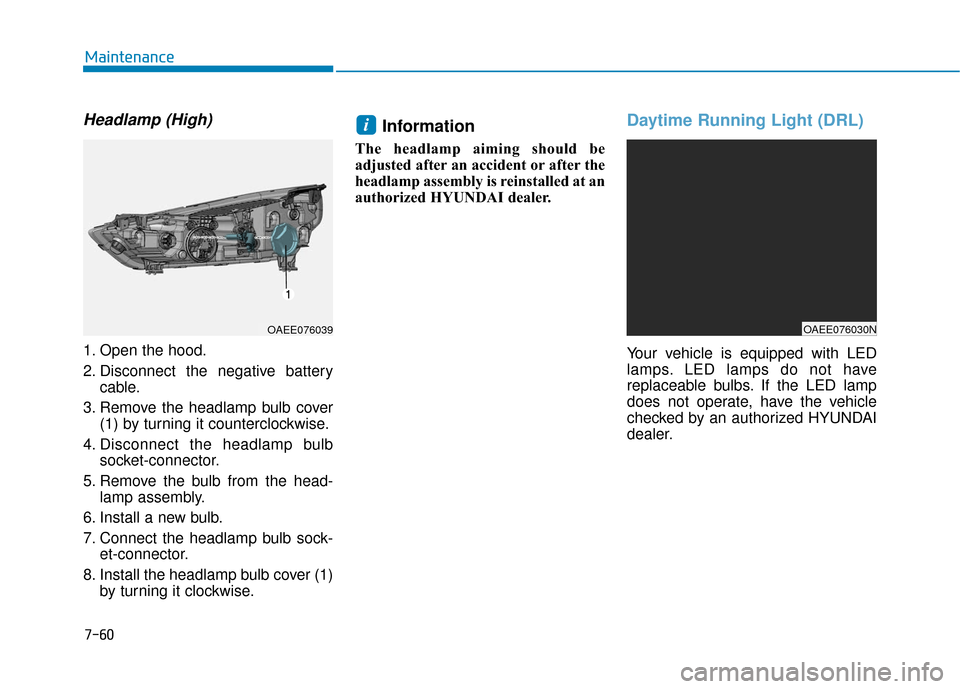
1. Open the hood.
2. Disconnect the negative batterycable.
3. Remove the headlamp bulb cover (1) by turning it counterclockwise.
4. Disconnect the headlamp bulb socket-connector.
5. Remove the bulb from the head- lamp assembly.
6. Install a new bulb.
7. Connect the headlamp bulb sock- et-connector.
8. Install the headlamp bulb cover (1) by turning it clockwise.
Information
The headlamp aiming should be
adjusted after an accident or after the
headlamp assembly is reinstalled at an
authorized HYUNDAI dealer.
Daytime Running Light (DRL)
Your vehicle is equipped with LED
lamps. LED lamps do not have
replaceable bulbs. If the LED lamp
does not operate, have the vehicle
checked by an authorized HYUNDAI
dealer.
i
OAEE076030NOAEE076039
Page 459 of 541
888
Specifications & Consumer information
8
Specifications, Consumer information and Reporting safety defects
8
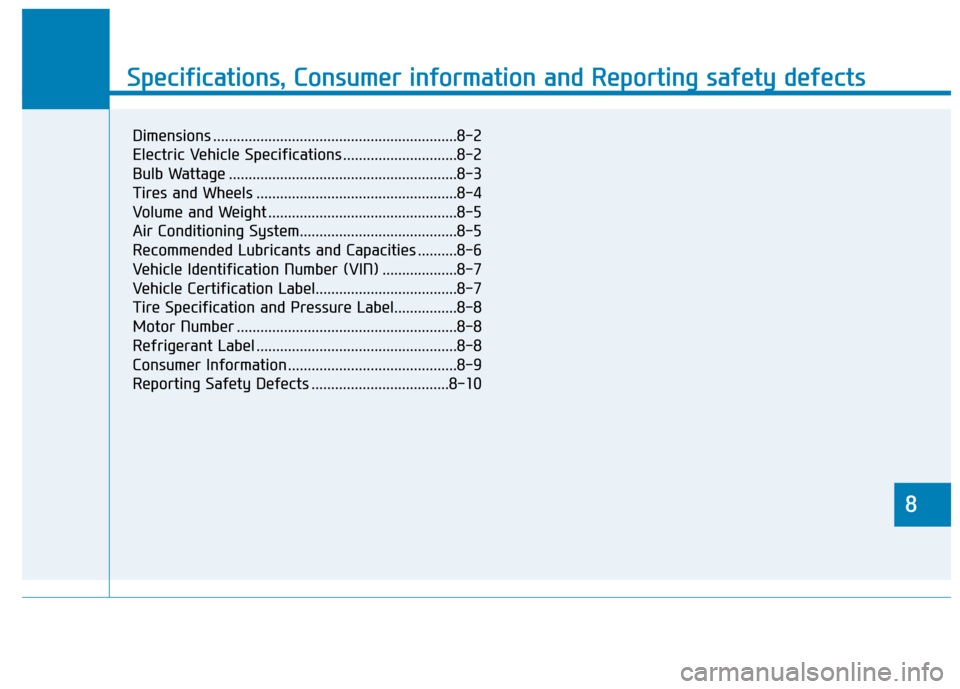
Dimensions ..............................................................8-2
Electric Vehicle Specifications .............................8-2
Bulb Wattage ..........................................................8-3
Tires and Wheels ...................................................8-4
Volume and Weight ................................................8-5
Air Conditioning System........................................8-5
Recommended Lubricants and Capacities ..........8-6
Vehicle Identification Number (VIN) ...................8-7
Vehicle Certification Label....................................8-7
Tire Specification and Pressure Label................8-8
Motor Number ........................................................8-8
Refrigerant Label ...................................................8-8
Consumer Information ...........................................8-9
Reporting Safety Defects ...................................8-10
Page 460 of 541
D
DI
IM
M E
EN
N S
SI
IO
O N
NS
S
8-2
Specifications, Consumer information and Reporting safety defects
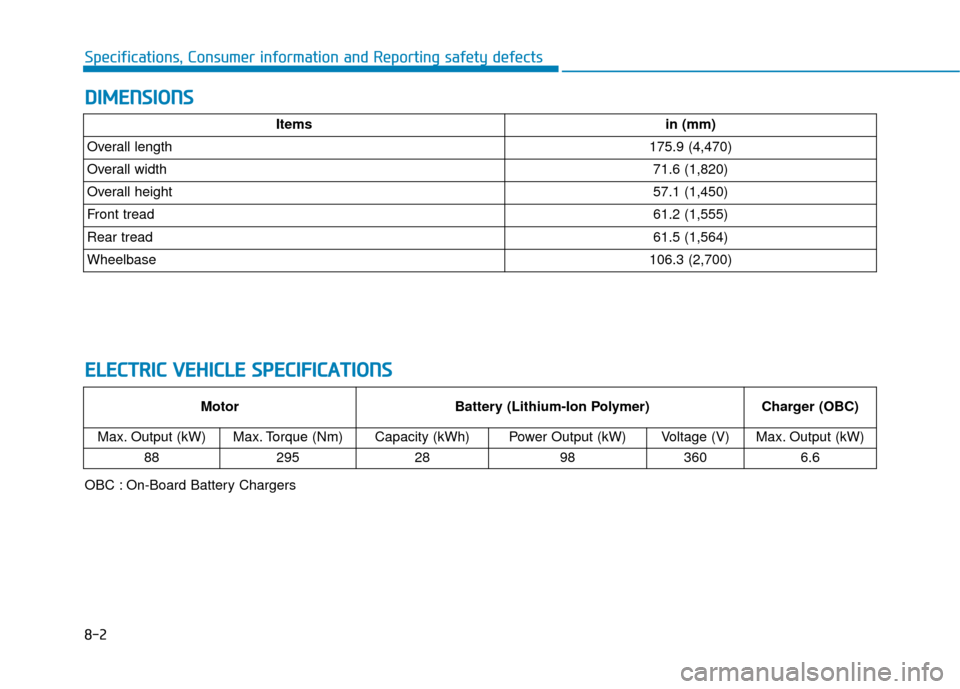
Itemsin (mm)
Overall length175.9 (4,470)
Overall width71.6 (1,820)
Overall height57.1 (1,450)
Front tread61.2 (1,555)
Rear tread 61.5 (1,564)
Wheelbase106.3 (2,700)
E
EL
LE
E C
CT
T R
R I
IC
C
V
V E
EH
H I
IC
C L
LE
E
S
S P
P E
EC
CI
IF
F I
IC
C A
A T
TI
IO
O N
NS
S
Motor Battery (Lithium-Ion Polymer)Charger (OBC)
Max. Output (kW)
Max. Torque (Nm) Capacity (kWh)Power Output (kW)Voltage (V)Max. Output (kW)
88
295 28983606.6
OBC : On-Board Battery Chargers