Page 514 of 541
H32
C
CH
H A
AR
RG
G I
IN
N G
G
E
E L
LE
E C
CT
T R
R I
IC
C
V
V E
EH
H I
IC
C L
LE
E
(
( T
T R
R I
IC
C K
K L
LE
E
C
C H
H A
AR
RG
G E
E)
)
(
( C
C O
O N
NT
T.
.)
)
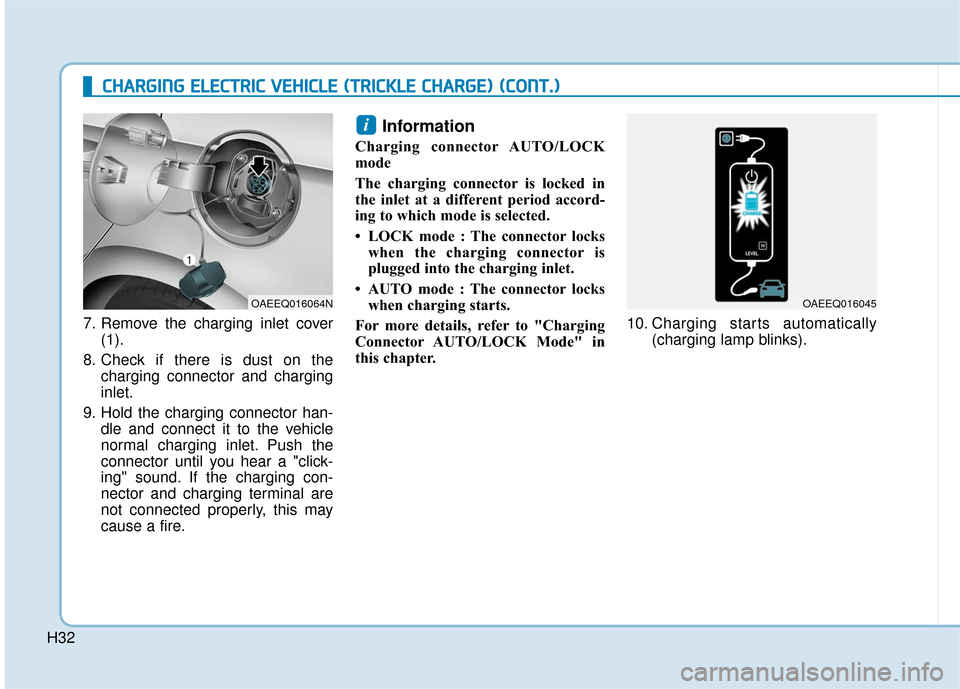
7. Remove the charging inlet cover
(1).
8. Check if there is dust on the charging connector and charging
inlet.
9. Hold the charging connector han- dle and connect it to the vehicle
normal charging inlet. Push the
connector until you hear a "click-
ing" sound. If the charging con-
nector and charging terminal are
not connected properly, this may
cause a fire.
Information
Charging connector AUTO/LOCK
mode
The charging connector is locked in
the inlet at a different period accord-
ing to which mode is selected.
• LOCK mode : The connector lockswhen the charging connector is
plugged into the charging inlet.
• AUTO mode : The connector locks when charging starts.
For more details, refer to "Charging
Connector AUTO/LOCK Mode" in
this chapter. 10. Charging starts automatically
(charging lamp blinks).
i
OAEEQ016045OAEEQ016064N
Page 515 of 541
H33
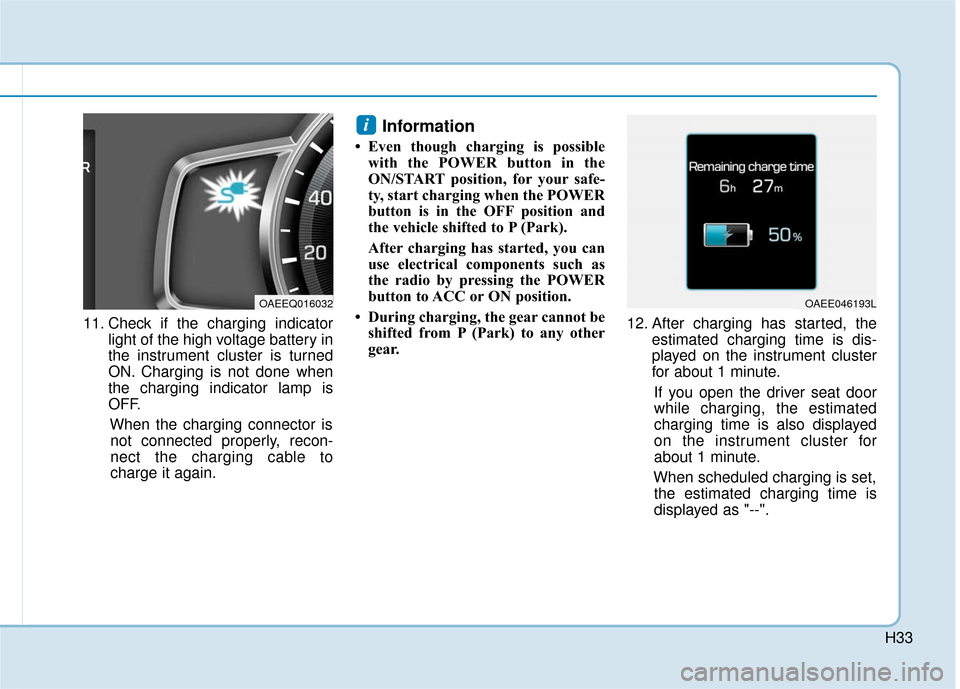
11. Check if the charging indicatorlight of the high voltage battery in
the instrument cluster is turned
ON. Charging is not done when
the charging indicator lamp is
OFF.
When the charging connector isnot connected properly, recon-
nect the charging cable to
charge it again.
Information
• Even though charging is possible with the POWER button in the
ON/START position, for your safe-
ty, start charging when the POWER
button is in the OFF position and
the vehicle shifted to P (Park).
After charging has started, you can
use electrical components such as
the radio by pressing the POWER
button to ACC or ON position.
• During charging, the gear cannot be shifted from P (Park) to any other
gear. 12. After charging has started, the
estimated charging time is dis-
played on the instrument cluster
for about 1 minute.
If you open the driver seat door
while charging, the estimated
charging time is also displayed
on the instrument cluster for
about 1 minute.
When scheduled charging is set, the estimated charging time is
displayed as "--".
i
OAEE046193LOAEEQ016032
Page 516 of 541
H34
C
CH
H A
AR
RG
G I
IN
N G
G
E
E L
LE
E C
CT
T R
R I
IC
C
V
V E
EH
H I
IC
C L
LE
E
(
( T
T R
R I
IC
C K
K L
LE
E
C
C H
H A
AR
RG
G E
E)
)
(
( C
C O
O N
NT
T.
.)
)
Information
Depending on the condition and dura-
bility of the high voltage battery,
charger specifications, and ambient
temperature, the time required for
charging the battery may vary.
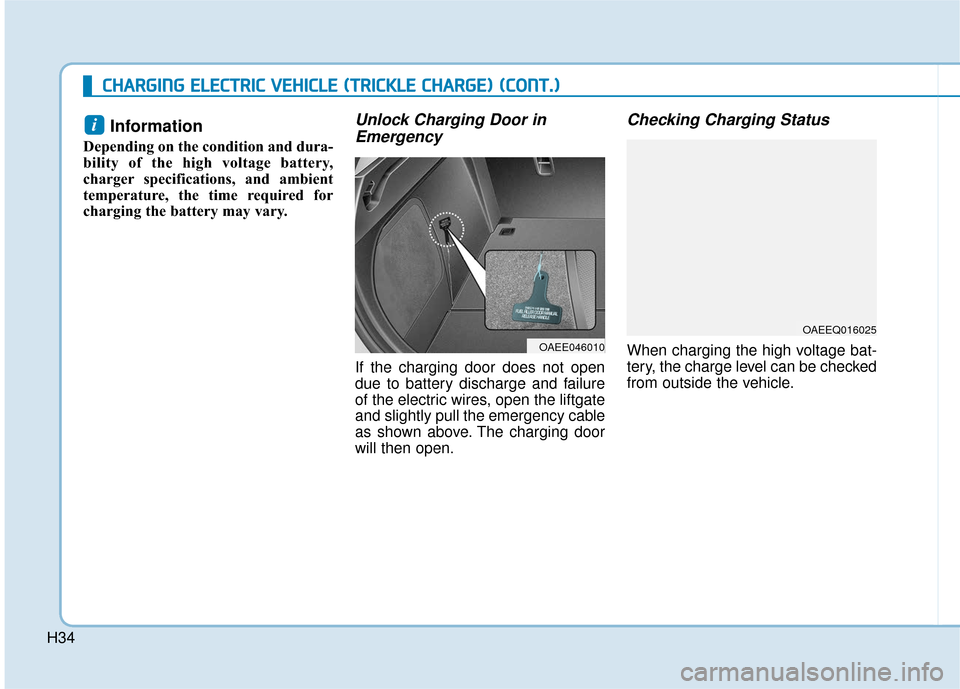
Unlock Charging Door in Emergency
If the charging door does not open
due to battery discharge and failure
of the electric wires, open the liftgate
and slightly pull the emergency cable
as shown above. The charging door
will then open.
Checking Charging Status
When charging the high voltage bat-
tery, the charge level can be checked
from outside the vehicle.
i
OAEE046010
OAEEQ016025
Page 521 of 541
H39
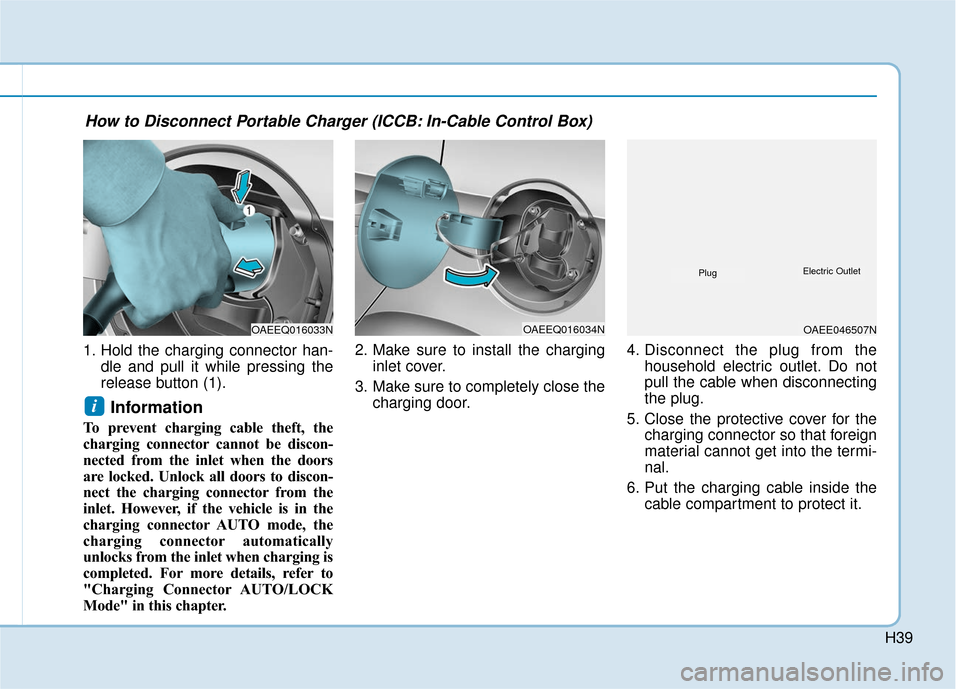
1. Hold the charging connector han-dle and pull it while pressing the
release button (1).
Information
To prevent charging cable theft, the
charging connector cannot be discon-
nected from the inlet when the doors
are locked. Unlock all doors to discon-
nect the charging connector from the
inlet. However, if the vehicle is in the
charging connector AUTO mode, the
charging connector automatically
unlocks from the inlet when charging is
completed. For more details, refer to
"Charging Connector AUTO/LOCK
Mode" in this chapter. 2. Make sure to install the charging
inlet cover.
3. Make sure to completely close the charging door. 4. Disconnect the plug from the
household electric outlet. Do not
pull the cable when disconnecting
the plug.
5. Close the protective cover for the charging connector so that foreign
material cannot get into the termi-
nal.
6. Put the charging cable inside the cable compartment to protect it.
i
OAEEQ016033NOAEEQ016034NOAEE046507N
PlugElectric Outlet
How to Disconnect Portable Charger (ICCB: In-Cable Control Box)
Page 523 of 541
H41
How to Start the Vehicle
1. Holding the smart key, sit in thedriver's seat.
2. Fasten the seat belt before start- ing the vehicle.
3. Make sure to engage the parking brake.
4. Turn OFF all electrical devices.
5. Make sure to depress and hold the brake pedal.
6. While depressing the brake pedal, shift to P (Park).
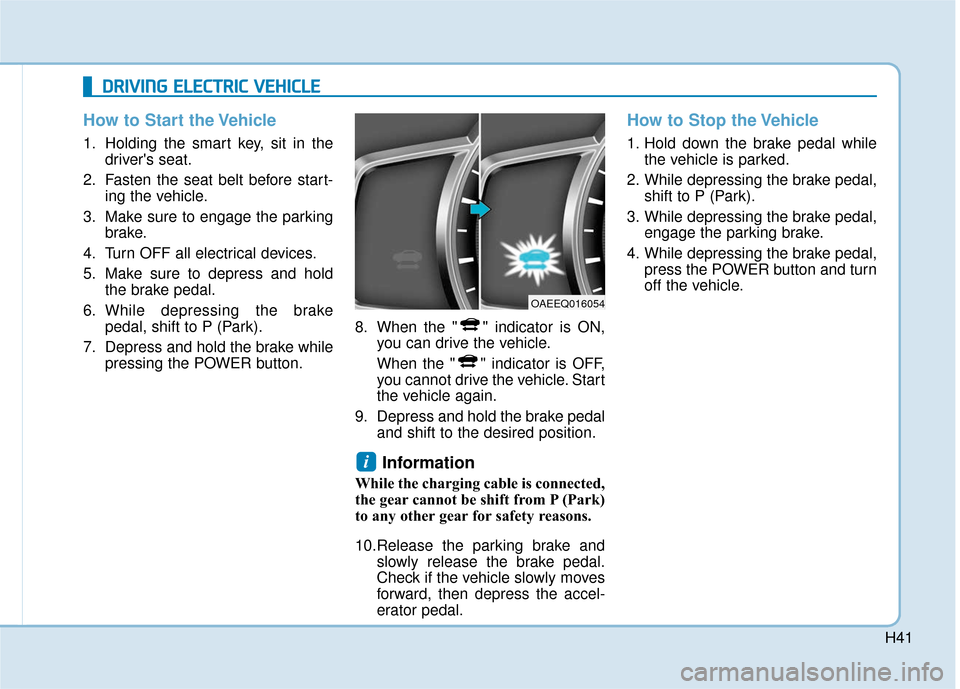
7. Depress and hold the brake while pressing the POWER button. 8. When the " " indicator is ON,
you can drive the vehicle.
When the " " indicator is OFF,
you cannot drive the vehicle. Start
the vehicle again.
9. Depress and hold the brake pedal and shift to the desired position.
Information
While the charging cable is connected,
the gear cannot be shift from P (Park)
to any other gear for safety reasons.
10.Release the parking brake andslowly release the brake pedal.
Check if the vehicle slowly moves
forward, then depress the accel-
erator pedal.
How to Stop the Vehicle
1. Hold down the brake pedal whilethe vehicle is parked.
2. While depressing the brake pedal, shift to P (Park).
3. While depressing the brake pedal, engage the parking brake.
4. While depressing the brake pedal, press the POWER button and turn
off the vehicle.
i
D
DR
RI
IV
V I
IN
N G
G
E
E L
LE
E C
CT
T R
R I
IC
C
V
V E
EH
H I
IC
C L
LE
E
OAEEQ016054
Page 524 of 541
H42
D
DR
RI
IV
V I
IN
N G
G
E
E L
LE
E C
CT
T R
R I
IC
C
V
V E
EH
H I
IC
C L
LE
E
(
( C
C O
O N
NT
T.
.)
)
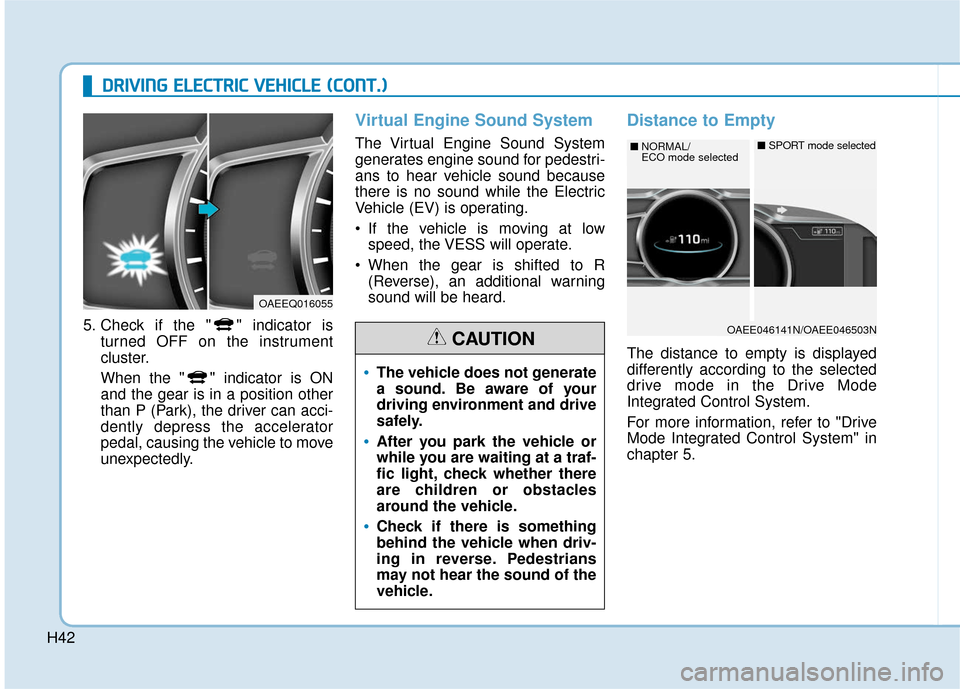
5. Check if the " " indicator is
turned OFF on the instrument
cluster.
When the " " indicator is ON
and the gear is in a position other
than P (Park), the driver can acci-
dently depress the accelerator
pedal, causing the vehicle to move
unexpectedly.
Virtual Engine Sound System
The Virtual Engine Sound System
generates engine sound for pedestri-
ans to hear vehicle sound because
there is no sound while the Electric
Vehicle (EV) is operating.
If the vehicle is moving at lowspeed, the VESS will operate.
When the gear is shifted to R (Reverse), an additional warning
sound will be heard.
Distance to Empty
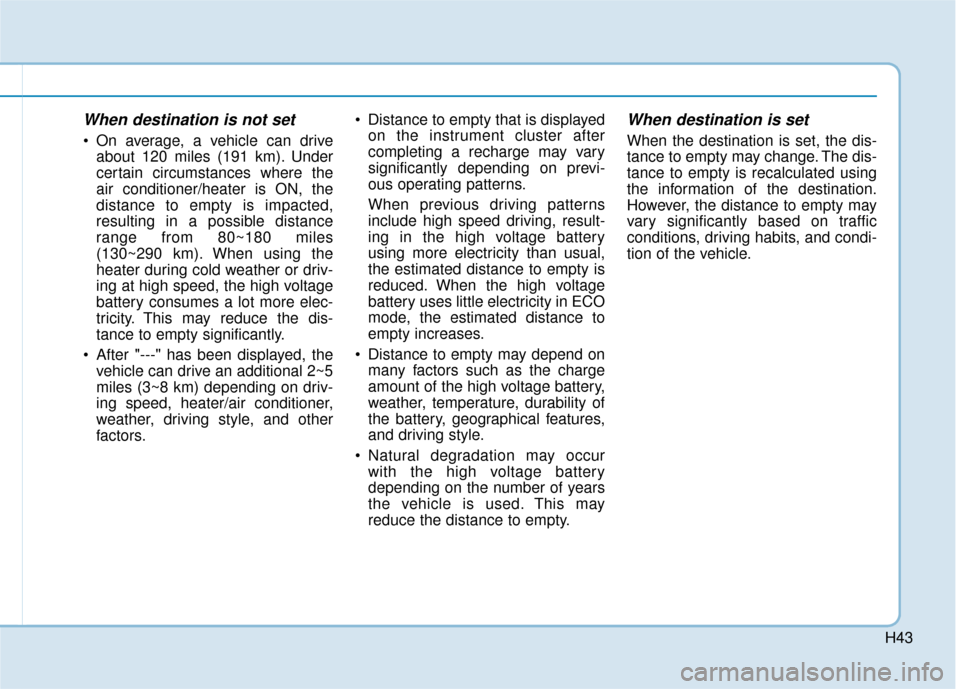
The distance to empty is displayed
differently according to the selected
drive mode in the Drive Mode
Integrated Control System.
For more information, refer to "Drive
Mode Integrated Control System" in
chapter 5.
OAEEQ016055
The vehicle does not generate
a sound. Be aware of your
driving environment and drive
safely.
After you park the vehicle or
while you are waiting at a traf-
fic light, check whether there
are children or obstacles
around the vehicle.
Check if there is something
behind the vehicle when driv-
ing in reverse. Pedestrians
may not hear the sound of the
vehicle.
CAUTIONOAEE046141N/OAEE046503N
■ NORMAL/
ECO mode selected■SPORT mode selected
Page 525 of 541
H43
When destination is not set
On average, a vehicle can driveabout 120 miles (191 km). Under
certain circumstances where the
air conditioner/heater is ON, the
distance to empty is impacted,
resulting in a possible distance
range from 80~180 miles
(130~290 km). When using the
heater during cold weather or driv-
ing at high speed, the high voltage
battery consumes a lot more elec-
tricity. This may reduce the dis-
tance to empty significantly.
After "---" has been displayed, the vehicle can drive an additional 2~5
miles (3~8 km) depending on driv-
ing speed, heater/air conditioner,
weather, driving style, and other
factors. Distance to empty that is displayed
on the instrument cluster after
completing a recharge may vary
significantly depending on previ-
ous operating patterns.
When previous driving patterns
include high speed driving, result-
ing in the high voltage battery
using more electricity than usual,
the estimated distance to empty is
reduced. When the high voltage
battery uses little electricity in ECO
mode, the estimated distance to
empty increases.
Distance to empty may depend on many factors such as the charge
amount of the high voltage battery,
weather, temperature, durability of
the battery, geographical features,
and driving style.
Natural degradation may occur with the high voltage battery
depending on the number of years
the vehicle is used. This may
reduce the distance to empty.
When destination is set
When the destination is set, the dis-
tance to empty may change. The dis-
tance to empty is recalculated using
the information of the destination.
However, the distance to empty may
vary significantly based on traffic
conditions, driving habits, and condi-
tion of the vehicle.
Page 536 of 541

H54
D
DR
RI
IV
V I
IN
N G
G
E
E L
LE
E C
CT
T R
R I
IC
C
V
V E
EH
H I
IC
C L
LE
E
(
( C
C O
O N
NT
T.
.)
)
Aux. Battery Saver+
The Aux. Battery Saver+ is a function
that monitors the charging status of
the 12 V auxiliary battery.
If the auxiliary battery level is low, the
main high voltage battery charges
the auxiliary battery.
Information
The Aux. Battery Saver+ function will
be ON when the vehicle is delivered. If
the function is not needed, you may
turn it off in the Users Settings mode
on the cluster. For more information,
refer to the following page.
Mode
Cycle Mode :
When the POWER button is in the
OFF or ACC position with all doors,
hood and liftgate closed, the Aux.
Battery Saver+ activates according
to the auxiliary battery status.
Automatic Mode :
When the POWER button is in the
ON position with the charging con-
nector plugged in, the function acti-
vates according to the auxiliary bat-
tery status to prevent overdischarge
of the auxiliary battery.Information
• The Aux. Battery Saver+ activates maximum of 20 minutes. If the Aux.
Battery Saver+ function activates
more than 10 times consecutively
when in the automatic mode, the
function will stop activating, judg-
ing that there is a problem with the
auxiliary battery. In this case, drive
the vehicle for some period of time
or if the auxiliary battery returns to
normal, the function will start acti-
vating.
• The Aux. Battery Saver+ function cannot prevent battery discharge if
the auxiliary battery is damaged,
worn out, used as a power supply or
unauthorized electronic devises are
used.
• If the Aux. Battery Saver+ function was activated, a message will be dis-
played on the instrument cluster
and the high voltage battery level
may have decreased.
i
i