Page 177 of 534
3-92
Convenient features of your vehicle
ItemsExplanation
Fuel Economy Reset
Off : The average fuel economy will not reset automatically whenever refueling.
After Ignition : When the engine has been OFF for 4 hours or longer the average fuel economywill reset automatically.
After Refueling : The average fuel economy will reset automatically after adding 6 liters (1.6 gal- lons) of fuel or more and after driving speed exceeds 1 km/h (1 mph).
For more details, refer to "Trip Computer" in this chapter.
Fuel Economy UnitTo select the fuel economy unit. (km/L, L/100 km)
Temperature UnitTo select the temperature unit.
(°C,°F)
Other
❈❈ The information provided may differ depending on which functions are applicable to your vehicle.
Reset
You can reset the menus in the User Settings Mode. All menus in the User Settings Mode are reset to factory set-
tings, except language and service interval.
ItemsExplanation
LanguageTo select language.
Language
Page 185 of 534
3-100
Convenient features of your vehicle
The driving information will continue to be counted while the engine is still
running (for example, when the vehi-
cle is in traffic or stopped at a stoplight).Information
The vehicle must be driven for a min-
imum of 300 meters (0.19 miles) since
the last ignition key cycle before the
average fuel economy will be recalcu-
lated.Digital speedometer
This digital speedometer display
shows the speed of the vehicle.
Smart shift
This mode displays the currently
selected drive mode.
For more details, refer to "Drive
Mode Integrated Control System''
in chapter 5.
i
OIK047151OIK047179N
Page 192 of 534

3-107
Convenient features of your vehicle
3
The lane change signals will blink 3,
5 or 7 times.
You can activate or deactivate the
One Touch Turn Signal function or
choose the number of blinking (3, 5,or 7) from the User Settings Mode
(Light) on the LCD display (if
equipped with supervision cluster).
For more details, refer to the "LCD
Display" section in this chapter.
Battery saver function
The purpose of this feature is to help
prevent the battery from being dis-
charged. The system automatically
turns off the parking lamp when the
key is removed (remote key) or when
the driver turns the engine off (smart
key) and opens the driver-side door.
With this feature, the parking lamps
will turn off automatically if the driver
parks on the side of road at night.
If necessary, to keep the lamps on
when the engine is turned off, perform
the following:
1) Open the driver-side door.
2) Turn the parking lamps OFF andON again using the light switch on
the steering column.
Headlamp delay function
(if equipped)
If the key is removed from the ignition
switch or placed in the ACC positionor the LOCK/OFF position with theheadlamps ON, the headlamps
(and/or parking lamps) remain on for
about 5 minutes. However, if the dri-
ver's door is opened and closed, the
headlights are turned off after 15
seconds. Also, with the engine off if
the driver's door is opened and
closed, the headlamps (and/or park-
ing lamps) are turned off after 15
seconds.
The headlamps (and/or parking
lamps) can be turned off by pressing
the lock button on the remote key or
smart key twice or turning the light
switch to the OFF or AUTO position.
You can activate or deactivate the
Headlamp Delay function from theUser Settings Mode (Light) on the
LCD display (if equipped with super-vision cluster).
For more details, refer to the "LCD
Display" section in this chapter. If the driver exits the vehicle
through another door besides the
driver door, the battery saver func-tion does not operate and the
headlamp delay function does not
turn OFF automatically.
This may cause the battery to dis-
charge. To avoid battery dis-
charge, turn OFF the headlamps
manually from the headlamp
switch before exiting the vehicle.
NOTICE
Page 195 of 534

3-110
Convenient features of your vehicle
Vanity mirror lamp (if equipped)
Push the switch to turn the light on or
off.
: The lamp will turn on if thisbutton is pressed.
: The lamp will turn off if this button is pressed.
Always have the switch in the off
position when the vanity mirror
lamp is not in use. If the sunvisor
is closed without the lamp off, it
may discharge the battery or dam-
age the sunvisor.
Welcome System (if equipped)
Welcome light
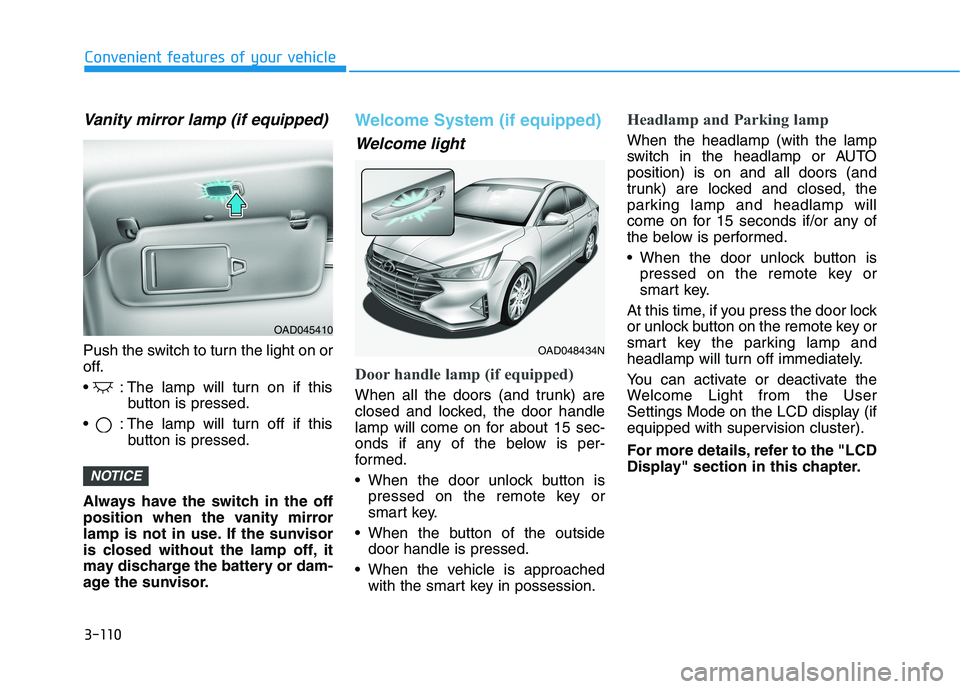
Door handle lamp (if equipped)
When all the doors (and trunk) are
closed and locked, the door handle
lamp will come on for about 15 sec-
onds if any of the below is per-
formed.
When the door unlock button is pressed on the remote key or
smart key.
When the button of the outside door handle is pressed.
When the vehicle is approached with the smart key in possession.
Headlamp and Parking lamp
When the headlamp (with the lamp
switch in the headlamp or AUTOposition) is on and all doors (and
trunk) are locked and closed, the
parking lamp and headlamp will
come on for 15 seconds if/or any of
the below is performed.
When the door unlock button ispressed on the remote key or
smart key.
At this time, if you press the door lock
or unlock button on the remote key or
smart key the parking lamp and
headlamp will turn off immediately.
You can activate or deactivate the
Welcome Light from the User
Settings Mode on the LCD display (if
equipped with supervision cluster).
For more details, refer to the "LCD
Display" section in this chapter.
NOTICE
OAD045410
OAD048434N
Page 234 of 534
![HYUNDAI ELANTRA SPORT 2018 Owners Manual 3-149
Convenient features of your vehicle
3
Wireless Cellular Phone
Charging System (if equipped)
[A]: Indicator light, [B]: Charging pad
On certain models, the vehicle comes equipped with a wireles HYUNDAI ELANTRA SPORT 2018 Owners Manual 3-149
Convenient features of your vehicle
3
Wireless Cellular Phone
Charging System (if equipped)
[A]: Indicator light, [B]: Charging pad
On certain models, the vehicle comes equipped with a wireles](/manual-img/35/56087/w960_56087-233.png)
3-149
Convenient features of your vehicle
3
Wireless Cellular Phone
Charging System (if equipped)
[A]: Indicator light, [B]: Charging pad
On certain models, the vehicle comes equipped with a wireless cel-
lular phone charger.
The system is available when all doors are closed, and when the igni-
tion switch is ON.
To charge a cellular phone
The wireless cellular phone charging
system charges only the Qi-enabled
cellular phones ( ). Read the label
on the cellular phone accessory
cover or visit your cellular phone
manufacturer's website to check
whether your cellular phone supports
the Qi technology.
The wireless charging process starts
when you put a Qi-enabled cellularphone on the wireless charging unit.
1. Remove other items, including thesmart key, from the wireless charg-
ing unit. If not, the wireless charg-
ing process may be interrupted.Place the cellular phone on the
center of the charging pad ( ).
2. The indicator light is orange when the cellular phone is charging. The
indicator light turns green when
phone charging is complete.
3. You can turn ON or OFF the wire- less charging function in the user
settings mode on the instrument
cluster. For further information,
refer to the "LCD Display Modes"
in this chapter. If your cellular phone is not charging:
- Slightly change the position of the
cellular phone on the charging pad.
- Make sure the indicator light is orange.
The indicator light will blink orange for10 seconds if there is a malfunction inthe wireless charging system.
In this case, temporarily stop the
charging process, and re-attempt to
charge your cellular phone again.
The system warns you with a mes-
sage on the LCD display if the cellularphone is still on the wireless charging
unit after the engine is turned OFFand the front door is opened.
Information
For some manufacturer's cellular
phones, the system may not warn you
even though the cellular phone is left
on the wireless charging unit. This is
due to the particular characteristic of
the cellular phone and not a malfunc-
tion of the wireless charging.
i
OAD048575L
Page 236 of 534

3-151
Convenient features of your vehicle
3
USB Charger (if equipped)
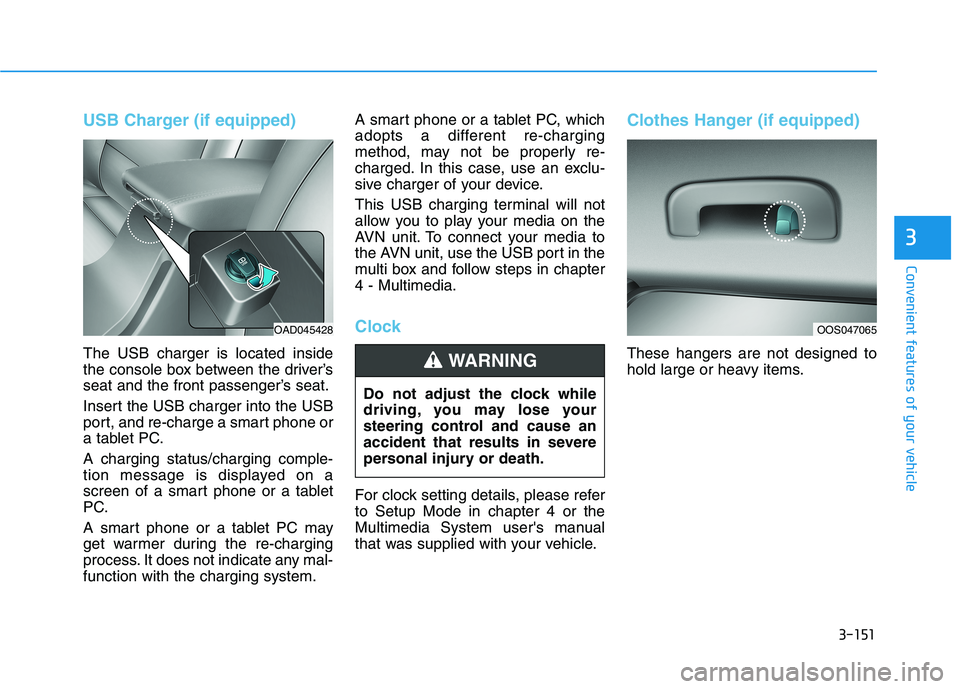
The USB charger is located inside
the console box between the driver’s
seat and the front passenger’s seat.
Insert the USB charger into the USB
port, and re-charge a smart phone or
a tablet PC. A charging status/charging comple-
tion message is displayed on a
screen of a smart phone or a tablet
PC.
A smart phone or a tablet PC may
get warmer during the re-charging
process. It does not indicate any mal-function with the charging system.A smart phone or a tablet PC, which
adopts a different re-charging
method, may not be properly re-
charged. In this case, use an exclu-
sive charger of your device.
This USB charging terminal will not
allow you to play your media on the
AVN unit. To connect your media to
the AVN unit, use the USB port in the
multi box and follow steps in chapter4 - Multimedia.
Clock
For clock setting details, please refer to Setup Mode in chapter 4 or the
Multimedia System user's manual
that was supplied with your vehicle.
Clothes Hanger (if equipped)
These hangers are not designed to
hold large or heavy items.
Do not adjust the clock while
driving, you may lose your
steering control and cause an
accident that results in severe
personal injury or death.WARNING
OAD045428OOS047065
Page 241 of 534
4-4
Multimedia System
MODE (3)
Press the MODE button to toggle
through Radio, XM or AUX modes.
MUTE ( ) (4)
Press the MUTE button to mute thesound.
Press the MUTE button again to activate the sound.
Information
Detailed information for audio control
buttons is described later in this chap-
ter or in the Car Multimedia User's
Manual that was supplied with this
vehicle
Bluetooth®Wireless
Technology Hands-Free
You can use the phone wirelessly by using the Bluetooth®Wireless
Technology. (1) Call / Answer button
(2) Call end button(3) Microphone
Detailed information for the
Bluetooth®Wireless Technology
hands-free is described later in this chapter or in the Car Multimedia
User's Manual.
Audio (Display Audio) / Video /
Navigation System (AVN)
Detailed information for the AVN sys-
tem is described in the Car
Multimedia User's Manual.
i
OAD048447N
■ Type A
OAD045430
■Type B
Page 245 of 534

5-4
Driving your vehicle
Before Entering the Vehicle
• Be sure all windows, outside mir-ror(s), and outside lights are clean
and unobstructed.
Remove frost, snow, or ice.
Visually check the tires for uneven wear and damage.
Check under the vehicle for any sign of leaks.
Be sure there are no obstacles behind you if you intend to back up.
Before Starting
Make sure the hood, the trunk, andthe doors are securely closed and
locked.
Adjust the position of the seat and steering wheel.
Adjust the inside and outside rearview mirrors.
Verify all the lights work.
Fasten your seat belt. Check that all passengers have fastened their
seat belts.
Check the gauges and indicators in the instrument panel and the mes-
sages on the instrument display
when the ignition switch is in theON position.
Check that any items you are car- rying are stored properly or fas-
tened down securely.
BBEEFFOO RREE DD RRIIVV IINN GG
To reduce the risk of SERIOUS
INJURY or DEATH, take the fol-
lowing precautions:
•ALWAYS wear your seat belt.
All passengers must be prop-
erly belted whenever the vehi-
cle is moving. For more
details, refer to "Seat Belts" in
chapter 2.
Always drive defensively.
Assume other drivers or pedes-
trians may be careless andmake mistakes.
Stay focused on the task of
driving. Driver distraction cancause accidents.
Leave plenty of space between
you and the vehicle in front of
you.
WARNING