2018 CITROEN DS3 mirror
[x] Cancel search: mirrorPage 89 of 248

87
Operating fault
In the event of a fault with the
s unshine sensor, the lighting comes
on, this warning lamp is displayed
in the instrument panel and/or
a
message appears in the screen,
accompanied by an audible signal.
Contact the dealer network or a
qualified
workshop.
Do not cover the sunshine sensor, linked
with the rain sensor and located in the
centre of the windscreen behind the
interior mirror, as this would disable the
associated functions.
In fog or snow, the sunshine sensor may
detect sufficient light. In this case, the
lighting will not come on automatically.
Automatic guide-me-home
lighting
When the automatic illumination of headlamps
is activated, if the ambient light level is low,
the dipped beam headlamps remain lit when
switching off the ignition.
Programming
Activation, deactivation and the
duration of the guide-me-home
lighting are set in the vehicle
configuration or parameters menu
(except monochrome screen A
where the duration is fixed: 60
s).
LED daytime running
lamps
This daytime lighting, which is a signature of
t he vehicle, consists of two sets of six LEDs
located on the vertical scoop under each
headlamp.
When starting the vehicle, the daytime running
lamps come on automatically, if the lighting
control stalk is in the 0
or AUTO position.
If the sidelamps and headlamps are switched
on manually or automatically, the daytime
running lamps go off.
Headlamp beam height
adjustment
To avoid causing a nuisance to other road
u sers, the height of the headlamp beams
should be adjusted according to the load in the
vehicle.
0. Driver only or driver + front passenger.
-. Intermediate setting.
1. 5
people.
-. 5
people + load in the boot.
2. Driver only + maximum authorised load
in the boot. This position is enough not to
dazzle. The higher positions may limit the
area illuminated by the headlamps.
The initial setting is position 0.
04
Lighting and visibility
Page 91 of 248

89
Reverse gear
When reverse gear is engaged, the rear wiper
will come into operation if the windscreen
wipers are operating.
Programming
The function is activated or deactivated via the
vehicle configuration or settings menu.
This function is activated by default.
Windscreen wash
Pull the wiper stalk towards you. The
windscreen wash, then the windscreen wipers
operate for a pre-determined time.
Automatic windscreen wipers
The windscreen wipers operate automatically
once rainfall is detected (sensor behind the
rear view mirror), adapting their speed to the
intensity of the rainfall without any action on the
part of the driver.
Switching on
It is controlled manually by the driver by
pushing the control to the AUTO position.
It is accompanied by illumination of
this indicator lamp in the instrument
panel and the display of a
message.
Stopping
It is controlled manually by the driver by moving
the control upwards and returning it back into
position "0".
It is accompanied by this indicator
lamp going off in the instrument
panel and the display of a
message
in the screen. If the ignition has been off for more than
one minute, the automatic rain sensitive
windscreen wipers must be reactivated by
pushing the control stalk downwards.
Malfunction
If a fault occurs with automatic wiping, the
w ipers will operate in intermittent mode.
Have them checked in the dealer network or by
a
qualified workshop.
Do not cover the rain sensor, linked with
the sunshine sensor and located at the top
centre of the windscreen, behind the rear
view mirror.
When using an automatic car wash, switch
off the automatic rain sensitive wipers.
In winter, it is advisable to wait until the
windscreen is completely clear of ice before
activating the automatic rain sensitive wipers.
04
Lighting and visibility
Page 146 of 248

144
Deactivation/activation of the
front and rear parking sensors
You can activate or deactivate the function via
the vehicle configuration or settings menu.
The system's status is saved when the ignition
is switched off.The function will be deactivated
automatically if a
trailer is being towed or
a
bicycle carrier is fitted (vehicle fitted with
a
towbar or an approved bicycle carrier).
Malfunction
In the event of a system fault when
enga ging reverse gear, this warning
lamp is displayed in the instrument
panel and/or a
message appears
in the screen, accompanied by an
audible signal (short beep).
Contact the dealer network or
a
qualified workshop to have the
system checked.
In bad or wintry weather, ensure that the
sensors are not covered with mud, ice or
snow. When reverse gear is engaged, an
audible signal (long beep) indicates that
the sensors may be dirty.
Certain sound sources (motorcycle,
lorry, pneumatic drill, etc.) may trigger
the audible signals of the parking sensor
system.
The front parking sensors are interrupted if
the vehicle stops for more than three seconds
in for ward gear, if no further obstacles are
detected or when the speed of the vehicle
exceeds 6
mph (10
km/h).
The sound from the loudspeaker (front
or rear) helps to indicate whether the
obstacle is in front or behind.
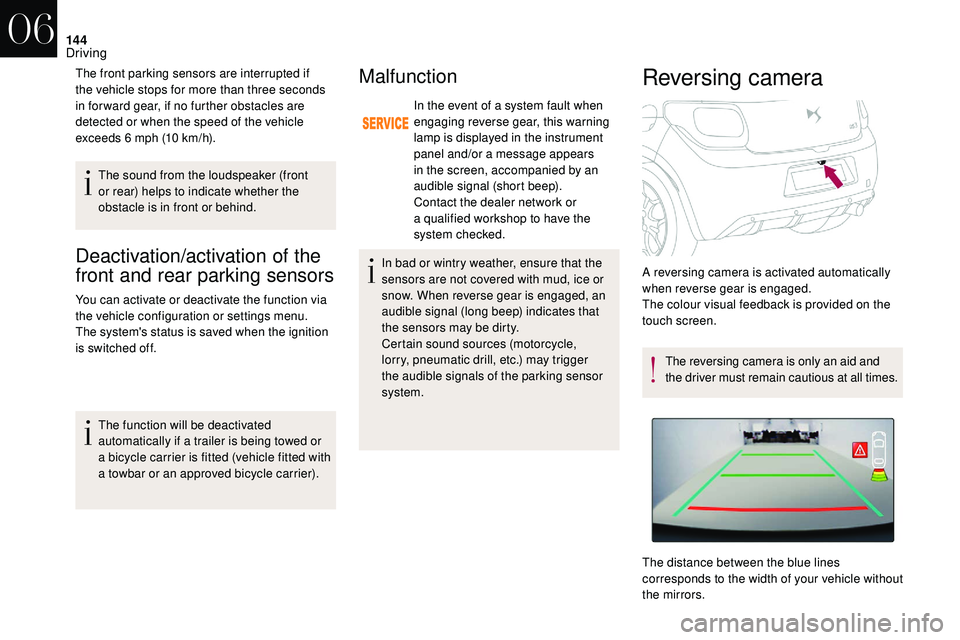
Reversing camera
The reversing camera is only an aid and
the driver must remain cautious at all times.
The distance between the blue lines
corresponds to the width of your vehicle without
the mirrors. A reversing camera is activated automatically
when reverse gear is engaged.
The colour visual feedback is provided on the
touch screen.
06
Driving
Page 178 of 248

176
Integrated direction indicator side
repeaters
Contact the dealer network or a qualified
w orkshop to obtain the module.
LED foglamps
LED daytime running lampsRear lamps
Model with conventional bulb lamps
1. Brake/sidelamps (P21/5W).
2. Sidelamps (P5W).
3. Direction indicators (PY21W amber).
4. Foglamp (PR21W red) or reversing lamp
(P21W ).
Model with rear 3D lamps
F Insert a screwdriver towards the centre of
the repeater between the repeater and the
base of the mirror.
F
L
ever with the screwdriver to extract the
repeater and pull it out.
F
D
isconnect the connector from the repeater.
F
R
eplace the module.
To refit, carry out these operations in reverse
o r d e r. For the replacement of this type of diode
lamp, contact the dealer network or a
qualified
workshop.
For the replacement of this type of diode
lamp, contact the dealer network or a
qualified
workshop. 1.
3D LED sidelamps.
2. LED brake/sidelamps.
08
In the event of a breakdown
Page 185 of 248

183
Table of fuses
Fuse no.Rating Functions
FH36 5
ATrailer inter face unit.
FH37 -Not used.
FH38 20
AHi-Fi amplifier.
FH39 20
AHeated seats.
FH40 40
ATrailer inter face unit.
Fuse no. Rating Functions
F1 15
ARear wiper.
F2 -Not used.
F3 5
AAirbags and pyrotechnic pretensioners control unit.
F4 10
AAir conditioning, clutch pedal switch, electrochrome mirror, Diesel particle filter pump, diagnostic socket, air flow
meter (Diesel).
F5 30
AElectric window panel, passenger electric window control, front electric window motor.
F6 30
ADriver's electric window motor.
F7 5
ACourtesy lamp, glove box lighting.
08
In the event of a breakdown
Page 186 of 248

184
There are two fuses for the convertible roof.F
T
o unclip the boot's upper trim panel, pull it
down, starting on the left side.
F
R
emove the trim panel, tilting it downwards.
Fuse no.
Rating Functions
F8 20
A Multifunction screen, audio system, audio navigation system,
alarm control unit, alarm siren.
F9 30
A 12
V socket, portable navigation systems support power supply.
F10 15
A Steering mounted controls.
F11 15
A Anti-theft, diagnostic socket, automatic gearbox control unit.
F12 15
A Rain/brightness sensor, trailer interface unit.
F13 5
A Main ignition stop switch, engine interface unit.
F14 15
A Parking sensors control unit, airbags control unit, instrument
panel, automatic air conditioning, USB socket, Hi-Fi amplifier.
F15 30
A Locking.
F16 -Not used.
F17 40
A Demisting of the rear window and door mirrors.
SH -PARC shunt.
Fuses beneath the rear parcel
shelf
F Change the fuses.
08
In the event of a breakdown
Page 206 of 248

2
First steps
Use the buttons below the touch screen to
access the menu carousel, then press the
virtual buttons in the touch screen.
Each menu is displayed in one or two pages
(primary page and secondary page).In very hot conditions, the system may
go into stand-by (screen and sound
completely off) for a
minimum period of
5
minutes.
*
D
epending on equipment.
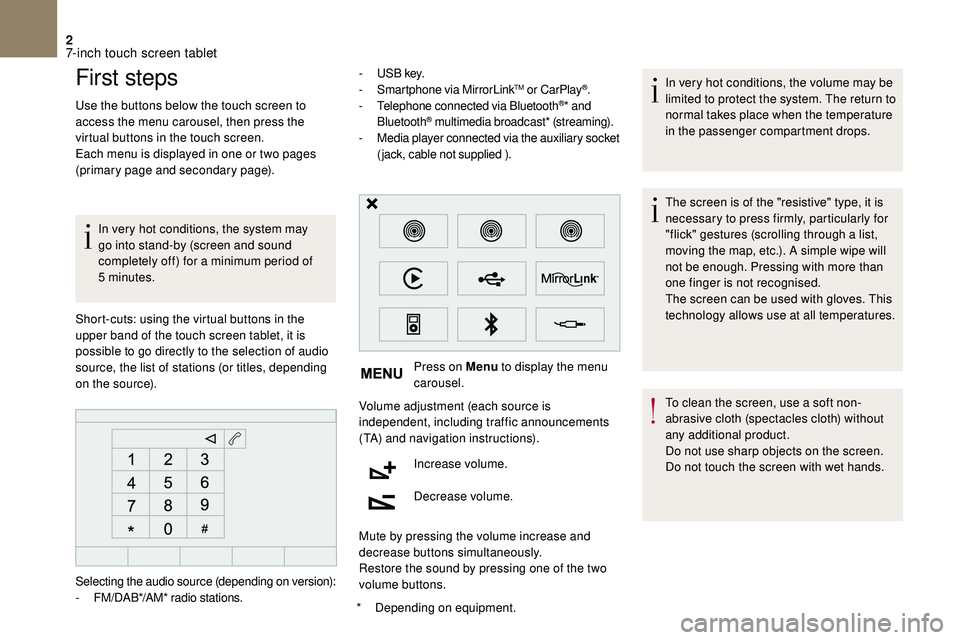
Short-cuts: using the virtual buttons in the
upper band of the touch screen tablet, it is
possible to go directly to the selection of audio
source, the list of stations (or titles, depending
on the source). -
U
S B key.
- S martphone via MirrorLink
TM or CarPlay®.
- T
elephone connected via Bluetooth®* and
Bluetooth® multimedia broadcast* (streaming).
- M
edia player connected via the auxiliary socket
(jack, cable not supplied ).
Press on Menu to display the menu
carousel.
Volume adjustment (each source is
independent, including traffic announcements
(TA) and navigation instructions).
Increase volume.
Decrease volume.
Mute by pressing the volume increase and
decrease buttons simultaneously.
Restore the sound by pressing one of the two
volume buttons. In very hot conditions, the volume may be
limited to protect the system. The return to
normal takes place when the temperature
in the passenger compartment drops.
The screen is of the "resistive" type, it is
necessary to press firmly, particularly for
"flick" gestures (scrolling through a
list,
moving the map, etc.). A simple wipe will
not be enough. Pressing with more than
one finger is not recognised.
The screen can be used with gloves. This
technology allows use at all temperatures.
To clean the screen, use a
soft non-
abrasive cloth (spectacles cloth) without
any additional product.
Do not use sharp objects on the screen.
Do not touch the screen with wet hands.
Selecting the audio source (depending on version):
-
F
M/DAB*/AM* radio stations.
7-inch touch screen tablet
Page 207 of 248

3
Steering mounted controls
Radio: select previous/next preset
station.
Media: select the genre/artist/
folder from the list depending on
classification.
Select the previous/next item in
a menu.
Radio: automatic search for a
higher
frequency.
Media: select the next track.
Media, press and hold: fast for ward.
Skip in the list.
Change the audio source.
Confirm a
selection.
Call/end call on the telephone.
Press for more than 2
seconds:
access telephone main menu.
Radio: automatic search for a
lower
frequency.
Media: select the previous track.
Media, press and hold: rewind.
Skip in the list. Increase volume.
Decrease volume.
Mute on: cut the sound by
simultaneously pressing the volume
up and down buttons.
Mute off: press one of the two
volume buttons.
Menus
Navigation
(Depending on equipment)
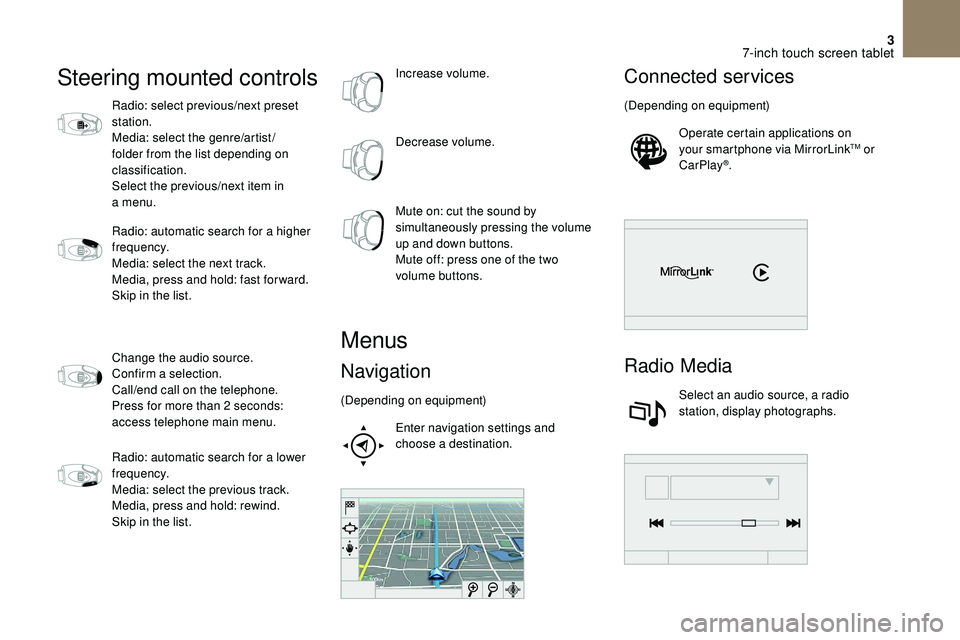
Enter navigation settings and
choose a
destination.
Connected services
(Depending on equipment)Operate certain applications on
your smartphone via MirrorLink
TM or
CarPlay®.
Radio Media
Select an audio source, a radio
station, display photographs.
7-inch touch screen tablet