Page 107 of 248

105
Child seat at the front
(Refer to the legislation in force in your country
before installing your child on this seat.)
"Rearward facing"
When a "rear ward facing" child seat is installed
on the front passenger seat, adjust the
vehicle's seat to the intermediate longitudinal
and highest position, with the backrest upright.
The passenger's front airbag must be
deactivated. Otherwise, the child risks
being seriously injured or killed if the
airbag is deployed .
"Forward facing"
When a for ward facing child seat is installed on
t he front passenger seat , adjust the vehicle's
seat to the intermediate longitudinal and
highest position with seat backrest upright and
leave the passenger's front airbag activated.
Ensure that the seat belt is correctly
tensioned.
For child seats with a
support leg, ensure
that this is in firm contact with the floor. If
necessary, adjust the passenger seat. Passenger seat adjusted to the intermediate
longitudinal and highest position.Deactivating the
passenger's front airbag
Never install a rear ward facing child
r estraint system on a seat protected by an
active front airbag. This could cause the
death or serious injury of the child.
The warning label present on both sides of the
passenger sun visor repeats this advice.
In line with current legislation, the following
tables contain this warning in all of the
languages required.
05
Safety
Page 208 of 248

4
Telephone
Connect a telephone by Bluetooth®.
Access to the CarPlay® function
after connection of your smartphone
by USB cable.
Settings
Adjust the settings for sound
(balance, ambience, etc.) and the
display (language, units, date, time,
e t c .) .
Driving
Access the trip computer.
Activate, deactivate or configure
certain vehicle functions.
Navigation
Selecting a destination
To a new destination
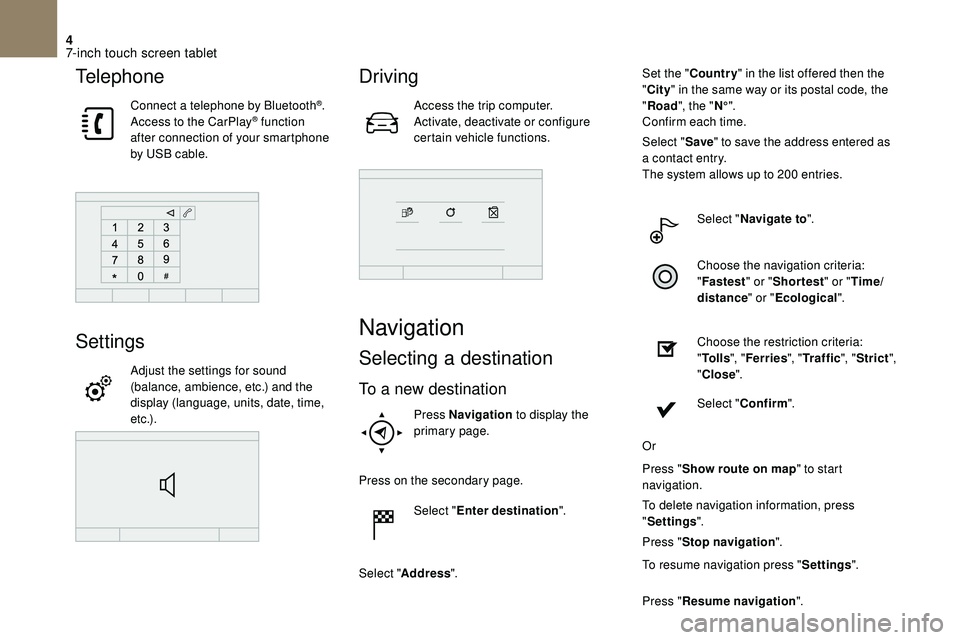
Press Navigation to display the
primary page.
Press on the secondary page. Select "Enter destination ".
Select " Address ". Set the "
Country " in the list offered then the
" City " in the same way or its postal code, the
" Road ", the " N°".
Confirm each time.
Select " Save" to save the address entered as
a contact entry.
The system allows up to 200 entries.
Select " Navigate to ".
Choose the navigation criteria:
" Fastest " or "Shortest " or "Time/
distance " or "Ecological".
Choose the restriction criteria:
" To l l s ", "Ferries ", "Traffic ", "Strict ",
" Close ".
Select " Confirm ".
Or
Press " Show route on map " to start
navigation.
To delete navigation information, press
" Settings ".
Press " Stop navigation ".
To resume navigation press " Settings".
Press " Resume navigation ".
7-inch touch screen tablet
Page 216 of 248

12
- "Ambience " (choice of 6 musical ambiences).- "Bass ".- "Tr e b l e ".- "Loudness " (Activate/Deactivate).- "Balance " ("Driver ", "All passengers ",
" Front only ").
- "Audible response from touch screen ".- "Volume linked to speed " (Activate/
Deactivate).
Onboard audio: Arkamys© Sound Staging
optimises the distribution of sound in the
passenger compartment.
Modifying system settings
Press Settings to display the
primary page.
Press on the secondary page. Select "System Settings ".
Select " Units" to change the units of distance,
fuel consumption and temperature.
Select " Delete data " to delete the list of recent
destinations, personal points of interest,
contacts in the list. Check the settings then select
"
Delete ".
Select " Factory settings " to return to the
original settings.
Press Settings to display the
primary page.
Press on the secondary page. Select "Screen settings ".
Activate or deactivate: " Activate
automatic text scrolling " and
" Activate animations ".
Press Settings to display the
primary page.
Press on the secondary page. Select "Time/Date " to change the
time zone, synchronisation with
GPS, the time and its format, then
the date.
The system does not automatically
manage the change between winter and
summer time (depending on country). Select "
Languages " to change the
language.
Select " Calculator " to display
a
calculator.
Select " Calendar " to display
a
calendar.
Connected services
MirrorLinkTM
MirrorLink™ smartphone
connection
As a safety measure and because it
r equires sustained attention by the driver,
using a
smartphone when driving is
prohibited.
All operations must be done with the
vehicle stationary .
7-inch touch screen tablet
Page 231 of 248

3
Audio functions
Radio; CD; USB; AUX.
Trip computer
Distance input; alerts; function
status.
Personalisation-configuration
Vehicle parameters; display;
languages.
Bluetooth
®: Telephone – Audio
Pairing; Hands-free kit; Streaming.
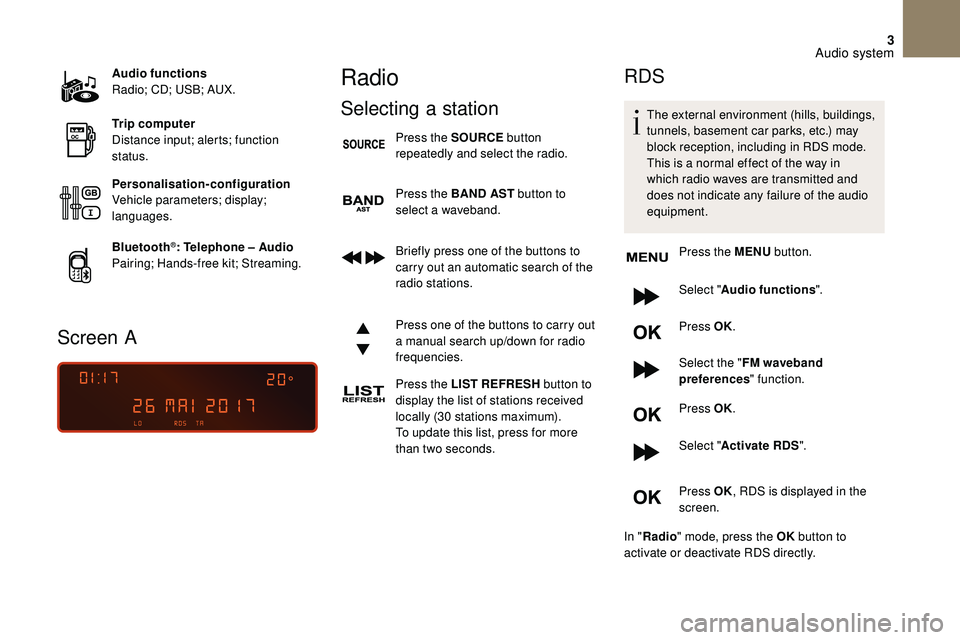
Screen A
Radio
Selecting a station
Press the SOURCE button
repeatedly and select the radio.
Press the BAND AST button to
select a
waveband.
Briefly press one of the buttons to
carry out an automatic search of the
radio stations.
Press one of the buttons to carry out
a
manual search up/down for radio
frequencies.
Press the LIST REFRESH button to
display the list of stations received
locally (30
stations maximum).
To update this list, press for more
than two seconds.
RDS
The external environment (hills, buildings,
tunnels, basement car parks, etc.) may
block reception, including in RDS mode.
This is a
normal effect of the way in
which radio waves are transmitted and
does not indicate any failure of the audio
equipment.
Press the MENU button.
Select " Audio functions ".
Press OK.
Select the " FM waveband
preferences " function.
Press OK.
Select " Activate RDS ".
Press OK , RDS is displayed in the
screen.
In " Radio " mode, press the OK button to
activate or deactivate RDS directly.
Audio system