2018 CITROEN DS3 buttons
[x] Cancel search: buttonsPage 96 of 248

94
* In accordance with the general conditions of use for the ser vice available from dealers
and subject to technological and technical
limitations.
**
A
s per the geographic coverage of
"Localised Emergency Call", "Localised
Assistance Call" and the official national
language chosen by the owner of the
vehicle.
T
he list of countries covered and telematic
ser vices is available from dealers or on the
website for your country.
Operation of the system
When the ignition is switched on,
the green indicator lamp comes
on for 3
seconds indicating that
the system is operating correctly.
If the orange indicator lamp
flashes then goes off: the system
has a
fault. In both cases, the emergency and assistance
calls ser vice may not work.
Contact a
qualified repairer as soon as
possible.
The fault with the system does not prevent
the vehicle being driven.
Localised Assistance Call
Press this button for more than
2 seconds to request assistance
if the vehicle breaks down.
A voice message confirms that the call has
been made**. Pressing this button again
immediately cancels the request.
**
A
s per the geographic coverage of
"Localised Emergency Call", "Localised
Assistance Call" and the official national
language chosen by the owner of the
vehicle.
T
he list of countries covered and telematic
ser vices is available from dealers or on the
website for your country.
The cancellation is confirmed by a
voice
message.
Geolocation
You can deactivate geolocation by
simultaneously pressing the "Localised
Emergency Call" and "Localised Assistance
Call" buttons, followed by a
press on "Localised
Assistance Call" to confirm.
To reactivate geolocation, simultaneously press
the "Localised Emergency Call" and "Localised
Assistance Call" buttons again, followed by
a
press on "Localised Assistance Call" to
confirm.
If the orange indicator lamp is permanently on:
the back-up battery should be replaced. If you purchased your vehicle outside
the dealer network, we invite you to have
a
dealer check and, if desired, modify the
configuration of these ser vices to suit your
wishes.
In a
multi-lingual country, configuration is
possible in the official national language
of your choice.
If you benefit from the DS
Connect BOX
offer with the SOS and assistance pack
included, you have available additional
ser vices in your personal space, via the
website in your country.
05
Safety
Page 98 of 248

96
The fault with the system does not prevent
the vehicle being driven.
Localised Assistance Call
** According to the geographic coverage of "Localised Emergency Call", "Localised
Assistance Call" and the official national
language chosen by the owner of the
vehicle.
T
he list of countries covered and of
telematic services is available from dealers
or on the website for your country. Press this button for more than
2
seconds to request assistance
if the vehicle breaks down.
A voice message confirms that the call has
been made**.
Pressing this button again immediately cancels
the request.
The cancellation is confirmed by a voice
message.
Geo-location
You can deactivate geo-location by
simultaneously pressing the "Localised
Emergency Call" and "Localised Assistance
Call" buttons, followed by pressing "Localised
Assistance Call" to confirm.
You can deactivate geo-location by
simultaneously pressing the "Localised
Emergency Call" and "Localised Assistance
Call" buttons, followed by pressing "Localised
Assistance Call" to confirm.
If you purchased your vehicle outside
the dealer network, we invite you to have
a
dealer check and, if desired, modify
the configuration of these ser vices to suit
your wishes. In a
multi-lingual country,
configuration is possible in the official
national language of your choice.
For technical reasons and in particular to
improve the quality of telematic ser vices to
customers, the manufacturer reserves the
right to carry out updates to the vehicle's
on-board telematic system.Electronic stability control
(ESC)
Electronic stability control (ESC) comprising
the following systems:
-
a
nti-lock braking system (ABS) and
electronic brake force distribution (EBFD),
-
em
ergency braking assistance (EBA),
-
w
heel anti-slip regulation (ASR) or traction
control,
-
d
ynamic stability control (DSC).
Definitions
Anti-lock braking system (ABS) and
electronic brake force distribution
(EBFD)
This system improves the stability and
manoeuvrability of your vehicle when braking
and contributes towards improved control on
corners, in particular on poor or slippery road
surfaces.
The ABS prevents wheel lock in the event of
emergency braking.
The electronic brake force distribution system
manages the braking pressure wheel by wheel.
Emergency braking assistance
(EBA)
In an emergency, this system enables you to
reach the optimum braking pressure more
quickly and therefore reduce the stopping
distance.
05
Safety
Page 139 of 248

137
The programmed speed can be exceeded
temporarily by pressing the accelerator firmly.
To return to the set speed, simply slow down to
a
speed below the programmed speed.
The set speed remains in the system memory
when the ignition is switched off.
The speed limiter cannot, in any circumstances,
replace the need to obser ve speed limits, nor can it
replace the need for vigilance on the part of the driver.
Steering mounted controls
1. Speed limiter mode selection thumb
wheel.
2. Value decrease button.
3. Value increase button.
4. Button to start /stop the speed limiter.
Displays in the instrument panel
The programmed information is grouped
together in the instrument panel screen.
5.Speed limiter on/off indication.
6. Speed limiter mode selected.
7. Programmed speed value.
Programming
F Turn thumb wheel 1 to the "LIMIT" position:
the speed limiter mode is selected but is not
switched on (PAUSE).
You do not have to switch the speed limiter on
in order to set the speed.
F
Set the speed value by pressing button 2 or 3
(e.g. 55 mph (90 km/h)).
You can change the programmed speed further
using buttons 2
and 3:
- by + or - 1 mph (km/h) = short press,- by + or - 5 mph (km/h) = long press,- in steps of + or - 5 mph (km/h) = maintained
press.
F Switch the speed limiter on by pressing button 4 .
F Switch the speed limiter off by pressing button 4 : a
confirmation message appears on the screen (PAUSE).
F Switch the speed limiter back on by pressing button 4
again.
06
Driving
Page 141 of 248

139
2.Value decrease button.
3. Value increase button.
4. Cruise control off/resume button.
Displays in the instrument
panel
The programmed information is grouped
together in the instrument panel screen.
5Cruise control off/resume indication.
6 Cruise control selection indication.
7 Programmed speed value.
Programming
F Turn thumb wheel 1 to the "CRUISE"
position: the cruise control mode is selected
but is not switched on (PAUSE).
F
Se
t the programmed speed by accelerating
to the required speed, then press button
2
or 3 (e.g. 70 mph (110 km/h)).
You can change the programmed speed further
using buttons 2
and 3:
-
B
y + or - 1 km/h = short press.
-
B
y + or - 5 km/h = long press.
-
I
n steps of + or - 5 km/h = maintained press.
Pause
F Switch off the cruise control by pressing button 4: a confirmation message appears
on the screen (PAUSE). F
S
witch the cruise control back on by
pressing button 4 again.
Exceeding programmed
speed
Intentional or unintentional exceeding of the
programmed speed results in flashing of this
speed on the display.
Returning to the programmed speed, by means
of intentional or unintentional deceleration of
the vehicle, automatically cancels the flashing
of the programmed speed.
Leaving cruise control mode
F Turn thumb wheel 1
to the 0 position: the
cruise control mode is deselected. The
display returns to the total mileage recorder.
06
Driving
Page 142 of 248

140
Malfunction
In the event of a cruise control fault, the speed
i s cleared resulting in flashing of the dashes.
Have it checked by an authorised dealer or by
a
qualified workshop. When cruise control is active, be careful
when holding one of the speed setting
buttons: this may result in a
very rapid
change in the speed of your vehicle.
Do not use the cruise control on slippery
roads or in heavy traffic.
When descending a
steep hill, the cruise
control system cannot prevent the vehicle
from exceeding the programmed speed.
To avoid any risk of jamming the pedals:
-
E
nsure that mats are secured correctly.
-
D
o not fit one mat on top of another.
Active City Brake
Active City Brake is a driving assistance
s ystem that aims to avoid a frontal collision
or reduce the speed of an impact if the driver
does not react sufficiently (inadequate brake
application).
This system has been designed to
improve driving safety.
The driver must always check the traffic
and assess the distances and relative
speeds of other vehicles.
Active City Brake cannot in any
circumstances replace the need for
vigilance on the part of the driver.
Never look at the laser sensor through
an optical instrument (magnifying glass,
microscope, etc.) at a
distance of less
than 10
centimetres: risk of eye injury!
Principle
Using a laser sensor located at the top of the
w indscreen, this system detects a vehicle
running in the same direction or stationary
ahead of your vehicle.
When necessary, the vehicle's braking system
is operated automatically to avoid a
collision
with the vehicle ahead.
Automatic braking occurs later than if
done by the driver, so as to inter vene only
when there is a
high risk of collision.
Conditions of activation
Active City Brake functions if the following
conditions are met:
-
ig
nition on,
-
t
he vehicle is moving for ward,
-
t
he speed is between about 3 and 19 mph
(5
and 30 km/h),
06
Driving
Page 143 of 248

141
Operation
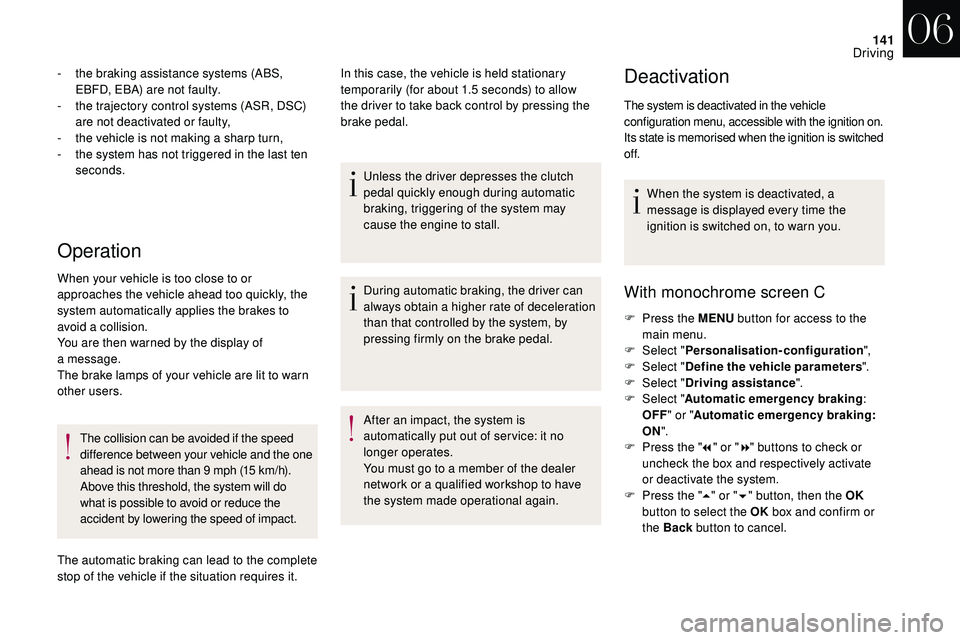
- the braking assistance systems (ABS, EBFD, EBA) are not faulty.
-
t
he trajectory control systems (ASR, DSC)
are not deactivated or faulty,
-
t
he vehicle is not making a sharp turn,
-
t
he system has not triggered in the last ten
seconds.
When your vehicle is too close to or
approaches the vehicle ahead too quickly, the
system automatically applies the brakes to
avoid a
collision.
You are then warned by the display of
a
message.
The brake lamps of your vehicle are lit to warn
other users.
The collision can be avoided if the speed
difference between your vehicle and the one
ahead is not more than 9
mph (15 km/h).
Above this threshold, the system will do
what is possible to avoid or reduce the
accident by lowering the speed of impact.
The automatic braking can lead to the complete
stop of the vehicle if the situation requires it. In this case, the vehicle is held stationary
temporarily (for about 1.5
seconds) to allow
the driver to take back control by pressing the
brake pedal.
Unless the driver depresses the clutch
pedal quickly enough during automatic
braking, triggering of the system may
cause the engine to stall.
During automatic braking, the driver can
always obtain a
higher rate of deceleration
than that controlled by the system, by
pressing firmly on the brake pedal.
After an impact, the system is
automatically put out of ser vice: it no
longer operates.
You must go to a
member of the dealer
network or a
qualified workshop to have
the system made operational again.Deactivation
The system is deactivated in the vehicle
configuration menu, accessible with the ignition on.
Its state is memorised when the ignition is switched
of f.
When the system is deactivated, a
message is displayed every time the
ignition is switched on, to warn you.
With monochrome screen C
F Press the MENU button for access to the
main menu.
F
Sel
ect "Personalisation-configuration ",
F
Sel
ect "Define the vehicle parameters ".
F
Sel
ect "Driving assistance ".
F
Sel
ect "Automatic emergency braking :
OFF " or " Automatic emergency braking :
ON ".
F
P
ress the " 7" or " 8" buttons to check or
uncheck the box and respectively activate
or deactivate the system.
F
P
ress the " 5" or " 6" button, then the OK
button to select the OK box and confirm or
the Back button to cancel.
06
Driving
Page 206 of 248

2
First steps
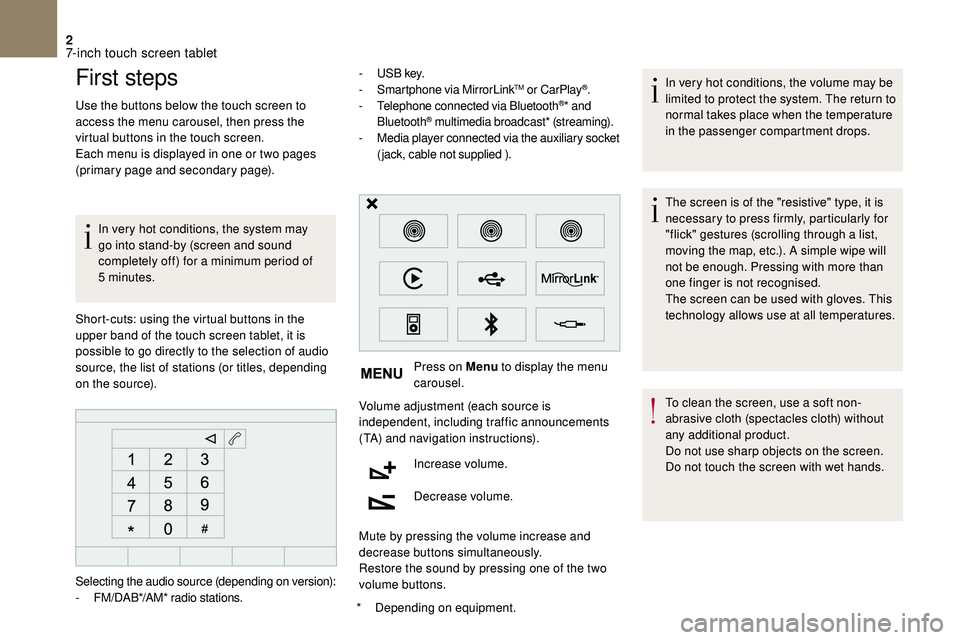
Use the buttons below the touch screen to
access the menu carousel, then press the
virtual buttons in the touch screen.
Each menu is displayed in one or two pages
(primary page and secondary page).In very hot conditions, the system may
go into stand-by (screen and sound
completely off) for a
minimum period of
5
minutes.
*
D
epending on equipment.
Short-cuts: using the virtual buttons in the
upper band of the touch screen tablet, it is
possible to go directly to the selection of audio
source, the list of stations (or titles, depending
on the source). -
U
S B key.
- S martphone via MirrorLink
TM or CarPlay®.
- T
elephone connected via Bluetooth®* and
Bluetooth® multimedia broadcast* (streaming).
- M
edia player connected via the auxiliary socket
(jack, cable not supplied ).
Press on Menu to display the menu
carousel.
Volume adjustment (each source is
independent, including traffic announcements
(TA) and navigation instructions).
Increase volume.
Decrease volume.
Mute by pressing the volume increase and
decrease buttons simultaneously.
Restore the sound by pressing one of the two
volume buttons. In very hot conditions, the volume may be
limited to protect the system. The return to
normal takes place when the temperature
in the passenger compartment drops.
The screen is of the "resistive" type, it is
necessary to press firmly, particularly for
"flick" gestures (scrolling through a
list,
moving the map, etc.). A simple wipe will
not be enough. Pressing with more than
one finger is not recognised.
The screen can be used with gloves. This
technology allows use at all temperatures.
To clean the screen, use a
soft non-
abrasive cloth (spectacles cloth) without
any additional product.
Do not use sharp objects on the screen.
Do not touch the screen with wet hands.
Selecting the audio source (depending on version):
-
F
M/DAB*/AM* radio stations.
7-inch touch screen tablet
Page 207 of 248

3
Steering mounted controls
Radio: select previous/next preset
station.
Media: select the genre/artist/
folder from the list depending on
classification.
Select the previous/next item in
a menu.
Radio: automatic search for a
higher
frequency.
Media: select the next track.
Media, press and hold: fast for ward.
Skip in the list.
Change the audio source.
Confirm a
selection.
Call/end call on the telephone.
Press for more than 2
seconds:
access telephone main menu.
Radio: automatic search for a
lower
frequency.
Media: select the previous track.
Media, press and hold: rewind.
Skip in the list. Increase volume.
Decrease volume.
Mute on: cut the sound by
simultaneously pressing the volume
up and down buttons.
Mute off: press one of the two
volume buttons.
Menus
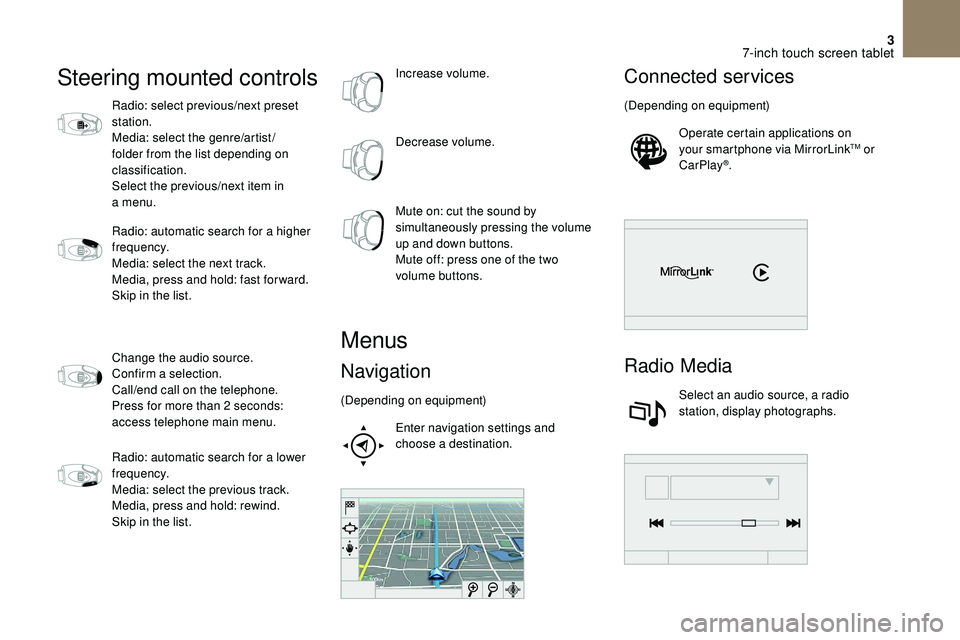
Navigation
(Depending on equipment)
Enter navigation settings and
choose a
destination.
Connected services
(Depending on equipment)Operate certain applications on
your smartphone via MirrorLink
TM or
CarPlay®.
Radio Media
Select an audio source, a radio
station, display photographs.
7-inch touch screen tablet