2018 CHRYSLER PACIFICA Control arm
[x] Cancel search: Control armPage 24 of 696

To Lock The Doors And Liftgate
Push and release the lock button on the key fob to lock all
doors and liftgate. The hazard lights will flash once and the
horn will chirp once to acknowledge the signal. Settings in
radio can change to lights only, chirp only, or both.
If the vehicle is equipped with Passive Entry, refer to
“Keyless Enter-N-Go — Passive Entry” in “Getting To
Know Your Vehicle” for further information.
Key Fob With Remote Control And Integrated Vehicle
Key
If one or more doors are open or the liftgate is open, the
doors can be locked. This is signaled by a quick flash of the
turn signals.
Vehicles Equipped With Keyless Enter-N-Go — Passive
Entry
If one or more doors are open, or the liftgate is open, the
doors can be locked. The doors will unlock again only if the
key is inside the passenger compartment.
Key Fob Battery Replacement
The recommended replacement battery is one CR2032
battery.
NOTE:
•Batteries contain harmful chemicals. Dispose old batter-
ies by placing them in correct containers according to the
law or by taking them to a dealership, where they will be
handled appropriately.
• Perchlorate Material — special handling may apply. See
www.dtsc.ca.gov/hazardouswaste/perchlorate
• Do not touch the battery terminals that are on the back
housing or the printed circuit board.
1. Remove the emergency key by pushing the mechanical release button on the side of the key fob with your
thumb and then pull the key out with your other hand.
22 GETTING TO KNOW YOUR VEHICLE
Page 31 of 696

•To drive the vehicle, push unlock button, and place the
ignition in the ON/RUN position.
• With remote start, the engine will only run for 15
minutes (timeout) unless the ignition key is placed in the
ON/RUN position.
• The vehicle must be started with the key after two
consecutive timeouts.
All of the following conditions must be met before the
engine will remote start:
• Gear Selector in PARK
• Doors closed
• Hood closed
• Liftgate closed
• Hazard switch off
• Brake switch inactive (brake pedal not pushed)
• Battery at an acceptable charge level
• PANIC button not pushed
• System not disabled from previous remote start event
• Vehicle alarm system indicator flashing
• Ignition in STOP/OFF position
• Fuel level meets minimum requirementWARNING!
•Do not start or run an engine in a closed garage or
confined area. Exhaust gas contains Carbon Monox-
ide (CO) which is odorless and colorless. Carbon
Monoxide is poisonous and can cause serious injury
or death when inhaled.
• Keep key fobs away from children. Operation of the
Remote Start System, windows, door locks or other
controls could cause serious injury or death.
Remote Start Cancel Message — If Equipped
The following messages will display in the instrument
cluster if the vehicle fails to remote start or exits remote
start prematurely:
• Remote Start Cancelled — Door Open
• Remote Start Cancelled — Hood Open
• Remote Start Cancelled — Fuel Low
• Remote Start Cancelled — Liftgate Open
• Remote Start Cancelled — Too Cold
• Remote Start Cancelled — Time Expired
• Remote Start Disabled — Start Vehicle To Reset
3
GETTING TO KNOW YOUR VEHICLE 29
Page 33 of 696

Remote Start Comfort Systems — If Equipped
When Remote Start is activated, the Climate Control,
vented seats (if equipped) are also activated in tempera-
tures above 80° F (26.7° C), and the optional heated seats,
and optional heated steering wheel in temperatures below
40° F (4.4° C). These features will stay on through the
duration of Remote Start or until the ignition switch is
cycled to the ON/RUN position.
General Information
The following regulatory statement applies to all radio
frequency (RF) devices equipped in this vehicle:
This device complies with Part 15 of the FCC Rules and
with Industry Canada license-exempt RSS standard(s).
Operation is subject to the following two conditions:
1. This device may not cause harmful interference, and
2. This device must accept any interference received, in-cluding interference that may cause undesired opera-
tion.
NOTE: Changes or modifications not expressly approved
by the party responsible for compliance could void the
user ’s authority to operate the equipment.
SENTRY KEY
The Sentry Key Immobilizer system prevents unauthorized
vehicle operation by disabling the engine. The system does
not need to be armed or activated. Operation is automatic,
regardless of whether the vehicle is locked or unlocked.
The system uses a key fob, keyless push button ignition
and a RF receiver to prevent unauthorized vehicle opera-
tion. Therefore, only key fobs that are programmed to the
vehicle can be used to start and operate the vehicle. The
system cannot reprogram a key fob obtained from another
vehicle.
After turning the ignition switch to the ON/RUN position,
the vehicle security light will turn on for three seconds for
a bulb check. If the light remains on after the bulb check, it
indicates that there is a problem with the electronics. In
addition, if the light begins to flash after the bulb check, it
indicates that someone attempted to start the engine with
an invalid key fob. In the event that a valid key fob is used
to start the engine but there is an issue with the vehicle
electronics, the engine will start and shut off after two
seconds.
If the vehicle security light turns on during normal vehicle
operation (vehicle running for longer than ten seconds), it
indicates that there is a fault in the electronics. Should this
3
GETTING TO KNOW YOUR VEHICLE 31
Page 90 of 696

steering column in position, push the lever upward until
fully engaged.
WARNING!
Do not adjust the steering column while driving.
Adjusting the steering column while driving or driv-
ing with the steering column unlocked, could cause the
driver to lose control of the vehicle. Failure to follow
this warning may result in serious injury or death.
Heated Steering Wheel — If Equipped
The steering wheel contains a heating element that helps
warm your hands in cold weather. The heated steering
wheel has only one temperature setting. Once the heated
steering wheel has been turned on, it will operate for an
average of 80 minutes or more before automatically shut-
ting off. This time may vary depending on the temperature
of the environment. The heated steering wheel can shut off
early or may not turn on when the steering wheel is
already warm.
The heated steering wheel control button is located within
the Uconnect system. You can gain access to the control
button through the climate screen or the controls screen.•
Press the heated steering wheel button
once to turn
the heating element on.
• Press the heated steering wheel buttona second time
to turn the heating element off.
NOTE: The engine must be running for the heated steering
wheel to operate.
Vehicles Equipped With Remote Start
On models that are equipped with remote start, the heated
steering wheel can be programmed to come on during a
remote start through the Uconnect system. Refer to
“Uconnect Settings” in “Multimedia” for further informa-
tion.
WARNING!
• Persons who are unable to feel pain to the skin
because of advanced age, chronic illness, diabetes,
spinal cord injury, medication, alcohol use, exhaus-
tion, or other physical conditions must exercise care
when using the steering wheel heater. It may cause
burns even at low temperatures, especially if used
for long periods.
(Continued)
88 GETTING TO KNOW YOUR VEHICLE
Page 103 of 696

Parade Mode (Daytime Brightness Feature)
Rotate the instrument panel dimmer control upward to the
first detent. This feature brightens all text displays such as
the odometer, instrument cluster display, and radio when
the position lights or headlights are on.
WINDSHIELD WIPER AND WASHERS
Windshield Wiper Operation
The wipers and washers are operated by a switch within
the wiper lever. Rotate the end of the lever upward, to the
first detent past the intermittent settings for low-speed
wiper operation. Rotate the end of the lever upward to the
second detent past the intermittent settings for high-speed
wiper operation.NOTE:
Always remove any buildup of snow that prevents
the windshield wiper blades from returning to the off
position. If the windshield wiper switch is turned off and
the blades cannot return to the off position, damage to the
wiper motor may occur.
WARNING!
Sudden loss of visibility through the windshield could
lead to a collision. You might not see other vehicles or
other obstacles. To avoid sudden icing of the windshield
during freezing weather, warm the windshield with the
defroster before and during windshield washer use.
Washer And Wiper Controls
3
GETTING TO KNOW YOUR VEHICLE 101
Page 105 of 696

•Use of Rain-X or products containing wax or silicone
may reduce rain sensor performance.
• The Rain Sensing feature can be turned on and off
through the Uconnect System. Refer to “Uconnect Set-
tings” in “Multimedia” for further information.
The Rain Sensing system has protective features for the
wiper blades and arms. It will not operate under the
following conditions:
• Low Temperature Wipe Inhibit — The Rain Sensing
feature will not operate when the ignition is first
switched ON, when the vehicle is stationary and the
outside temperature is below 32°F (0°C), unless the
wiper control on the multifunction lever is moved, the
vehicle speed becomes greater than 3 mph (5 km/h) or
the outside temperature rises above freezing.
• Neutral Wipe Inhibit — The Rain Sensing feature will
not operate when the ignition is ON, when the transmis-
sion gear selector is in the NEUTRAL position and the
vehicle speed is less than 3 mph (5 km/h), unless the
wiper control on the multifunction lever is moved, the
vehicle speed is greater than 3 mph (5 km/h) or the gear
selector is moved out of the NEUTRAL position. •
Remote Start Mode Inhibit — On vehicles equipped
with Remote Starting system, Rain Sensing wipers are
not operational when the vehicle is in the remote start
mode. Once the operator is in the vehicle and has placed
the ignition switch in the RUN position, rain sensing
wiper operation can resume, if it has been selected, and
no other inhibit conditions (mentioned previously) exist.
Rear Wiper And Washer
Rear Windshield Wiper Operation
Rotate the windshield wiper lever center ring upwards to
operate one of two modes for the rear window wiper:
• First detent — intermittent mode.
• Second detent — continuous mode.
Rear Windshield Washer Operation
Pushing the windshield wiper lever forward activates the
rear window washer. If the lever is pushed while on the
intermittent setting, the wipers will turn on and operate for
several wipe cycles after the lever is released, and then
resume the intermittent interval previously selected. If the
lever is pushed while the wipers are in the off position, the
wipers will operate several wipe cycles, then turn off.
3
GETTING TO KNOW YOUR VEHICLE 103
Page 109 of 696

IconDescription
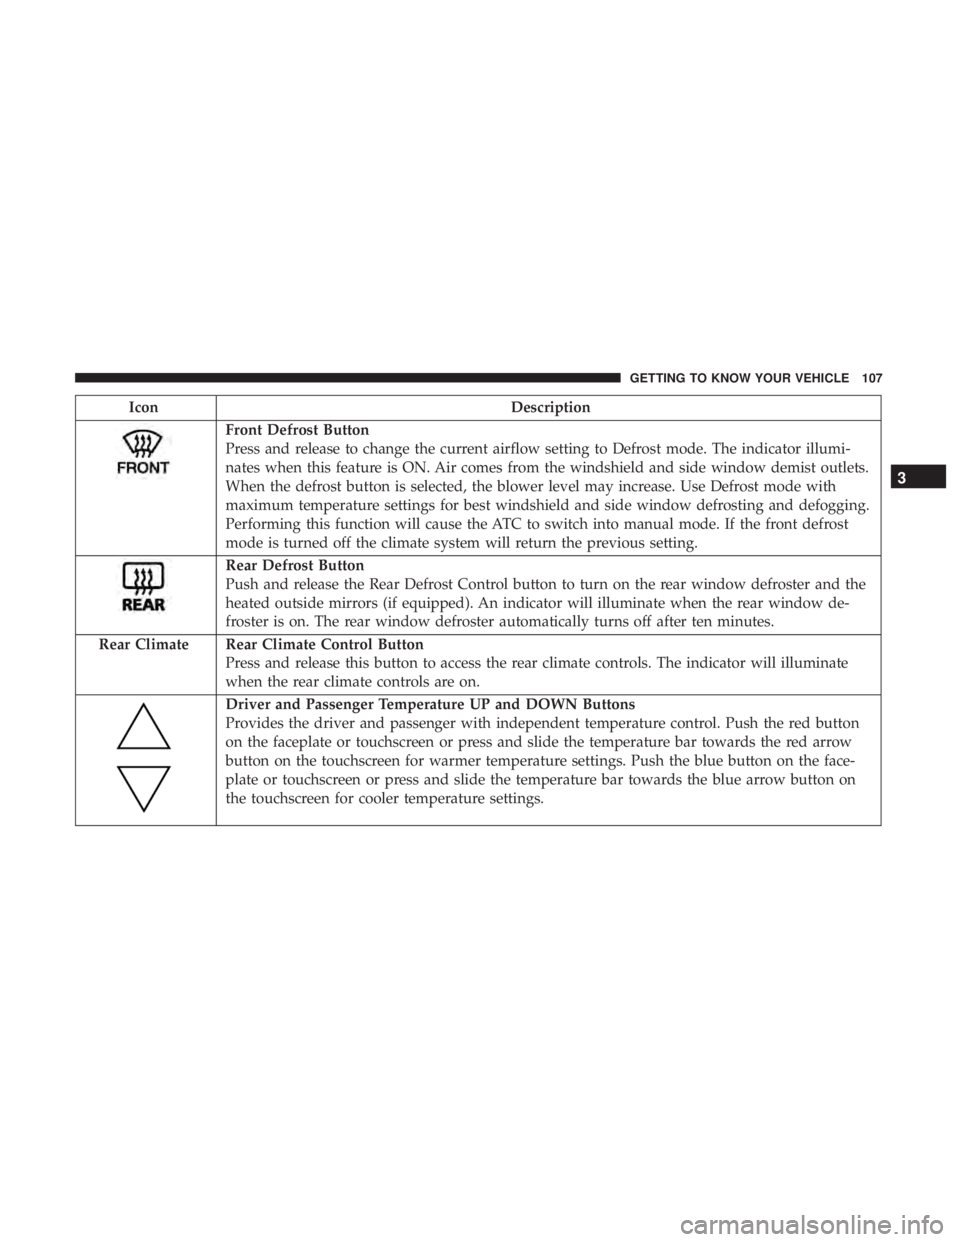
Front Defrost Button
Press and release to change the current airflow setting to Defrost mode. The indicator illumi-
nates when this feature is ON. Air comes from the windshield and side window demist outlets.
When the defrost button is selected, the blower level may increase. Use Defrost mode with
maximum temperature settings for best windshield and side window defrosting and defogging.
Performing this function will cause the ATC to switch into manual mode. If the front defrost
mode is turned off the climate system will return the previous setting.
Rear Defrost Button
Push and release the Rear Defrost Control button to turn on the rear window defroster and the
heated outside mirrors (if equipped). An indicator will illuminate when the rear window de-
froster is on. The rear window defroster automatically turns off after ten minutes.
Rear Climate Rear Climate Control Button Press and release this button to access the rear climate controls. The indicator will illuminate
when the rear climate controls are on.
Driver and Passenger Temperature UP and DOWN Buttons
Provides the driver and passenger with independent temperature control. Push the red button
on the faceplate or touchscreen or press and slide the temperature bar towards the red arrow
button on the touchscreen for warmer temperature settings. Push the blue button on the face-
plate or touchscreen or press and slide the temperature bar towards the blue arrow button on
the touchscreen for cooler temperature settings.
3
GETTING TO KNOW YOUR VEHICLE 107
Page 111 of 696

IconDescription
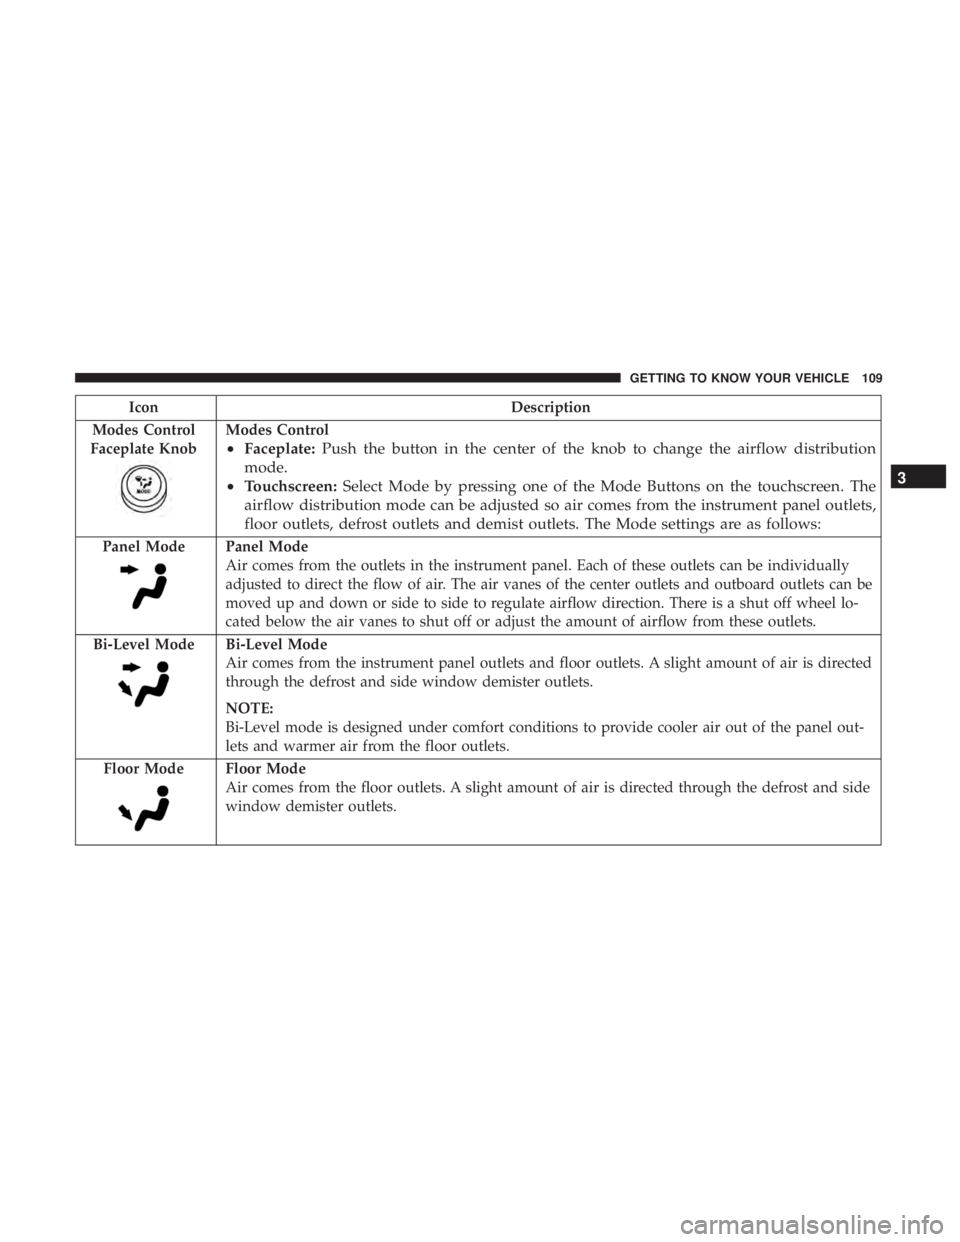
Modes Control
Faceplate Knob
Modes Control
• Faceplate: Push the button in the center of the knob to change the airflow distribution
mode.
• Touchscreen: Select Mode by pressing one of the Mode Buttons on the touchscreen. The
airflow distribution mode can be adjusted so air comes from the instrument panel outlets,
floor outlets, defrost outlets and demist outlets. The Mode settings are as follows:
Panel ModePanel Mode
Air comes from the outlets in the instrument panel. Each of these outlets can be individually
adjusted to direct the flow of air. The air vanes of the center outlets and outboard outlets can be
moved up and down or side to side to regulate airflow direction. There is a shut off wheel lo-
cated below the air vanes to shut off or adjust the amount of airflow from these outlets.
Bi-Level Mode
Bi-Level Mode
Air comes from the instrument panel outlets and floor outlets. A slight amount of air is directed
through the defrost and side window demister outlets.
NOTE:
Bi-Level mode is designed under comfort conditions to provide cooler air out of the panel out-
lets and warmer air from the floor outlets.
Floor Mode
Floor Mode
Air comes from the floor outlets. A slight amount of air is directed through the defrost and side
window demister outlets.
3
GETTING TO KNOW YOUR VEHICLE 109