Page 116 of 696
Rear Manual Temperature Control
The rear MTC system has floor air outlets at the rear right
side of the 3rd Row seats and overhead outlets at each
outboard rear seating position. The system provides heated
air through the floor outlets or cool, dehumidified air
through the headliner outlets.
The rear system temperature control buttons are located on
the headliner on the passenger side of the vehicle.
IconDescription
Rear Mode Control
Push this button on the Rear Climate Hard Controls to change the air distribution mode for the
rear passengers to one of the following:
Panel Mode
Panel Mode
Air comes from the outlets in the headliner. Each of these outlets can be individually adjusted to
direct the flow of air. Moving the air vanes of the outlets to one side will shut off the airflow.
Rear Manual Climate Controls
114 GETTING TO KNOW YOUR VEHICLE
Page 117 of 696
IconDescription
Bi-Level Mode
Bi-Level Mode
Air comes from both the headliner outlets and the floor outlets.
NOTE: In many temperature positions, the Bi-Level mode is designed to provide cooler air out of
the headliner outlets and warmer air from the floor outlets.
Floor Mode
Floor Mode
Air comes from the floor outlets.
Rear Temperature Control
• Rear Passenger Temperature Up Button To change the temperature in the rear of the vehicle,
push temperature control up button to raise the temperature. The rear temperature settings
are displayed in control head.
• Rear Passenger Temperature Down Button To change the temperature in the rear of the
vehicle, push temperature control down button to lower the temperature. The rear tempera-
ture settings are displayed in control head. 3
GETTING TO KNOW YOUR VEHICLE 115
Page 127 of 696
IconDescription
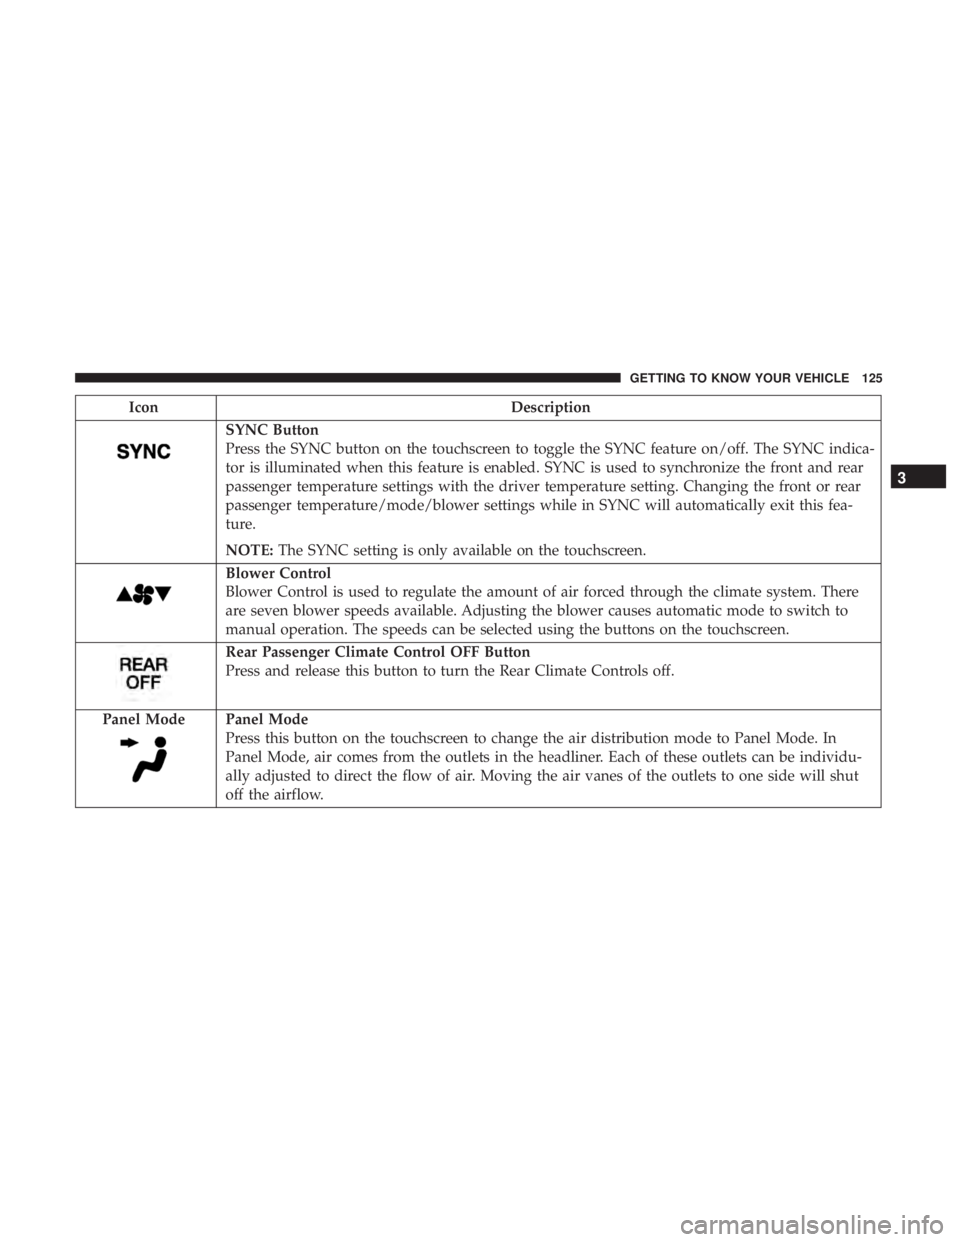
SYNC Button
Press the SYNC button on the touchscreen to toggle the SYNC feature on/off. The SYNC indica-
tor is illuminated when this feature is enabled. SYNC is used to synchronize the front and rear
passenger temperature settings with the driver temperature setting. Changing the front or rear
passenger temperature/mode/blower settings while in SYNC will automatically exit this fea-
ture.
NOTE:The SYNC setting is only available on the touchscreen.
Blower Control
Blower Control is used to regulate the amount of air forced through the climate system. There
are seven blower speeds available. Adjusting the blower causes automatic mode to switch to
manual operation. The speeds can be selected using the buttons on the touchscreen.
Rear Passenger Climate Control OFF Button
Press and release this button to turn the Rear Climate Controls off.
Panel Mode
Panel Mode
Press this button on the touchscreen to change the air distribution mode to Panel Mode. In
Panel Mode, air comes from the outlets in the headliner. Each of these outlets can be individu-
ally adjusted to direct the flow of air. Moving the air vanes of the outlets to one side will shut
off the airflow.
3
GETTING TO KNOW YOUR VEHICLE 125
Page 128 of 696
IconDescription
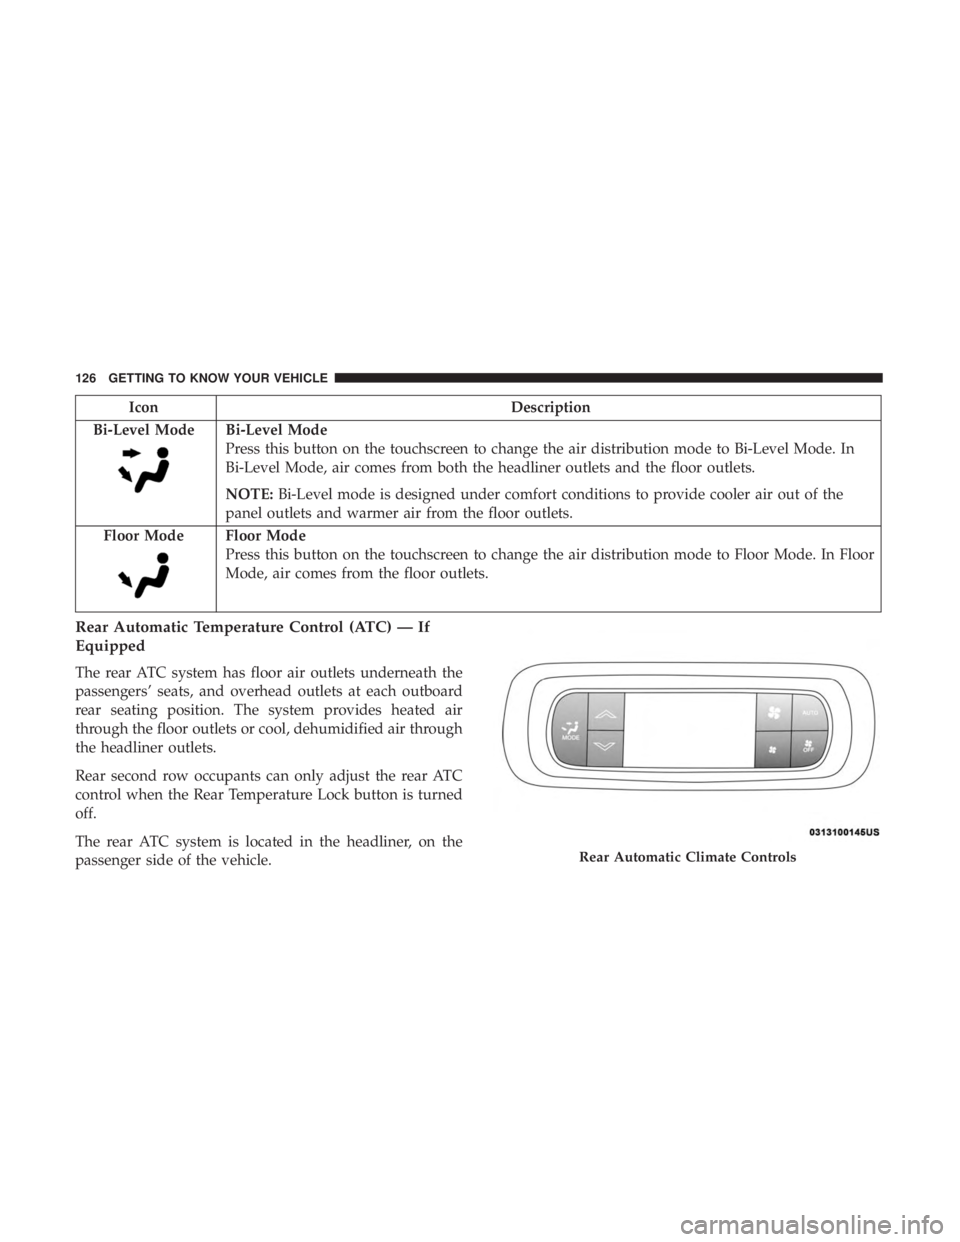
Bi-Level Mode
Bi-Level Mode
Press this button on the touchscreen to change the air distribution mode to Bi-Level Mode. In
Bi-Level Mode, air comes from both the headliner outlets and the floor outlets.
NOTE: Bi-Level mode is designed under comfort conditions to provide cooler air out of the
panel outlets and warmer air from the floor outlets.
Floor Mode
Floor Mode
Press this button on the touchscreen to change the air distribution mode to Floor Mode. In Floor
Mode, air comes from the floor outlets.
Rear Automatic Temperature Control (ATC) — If
Equipped
The rear ATC system has floor air outlets underneath the
passengers’ seats, and overhead outlets at each outboard
rear seating position. The system provides heated air
through the floor outlets or cool, dehumidified air through
the headliner outlets.
Rear second row occupants can only adjust the rear ATC
control when the Rear Temperature Lock button is turned
off.
The rear ATC system is located in the headliner, on the
passenger side of the vehicle.
Rear Automatic Climate Controls
126 GETTING TO KNOW YOUR VEHICLE
Page 129 of 696
1. Adjust the rear blower, rear temperature and the rearmodes to suit your comfort needs.
2. ATC is selected by pushing the AUTO button.
Once the desired temperature is displayed, the ATC System
will automatically achieve and maintain that comfort level.
When the system is set up for your comfort level, it is not
necessary to change the settings. You will experience the
greatest efficiency by simply allowing the system to func-
tion automatically. NOTE:
•
It is not necessary to move the temperature settings. The
system automatically adjusts the temperature, mode and
fan speed to provide comfort as quickly as possible.
Icon Description
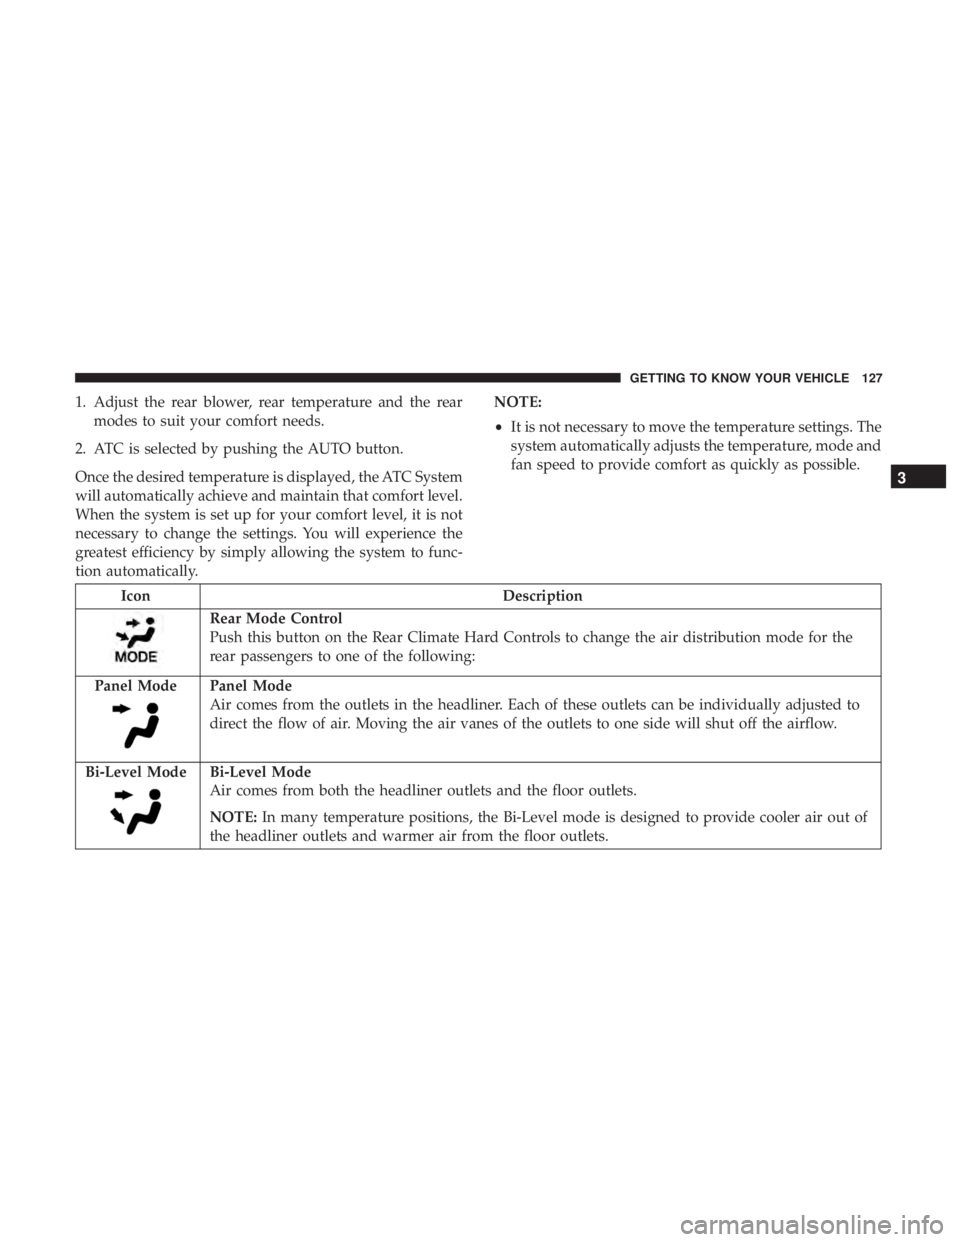
Rear Mode Control
Push this button on the Rear Climate Hard Controls to change the air distribution mode for the
rear passengers to one of the following:
Panel Mode
Panel Mode
Air comes from the outlets in the headliner. Each of these outlets can be individually adjusted to
direct the flow of air. Moving the air vanes of the outlets to one side will shut off the airflow.
Bi-Level Mode
Bi-Level Mode
Air comes from both the headliner outlets and the floor outlets.
NOTE: In many temperature positions, the Bi-Level mode is designed to provide cooler air out of
the headliner outlets and warmer air from the floor outlets.
3
GETTING TO KNOW YOUR VEHICLE 127
Page 130 of 696
IconDescription
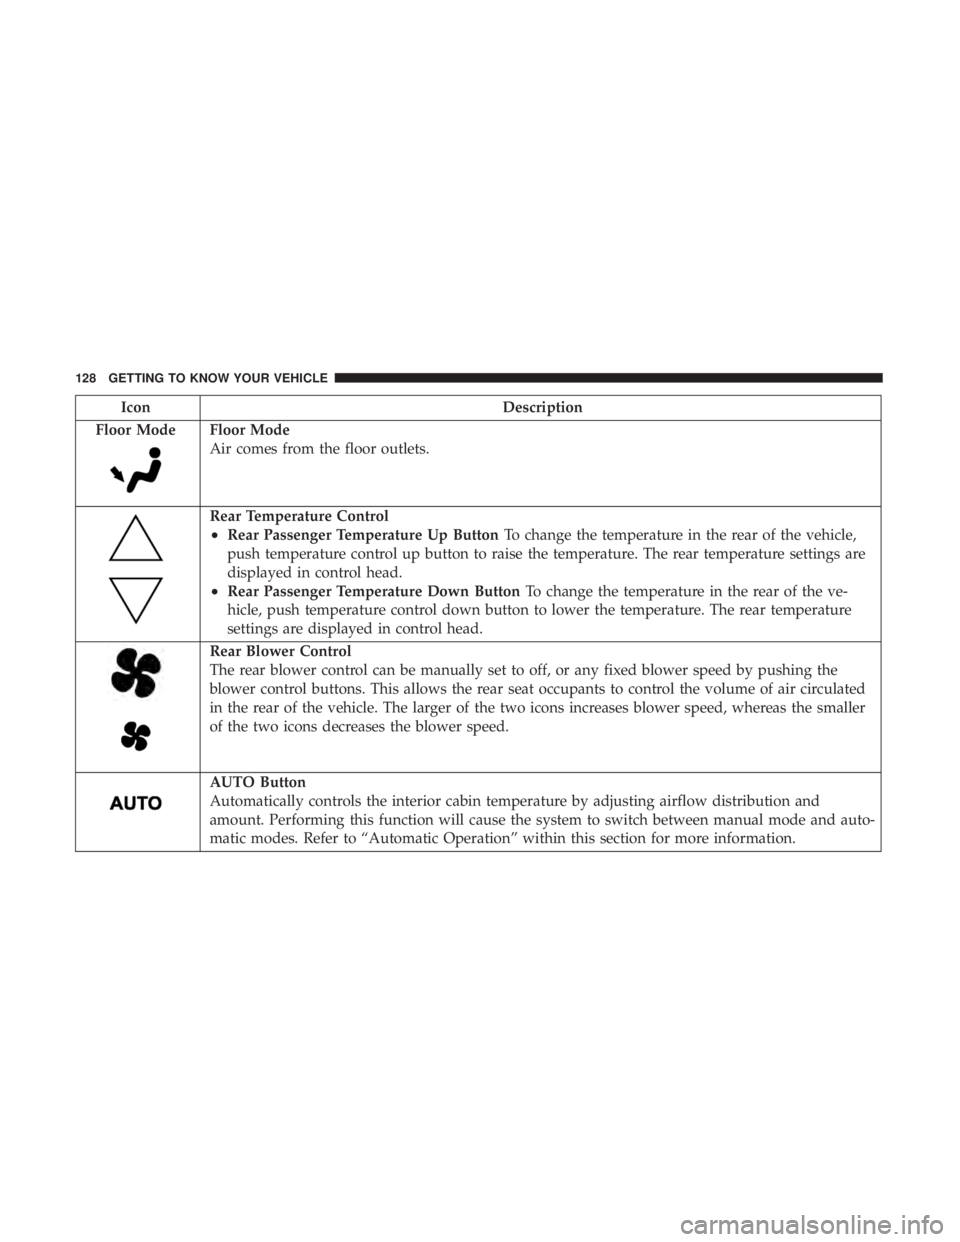
Floor Mode
Floor Mode
Air comes from the floor outlets.
Rear Temperature Control
•Rear Passenger Temperature Up Button To change the temperature in the rear of the vehicle,
push temperature control up button to raise the temperature. The rear temperature settings are
displayed in control head.
•Rear Passenger Temperature Down Button To change the temperature in the rear of the ve-
hicle, push temperature control down button to lower the temperature. The rear temperature
settings are displayed in control head.
Rear Blower Control
The rear blower control can be manually set to off, or any fixed blower speed by pushing the
blower control buttons. This allows the rear seat occupants to control the volume of air circulated
in the rear of the vehicle. The larger of the two icons increases blower speed, whereas the smaller
of the two icons decreases the blower speed.
AUTO Button
Automatically controls the interior cabin temperature by adjusting airflow distribution and
amount. Performing this function will cause the system to switch between manual mode and auto-
matic modes. Refer to “Automatic Operation” within this section for more information.
128 GETTING TO KNOW YOUR VEHICLE
Page 137 of 696
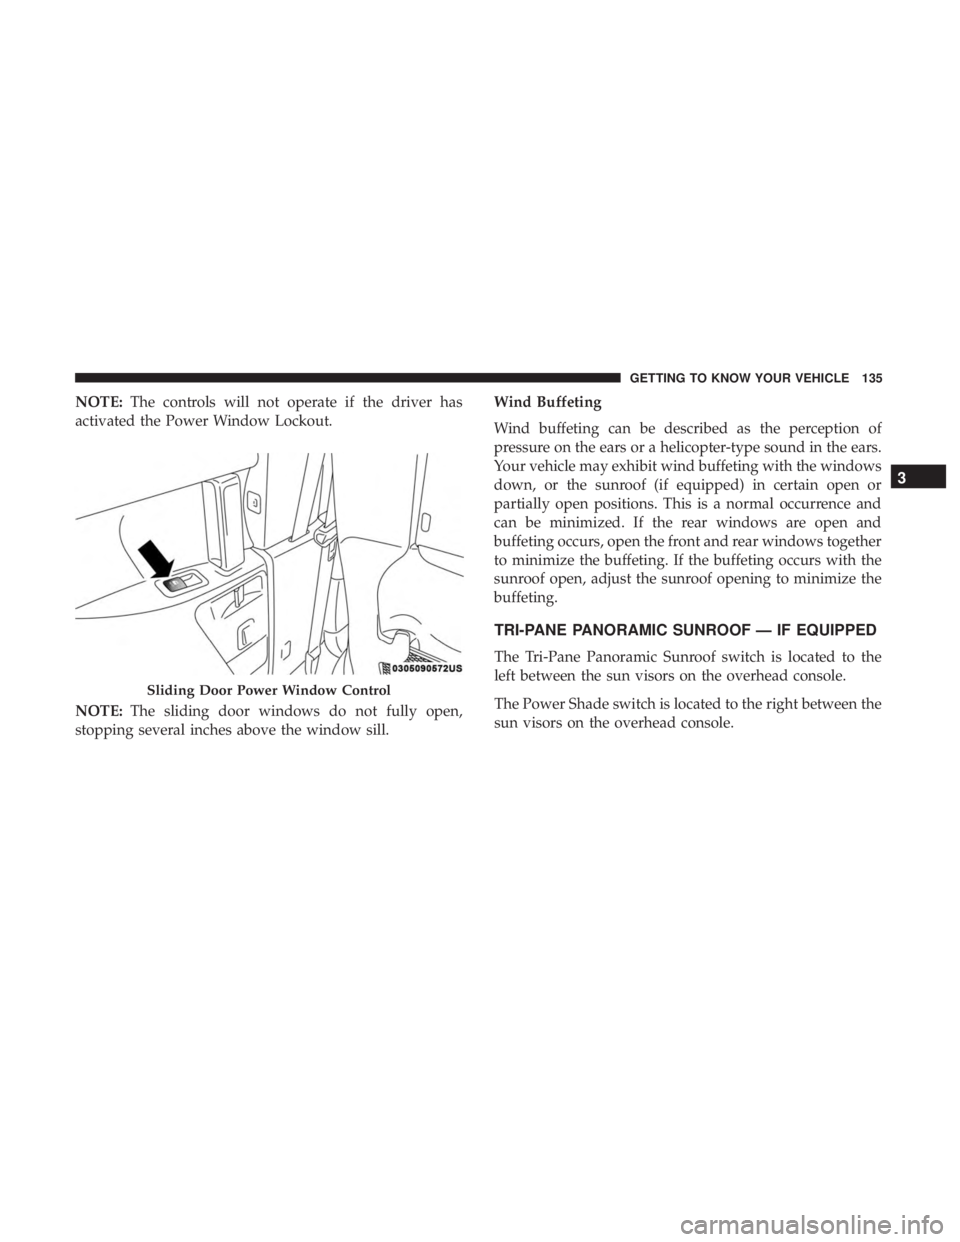
NOTE:The controls will not operate if the driver has
activated the Power Window Lockout.
NOTE: The sliding door windows do not fully open,
stopping several inches above the window sill. Wind Buffeting
Wind buffeting can be described as the perception of
pressure on the ears or a helicopter-type sound in the ears.
Your vehicle may exhibit wind buffeting with the windows
down, or the sunroof (if equipped) in certain open or
partially open positions. This is a normal occurrence and
can be minimized. If the rear windows are open and
buffeting occurs, open the front and rear windows together
to minimize the buffeting. If the buffeting occurs with the
sunroof open, adjust the sunroof opening to minimize the
buffeting.
TRI-PANE PANORAMIC SUNROOF — IF EQUIPPED
The Tri-Pane Panoramic Sunroof switch is located to the
left between the sun visors on the overhead console.
The Power Shade switch is located to the right between the
sun visors on the overhead console.
Sliding Door Power Window Control
3
GETTING TO KNOW YOUR VEHICLE 135
Page 143 of 696
LIFTGATE
Opening
To Unlock/Enter The Liftgate
The liftgate may be released in several ways:
•Overhead console liftgate button
• Key fob
• Outside handle
Push the liftgate button on the key fob twice within five
seconds to release the liftgate. The key fob and the overhead console button will release
the liftgate when the liftgate is locked. The outside handle
requires the liftgate to be unlocked. If the vehicle is
equipped with Passive Entry, pulling the outside handle
will unlock and release the liftgate, with a valid Passive
Entry key fob within 5 ft (1.5 m) of the liftgate.
NOTE:
If 1st Press of key fob Unlocks “All Doors” is
programmed in Uconnect Settings, all doors will unlock
with a Passive Entry handle activation. If 1st Press of key
fob Unlocks “Driver Door” is programmed in Uconnect
Unlock Liftgate Using Key Fob
Unlock Liftgate Using Passive Entry
3
GETTING TO KNOW YOUR VEHICLE 141