Page 416 of 614

If the tire does not inflate to at least 26 psi (1.8 Bar)
pressure within 15 minutes:
•The tire is too badly damaged. Do not attempt to drive
the vehicle further. Call for assistance.
If the tire inflates to the recommended pressure or is at
least 26 psi (1.8 Bar) pressure within 15 minutes:
NOTE: If the tire becomes over-inflated, push the Deflation
Button to reduce the tire pressure to the recommended
inflation pressure before continuing.
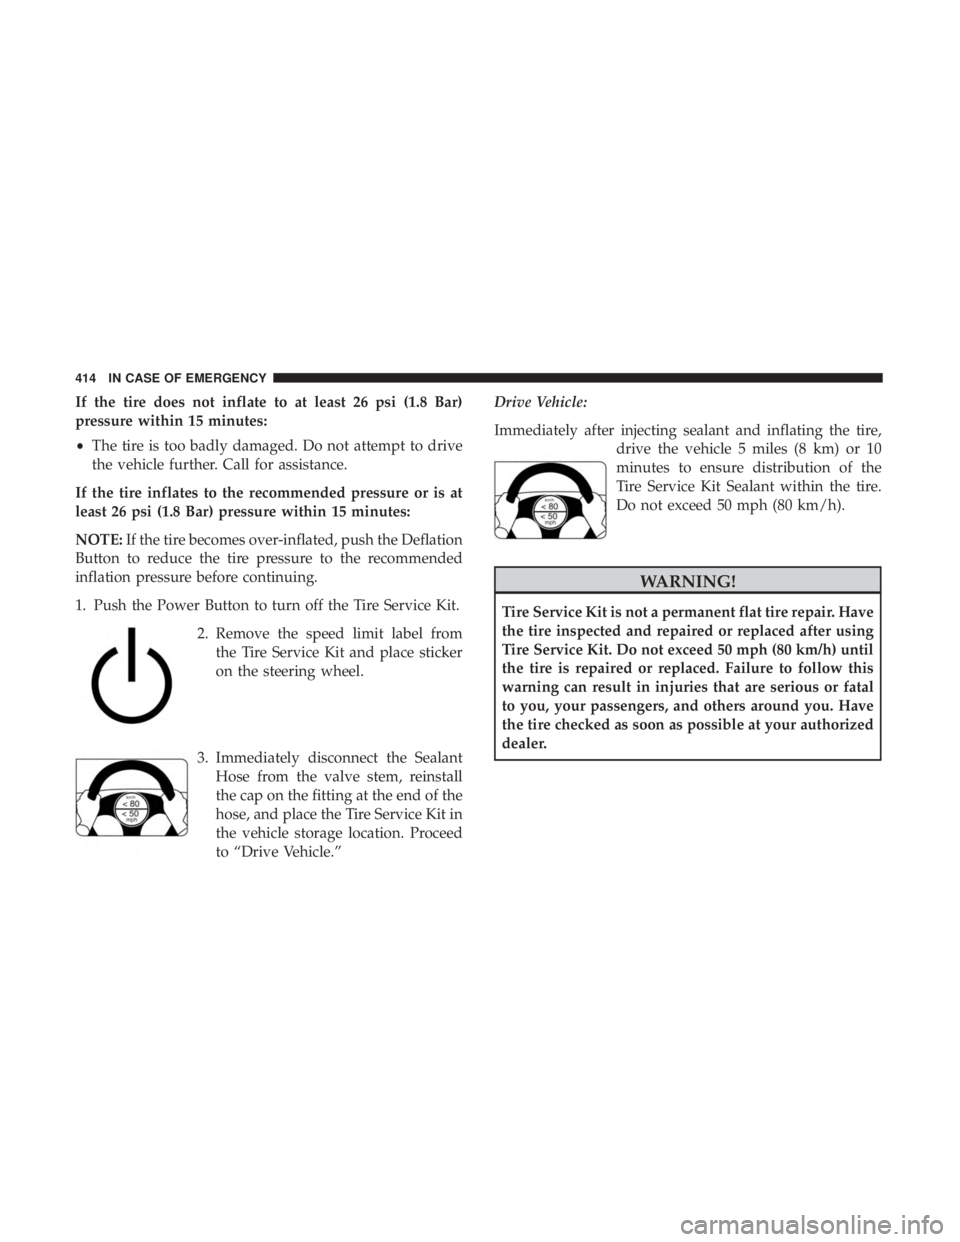
1. Push the Power Button to turn off the Tire Service Kit.
2. Remove the speed limit label fromthe Tire Service Kit and place sticker
on the steering wheel.
3. Immediately disconnect the Sealant Hose from the valve stem, reinstall
the cap on the fitting at the end of the
hose, and place the Tire Service Kit in
the vehicle storage location. Proceed
to “Drive Vehicle.” Drive Vehicle:
Immediately after injecting sealant and inflating the tire,
drive the vehicle 5 miles (8 km) or 10
minutes to ensure distribution of the
Tire Service Kit Sealant within the tire.
Do not exceed 50 mph (80 km/h).
WARNING!
Tire Service Kit is not a permanent flat tire repair. Have
the tire inspected and repaired or replaced after using
Tire Service Kit. Do not exceed 50 mph (80 km/h) until
the tire is repaired or replaced. Failure to follow this
warning can result in injuries that are serious or fatal
to you, your passengers, and others around you. Have
the tire checked as soon as possible at your authorized
dealer.
414 IN CASE OF EMERGENCY
Page 418 of 614

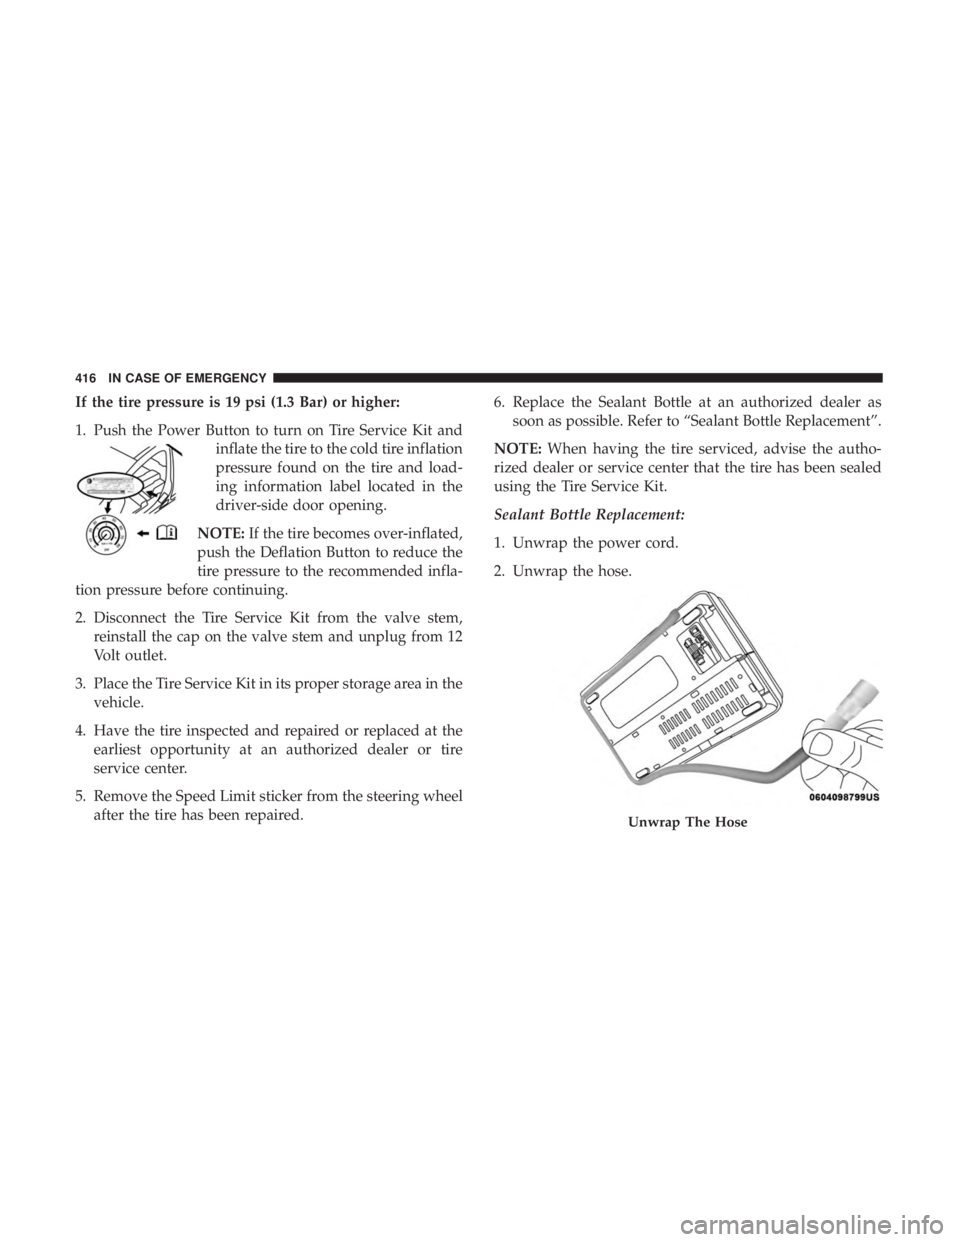
If the tire pressure is 19 psi (1.3 Bar) or higher:
1. Push the Power Button to turn on Tire Service Kit andinflate the tire to the cold tire inflation
pressure found on the tire and load-
ing information label located in the
driver-side door opening.
NOTE: If the tire becomes over-inflated,
push the Deflation Button to reduce the
tire pressure to the recommended infla-
tion pressure before continuing.
2. Disconnect the Tire Service Kit from the valve stem, reinstall the cap on the valve stem and unplug from 12
Volt outlet.
3. Place the Tire Service Kit in its proper storage area in the vehicle.
4. Have the tire inspected and repaired or replaced at the earliest opportunity at an authorized dealer or tire
service center.
5. Remove the Speed Limit sticker from the steering wheel after the tire has been repaired. 6. Replace the Sealant Bottle at an authorized dealer as
soon as possible. Refer to “Sealant Bottle Replacement”.
NOTE: When having the tire serviced, advise the autho-
rized dealer or service center that the tire has been sealed
using the Tire Service Kit.
Sealant Bottle Replacement:
1. Unwrap the power cord.
2. Unwrap the hose.
Unwrap The Hose
416 IN CASE OF EMERGENCY
Page 584 of 614

Do Not Disturb
With Do Not Disturb, you can disable notifications from
incoming calls and texts, allowing you to keep your eyes
on the road and hands on the wheel. For your convenience,
there is a counter display to keep track of your missed calls
and text messages while you were using Do Not Disturb.
Do Not Disturb can automatically reply with a text mes-
sage, a call or both, when declining an incoming call and
send it to voicemail.
Automatic reply messages can be:
•“I am driving right now, I will get back to you shortly.”
• Create a custom auto reply message up to 160 characters.
NOTE: Only the first 25 characters can be seen on the
touchscreen while typing a custom message.
While in Do Not Disturb, Conference Call can be selected
so you can still place a second call without being inter-
rupted by incoming calls. NOTE:
•
Reply with text message is not compatible with iPhones.
• Auto reply with text message is only available on
phones that support Bluetooth MAP.
Android Auto — If Equipped
Android Auto allows you to use your voice to interact with
Android’s best-in-class speech technology through your
vehicle’s voice recognition system, and use your smart-
phone’s data plan to project your Android powered smart-
phone and a number of its apps onto your Uconnect
touchscreen. Connect your Android 5.0 (Lollipop), or
higher, to one of the media USB ports, using the factory-
provided USB cable, and press the new Android Auto icon
that replaces your “Phone” icon on the main menu bar to
begin Android Auto. Push and hold the VR button on the
steering wheel, or press and hold the “Microphone” icon
within Android Auto, to activate Android’s VR, which
recognizes natural voice commands, to use a list of your
smartphone’s features:
• Maps
• Music
• Phone
582 MULTIMEDIA
Page 604 of 614

Checking............................. .436
Disposal .............................. .439
Filter ............................. .440, 499
Filter Disposal .......................... .439
Identification Logo ...................... .439
Materials Added To ...................... .439
Pressure Warning Light ....................175
Recommendation .....................439, 498
Viscosity .......................... .439, 498
Oil Filter, Change ......................... .440
Oil Filter, Selection ......................... .440
Oil Pressure Light ......................... .175
Onboard Diagnostic System ...................184
Opener, Garage Door (HomeLink) ...............134
Operating Precautions ...................... .184
Operator Manual (Owner’s Manual) ...............4
Outside Rearview Mirrors ...................89, 90
Overheating, Engine ....................... .423
Owner’s Manual (Operator Manual) ...........4,592
Paint Care ............................... .486
Parking Brake ............................ .281
ParkSense System, Rear ...................316, 324
Pets ................................... .271
Placard, Tire And Loading Information ...........467Power
Brakes ............................... .492
Inverter .............................. .147
Mirrors ................................91
Outlet (Auxiliary Electrical Outlet) ............144
Seats ..................................72
Steering .............................. .293
Power Seats Down .................................73
Forward ................................73
Rearward ...............................73
Up....................................73
Power Sliding Door On / Off Switch ..........................63
Pregnant Women And Seat Belts ................225
Preparation For Jacking ..................... .401
Pr
etensionersSeat Belts ............................. .226
Radial Ply Tires ........................... .473
Radiator Cap (Coolant Pressure Cap) .............456
Radio Frequency General Information ..................46, 52, 53
Radio Operation .......................... .569
Radio Remote Controls ..................... .534
602 INDEX
Page:
< prev 1-8 9-16 17-24