2018 CHRYSLER PACIFICA HYBRID warning light
[x] Cancel search: warning lightPage 407 of 614

CAUTION!
Be sure to mount the tire with the valve stem facing
outward. The vehicle could be damaged if the inflat-
able spare tire is mounted incorrectly.
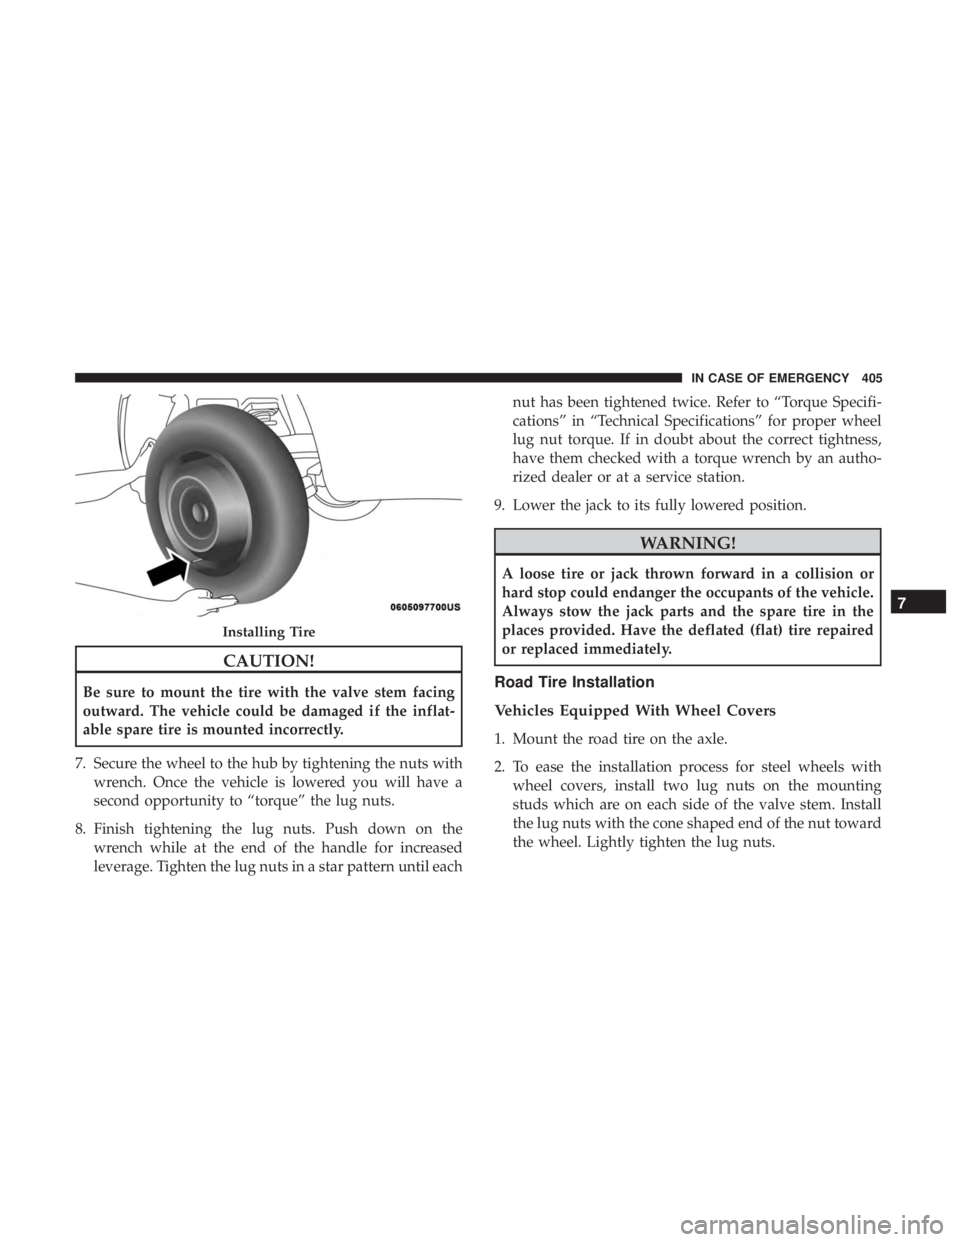
7. Secure the wheel to the hub by tightening the nuts with wrench. Once the vehicle is lowered you will have a
second opportunity to “torque” the lug nuts.
8. Finish tightening the lug nuts. Push down on the wrench while at the end of the handle for increased
leverage. Tighten the lug nuts in a star pattern until each nut has been tightened twice. Refer to “Torque Specifi-
cations” in “Technical Specifications” for proper wheel
lug nut torque. If in doubt about the correct tightness,
have them checked with a torque wrench by an autho-
rized dealer or at a service station.
9. Lower the jack to its fully lowered position.
WARNING!
A loose tire or jack thrown forward in a collision or
hard stop could endanger the occupants of the vehicle.
Always stow the jack parts and the spare tire in the
places provided. Have the deflated (flat) tire repaired
or replaced immediately.
Road Tire Installation
Vehicles Equipped With Wheel Covers
1. Mount the road tire on the axle.
2. To ease the installation process for steel wheels with wheel covers, install two lug nuts on the mounting
studs which are on each side of the valve stem. Install
the lug nuts with the cone shaped end of the nut toward
the wheel. Lightly tighten the lug nuts.
Installing Tire
7
IN CASE OF EMERGENCY 405
Page 408 of 614

3. Align the valve notch in the wheel cover with the valvestem on the wheel. Install the cover by hand, snapping
the cover over the two lug nuts. Do not use a hammer or
excessive force to install the cover.
4. Install the remaining lug nuts with the cone shaped end of the nut toward the wheel. Lightly tighten the lug
nuts.
WARNING!
To avoid the risk of forcing the vehicle off the jack, do
not tighten the wheel nuts fully until the vehicle has
been lowered. Failure to follow this warning may
result in serious injury.
5. Lower the vehicle to the ground by turning the jack handle counterclockwise.
6. Finish tightening the lug nuts. Push down on the wrench while at the end of the handle for increased
leverage. Tighten the lug nuts in a star pattern until each
nut has been tightened twice. Refer to “Torque Specifi-
cations” in “Technical Specifications” for proper wheel
lug nut torque. If in doubt about the correct tightness,
have them checked with a torque wrench by an autho-
rized dealer or at a service station.
7. After 25 miles (40 km) check the lug nut torque with a torque wrench to ensure that all lug nuts are properly
seated against the wheel.
Tire And Wheel Cover Or Center Cap
1 — Valve Stem 4 — Wheel Cover
2 — Valve Notch 5 — Mounting Stud
3 — Wheel Lug Nut 406 IN CASE OF EMERGENCY
Page 409 of 614

Vehicles Without Wheel Covers
1. Mount the road tire on the axle.
2. Install the remaining lug nuts with the cone shaped endof the nut toward the wheel. Lightly tighten the lug
nuts.
WARNING!
To avoid the risk of forcing the vehicle off the jack, do
not tighten the wheel nuts fully until the vehicle has
been lowered. Failure to follow this warning may
result in serious injury.
3. Lower the vehicle to the ground by turning the jack handle counterclockwise.
4. Finish tightening the lug nuts. Push down on the wrench while at the end of the handle for increased
leverage. Tighten the lug nuts in a star pattern until each
nut has been tightened twice. Refer to “Torque Specifi-
cations” in the “Technical Specifications” section for
proper wheel lug nut torque. If in doubt about the
correct tightness, have them checked with a torque
wrench by your authorized dealer or at a service station. 5. After 25 miles (40 km) check the lug nut torque with a
torque wrench to ensure that all lug nuts are properly
seated against the wheel.
TIRE SERVICE KIT — IF EQUIPPED
Your vehicle may be equipped with a Tire Service Kit.
Small punctures up to 1/4 inch (6 mm) in the tire tread can
be sealed with Tire Service Kit. Foreign objects (e.g., screws
or nails) should not be removed from the tire. Tire Service
Kit can be used in outside temperatures down to approxi-
mately -4°F (-20°C). This kit will provide a temporary tire
seal, allowing you to drive your vehicle up to 100 miles
(160 km) with a maximum speed of 50 mph (80 km/h).
Tire Service Kit Storage
The Tire Service Kit is secured with a strap and is stored in
the storage bin located behind the rear cargo trim panel.
7
IN CASE OF EMERGENCY 407
Page 456 of 614

Engine Coolant Checks
Check the engine coolant (antifreeze) protection every 12
months (before the onset of freezing weather, where appli-
cable). If the engine coolant (antifreeze) is dirty, the system
should be drained, flushed, and refilled with fresh OAT
coolant (conforming to MS.90032) by an authorized dealer.
Check the front of the A/C condenser for any accumula-
tion of bugs, leaves, etc. If dirty, clean by gently spraying
water from a garden hose vertically down the face of the
condenser.
Check the engine cooling system hoses for brittle rubber,
cracking, tears, cuts, and tightness of the connection at the
coolant recovery bottle and radiator. Inspect the entire
system for leaks. DO NOT REMOVE THE COOLANT
PRESSURE CAP WHEN THE COOLING SYSTEM IS HOT.
Cooling System — Drain, Flush And Refill
NOTE:Some vehicles require special tools to add coolant
properly. Failure to fill these systems properly could lead to
severe internal engine damage. If any coolant is needed to
be added to the system please contact an local authorized
dealer. If the engine coolant (antifreeze) is dirty or contains visible
sediment, have an authorized dealer clean and flush with
OAT coolant (antifreeze) (conforming to MS.90032).
Refer to the “Maintenance Plan” in this section for the
proper maintenance intervals.
Electric/Battery Coolant System
These coolant systems must be serviced by an authorized
dealer. If the coolant level is below what is specified on the
reservoir, contact an authorized dealer for service.
These systems require the use of high purity water, such as
deionized, or distilled water, when mixing the water and
coolant (antifreeze) solution. The use of lower quality
water will reduce the amount of corrosion protection in the
cooling systems. If the coolant level of the battery coolant
system is low, the wrench warning light will be illuminated
on the instrument cluster.
Selection Of Coolant
Refer to “Fluids And Lubricants” in “Technical Specifica-
tions” for further information.
454 SERVICING AND MAINTENANCE
Page 461 of 614

to the “Maintenance Plan” in this section for the proper
maintenance intervals.
WARNING!
Riding the brakes can lead to brake failure and possi-
bly a collision. Driving with your foot resting or riding
on the brake pedal can result in abnormally high brake
temperatures, excessive lining wear, and possible
brake damage. You would not have your full braking
capacity in an emergency.
Brake Master Cylinder
The fluid in the master cylinder should be checked when
performing under hood services or immediately if the
“Brake Warning Light” is illuminated.
Be sure to clean the top of the master cylinder area before
removing the cap. If necessary, add fluid to bring the fluid
level up to the requirements described on the brake fluid
reservoir. With disc brakes, fluid level can be expected to
fall as the brake pads wear. Brake fluid level should be
checked when pads are replaced. However, low fluid level
may be caused by a leak and a checkup may be needed.Use only manufacturer’s recommended brake fluid. Refer
to “Fluids And Lubricants” in “Technical Specifications”
for further information.
WARNING!
•
Use only manufacturer’s recommended brake fluid.
Refer to “Fluids And Lubricants” in “Technical
Specifications” for further information. Using the
wrong type of brake fluid can severely damage your
brake system and/or impair its performance. The
proper type of brake fluid for your vehicle is also
identified on the original factory installed hydraulic
master cylinder reservoir.
• To avoid contamination from foreign matter or mois-
ture, use only new brake fluid or fluid that has been
in a tightly closed container. Keep the master cylin-
der reservoir cap secured at all times. Brake fluid in
a open container absorbs moisture from the air
resulting in a lower boiling point. This may cause it
to boil unexpectedly during hard or prolonged brak-
ing, resulting in sudden brake failure. This could
result in a collision.
(Continued)
8
SERVICING AND MAINTENANCE 459
Page 478 of 614

Keep dismounted tires in a cool, dry place with as little
exposure to light as possible. Protect tires from contact with
oil, grease, and gasoline.
Replacement Tires
The tires on your new vehicle provide a balance of many
characteristics. They should be inspected regularly for
wear and correct cold tire inflation pressures. The manu-
facturer strongly recommends that you use tires equivalent
to the originals in size, quality and performance when
replacement is needed. Refer to the paragraph on “Tread
Wear Indicators” in this section. Refer to the Tire and
Loading Information placard or the Vehicle Certification
Label for the size designation of your tire. The Load Index
and Speed Symbol for your tire will be found on the
original equipment tire sidewall.
See the Tire Sizing Chart example found in the “Tire Safety
Information” section of this manual for more information
relating to the Load Index and Speed Symbol of a tire.
It is recommended to replace the two front tires or two rear
tires as a pair. Replacing just one tire can seriously affect
your vehicle’s handling. If you ever replace a wheel, make
sure that the wheel’s specifications match those of the
original wheels.It is recommended you contact an authorized tire dealer or
original equipment dealer with any questions you may
have on tire specifications or capability. Failure to use
equivalent replacement tires may adversely affect the
safety, handling, and ride of your vehicle.
WARNING!
•
Do not use a tire, wheel size, load rating, or speed
rating other than that specified for your vehicle.
Some combinations of unapproved tires and wheels
may change suspension dimensions and perfor-
mance characteristics, resulting in changes to steer-
ing, handling, and braking of your vehicle. This can
cause unpredictable handling and stress to steering
and suspension components. You could lose control
and have a collision resulting in serious injury or
death. Use only the tire and wheel sizes with load
ratings approved for your vehicle.
• Never use a tire with a smaller load index or capacity,
other than what was originally equipped on your
vehicle. Using a tire with a smaller load index could
result in tire overloading and failure. You could lose
control and have a collision.
(Continued)
476 SERVICING AND MAINTENANCE
Page 487 of 614

WARNING!
The temperature grade for this tire is established for
a tire that is properly inflated and not overloaded.
Excessive speed, under-inflation, or excessive load-
ing, either separately or in combination, can cause
heat buildup and possible tire failure.
STORING THE VEHICLE
If the vehicle should remain stationary for more than a
month, observe the following precautions:
• Park your vehicle in a covered, dry and possibly airy
location the windows open slightly.
• Check that the Electric Park Brake is not engaged.
• Disconnect the negative (-) terminal from the battery
post and be sure that the battery is fully charged. During
storage check battery charge quarterly.
• If you do not disconnect the battery from the electrical
system, check the battery charge every 30 days.
• Clean and protect the painted parts by applying protec-
tive waxes. •
Clean and protect polished metal parts by applying
protective waxes.
• Apply talcum powder to the front and rear wiper blades
and leave raised from the glass.
• Cover the vehicle with an appropriate cover taking care
not to damage the painted surface by dragging across
dirty surfaces. Do not use plastic sheeting which will not
allow the evaporation of moisture present on the surface
of the vehicle.
• Inflate the tires at a pressure of +7.25 psi (+0.5 bar)
higher than recommended on the tire placard and check
it periodically.
• Do not drain the vehicle cooling system.
• Whenever you leave the vehicle is stationary for two
weeks or more, run idle the vehicle for approximately
five minutes, with the air conditioning system on and
high fan speed. This will ensure a proper lubrication of
the system, thus minimizing the possibility of damage to
the compressor when the vehicle is put back into opera-
tion.
• Plug in the vehicle when not using it whenever possible.
8
SERVICING AND MAINTENANCE 485
Page 494 of 614

IDENTIFICATION DATA
Vehicle Identification Number
The Vehicle Identification Number (VIN) is on the left front
corner of the instrument panel and is visible from outside
of the vehicle through the windshield. This number also
appears stamped under the right front seat and printed on
the Automobile Information Disclosure Label affixed to a
window on your vehicle, the vehicle registration and title.
NOTE:It is illegal to remove or alter the VIN.
BRAKE SYSTEM
Your vehicle is equipped with dual hydraulic brake sys-
tems. If either of the two hydraulic systems loses normal
capability, the remaining system will still function. How-
ever, there will be some loss of overall braking effective-
ness. You may notice increased pedal travel during appli-
cation, greater pedal force required to slow or stop, and
potential activation of the Brake Warning Light.
In the event power assist is lost for any reason (i.e.,
repeated brake applications with the engine off) the brakes
will still function. However, the effort required to brake the
vehicle will be much greater than that required with the
power system operating.
WHEEL AND TIRE TORQUE SPECIFICATIONS
Proper lug nut/bolt torque is very important to ensure that
the wheel is properly mounted to the vehicle. Any time a
wheel has been removed and reinstalled on the vehicle, the
lug nuts/bolts should be torqued using a properly cali-
brated torque wrench using a high quality six sided (hex)
deep wall socket.
Vehicle Identification Number
492 TECHNICAL SPECIFICATIONS