Page 443 of 492
Setting NameSelectable Options
Speed Adjusted Vol- ume Off
12 3
NOTE:
The “Speed Adjusted Volume” feature increases or decreases volume relative to vehicle speed. To change the Speed
Adjusted Volume press the “Off,” “1,” “2” or “3” button on the touchscreen. Surround Sound — If Equipped On
Off
NOTE:
The “Surround Sound” feature provides simulated surround sound mode. To make your selection, press the “Sur-
round Sound” button on the touchscreen, select “On” or “Off.” AUX Volume Offset — If Equipped -3
+3
NOTE:
The “AUX Volume Offset” feature provides the ability to tune the audio level for portable devices connected through
the AUX input. To make your selection, press the AUX Volume Match button on the touchscreen, choose a level from
–3 to +3. Auto Play On Off
NOTE: The Auto Play feature allows an media device to begin playing when the media device is plugged in. To
make your selection, press the On or Off buttons to activate or deactivate Auto Play.
10
MULTIMEDIA 441
Page 445 of 492

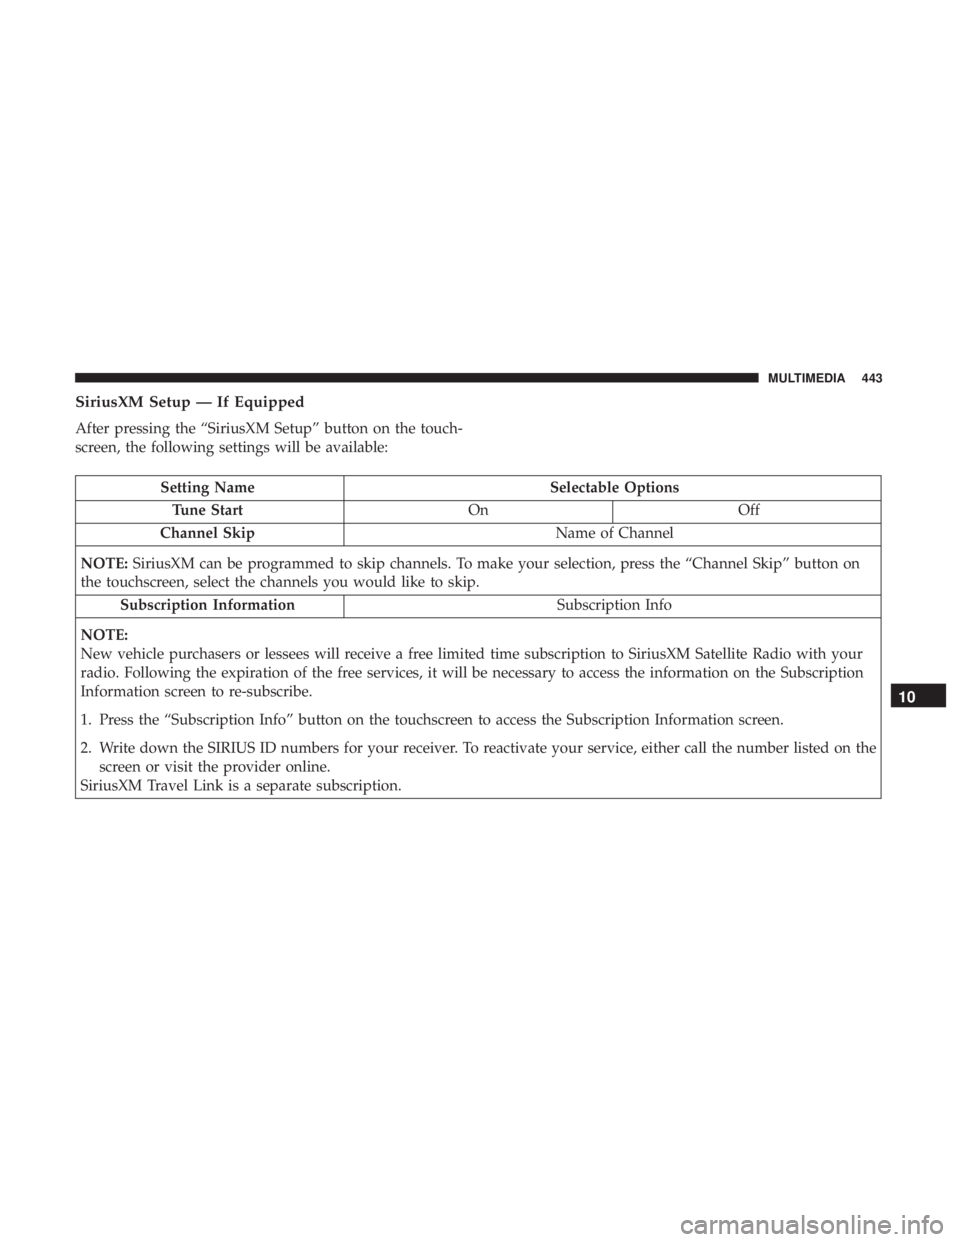
SiriusXM Setup — If Equipped
After pressing the “SiriusXM Setup” button on the touch-
screen, the following settings will be available:
Setting NameSelectable Options
Tune Start OnOff
Channel Skip Name of Channel
NOTE: SiriusXM can be programmed to skip channels. To make your selection, press the “Channel Skip” button on
the touchscreen, select the channels you would like to skip.
Subscription Information Subscription Info
NOTE:
New vehicle purchasers or lessees will receive a free limited time subscription to SiriusXM Satellite Radio with your
radio. Following the expiration of the free services, it will be necessary to access the information on the Subscription
Information screen to re-subscribe.
1. Press the “Subscription Info” button on the touchscreen to access the Subscription Information screen.
2. Write down the SIRIUS ID numbers for your receiver. To reactivate your service, either call the number listed on the screen or visit the provider online.
SiriusXM Travel Link is a separate subscription.
10
MULTIMEDIA 443
Page 446 of 492
Reset
After pressing the “Reset” button on the touchscreen, the
following settings will be available:
Setting NameSelectable Options
Restore Settings OKCancel X
NOTE:
When this feature is selected, it will reset all settings to their default settings. To restore the settings to their default
setting, press the “Restore Settings” button on the touchscreen. A pop-up will appear asking �Are you sure you want
to reset your settings to default?”
Restore App Drawer OK Cancel
Clear Personal Data OKCancel X
NOTE:
When this feature is selected, it will remove all personal data including Bluetooth devices and presets. To remove per-
sonal information, press the “Clear Personal Data” button and a pop-up will appear asking �Are you sure you want
to clear all personal data?”
444 MULTIMEDIA
Page 447 of 492
System Information
After pressing the “System Information” button on the
touchscreen, the following settings will be available:
Setting NameSelectable Options
Software License System Software Information Screen
NOTE:
When the “System Information” feature is selected, a “System Software Information” screen will appear, displaying
the system software version.
STEERING WHEEL AUDIO CONTROLS
The remote sound system controls are located on the rear
surface of the steering wheel at the three and nine o’clock
positions.
Steering Wheel Audio Controls (Back View Of Steering Wheel)
10
MULTIMEDIA 445
Page 452 of 492

NOTE:If you see the NAV icon on the bottom bar, or in the
Apps menus, of your touchscreen, you have the Uconnect
4C NAV system. If not, you have a Uconnect 4C system.
Get Started
All you need to control your Uconnect system with your
voice are the buttons on your steering wheel.
Helpful hints for using Voice Recognition:
1. Visit UconnectPhone.com to check mobile device and feature compatibility and to find phone pairing instruc-
tions.
2. Reduce background noise. Wind and passenger conver- sations are examples of noise that may impact recogni-
tion.
3. Speak clearly at a normal pace and volume while facing straight ahead. The microphone is positioned on the
rearview mirror and aimed at the driver.
4. Each time you give a Voice Command, you must first push either the Voice Recognition (VR) or Phone button,
wait until afterthe beep, then say your Voice Command. 5. You can interrupt the help message or system prompts
by pushing the VR or Phone button and saying a Voice
Command from current category.
Uconnect Voice Command Buttons
1 — Push To Initiate Or To Answer A Phone Call, Send Or Receive
A Text
2 — For All Radios: Push To Begin Radio, Media, or Climate Func-
tions. For 8.4–inch System Only: Push To Begin Navigation Function
3 — Push To End Call
450 MULTIMEDIA
Page 454 of 492
Media
Uconnect offers connections via USB, Bluetooth and auxil-
iary ports (If Equipped). Voice operation is only available
for connected USB and AUX devices.
Push the VR button
. After the beep, say one of the
following commands and follow the prompts to switch
your media source or choose an artist.
• “Change source to Bluetooth”
• “Change source to AUX”
• “Change source to USB”
• “Play artist Beethoven”; “ Play albumGreatest Hits”; “
Play song Moonlight Sonata”; “ Play genreClassical”
TIP: Press the Browse button on the touchscreen to see all
of the music on your USB device. Your Voice Command
must match exactlyhow the artist, album, song and genre
information is displayed.
Uconnect 4C/4C NAV Media
452 MULTIMEDIA
Page 455 of 492

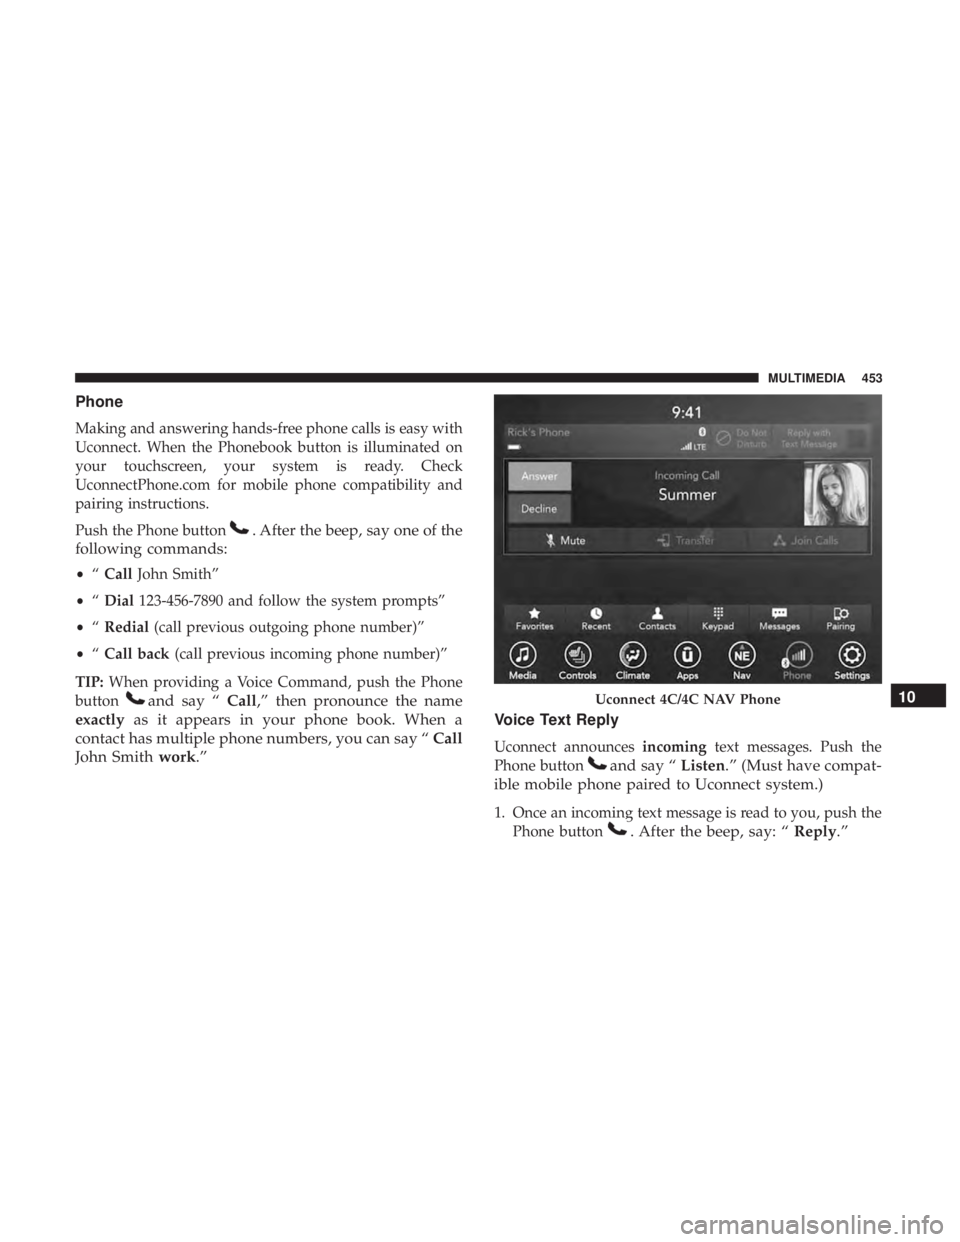
Phone
Making and answering hands-free phone calls is easy with
Uconnect. When the Phonebook button is illuminated on
your touchscreen, your system is ready. Check
UconnectPhone.com for mobile phone compatibility and
pairing instructions.
Push the Phone button
. After the beep, say one of the
following commands:
• “Call John Smith”
• “Dial 123-456-7890 and follow the system prompts”
• “Redial (call previous outgoing phone number)”
• “Call back (call previous incoming phone number)”
TIP: When providing a Voice Command, push the Phone
button
and say “ Call,” then pronounce the name
exactly as it appears in your phone book. When a
contact has multiple phone numbers, you can say “ Call
John Smith work.” Voice Text Reply
Uconnect announces
incomingtext messages. Push the
Phone button
and say “ Listen.” (Must have compat-
ible mobile phone paired to Uconnect system.)
1. Once an incoming text message is read to you, push the Phone button
. After the beep, say: “ Reply.”
Uconnect 4C/4C NAV Phone10
MULTIMEDIA 453
Page 459 of 492

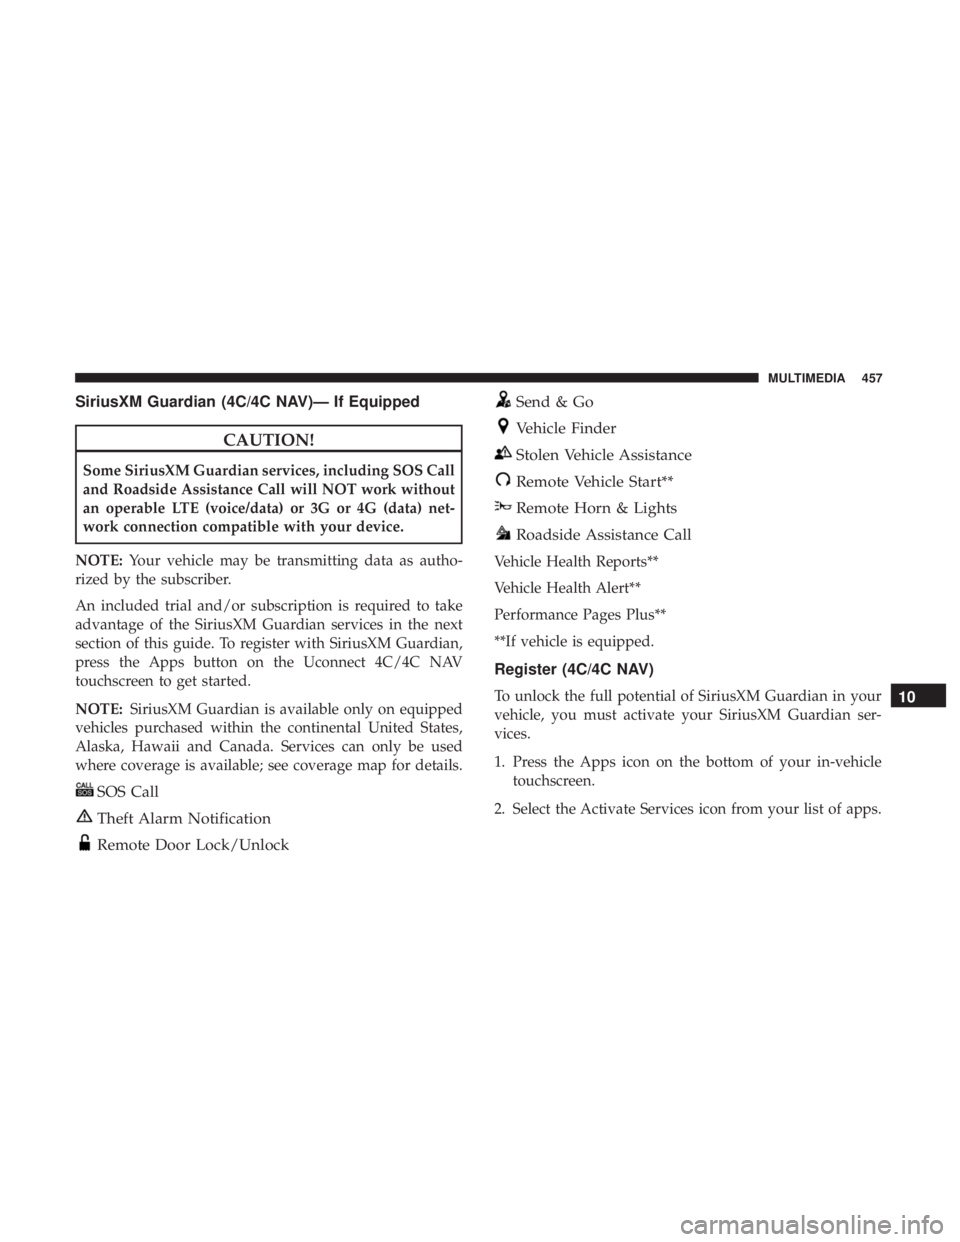
SiriusXM Guardian (4C/4C NAV)— If Equipped
CAUTION!
Some SiriusXM Guardian services, including SOS Call
and Roadside Assistance Call will NOT work without
an operable LTE (voice/data) or 3G or 4G (data) net-
work connection compatible with your device.
NOTE: Your vehicle may be transmitting data as autho-
rized by the subscriber.
An included trial and/or subscription is required to take
advantage of the SiriusXM Guardian services in the next
section of this guide. To register with SiriusXM Guardian,
press the Apps button on the Uconnect 4C/4C NAV
touchscreen to get started.
NOTE: SiriusXM Guardian is available only on equipped
vehicles purchased within the continental United States,
Alaska, Hawaii and Canada. Services can only be used
where coverage is available; see coverage map for details.
SOS Call
Theft Alarm Notification
Remote Door Lock/Unlock
Send & Go
Vehicle Finder
Stolen Vehicle Assistance
Remote Vehicle Start**
Remote Horn & Lights
Roadside Assistance Call
Vehicle Health Reports**
Vehicle Health Alert**
Performance Pages Plus**
**If vehicle is equipped.
Register (4C/4C NAV)
To unlock the full potential of SiriusXM Guardian in your
vehicle, you must activate your SiriusXM Guardian ser-
vices.
1. Press the Apps icon on the bottom of your in-vehicle touchscreen.
2. Select the Activate Services icon from your list of apps.10
MULTIMEDIA 457