Page 299 of 492

IN CASE OF EMERGENCY
CONTENTS
�HAZARD WARNING FLASHERS ............298
� ASSIST AND SOS MIRROR — IF EQUIPPED . . . .298
� BULB REPLACEMENT ....................304
▫ Replacement Bulbs .....................304
▫ Replacing Exterior Bulbs ..................306
� FUSES ............................... .309
▫ General Information .....................310
▫ Underhood Fuses ..................... .310
▫ Rear Interior Fuses .....................315
� JACKING AND TIRE CHANGING ...........321
▫ Jack Location/Spare Tire Stowage ...........321
▫ Preparations For Jacking .................323
▫ Jacking And Changing A Tire ..............324
▫ Road Tire Installation ...................328 �
JUMP STARTING ....................... .328
▫ Preparations For Jump Start ...............329
▫ Jump Starting Procedure ..................330
� IF YOUR ENGINE OVERHEATS .............331
� MANUAL PARK RELEASE .................332
� FREEING A STUCK VEHICLE ..............334
� TOWING A DISABLED VEHICLE ............336
▫ All Wheel Drive (AWD) Models ............337
▫ Rear-Wheel Drive (RWD) Models ...........338
� ENHANCED ACCIDENT RESPONSE SYSTEM
(EARS) .............................. .338
� EVENT DATA RECORDER (EDR) ............338
7
Page 317 of 492
Rear Interior Fuses
There is also a power distribution center located in the
trunk under the spare tire access panel. This center con-
tains fuses and relays. Fuse cavity location and descrip-
tions are printed on the inside of the power distribution
center cover.
CAUTION!
•When installing the power distribution center cover,
it is important to ensure the cover is properly posi-
tioned and fully latched. Failure to do so may allow
water to get into the power distribution center and
possibly result in an electrical system failure.
• When replacing a blown fuse, it is important to use
only a fuse having the correct amperage rating. The
use of a fuse with a rating other than indicated may
result in a dangerous electrical system overload. If a
(Continued)
Opening The Access Cover
Rear Power Distribution Center
7
IN CASE OF EMERGENCY 315
Page 323 of 492

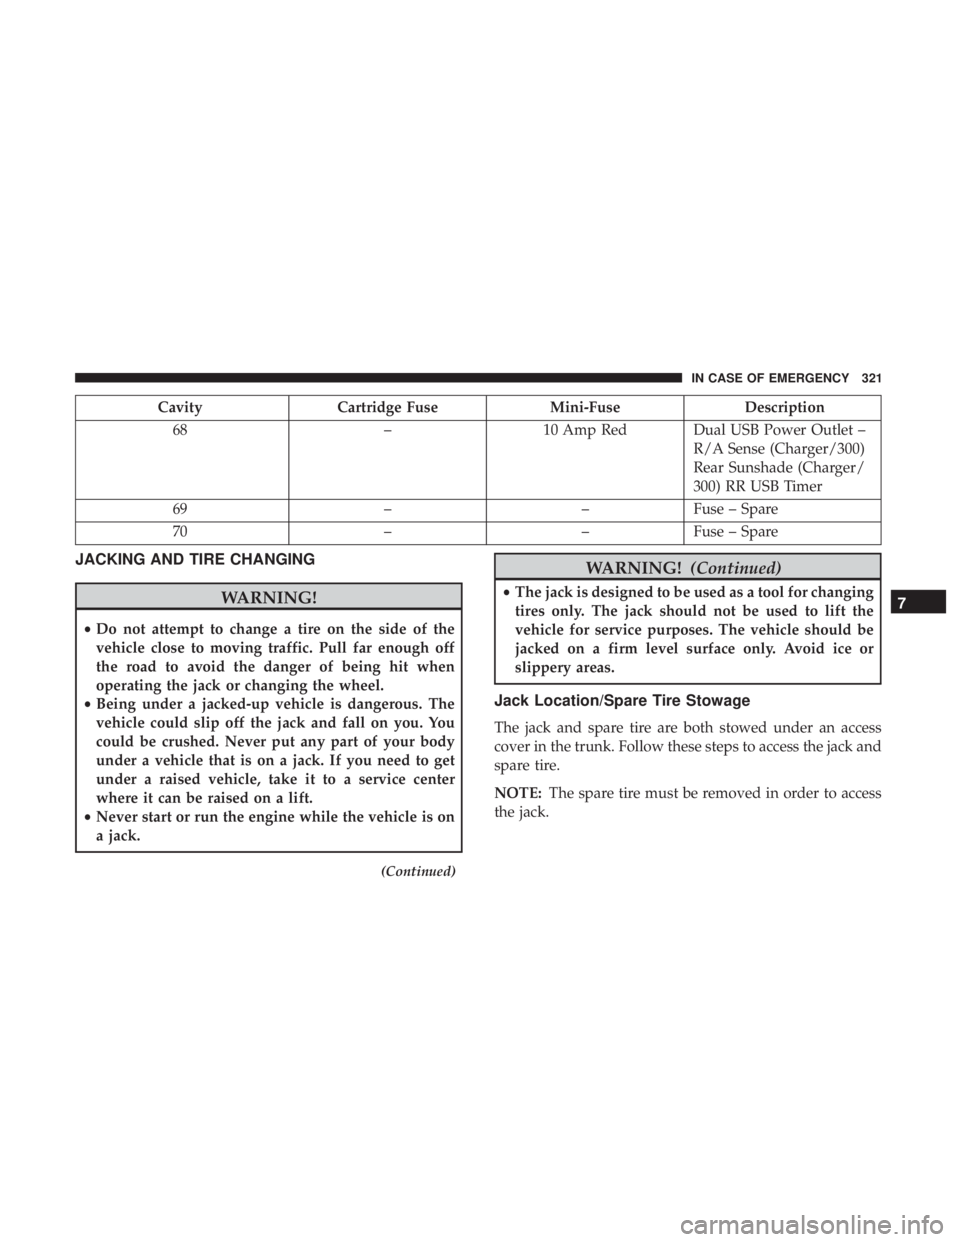
CavityCartridge Fuse Mini-FuseDescription
68 –10 Amp Red Dual USB Power Outlet –
R/A Sense (Charger/300)
Rear Sunshade (Charger/
300) RR USB Timer
69 ––Fuse – Spare
70 ––Fuse – Spare
JACKING AND TIRE CHANGING
WARNING!
•Do not attempt to change a tire on the side of the
vehicle close to moving traffic. Pull far enough off
the road to avoid the danger of being hit when
operating the jack or changing the wheel.
• Being under a jacked-up vehicle is dangerous. The
vehicle could slip off the jack and fall on you. You
could be crushed. Never put any part of your body
under a vehicle that is on a jack. If you need to get
under a raised vehicle, take it to a service center
where it can be raised on a lift.
• Never start or run the engine while the vehicle is on
a jack.
(Continued)
WARNING! (Continued)
•The jack is designed to be used as a tool for changing
tires only. The jack should not be used to lift the
vehicle for service purposes. The vehicle should be
jacked on a firm level surface only. Avoid ice or
slippery areas.
Jack Location/Spare Tire Stowage
The jack and spare tire are both stowed under an access
cover in the trunk. Follow these steps to access the jack and
spare tire.
NOTE: The spare tire must be removed in order to access
the jack.
7
IN CASE OF EMERGENCY 321
Page 326 of 492

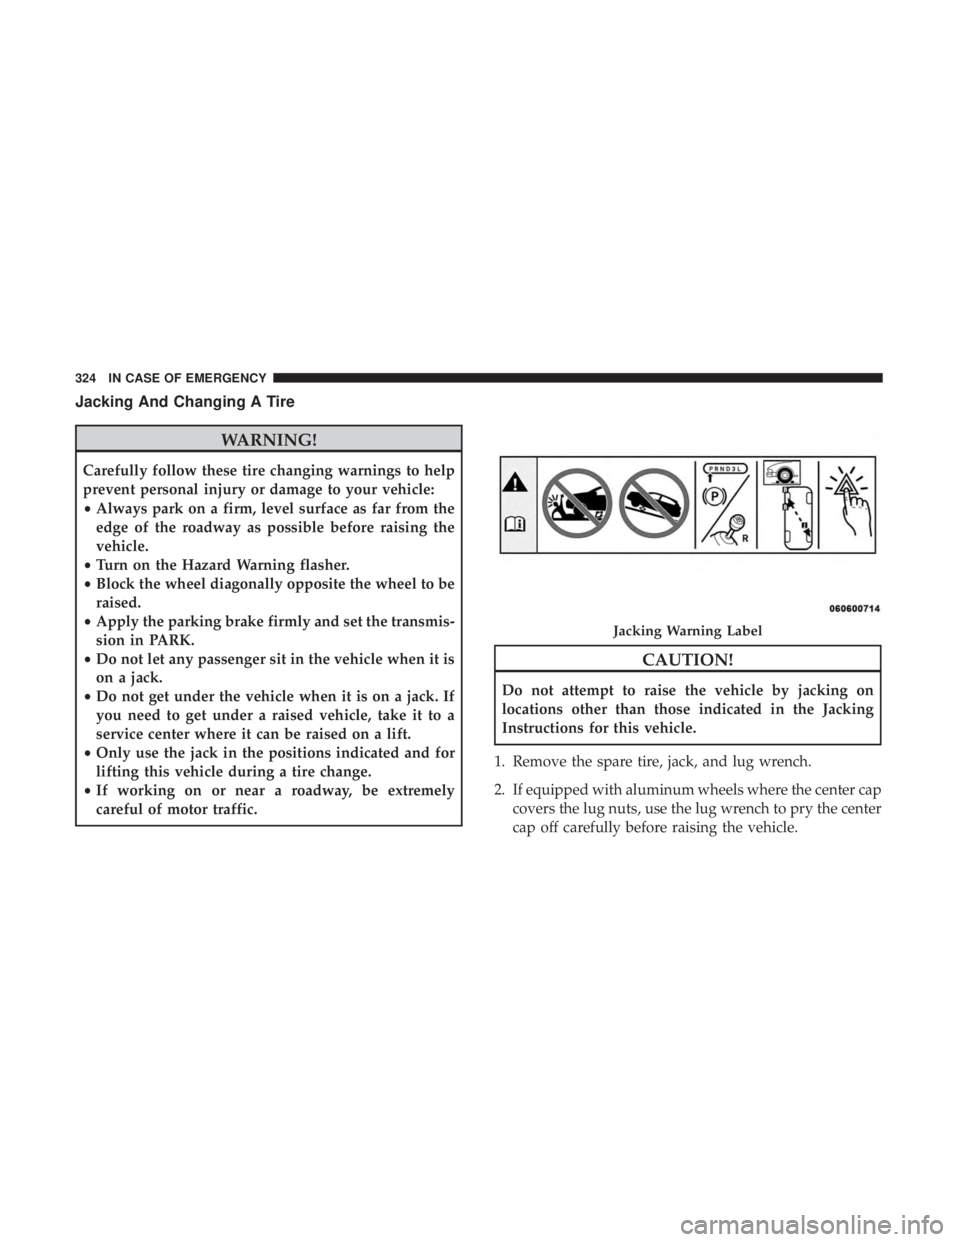
Jacking And Changing A Tire
WARNING!
Carefully follow these tire changing warnings to help
prevent personal injury or damage to your vehicle:
•Always park on a firm, level surface as far from the
edge of the roadway as possible before raising the
vehicle.
• Turn on the Hazard Warning flasher.
• Block the wheel diagonally opposite the wheel to be
raised.
• Apply the parking brake firmly and set the transmis-
sion in PARK.
• Do not let any passenger sit in the vehicle when it is
on a jack.
• Do not get under the vehicle when it is on a jack. If
you need to get under a raised vehicle, take it to a
service center where it can be raised on a lift.
• Only use the jack in the positions indicated and for
lifting this vehicle during a tire change.
• If working on or near a roadway, be extremely
careful of motor traffic.
CAUTION!
Do not attempt to raise the vehicle by jacking on
locations other than those indicated in the Jacking
Instructions for this vehicle.
1. Remove the spare tire, jack, and lug wrench.
2. If equipped with aluminum wheels where the center cap covers the lug nuts, use the lug wrench to pry the center
cap off carefully before raising the vehicle.
Jacking Warning Label
324 IN CASE OF EMERGENCY
Page 328 of 492
5. Raise the vehicle just enough to remove the flat tire andinstall the spare tire.
WARNING!
Raising the vehicle higher than necessary can make the
vehicle less stable. It could slip off the jack and hurt
someone near it. Raise the vehicle only enough to
remove the tire.
6. Remove the lug nuts and tire. 7. Mount the spare tire.
CAUTION!
Be sure to mount the spare tire with the valve stem
facing outward. The vehicle could be damaged if the
spare tire is mounted incorrectly.
Rear Jacking Location
Mounting Spare Tire
326 IN CASE OF EMERGENCY
Page 379 of 492
Tire Loading And Tire Pressure
NOTE:The proper cold tire inflation pressure is listed on
the driver ’s side B-Pillar or the rear edge of the driver’s
side door.
Check the inflation pressure of each tire, including the
spare tire (if equipped), at least monthly and inflate to the
recommended pressure for your vehicle.
Example Tire Placard Location (Door)
Example Tire Placard Location (B-Pillar)8
SERVICING AND MAINTENANCE 377