Page 4 of 20

4
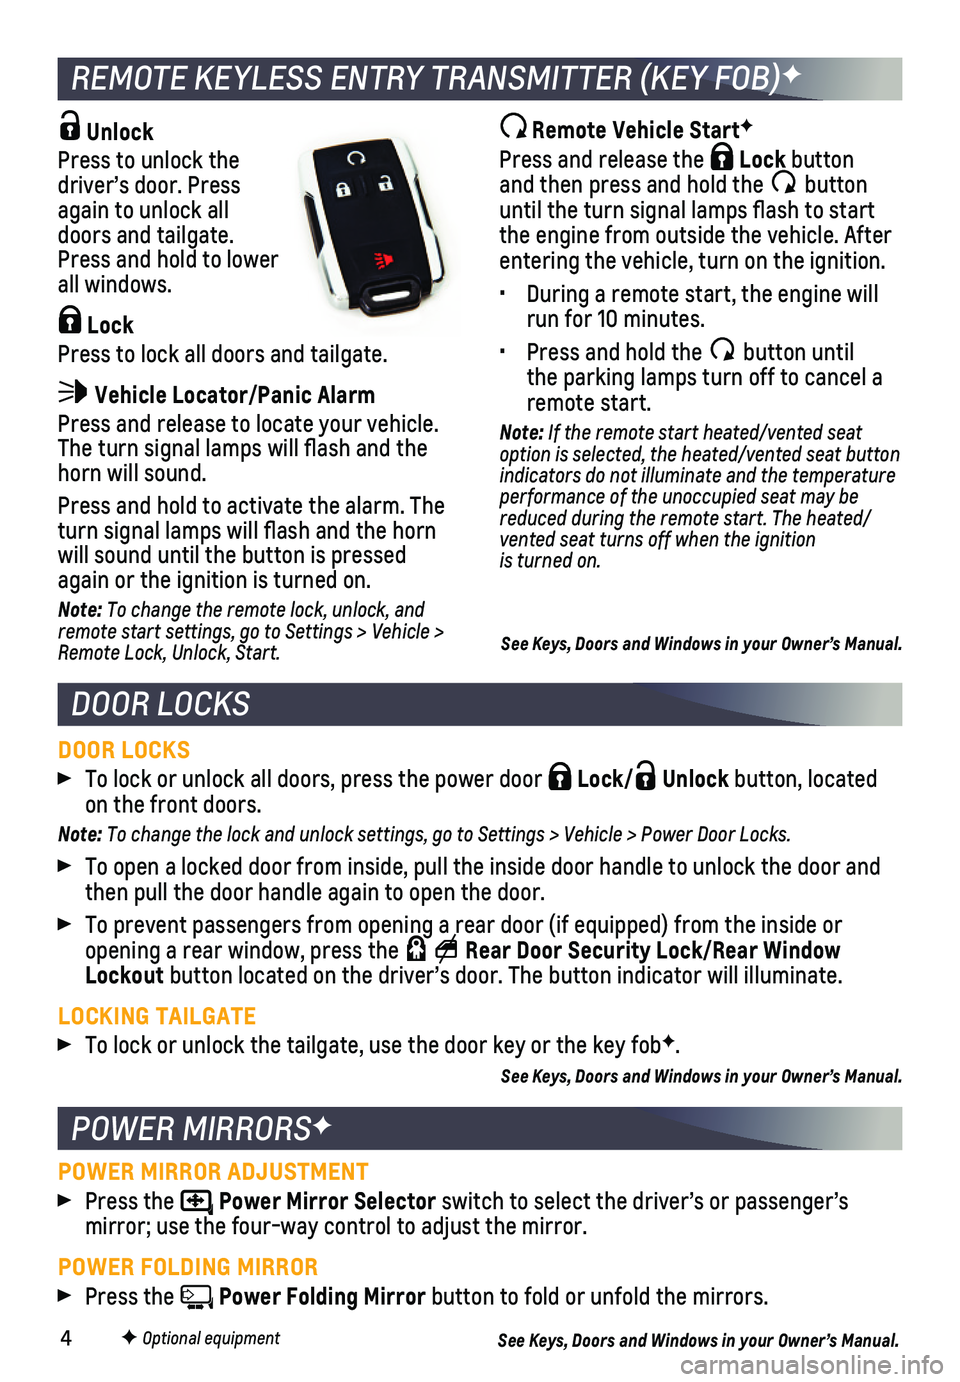
REMOTE KEYLESS ENTRY TRANSMITTER (KEY FOB)F
DOOR LOCKS
Unlock
Press to unlock the driver’s door. Press again to unlock all doors and tailgate. Press and hold to lower all windows.
Lock
Press to lock all doors and tailgate.
Vehicle Locator/Panic Alarm
Press and release to locate your vehicle. The turn signal lamps will flash and the horn will sound.
Press and hold to activate the alarm. The turn signal lamps will flash and the horn will sound until the button is pressed again or the ignition is turned on.
Note: To change the remote lock, unlock, and remote start settings, go to Settings > Vehicle > Remote Lock, Unlock, Start.
POWER MIRRORSF
DOOR LOCKS
To lock or unlock all doors, press the power door Lock/ Unlock button, located on the front doors.
Note: To change the lock and unlock settings, go to Settings > Vehicle > Power Door Locks.
To open a locked door from inside, pull the inside door handle to unlock\
the door and then pull the door handle again to open the door.
To prevent passengers from opening a rear door (if equipped) from the \
inside or opening a rear window, press the Rear Door Security Lock/Rear Window Lockout button located on the driver’s door. The button indicator will illum\
inate.
LOCKING TAILGATE
To lock or unlock the tailgate, use the door key or the key fobF.
See Keys, Doors and Windows in your Owner’s Manual.
Remote Vehicle StartF
Press and release the Lock button and then press and hold the button until the turn signal lamps flash to start the engine from outside the vehicle. After entering the vehicle, turn on the ignition.
• During a remote start, the engine will run for 10 minutes.
• Press and hold the button until the parking lamps turn off to cancel a remote start.
Note: If the remote start heated/vented seat option is selected, the heated/vented seat button indicators do not illuminate and the t emperature performance of the unoccupied seat may be reduced during the remote start. The heated/vented seat turns off when the ignition is turned on.
See Keys, Doors and Windows in your Owner’s Manual.
F Optional equipment
POWER MIRROR ADJUSTMENT
Press the Power Mirror Selector switch to select the driver’s or passenger’s
mirror; use the four-way control to adjust the mirror.
POWER FOLDING MIRROR
Press the Power Folding Mirror button to fold or unfold the mirrors.
See Keys, Doors and Windows in your Owner’s Manual.
Page 15 of 20

15
Refer to your Owner’s Manual for important information about using th\
e Bluetooth system while driving.
Before using a Bluetooth-enabled device in the vehicle, it must be paire\
d with the in- vehicle Bluetooth system. The pairing process is disabled when the vehic\
le is moving. Not all devices will support all functions. Bluetooth streaming audio is ava\
ilable with the MyLink system.F For more information, visit my.chevrolet.com/learn.
PAIR A PHONE
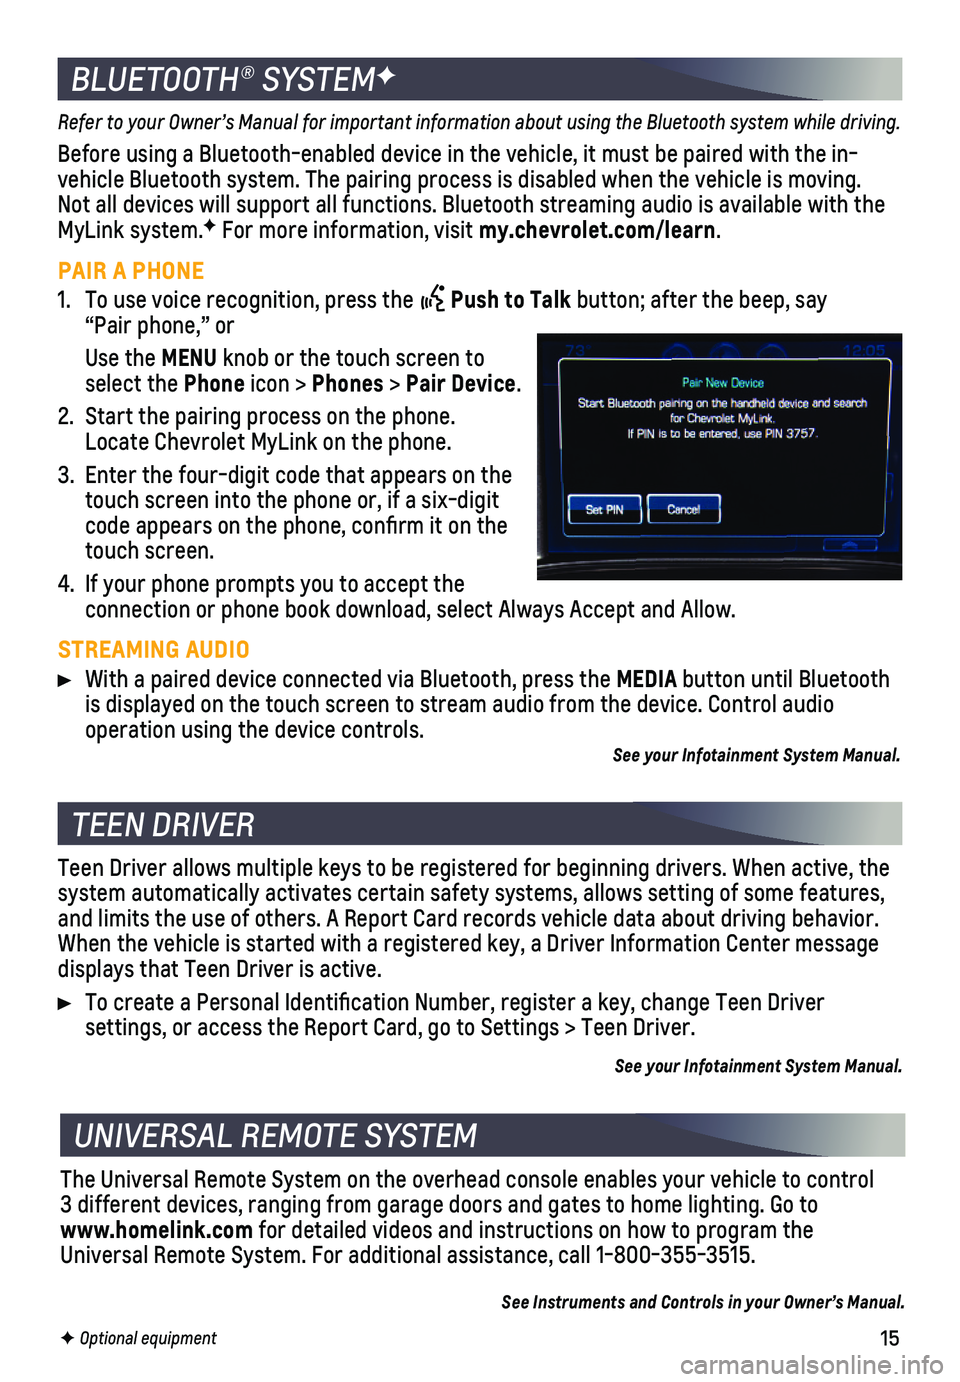
1. To use voice recognition, press the Push to Talk button; after the beep, say “Pair phone,” or
Use the MENU knob or the touch screen to select the Phone icon > Phones > Pair Device.
2. Start the pairing process on the phone. Locate Chevrolet MyLink on the phone.
3. Enter the four-digit code that appears on the touch screen into the phone or, if a six-digit code appears on the phone, confirm it on the touch screen.
4. If your phone prompts you to accept the
connection or phone book download, select Always Accept and Allow.
STREAMING AUDIO
With a paired device connected via Bluetooth, press the MEDIA button until Bluetooth is displayed on the touch screen to stream audio from the device. Contro\
l audio
operation using the device controls.See your Infotainment System Manual.
BLUETOOTH® SYSTEMF
F Optional equipment
TEEN DRIVER
UNIVERSAL REMOTE SYSTEM
Teen Driver allows multiple keys to be registered for beginning drivers.\
When active, the system automatically activates certain safety systems, allows setting of\
some features, and limits the use of others. A Report Card records vehicle data about d\
riving behavior. When the vehicle is started with a registered key, a Driver Information \
Center message displays that Teen Driver is active.
To create a Personal Identification Number, register a key, change Tee\
n Driver
settings, or access the Report Card, go to Settings > Teen Driver.
See your Infotainment System Manual.
The Universal Remote System on the overhead console enables your vehicle\
to control 3 different devices, ranging from garage doors and gates to home lightin\
g. Go to www.homelink.com for detailed videos and instructions on how to program the Universal Remote System. For additional assistance, call 1-800-355-3515.\
See Instruments and Controls in your Owner’s Manual.
Page 16 of 20

16
Some vehicle features can be customized using the audio controls and men\
us or the touch screen buttonsF.
CHANGING VEHICLE SETTINGS
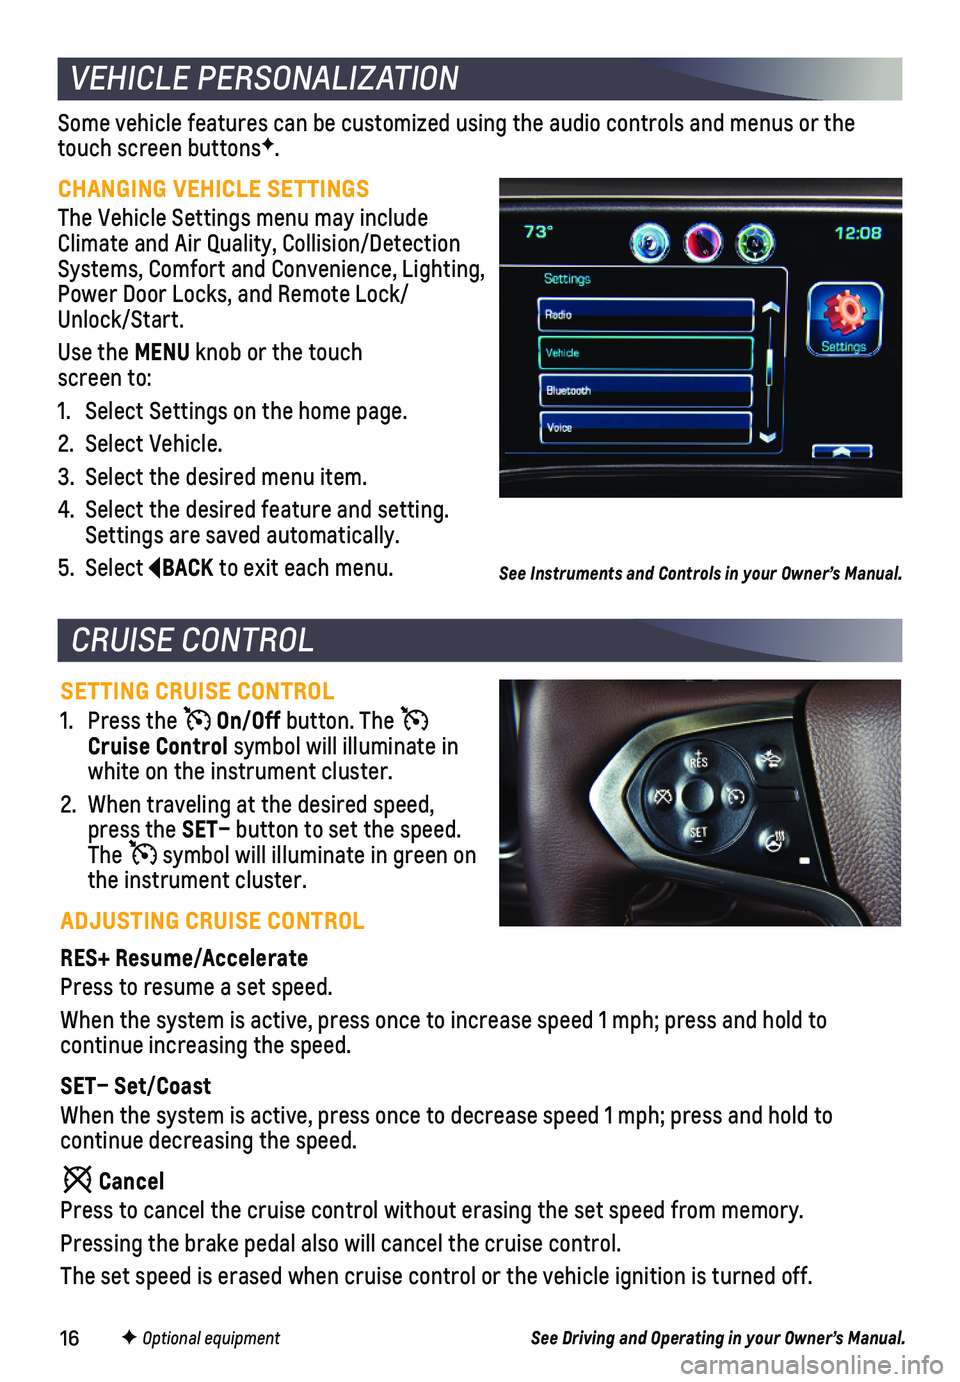
The Vehicle Settings menu may include Climate and Air Quality, Collision/Detection Systems, Comfort and Convenience, Lighting, Power Door Locks, and Remote Lock/ Unlock/Start.
Use the MENU knob or the touch screen to:
1. Select Settings on the home page.
2. Select Vehicle.
3. Select the desired menu item.
4. Select the desired feature and setting. Settings are saved automatically.
5. Select BACK to exit each menu.
VEHICLE PERSONALIZATION
SETTING CRUISE CONTROL
1. Press the On/Off button. The Cruise Control symbol will illuminate in white on the instrument cluster.
2. When traveling at the desired speed, press the SET– button to set the speed. The symbol will illuminate in green on the instrument cluster.
ADJUSTING CRUISE CONTROL
RES+ Resume/Accelerate
Press to resume a set speed.
When the system is active, press once to increase speed 1 mph; press and\
hold to
continue increasing the speed.
SET– Set/Coast
When the system is active, press once to decrease speed 1 mph; press and\
hold to
continue decreasing the speed.
Cancel
Press to cancel the cruise control without erasing the set speed from me\
mory.
Pressing the brake pedal also will cancel the cruise control.
The set speed is erased when cruise control or the vehicle ignition is t\
urned off.
CRUISE CONTROL
F Optional equipment
See Instruments and Controls in your Owner’s Manual.
See Driving and Operating in your Owner’s Manual.