2018 CHEVROLET MALIBU warning light
[x] Cancel search: warning lightPage 268 of 413

Chevrolet Malibu Owner Manual (GMNA-Localizing-U.S./Canada/Mexico-
11348460) - 2018 - crc - 5/3/17
Driving and Operating 267
Conversions and
Add-Ons
Add-On Electrical
Equipment
{Warning
The Data Link Connector (DLC) is
used for vehicle service and
Emission Inspection/
Maintenance testing. See
Malfunction Indicator Lamp
(Check Engine Light)0122.
A device connected to the DLC —
such as an aftermarket fleet or
driver-behavior tracking device —
may interfere with vehicle
systems. This could affect vehicle
operation and cause a crash.
Such devices may also access
information stored in the vehicle’s
systems.
Caution
Some electrical equipment can
damage the vehicle or cause
components to not work and
would not be covered by the
vehicle warranty. Always check
with your dealer before adding
electrical equipment.
Add-on equipment can drain the
vehicle's 12-volt battery, even if the
vehicle is not operating.
The vehicle has an airbag system.
Before attempting to add anything
electrical to the vehicle, see
Servicing the Airbag-Equipped
Vehicle 082 and Adding Equipment
to the Airbag-Equipped Vehicle
0 83.
Page 269 of 413
Chevrolet Malibu Owner Manual (GMNA-Localizing-U.S./Canada/Mexico-
11348460) - 2018 - crc - 5/3/17
268 Vehicle Care
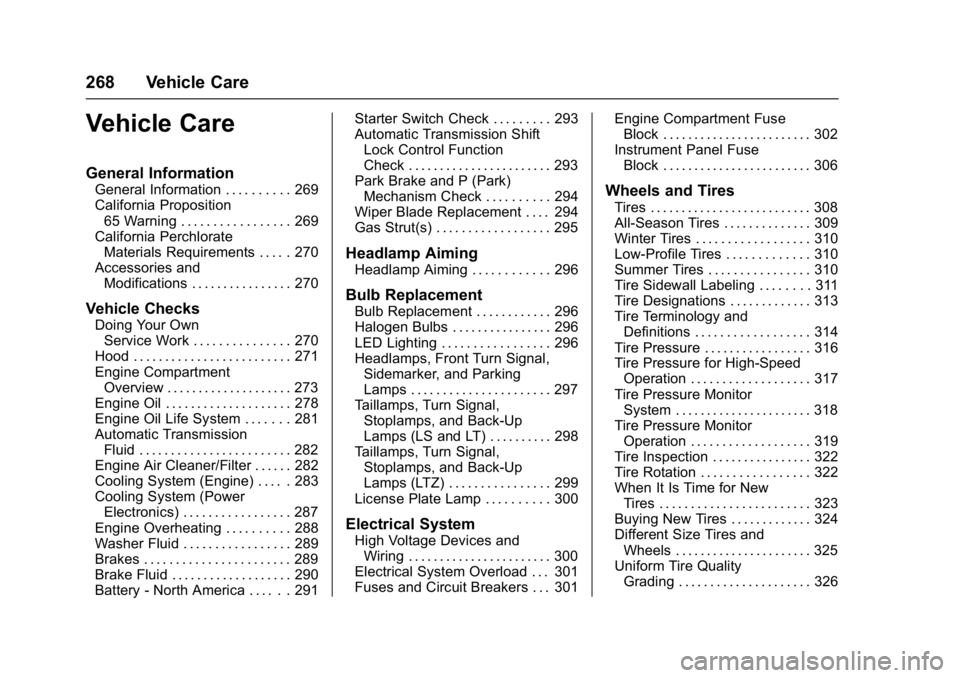
Vehicle Care
General Information
General Information . . . . . . . . . . 269
California Proposition65 Warning . . . . . . . . . . . . . . . . . 269
California Perchlorate Materials Requirements . . . . . 270
Accessories and Modifications . . . . . . . . . . . . . . . . 270
Vehicle Checks
Doing Your OwnService Work . . . . . . . . . . . . . . . 270
Hood . . . . . . . . . . . . . . . . . . . . . . . . . 271
Engine Compartment Overview . . . . . . . . . . . . . . . . . . . . 273
Engine Oil . . . . . . . . . . . . . . . . . . . . 278
Engine Oil Life System . . . . . . . 281
Automatic Transmission Fluid . . . . . . . . . . . . . . . . . . . . . . . . 282
Engine Air Cleaner/Filter . . . . . . 282
Cooling System (Engine) . . . . . 283
Cooling System (Power Electronics) . . . . . . . . . . . . . . . . . 287
Engine Overheating . . . . . . . . . . 288
Washer Fluid . . . . . . . . . . . . . . . . . 289
Brakes . . . . . . . . . . . . . . . . . . . . . . . 289
Brake Fluid . . . . . . . . . . . . . . . . . . . 290
Battery - North America . . . . . . 291 Starter Switch Check . . . . . . . . . 293
Automatic Transmission Shift
Lock Control Function
Check . . . . . . . . . . . . . . . . . . . . . . . 293
Park Brake and P (Park)
Mechanism Check . . . . . . . . . . 294
Wiper Blade Replacement . . . . 294
Gas Strut(s) . . . . . . . . . . . . . . . . . . 295
Headlamp Aiming
Headlamp Aiming . . . . . . . . . . . . 296
Bulb Replacement
Bulb Replacement . . . . . . . . . . . . 296
Halogen Bulbs . . . . . . . . . . . . . . . . 296
LED Lighting . . . . . . . . . . . . . . . . . 296
Headlamps, Front Turn Signal, Sidemarker, and Parking
Lamps . . . . . . . . . . . . . . . . . . . . . . 297
Taillamps, Turn Signal, Stoplamps, and Back-Up
Lamps (LS and LT) . . . . . . . . . . 298
Taillamps, Turn Signal, Stoplamps, and Back-Up
Lamps (LTZ) . . . . . . . . . . . . . . . . 299
License Plate Lamp . . . . . . . . . . 300
Electrical System
High Voltage Devices and Wiring . . . . . . . . . . . . . . . . . . . . . . . 300
Electrical System Overload . . . 301
Fuses and Circuit Breakers . . . 301 Engine Compartment Fuse
Block . . . . . . . . . . . . . . . . . . . . . . . . 302
Instrument Panel Fuse Block . . . . . . . . . . . . . . . . . . . . . . . . 306
Wheels and Tires
Tires . . . . . . . . . . . . . . . . . . . . . . . . . . 308
All-Season Tires . . . . . . . . . . . . . . 309
Winter Tires . . . . . . . . . . . . . . . . . . 310
Low-Profile Tires . . . . . . . . . . . . . 310
Summer Tires . . . . . . . . . . . . . . . . 310
Tire Sidewall Labeling . . . . . . . . 311
Tire Designations . . . . . . . . . . . . . 313
Tire Terminology andDefinitions . . . . . . . . . . . . . . . . . . 314
Tire Pressure . . . . . . . . . . . . . . . . . 316
Tire Pressure for High-Speed Operation . . . . . . . . . . . . . . . . . . . 317
Tire Pressure Monitor System . . . . . . . . . . . . . . . . . . . . . . 318
Tire Pressure Monitor Operation . . . . . . . . . . . . . . . . . . . 319
Tire Inspection . . . . . . . . . . . . . . . . 322
Tire Rotation . . . . . . . . . . . . . . . . . 322
When It Is Time for New Tires . . . . . . . . . . . . . . . . . . . . . . . . 323
Buying New Tires . . . . . . . . . . . . . 324
Different Size Tires and Wheels . . . . . . . . . . . . . . . . . . . . . . 325
Uniform Tire Quality Grading . . . . . . . . . . . . . . . . . . . . . 326
Page 291 of 413
Chevrolet Malibu Owner Manual (GMNA-Localizing-U.S./Canada/Mexico-
11348460) - 2018 - crc - 5/3/17
290 Vehicle Care
{Warning
The brake wear warning sound
means that soon the brakes will
not work well. That could lead to
a crash. When the brake wear
warning sound is heard, have the
vehicle serviced.
Caution
Continuing to drive with worn-out
brake pads could result in costly
brake repair.
Some driving conditions or climates
can cause a brake squeal when the
brakes are first applied or lightly
applied. This does not mean
something is wrong with the brakes.
Properly torqued wheel nuts are
necessary to help prevent brake
pulsation. When tires are rotated,
inspect brake pads for wear and
evenly tighten wheel nuts in the proper sequence to torque
specifications. See
Capacities and
Specifications 0373.
Brake pads should be replaced as
complete sets.
Brake Pedal Travel
See your dealer if the brake pedal
does not return to normal height,
or if there is a rapid increase in
pedal travel. This could be a sign
that brake service may be required.
Replacing Brake System Parts
Always replace brake system parts
with new, approved replacement
parts. If this is not done, the brakes
may not work properly. The braking
performance expected can change
in many other ways if the wrong
replacement brake parts are
installed or if parts are improperly
installed.
Brake Fluid
The brake master cylinder reservoir
is filled with GM approved DOT 3
brake fluid as indicated on the
reservoir cap. See Engine
Compartment Overview 0273 for
the location of the reservoir.
Checking Brake Fluid
With the vehicle in P (Park) on a
level surface, the brake fluid level
should be between the minimum
and maximum marks on the brake
fluid reservoir.
There are only two reasons why the
brake fluid level in the reservoir may
go down:
. Normal brake lining wear. When
new linings are installed, the
fluid level goes back up.
Page 292 of 413
Chevrolet Malibu Owner Manual (GMNA-Localizing-U.S./Canada/Mexico-
11348460) - 2018 - crc - 5/3/17
Vehicle Care 291
.A fluid leak in the brake
hydraulic system. Have the
brake hydraulic system fixed.
With a leak, the brakes will not
work well.
Always clean the brake fluid
reservoir cap and the area around
the cap before removing it.
Do not top off the brake fluid.
Adding fluid does not correct a leak.
If fluid is added when the linings are
worn, there will be too much fluid
when new brake linings are
installed. Add or remove fluid, as
necessary, only when work is done
on the brake hydraulic system.
{Warning
If too much brake fluid is added, it
can spill on the engine and burn,
if the engine is hot enough. You
or others could be burned, and
the vehicle could be damaged.
Add brake fluid only when work is
done on the brake hydraulic
system. When the brake fluid falls to a low
level, the brake warning light comes
on. See
Brake System Warning
Light 0124.
Brake fluid absorbs water over time
which degrades the effectiveness of
the brake fluid. Replace brake fluid
at the specified intervals to prevent
increased stopping distance. See
Maintenance Schedule 0360.
What to Add
Use only GM approved DOT 3
brake fluid from a clean, sealed
container. See Recommended
Fluids and Lubricants 0369.
{Warning
The wrong or contaminated brake
fluid could result in damage to the
brake system. This could result in
the loss of braking leading to a
possible injury. Always use the
proper GM approved brake fluid.
Caution
If brake fluid is spilled on the
vehicle's painted surfaces, the
paint finish can be damaged.
Immediately wash off any painted
surface.
Battery - North America
The original equipment battery is
maintenance free. Do not remove
the cap and do not add fluid.
The non-hybrid vehicle has a
standard 12-volt battery under the
hood. See Engine Compartment
Overview 0273.
Refer to the replacement number
shown on the original battery label
when a new 12-volt battery is
needed.
Hybrid Vehicle
The hybrid vehicle 12-volt battery is
in the trunk on the driver side.
Hybrid vehicles also have a high
voltage battery. Only a trained
service technician with the proper
knowledge and tools should inspect,
Page 297 of 413
Chevrolet Malibu Owner Manual (GMNA-Localizing-U.S./Canada/Mexico-
11348460) - 2018 - crc - 5/3/17
296 Vehicle Care
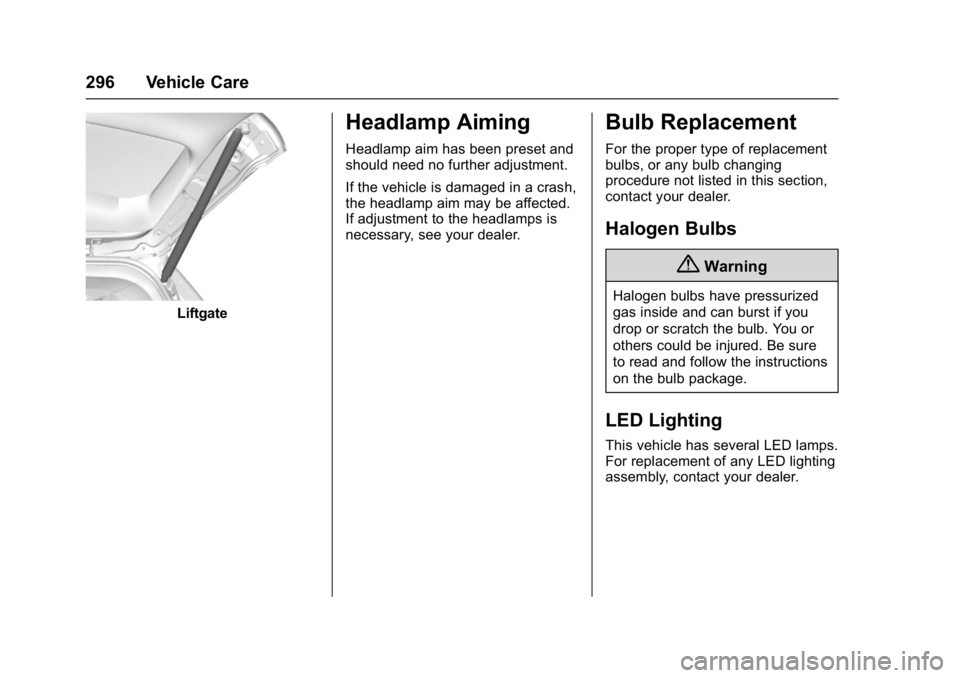
Liftgate
Headlamp Aiming
Headlamp aim has been preset and
should need no further adjustment.
If the vehicle is damaged in a crash,
the headlamp aim may be affected.
If adjustment to the headlamps is
necessary, see your dealer.
Bulb Replacement
For the proper type of replacement
bulbs, or any bulb changing
procedure not listed in this section,
contact your dealer.
Halogen Bulbs
{Warning
Halogen bulbs have pressurized
gas inside and can burst if you
drop or scratch the bulb. You or
others could be injured. Be sure
to read and follow the instructions
on the bulb package.
LED Lighting
This vehicle has several LED lamps.
For replacement of any LED lighting
assembly, contact your dealer.
Page 309 of 413

Chevrolet Malibu Owner Manual (GMNA-Localizing-U.S./Canada/Mexico-
11348460) - 2018 - crc - 5/3/17
308 Vehicle Care
FusesUsage
F28 –
F29 Body control module 8
F30 Overhead console
F31 Steering wheel controls
F32 –
F33 Heating, ventilation, and air conditioning
F34 Gateway
F35 –
F36 Wireless charger
F37 Front accessory power outlets/
Cigarette lighter –
China only
F38 OnStar
F39 Display
F40 Obstacle detection
F41 Body control module 1 (w/ Stop/Start option)
F42 Radio
CB1 – Fuses
Usage
CB2 Console accessory power outlet
Relays Usage
K1 –
K2 Retained accessory power
K3 –
K4 –
K5 –Wheels and Tires
Tires
Every new GM vehicle has
high-quality tires made by a
leading tire manufacturer. See
the warranty manual for
information regarding the tire
warranty and where to get
service. For additional
information refer to the tire
manufacturer.
{Warning
.Poorly maintained and
improperly used tires are
dangerous.
.Overloading the tires can
cause overheating as a
result of too much
flexing. There could be a
blowout and a serious
crash. See Vehicle Load
Limits 0212.
(Continued)
Page 320 of 413
Chevrolet Malibu Owner Manual (GMNA-Localizing-U.S./Canada/Mexico-
11348460) - 2018 - crc - 5/3/17
Vehicle Care 319
This sequence will continue upon
subsequent vehicle start-ups as
long as the malfunction exists.
When the malfunction indicator is
illuminated, the system may not be
able to detect or signal low tire
pressure as intended. TPMS
malfunctions may occur for a variety
of reasons, including the installation
of replacement or alternate tires or
wheels on the vehicle that prevent
the TPMS from functioning properly.
Always check the TPMS malfunction
telltale after replacing one or more
tires or wheels on your vehicle to
ensure that the replacement or
alternate tires and wheels allow the
TPMS to continue to function
properly.
SeeTire Pressure Monitor
Operation 0319.
See Radio Frequency Statement
0 385.Tire Pressure Monitor
Operation
This vehicle may have a Tire
Pressure Monitor System (TPMS).
The TPMS is designed to warn the
driver when a low tire pressure
condition exists. TPMS sensors are
mounted onto each tire and wheel
assembly, excluding the spare tire
and wheel assembly. The TPMS
sensors monitor the air pressure in
the tires and transmit the tire
pressure readings to a receiver
located in the vehicle.
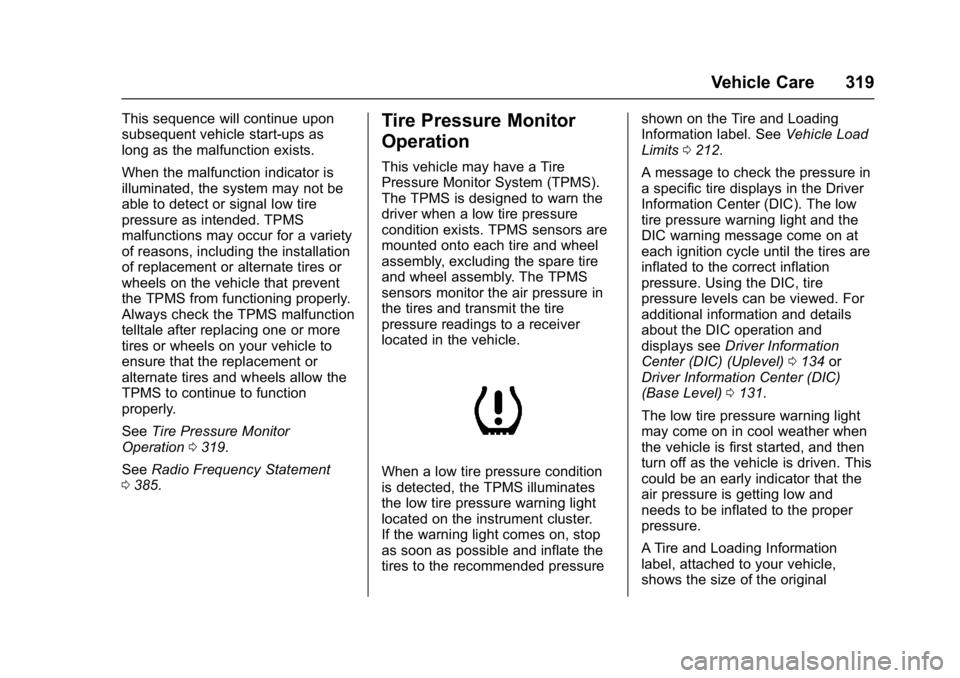
When a low tire pressure condition
is detected, the TPMS illuminates
the low tire pressure warning light
located on the instrument cluster.
If the warning light comes on, stop
as soon as possible and inflate the
tires to the recommended pressure shown on the Tire and Loading
Information label. See
Vehicle Load
Limits 0212.
A message to check the pressure in
a specific tire displays in the Driver
Information Center (DIC). The low
tire pressure warning light and the
DIC warning message come on at
each ignition cycle until the tires are
inflated to the correct inflation
pressure. Using the DIC, tire
pressure levels can be viewed. For
additional information and details
about the DIC operation and
displays see Driver Information
Center (DIC) (Uplevel) 0134 or
Driver Information Center (DIC)
(Base Level) 0131.
The low tire pressure warning light
may come on in cool weather when
the vehicle is first started, and then
turn off as the vehicle is driven. This
could be an early indicator that the
air pressure is getting low and
needs to be inflated to the proper
pressure.
A Tire and Loading Information
label, attached to your vehicle,
shows the size of the original
Page 321 of 413
Chevrolet Malibu Owner Manual (GMNA-Localizing-U.S./Canada/Mexico-
11348460) - 2018 - crc - 5/3/17
320 Vehicle Care
equipment tires and the correct
inflation pressure for the tires when
they are cold. SeeVehicle Load
Limits 0212, for an example of the
Tire and Loading Information label
and its location. Also see Tire
Pressure 0316.
The TPMS can warn about a low
tire pressure condition but it does
not replace normal tire
maintenance. See Tire Inspection
0 322, Tire Rotation 0322 andTires
0 308.
Caution
Tire sealant materials are not all
the same. A non-approved tire
sealant could damage the TPMS
sensors. TPMS sensor damage
caused by using an incorrect tire
sealant is not covered by the
vehicle warranty. Always use only
the GM approved tire sealant
available through your dealer or
included in the vehicle. Factory-installed Tire Inflator Kits
use a GM-approved liquid tire
sealant. Using non-approved tire
sealants could damage the TPMS
sensors. See
Tire Sealant and
Compressor Kit 0331 for
information regarding the inflator kit
materials and instructions.
TPMS Malfunction Light and
Message
The TPMS will not function properly
if one or more of the TPMS sensors
are missing or inoperable. When the
system detects a malfunction, the
low tire pressure warning light
flashes for about one minute and
then stays on for the remainder of
the ignition cycle. A DIC warning
message also displays. The
malfunction light and DIC warning
message come on at each ignition
cycle until the problem is corrected.
Some of the conditions that can
cause these to come on are:
. One of the road tires has been
replaced with the spare tire. The
spare tire does not have a
TPMS sensor. The malfunction
light and DIC message should go off after the road tire is
replaced and the sensor
matching process is performed
successfully. See
“TPMS Sensor
Matching Process” later in this
section.
. The TPMS sensor matching
process was not done or not
completed successfully after
rotating the tires. The
malfunction light and the DIC
message should go off after
successfully completing the
sensor matching process. See
"TPMS Sensor Matching
Process" later in this section.
. One or more TPMS sensors are
missing or damaged. The
malfunction light and the DIC
message should go off when the
TPMS sensors are installed and
the sensor matching process is
performed successfully. See
your dealer for service.
. Replacement tires or wheels do
not match the original equipment
tires or wheels. Tires and wheels
other than those recommended