2018 Alfa Romeo Stelvio charging
[x] Cancel search: chargingPage 44 of 276

Note:Before exiting the vehicle, ensure
that the overhead lights are off. This will
prevent the battery from discharging
once the doors are closed. If a light is left
on accidently, the overhead lights will
turn off automatically approximately
15 minutes after the engine has been
cycled OFF.
Overhead Light Timing
On certain models, to assist getting in
and out of the vehicle at night or in
poorly-lit areas, two timed modes have
been provided.
Timing While Getting Into The Vehicle
— The overhead lights turn on according
to the following modes:
Will illuminate for a few seconds when
the doors are unlocked.
Will illuminate for approximately three
minutes when one of the doors is opened.
Will illuminate for a few seconds when
the doors are locked.
Timing is interrupted when the ignition is
cycled to ON mode.
Three Modes Are Available For Turning
Off Overhead Lighting:
When all doors are closed after
entering the vehicle, the three-minute
timer will stop and a seconds timer will
start for the interior lights. This timing
will stop when the ignition is cycled to ON
mode.
When doors are locked (either with key
fob or with key inserted on driver side
door), the overhead light turns off.
The interior lights will turn off after
15 minutes to preserve the battery.
Timing While Getting Out Of The
Vehicle — After cycling the ignition to
STOP mode, the overhead lights will turn
on as follows:
For a few seconds after the engine
stops.
For approximately three minutes when
one of the doors is opened.
For a few seconds when the last door
is closed.
The timing stops automatically when the
doors are locked.
Vanity Mirror Lights — If Equipped
On the driver and passenger sun visor,
there is a light that illuminates the sun
visor mirror when the sun visor is folded
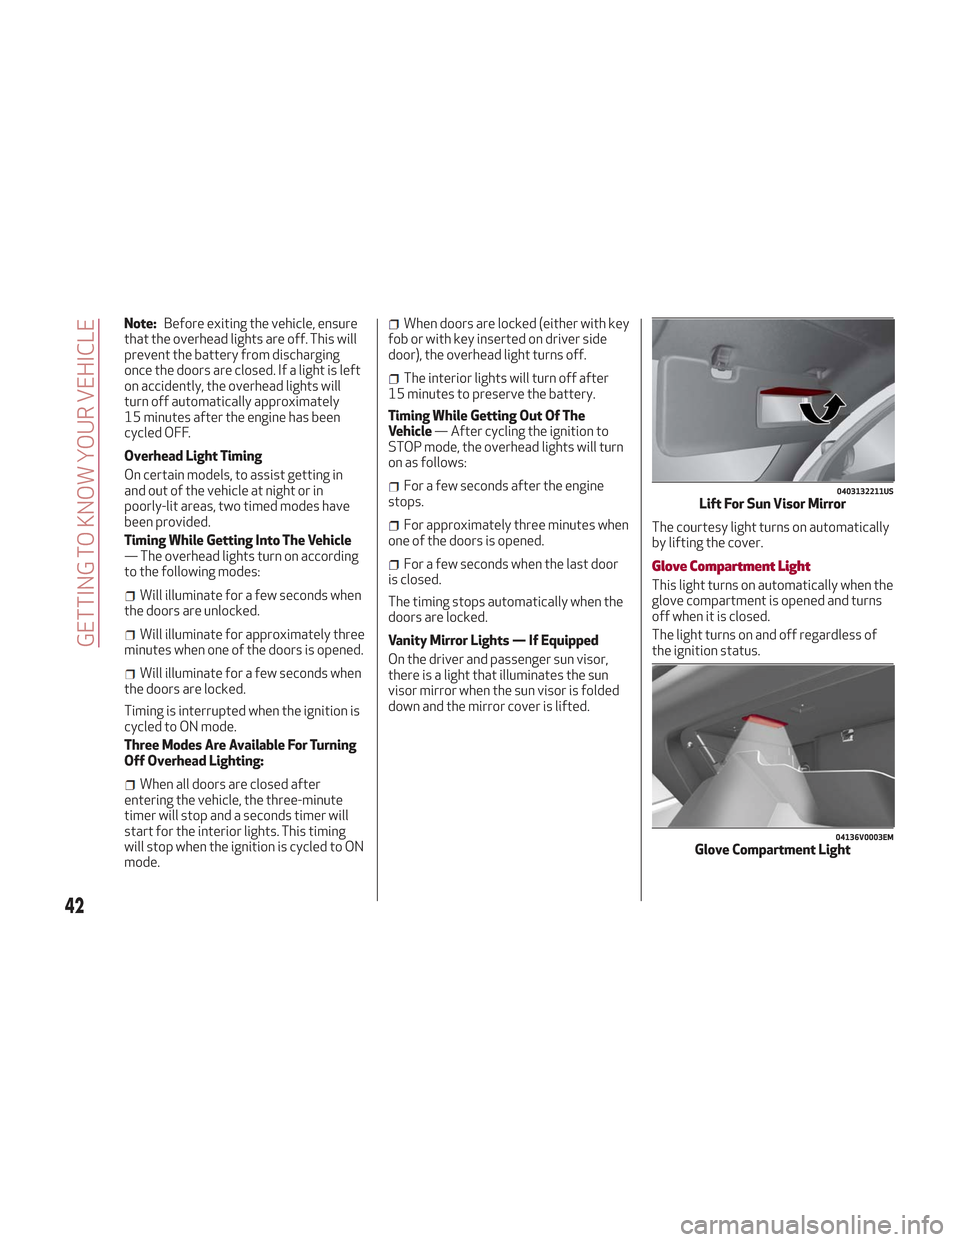
down and the mirror cover is lifted. The courtesy light turns on automatically
by lifting the cover.Glove Compartment Light
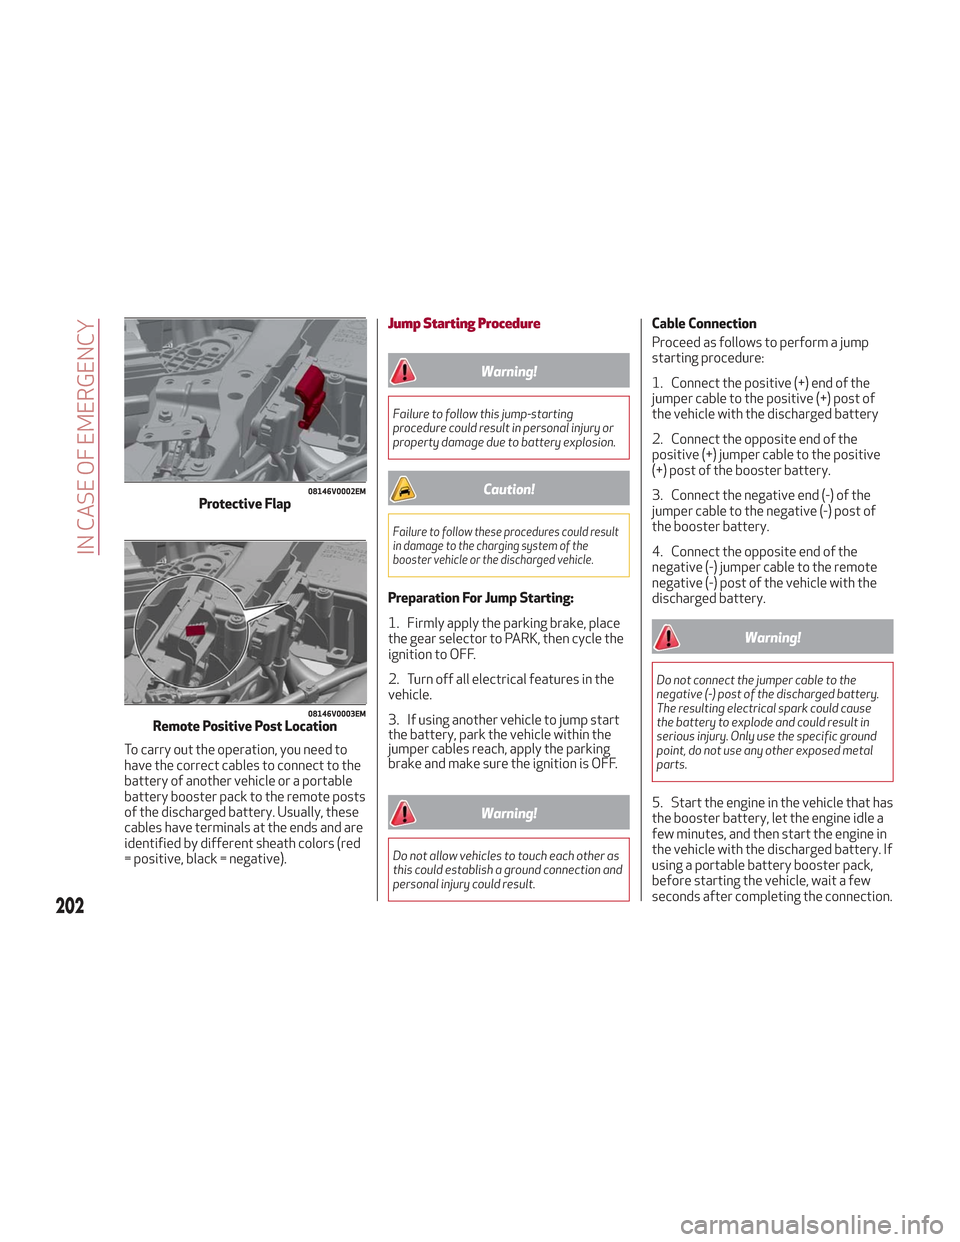
This light turns on automatically when the
glove compartment is opened and turns
off when it is closed.
The light turns on and off regardless of
the ignition status.
0403132211USLift For Sun Visor Mirror
04136V0003EMGlove Compartment Light
42
GETTING TO KNOW YOUR VEHICLE
Page 46 of 276

Luggage Compartment Courtesy Lights
The luggage compartment features two
courtesy lights.
These courtesy lights turn on
automatically when the liftgate is opened
and turn off when it is closed.
The courtesy lights will turn on and off
regardless of the ignition position.
Note:If the liftgate is left open, the
lights will automatically turn off after
15 minutes to prevent discharging of the
battery.
Instrument Panel Dimmer Control
With the daytime running lights or
headlights on, rotate the dimmer control
upward to increase the instrument panel
brightness and the control button icons.
Rotate the dimmer control downward to
decrease brightness.
WINDSHIELD WIPERS
Windshield Wiper Stalk
The windshield wiper stalk is located on
the right side of the steering wheel.
The windshield wipers will only operate
with the ignition cycled to ON.
Caution!
Turn the windshield wipers off when
driving through an automatic car wash.
Damage to the windshield wipers may result
if the wiper control is left in any position
other than off.
In cold weather, always turn off the wiper
switch and allow the wipers to return to the
“Park” position before turning off the
engine. If the wiper switch is left on and the
wipers freeze to the windshield, damage to
the wiper motor may occur when the vehicle
is restarted.
Always remove any buildup of snow that
prevents the windshield wiper blades from
returning to the off position. If the
windshield wiper control is turned off and
the blades cannot return to the off position,
damage to the wiper motor may occur.
04136V0006EMLuggage Compartment Courtesy Lights04126V0055EMDimmer Control
44
GETTING TO KNOW YOUR VEHICLE
Page 204 of 276

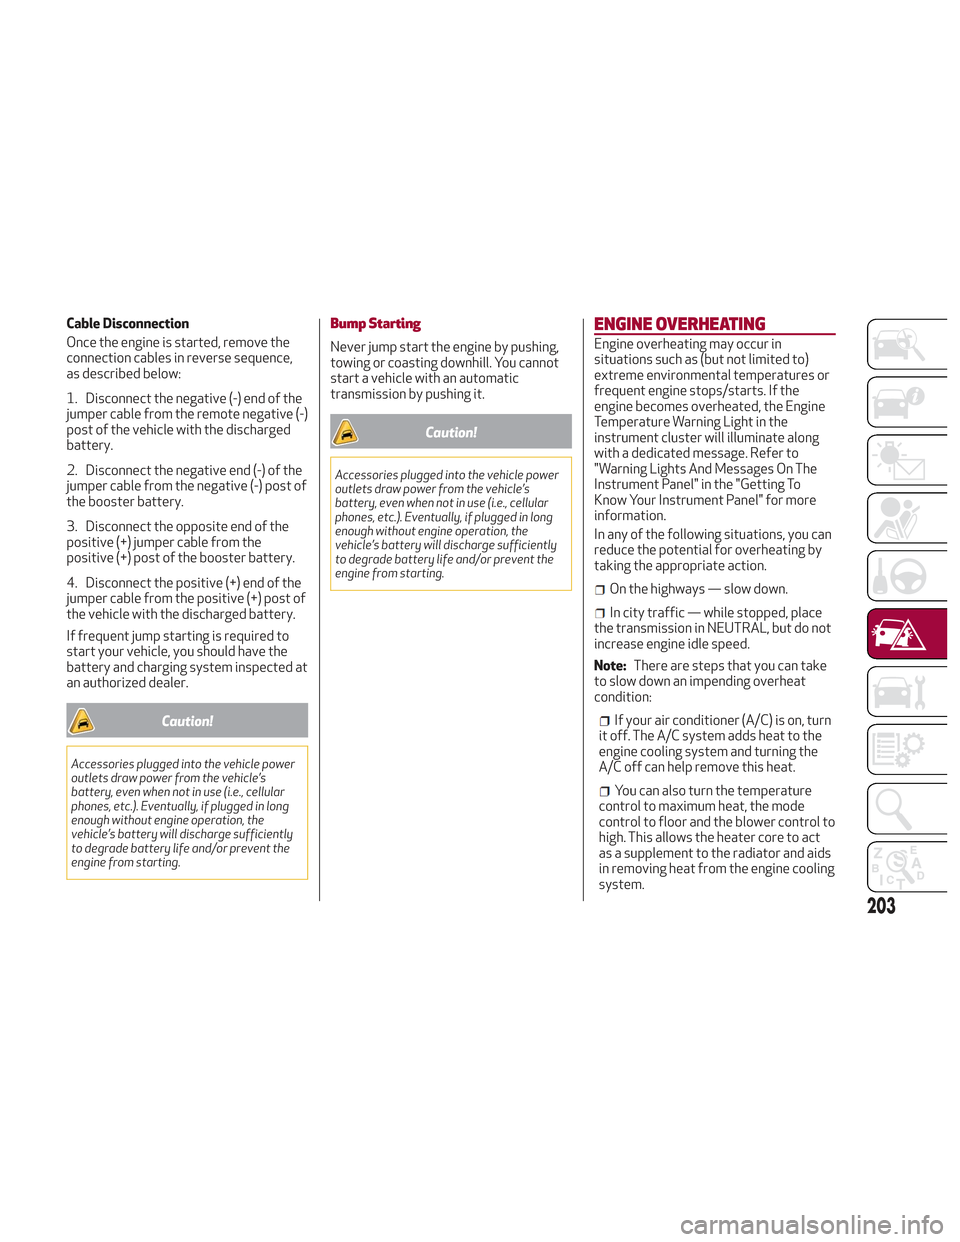
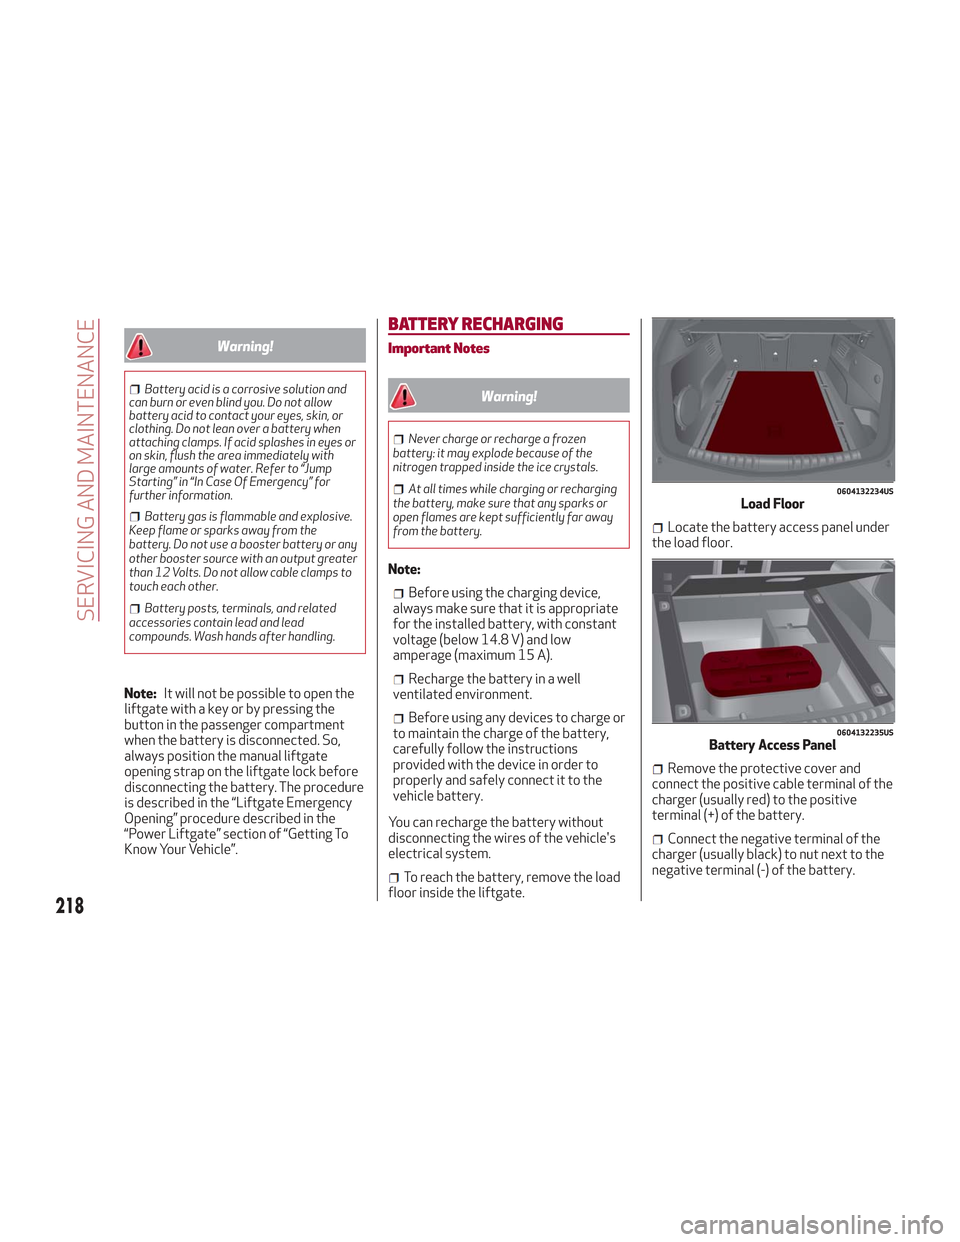
To carry out the operation, you need to
have the correct cables to connect to the
battery of another vehicle or a portable
battery booster pack to the remote posts
of the discharged battery. Usually, these
cables have terminals at the ends and are
identified by different sheath colors (red
= positive, black = negative).
Jump Starting Procedure
Warning!
Failure to follow this jump-starting
procedure could result in personal injury or
property damage due to battery explosion.
Caution!
Failure to follow these procedures could result
in damage to the charging system of the
booster vehicle or the discharged vehicle.
Preparation For Jump Starting:
1. Firmly apply the parking brake, place
the gear selector to PARK, then cycle the
ignition to OFF.
2. Turn off all electrical features in the
vehicle.
3. If using another vehicle to jump start
the battery, park the vehicle within the
jumper cables reach, apply the parking
brake and make sure the ignition is OFF.
Warning!
Do not allow vehicles to touch each other as
this could establish a ground connection and
personal injury could result.
Cable Connection
Proceed as follows to perform a jump
starting procedure:
1. Connect the positive (+) end of the
jumper cable to the positive (+) post of
the vehicle with the discharged battery
2. Connect the opposite end of the
positive (+) jumper cable to the positive
(+) post of the booster battery.
3. Connect the negative end (-) of the
jumper cable to the negative (-) post of
the booster battery.
4. Connect the opposite end of the
negative (-) jumper cable to the remote
negative (-) post of the vehicle with the
discharged battery.
Warning!
Do not connect the jumper cable to the
negative (-) post of the discharged battery.
The resulting electrical spark could cause
the battery to explode and could result in
serious injury. Only use the specific ground
point, do not use any other exposed metal
parts.
5. Start the engine in the vehicle that has
the booster battery, let the engine idle a
few minutes, and then start the engine in
the vehicle with the discharged battery. If
using a portable battery booster pack,
before starting the vehicle, wait a few
seconds after completing the connection.
08146V0002EMProtective Flap
08146V0003EMRemote Positive Post Location
202
IN CASE OF EMERGENCY
Page 205 of 276

Cable Disconnection
Once the engine is started, remove the
connection cables in reverse sequence,
as described below:
1. Disconnect the negative (-) end of the
jumper cable from the remote negative (-)
post of the vehicle with the discharged
battery.
2. Disconnect the negative end (-) of the
jumper cable from the negative (-) post of
the booster battery.
3. Disconnect the opposite end of the
positive (+) jumper cable from the
positive (+) post of the booster battery.
4. Disconnect the positive (+) end of the
jumper cable from the positive (+) post of
the vehicle with the discharged battery.
If frequent jump starting is required to
start your vehicle, you should have the
battery and charging system inspected at
an authorized dealer.
Caution!
Accessories plugged into the vehicle power
outlets draw power from the vehicle’s
battery, even when not in use (i.e., cellular
phones, etc.). Eventually, if plugged in long
enough without engine operation, the
vehicle’s battery will discharge sufficiently
to degrade battery life and/or prevent the
engine from starting.
Bump Starting
Never jump start the engine by pushing,
towing or coasting downhill. You cannot
start a vehicle with an automatic
transmission by pushing it.
Caution!
Accessories plugged into the vehicle power
outlets draw power from the vehicle’s
battery, even when not in use (i.e., cellular
phones, etc.). Eventually, if plugged in long
enough without engine operation, the
vehicle’s battery will discharge sufficiently
to degrade battery life and/or prevent the
engine from starting.
ENGINE OVERHEATING
Engine overheating may occur in
situations such as (but not limited to)
extreme environmental temperatures or
frequent engine stops/starts. If the
engine becomes overheated, the Engine
Temperature Warning Light in the
instrument cluster will illuminate along
with a dedicated message. Refer to
"Warning Lights And Messages On The
Instrument Panel" in the "Getting To
Know Your Instrument Panel" for more
information.
In any of the following situations, you can
reduce the potential for overheating by
taking the appropriate action.
On the highways — slow down.
In city traffic — while stopped, place
the transmission in NEUTRAL, but do not
increase engine idle speed.
Note: There are steps that you can take
to slow down an impending overheat
condition:
If your air conditioner (A/C) is on, turn
it off. The A/C system adds heat to the
engine cooling system and turning the
A/C off can help remove this heat.
You can also turn the temperature
control to maximum heat, the mode
control to floor and the blower control to
high. This allows the heater core to act
as a supplement to the radiator and aids
in removing heat from the engine cooling
system.
203
Page 211 of 276

SERVICING AND MAINTENANCE
Correct servicing permits the
performance of the vehicle to be
maintained over time, as well as limited
running costs and safeguarding the
efficiency of the safety systems.
This chapter explains how.SCHEDULED SERVICING.......210
ENGINE COMPARTMENT .......215
BATTERY RECHARGING ........218
DEALER SERVICE ............219
RAISING THE VEHICLE .........225
TIRES .................. .226
DEPARTMENT OF TRANSPORTATION
UNIFORM TIRE QUALITY GRADES .241
STORING THE VEHICLE ........242
BODYWORK...............242
INTERIORS ............... .244
209
Page 220 of 276

Warning!
Battery acid is a corrosive solution and
can burn or even blind you. Do not allow
battery acid to contact your eyes, skin, or
clothing. Do not lean over a battery when
attaching clamps. If acid splashes in eyes or
on skin, flush the area immediately with
large amounts of water. Refer to “Jump
Starting” in “In Case Of Emergency” for
further information.
Battery gas is flammable and explosive.
Keep flame or sparks away from the
battery. Do not use a booster battery or any
other booster source with an output greater
than 12 Volts. Do not allow cable clamps to
touch each other.
Battery posts, terminals, and related
accessories contain lead and lead
compounds. Wash hands after handling.
Note: It will not be possible to open the
liftgate with a key or by pressing the
button in the passenger compartment
when the battery is disconnected. So,
always position the manual liftgate
opening strap on the liftgate lock before
disconnecting the battery. The procedure
is described in the “Liftgate Emergency
Opening” procedure described in the
“Power Liftgate” section of “Getting To
Know Your Vehicle”.
BATTERY RECHARGING
Important Notes
Warning!
Never charge or recharge a frozen
battery: it may explode because of the
nitrogen trapped inside the ice crystals.
At all times while charging or recharging
the battery, make sure that any sparks or
open flames are kept sufficiently far away
from the battery.
Note:
Before using the charging device,
always make sure that it is appropriate
for the installed battery, with constant
voltage (below 14.8 V) and low
amperage (maximum 15 A).
Recharge the battery in a well
ventilated environment.
Before using any devices to charge or
to maintain the charge of the battery,
carefully follow the instructions
provided with the device in order to
properly and safely connect it to the
vehicle battery.
You can recharge the battery without
disconnecting the wires of the vehicle's
electrical system.
To reach the battery, remove the load
floor inside the liftgate.
Locate the battery access panel under
the load floor.
Remove the protective cover and
connect the positive cable terminal of the
charger (usually red) to the positive
terminal (+) of the battery.
Connect the negative terminal of the
charger (usually black) to nut next to the
negative terminal (-) of the battery.
0604132234USLoad Floor
0604132235USBattery Access Panel
218
SERVICING AND MAINTENANCE
Page 269 of 276

INDEX
Accessories Purchased By TheOwner....................4
Active Safety Systems .........104
Active Torque Vectoring (ATV) System ................ .107
Adaptive Cruise Control .........166
Adaptive Cruise Control (ACC) (Cruise Control) ............166
Additives, Fuel ............. .256
AFS Function ................40
AirBag.................. .123
Advance Front Air Bag ........123
Air Bag Operation ...........125
Air Bag Warning Light ........123
Driver Knee Air Bag ..........126
Enhanced Accident
Response .............129,207
Event Data Recorder (EDR) .....207
Front Air Bag .............123
If A Deployment Occurs .......128
Knee Impact Bolsters ........125
Maintaining Your Air Bag System ..................... .131
Redundant Air Bag Warning Light ..................... .123
Side Air Bags .............126
Transporting Pets ..........141
Air Bag Light .............123,142
Air Bag Maintenance ...........131 Air Pressure
Tires .................. .233
Alarm (Security Alarm) ..........21
Alfa Active Suspension (AAS) .....161
Alfa DNA System .............158
Anti-Lock Braking (ABS) System . . .104
Antifreeze (Engine Coolant) ......257
Automatic Dimming Mirror ........37
Automatic Headlights ...........39
Automatic Temperature Control (ATC) ...................48
Automatic Transmission ........152
Auxiliary Driving Systems ........107
B-Pillar Location .............230
Battery ..................
.217
K
eyless Key Fob Replacement ....17
Battery Recharging ...........218
Belts, Seat ................ .142
Blind Spot Monitoring ..........107
Bodywork (Cleaning And Maintenance) .............242
Brakes .................. .250
Brake Fluid Level ...........217
Brightness, Interior Lights ........44
Bulbs, Light ............... .143
Camera, Rear .............. .179
Capacities, Fluid .............257
Carbon Monoxide Warning .......141Certification Label
............182
Changing A Flat Tire ...........225
Chart, Tire Sizing .............227
Check Engine Light (Malfunction Indicator Light) ............101
Checking Levels .............215
Checking Your Vehicle For Safety . . .141
Checks, Safety ..............141
Child Restraint ..............131
Child Restraints Booster Seats .............134
Child Restraints ............131
Child Seat Installation ........139
How To Stow An Unused ALR Seat
Belt .................. .138
Infants And Child Restraints . . . .133
LATCH Positions ...........135
Lower Anchors And Tethers For
Children ............... .135
Older Children And Child
Restraints .............. .133
Seating Positions ...........134
Clean Air Gasoline ............255
Cleaning Wheels ................ .238
Climate Control ............47,50
Close The Hood ...............57
Compact Spare Tire ...........237
Contract,
Service .............263