2018 Alfa Romeo Stelvio Fuel System
[x] Cancel search: Fuel SystemPage 149 of 276

Brake switch inactive (brake pedal not
pressed).
Battery at an acceptable charge level.
PANIC button not pushed.
System not disabled from previous
remote start event.
Vehicle alarm system indicator
flashing.
Ignition in the OFF mode (if equipped
with keyless ignition system).
Fuel level meets minimum
requirement.
Remote Start Comfort Systems — If
Equipped
When Remote Start is activated, the
heated steering wheel and driver heated
seat features will automatically turn on in
cold weather.
These features will stay on through the
duration of remote start until the ignition
is cycled to the ON/RUN mode.
Remote Start Windshield Wiper De–Icer
Activation — If Equipped
When remote start is active and the
outside ambient temperature is less than
39°F (4°C), the Windshield Wiper De-Icer
will be enabled. Exiting remote start will
resume previous operation, except if the
Windshield Wiper De-Icer is active.
The Windshield Wiper De-Icer timer and
operation will continue.
Cold Weather Operation
To prevent possible engine damage while
starting at low temperatures, this vehicle
will inhibit engine cranking when the
ambient temperature is less than –22° F
(–30° C) and the oil temperature sensor
reading indicates an engine block heater
has not been used. An externally-
powered electric engine block heater is
available as optional equipment or from
your authorized dealer.
The message “plug in engine heater” will
be displayed in the instrument cluster
when the ambient temperature is below
5° F (–15° C) at the time the engine is
shut off as a reminder to avoid possible
crank delays at the next cold start.
Caution!
Use of the recommended oil and adhering to
the prescribed oil change intervals is
important to prevent engine damage and
ensure satisfactory starting in cold
conditions.
Extended Park Starting
If the vehicle has not been started or
driven for at least 90 days, it is advisable
to follow the indications below. To start the engine, proceed as follows:
1. Briefly push the ignition button
2. If the engine does not start, wait five
seconds and let the starter cool down and
then repeat the starting procedure
3. If the engine does not start after eight
attempts, let the starter cool down for at
least 10 seconds, and then repeat the
starting procedure
If the problem persists, contact your
authorized dealer.
Note:
After prolonged vehicle inactivity,
very difficult starting, that can be noticed
through rapid fatigue of the starter,
might also be due to a partially flat
battery. In this case, refer to "Jump
Starting" in "In Case Of Emergency".
If Engine Fails To Start
Starting the Engine with Key Fob
Battery Run Down or Drained
If the ignition does not respond when the
button is pushed, the key fob battery
might be run down or drained. Therefore,
the system does not detect the presence
of the key fob in the vehicle, and will
display a dedicated message.
In this case, follow the instructions
outlined in "Starting With A Discharged
Key Fob Battery" in the "Getting To Know
Your Vehicle" chapter, and start the
engine normally.
147
Page 150 of 276
Warning!
Never pour fuel or other flammable liquid
into the throttle body air inlet opening in an
attempt to start the vehicle. This could
result in flash fire causing serious personal
injury.
Do not attempt to push or tow your
vehicle to get it started. Vehicles equipped
with an automatic transmission cannot be
started this way. Unburned fuel could enter
the catalytic converter and once the engine
has started, ignite and damage the
converter and vehicle.
If the vehicle has a discharged battery,
booster cables may be used to obtain a
start from a booster battery or the battery
in another vehicle. This type of start can be
dangerous if done improperly. Refer to
“Jump Starting” in “In Case Of Emergency”
for further information.
Caution!
To prevent damage to the starter, do not
continuously crank the engine for more than
25 seconds at a time. Wait 60 seconds
before trying again.
After Starting — Warming Up The
Engine
Proceed as follows:
Travel slowly, letting the engine run at
a reduced RPM, without accelerating
suddenly.
It is recommended to wait until the
digital engine coolant temperature
indicator starts to rise for maximum
performance.
Stopping The Engine
To stop the engine, proceed as follows:
1. Park the vehicle in a position that is
not dangerous for oncoming traffic.
2. Engage the PARK (P) mode.
3. With engine idling, push the
START/STOP button on the steering
wheel to STOP the engine.
Note: Do not leave the ignition in ON
mode when the engine is off.
To shut off the engine with vehicle speed
greater than 5 mph (8 km/h), you must
push and hold the ignition or push the
START/STOP button three times
consecutively within a few seconds. The
engine will shut down, and the ignition will
be placed in the ON mode
With the keyless ignition system, it is
possible to go away from the vehicle
taking the key fob with you, without the
engine switching off. The vehicle will inform about the absence of the key on
board, only if the doors are closed.
Stopping the engine (cycling from the ON
to the STOP position) the accessories are
still powered for about three minutes, or
until a door is opened.
When the ignition is in the STOP/OFF
mode, the window switches remain active
for three minutes. Opening a front door
will cancel this function.
After severe driving, idle the engine to
allow the temperature inside the engine
compartment to cool before shutting off
the engine.
Turbocharger Cool Down
It is recommended before switching the
vehicle off, to keep the engine idling for a
few minutes so that the turbocharger can
be suitably lubricated. This procedure is
particularly recommended after severe
driving.
After a full load operation, keep the
engine idling for three to five minutes
before switching it off.
This time allows the lubricating oil and
the engine coolant to eliminate the
excessive heat from combustion
chamber, bearings, inner components and
turbocharger.
148
STARTING AND OPERATING
Page 160 of 276
ALFA DNA PRO SELECTOR
Alfa DNA Pro System
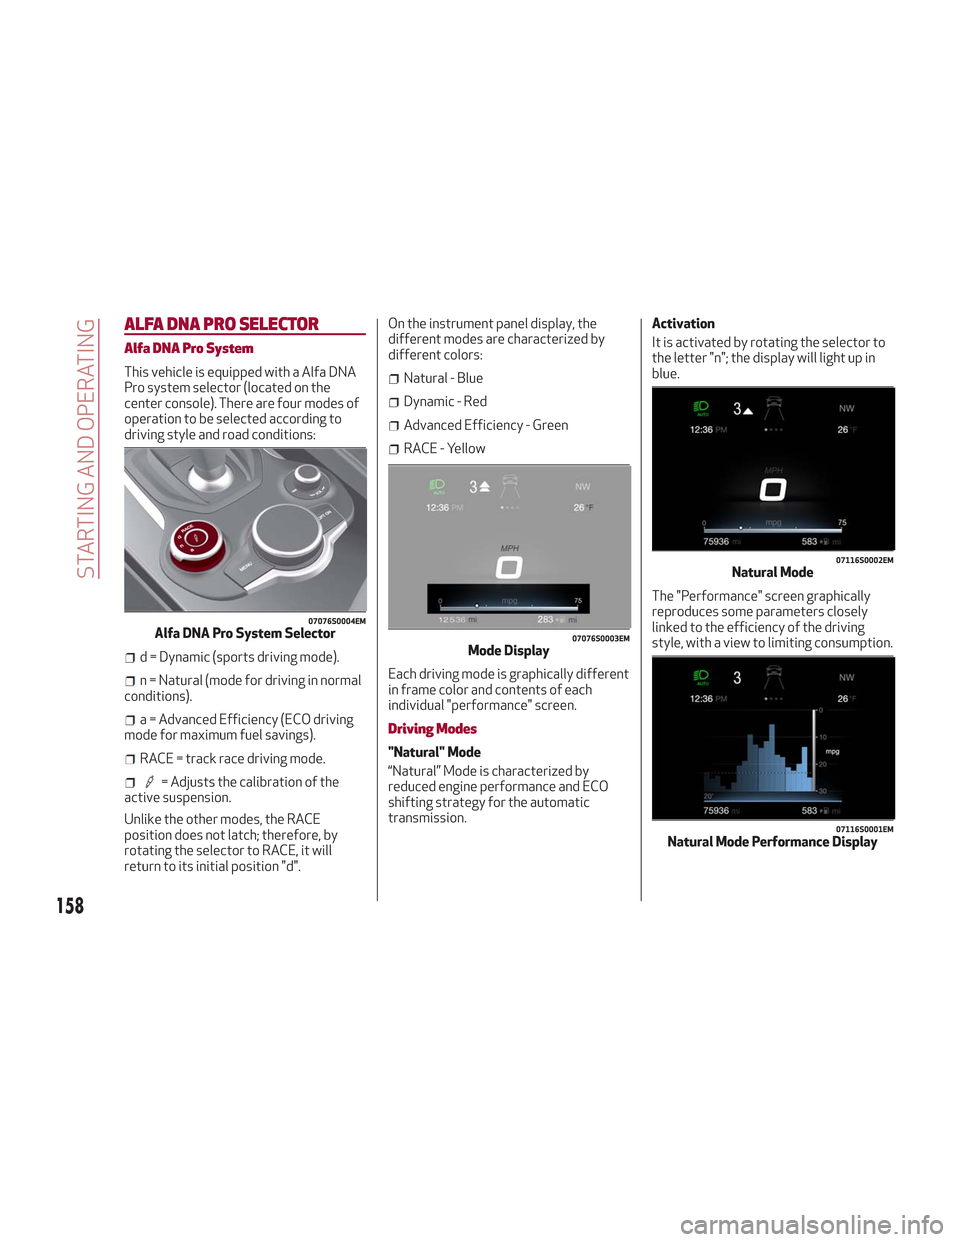
This vehicle is equipped with a Alfa DNA
Pro system selector (located on the
center console). There are four modes of
operation to be selected according to
driving style and road conditions:
d = Dynamic (sports driving mode).
n = Natural (mode for driving in normal
conditions).
a = Advanced Efficiency (ECO driving
mode for maximum fuel savings).
RACE = track race driving mode.
= Adjusts the calibration of the
active suspension.
Unlike the other modes, the RACE
position does not latch; therefore, by
rotating the selector to RACE, it will
return to its initial position "d". On the instrument panel display, the
different modes are characterized by
different colors:
Natural - Blue
Dynamic - Red
Advanced Efficiency - Green
RACE - Yellow
Each driving mode is graphically different
in frame color and contents of each
individual "performance" screen.
Driving Modes
"Natural" Mode
“Natural” Mode is characterized by
reduced engine performance and ECO
shifting strategy for the automatic
transmission. Activation
It is activated by rotating the selector to
the letter "n"; the display will light up in
blue.
The "Performance" screen graphically
reproduces some parameters closely
linked to the efficiency of the driving
style, with a view to limiting consumption.
07076S0004EMAlfa DNA Pro System Selector07076S0003EMMode Display
07116S0002EMNatural Mode
07116S0001EMNatural Mode Performance Display
158
STARTING AND OPERATING
Page 163 of 276
ALFA ACTIVE SUSPENSION
(AAS)
The vehicle's electronic suspension
management system is aimed at
optimizing the vehicle's performance.
The system continuously monitors the
damping of the suspensions through the
actuator installed on each shock
absorber. This way, the calibration of the
shock absorbers can be adjusted to the
conditions of the road surface and to the
dynamic conditions of the vehicle,
improving its comfort and road holding.
The driver can choose, even while driving,
(only in "Dynamic” mode), between two
types of suspension calibration: a more
sporty or a more comfortable one.
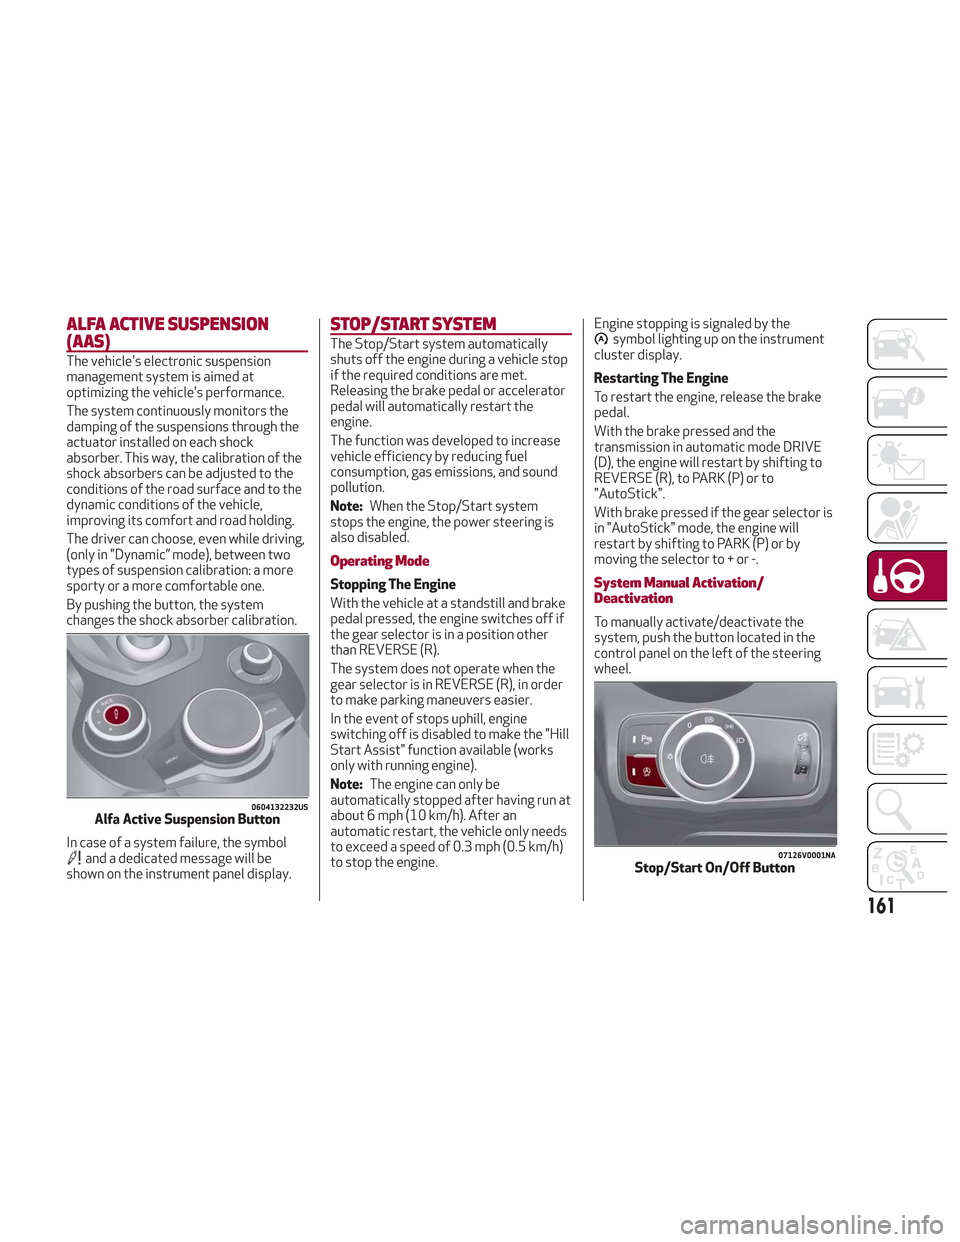
By pushing the button, the system
changes the shock absorber calibration.
In case of a system failure, the symbol
and a dedicated message will be
shown on the instrument panel display.
STOP/START SYSTEM
The Stop/Start system automatically
shuts off the engine during a vehicle stop
if the required conditions are met.
Releasing the brake pedal or accelerator
pedal will automatically restart the
engine.
The function was developed to increase
vehicle efficiency by reducing fuel
consumption, gas emissions, and sound
pollution.
Note:When the Stop/Start system
stops the engine, the power steering is
also disabled.
Operating Mode
Stopping The Engine
With the vehicle at a standstill and brake
pedal pressed, the engine switches off if
the gear selector is in a position other
than REVERSE (R).
The system does not operate when the
gear selector is in REVERSE (R), in order
to make parking maneuvers easier.
In the event of stops uphill, engine
switching off is disabled to make the "Hill
Start Assist" function available (works
only with running engine).
Note: The engine can only be
automatically stopped after having run at
about 6 mph (10 km/h). After an
automatic restart, the vehicle only needs
to exceed a speed of 0.3 mph (0.5 km/h)
to stop the engine. Engine stopping is signaled by the
symbol lighting up on the instrument
cluster display.
Restarting The Engine
To restart the engine, release the brake
pedal.
With the brake pressed and the
transmission in automatic mode DRIVE
(D), the engine will restart by shifting to
REVERSE (R), to PARK (P) or to
"AutoStick".
With brake pressed if the gear selector is
in "AutoStick" mode, the engine will
restart by shifting to PARK (P) or by
moving the selector to + or -.
System Manual Activation/
Deactivation
To manually activate/deactivate the
system, push the button located in the
control panel on the left of the steering
wheel.
0604132232USAlfa Active Suspension Button
07126V0001NAStop/Start On/Off Button
161
Page 164 of 276

System Activation
The activation of the system is indicated
by the
symbol lighting up on the
display. In this condition, the light on the
button is off.
System Deactivation
A message will appear on the display
when the system is deactivated. In this
condition, the light on the button is on.
Note: Each time the engine is started,
the system is activated regardless of
where was when it was previously
switched off.
Possible Reasons The Engine Does Not
Autostop
For higher comfort and increased safety,
and to reduce emissions, there are
certain conditions where the engine will
not autostop despite the system being
active, such as:
Engine still cold.
Especially cold outside temperature.
Battery not sufficiently charged.
Driver's door not shut.
Driver's seat belt not fastened.
Reverse gear engaged (e.g. for parking
maneuvers).
With the automatic climate control
active, an adequate cabin heating or
cooling comfort has not been reached or
with MAX-DEF function active.
During the first period of use, to
initialize the system.
Steering angle beyond threshold.
Engine Restarting Conditions
Due to comfort, emission control, and
safety reasons, the engine can restart
automatically without any action by the
driver, under special conditions, such as:
Battery not sufficiently charged.
Reduced braking system vacuum (e.g.
if the brake pedal is pressed repeatedly).
Vehicle moving (e.g. when driving on
roads with a grade).
Engine stopping by the Stop/Start
system for more than approx. three
minutes.
With the automatic climate control
active, an adjustment in cabin heating or
cooling is made or with MAX-DEF
function active.
Safety Functions
When the engine is stopped through the
Stop/Start system, if the driver releases
their seat belt, opens the driver's or
passenger's door, or opens the hood from
inside the vehicle, the engine can be
restarted only by using the ignition.
This condition is indicated to the driver
both through a buzzer and a message on
the instrument cluster display.
Energy Saving Function
If the driver does not carry out any action
for more than three minutes after the
automatic engine restart, the Start/Stop
system will switch off the engine in order
to prevent fuel consumption.
In this situation, the engine can only be
restarted using the ignition device.
Note: It is possible to keep the engine
running by deactivating the system.
Irregular Operation
In the event of malfunction, the
Stop/Start system is deactivated.
For failure indications, refer to "Warning
Lights and Messages" paragraph in
"Getting To Know Your Instrument Panel".
Vehicle Inactivity
In the event of vehicle inactivity (or if the
battery is replaced), special attention
must be paid to the disconnection of the
battery power supply.
Proceed as follows:
Remove connector from socket to
disconnect sensor (battery status
monitoring) installed on the negative pole
of the battery. This sensor should never
be disconnected from the pole except if
the battery is replaced.
162
STARTING AND OPERATING
Page 182 of 276
The table below shows the approximate
distances for each area:
AreaDistance From The
Rear Of The Vehicle
Red 0–11.8
inches
(0–30 cm)
Yellow 11.8 inches to 3.3 feet
(30cm–1m)
Green 3.3feetormore(1m
or more)
Messages On The Display
If the liftgate is opened, the camera will
not detect any obstacle behind the
vehicle. The display will show a dedicated
warning message.
Make sure the liftgate is closed by
pushing next to the lock until it clicks.
Important Notes
Ice, snow or mud on the surface of the
camera may reduce its sensitivity. It is
important to keep the camera surface
clean, and free from debris.
When parking, be aware of obstacles
that may be above or below the camera
range.
REFUELING THE VEHICLE
Refueling The Vehicle
Before refueling, make sure that the fuel
type is correct.
Also, stop the engine before refueling.
Note: An inefficient catalytic converter
leads to harmful exhaust emissions, thus
contributing to air pollution.
Caution!
Never introduce leaded fuel to the tank,
even in small amounts in an emergency, as
this would damage the catalytic converter
beyond repair.
Refueling Capacity
To ensure that you fill the tank
completely, top off twice after the first
click of the fuel nozzle.
Further top-off could cause faults in the
fuel feeding system.
Refueling Procedure
The fuel filler door is unlocked when the
central door locking system is unlocked.
It is automatically locked when the
central locking system is applied. Opening The Fuel Filler Door
To refuel proceed as follows:
1. Open fuel filler door by pressing on
the point shown by the arrow.
2. Remove the fuel filler cap.
3. Insert the fuel nozzle fully into the
filler pipe.
4. When the fuel nozzle “clicks” or shuts
off, before removing the nozzle, wait for
at least 10 seconds in order for the fuel
to flow inside the tank.
5. Remove the fuel filler nozzle, tighten
the gas cap about ¼ turn until you hear
one click. This is an indication that cap is
properly tightened.
0405133008USFuel Door
180
STARTING AND OPERATING
Page 184 of 276
Warning!
Never have any smoking materials lit in or
near the vehicle when the fuel door is open
or the tank is being filled.
Never add fuel when the engine is running.
This is in violation of most state and federal
fire regulations and may cause the MIL to
turn on.
A fire may result if gasoline is pumped
into a portable container that is inside of a
vehicle. You could be burned. Always place
gas containers on the ground while filling.
Note: If the filler compartment is
washed with a pressure washer, keep it at
a distance of at least 8 inches (20 cm).
VEHICLE LOADING
Certification Label
As required by National Highway Traffic
Safety Administration regulations, your
vehicle has a certification label affixed to
the driver's side door or pillar.
This label contains the month and year of
manufacture, Gross Vehicle Weight
Rating (GVWR), Gross Axle Weight Rating
(GAWR) front and rear, and Vehicle
Identification Number (VIN). A
Month-Day-Hour (MDH) number is
included on this label and indicates the
Month, Day and Hour of manufacture. The
bar code that appears on the bottom of
the label is your VIN.
Gross Vehicle Weight Rating
(GVWR)
The GVWR is the total permissible
weight of your vehicle including driver,
passengers, vehicle, options and cargo.
The label also specifies maximum
capacities of front and rear axle systems
(GAWR). Total load must be limited so
GVWR and front and rear GAWR are not
exceeded.
Payload
The payload of a vehicle is defined as the
allowable load weight a truck can carry,
including the weight of the driver, all
passengers, options and cargo.
Gross Axle Weight Rating (GAWR)
The GAWR is the maximum permissible
load on the front and rear axles. The load
must be distributed in the cargo area so
that the GAWR of each axle is not
exceeded.
Each axle GAWR is determined by the
components in the system with the
lowest load carrying capacity (axle,
springs, tires or wheels). Heavier axles or
suspension components sometimes
specified by purchasers for increased
durability does not necessarily increase
the vehicle's GVWR.
Tire Size
The tire size on the Vehicle Certification
Label represents the actual tire size on
your vehicle. Replacement tires must be
equal to the load capacity of this tire size.
Rim Size
This is the rim size that is appropriate for
the tire size listed.
Inflation Pressure
This is the cold tire inflation pressure for
your vehicle for all loading conditions up
to full GAWR.
182
STARTING AND OPERATING
Page 186 of 276

Electric Devices
Use electrical systems only for the
amount of time needed. The rear window
defroster, additional headlights,
windshield wipers and heater blower fan
require a considerable amount of energy;
increasing the current uptake increases
fuel consumption (by up to +25% when
city driving).
Climate Control System
Using the climate control system will
increase consumption: use standard
ventilation when the temperature
outside permits.
Devices For Aerodynamic Control
The use of non-certified devices for
aerodynamic control may adversely
affect air drag and consumption levels.
Driving Style
Starting
Do not warm up the engine at low or high
revs when the vehicle is stationary; this
causes the engine to warm up more
slowly, thereby increasing fuel
consumption and emissions. It is
therefore advisable to drive off
immediately, slowly, avoiding high
speeds: by doing this the engine will
warm up more quickly.Unnecessary Actions
Avoid revving up when starting at traffic
lights or before stopping the engine. This
action is unnecessary and causes
increased fuel consumption and
pollution.
Gear Selection
Use a high gear when traffic and road
conditions allow it. Using a low gear for
faster acceleration will increase fuel
consumption. Improper use of a high gear
increases consumption, emissions and
engine wear.
Max. Speed
Fuel consumption considerably increases
as speed increases. Maintain a constant
speed, avoiding unnecessary braking and
acceleration, which cost in terms of both
fuel consumption and emissions.
Acceleration
Accelerating violently severely affects
consumption and emissions: acceleration
should be gradual and should not exceed
the maximum torque.
Conditions Of Use
Cold Starting
Short trips and frequent cold starts will
not allow the engine to reach optimum
operating temperature. This results in a
significant increase in consumption
levels (from +15 to +30% in city driving)
and emissions.Traffic And Road Conditions
High fuel consumption is caused by heavy
traffic, for instance when travelling in
traffic with frequent use of low gears or
in cities with many traffic lights. Winding
mountain roads and rough road surfaces
also adversely affect consumption.
Stops In Traffic
During prolonged stops (e.g. railway
crossings), turn off the engine.
Performance
This vehicle is equipped with an engine
capable of delivering exceptionally fast
acceleration and speed:
Peak power: 505 HP at 6500 rpm.
Peak torque: 443 ft-lbs at
2500–5000 rpm.
Top speed: 177 mph (285 km/h).
Acceleration from 0 to 60 mph (0 to
100 km/h): 3.9 seconds.
For safe driving, it is essential,
particularly during the first days of use,
to get to know the car by driving carefully
and gradually discovering its
performance.
184
STARTING AND OPERATING