Page 35 of 140
4-8
4
EBU18721Fuel tank capRemove the fuel tank cap by turning it counter-
clockwise.
EBU18757FuelMake sure there is sufficient gasoline in the tank.
WARNING
EWB02522Gasoline and gasoline vapors are extremely
flammable. To avoid fires and explosions and
to reduce the risk of injury when refueling, fol-
low these instructions. 1. Before refueling, turn off the engine and besure that no one is sitting on the vehicle. Nev-
er refuel while smoking, or while in the vicinity
1. Drive select lever
1
1. Fuel tank cap
UB1463E0.book Page 8 Thursday, August 4, 2016 2:12 PM
Page 36 of 140

4-9
4of sparks, open flames, or other sources of
ignition such as the pilot lights of water heat-
ers and clothes dryers.
2. Do not overfill the fuel tank. When refueling, be sure to insert the pump nozzle into the fuel
tank filler hole. Stop filling when the fuel
reaches the bottom of the filler tube. Because
fuel expands when it heats up, heat from the
engine or the sun can cause fuel to spill out of
the fuel tank.
3. Wipe up any spilled fuel immediately.NOTICE: Immediately wipe off spilled fuel
with a clean, dry, soft cloth, since fuel may
deteriorate painted surfaces or plastic
parts.
[ECB00982]
4. Turn the fuel tank cap fully clockwise to make sure it is securely closed.
WARNING
EWB02532Gasoline is poisonous and can cause injury or
death. Handle gasoline with care. Never siphon
gasoline by mouth. If you should swallow some
gasoline or inhale a lot of gasoline vapor, or get
some gasoline in your eyes, see your doctor
1. Maximum fuel level
2. Fuel tank filler tube
Recommended fuel:Regular unleaded gasoline only
For Europe: Regular unleaded gasoline only
with a research octane number of 95 or
higher
Fuel tank capacity: 13.5 L (3.56 US gal, 2.97 Imp.gal)
Fuel reserve amount: 3.3 L (0.87 US gal, 0.73 Imp.gal)
UB1463E0.book Page 9 Thursday, August 4, 2016 2:12 PM
Page 121 of 140
8-42
8
EBU30662Replacing a headlight bulbIf a headlight bulb burns out, replace it as follows.1. Remove the cover at the rear of the headlight by pulling it off.
2. Remove the bulb cover by pulling it off. 3. Remove the socket by pushing it in and turn-
ing it counterclockwise.1. Cover at the rear of the headlight
1. Bulb cover
1. Socket
1
UB1463E0.book Page 42 Thursday, August 4, 2016 2:12 PM
Page 122 of 140

8-43
84. Remove the burnt-out bulb.
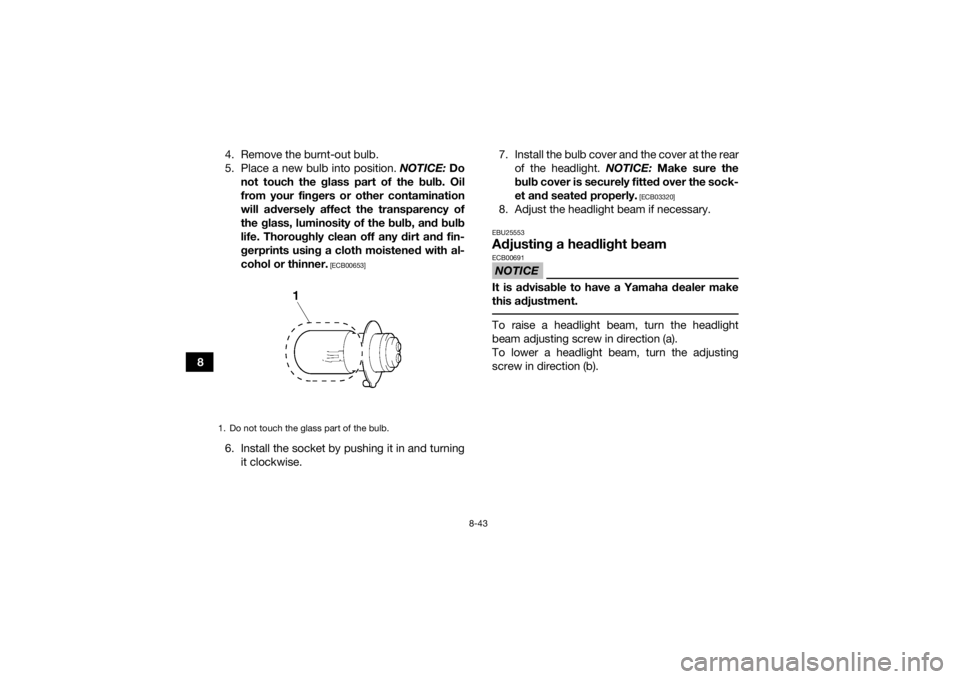
5. Place a new bulb into position.
NOTICE: Do
not touch the glass part of the bulb. Oil
from your fingers or other contamination
will adversely affect the transparency of
the glass, luminosity of the bulb, and bulb
life. Thoroughly clean off any dirt and fin-
gerprints using a cloth moistened with al-
cohol or thinner.
[ECB00653]
6. Install the socket by pushing it in and turning it clockwise. 7. Install the bulb cover and the cover at the rear
of the headlight. NOTICE: Make sure the
bulb cover is securely fitted over the sock-
et and seated properly.
[ECB03320]
8. Adjust the headlight beam if necessary.EBU25553Adjusting a headlight beamNOTICEECB00691It is advisable to have a Yamaha dealer make
this adjustment. To raise a headlight beam, turn the headlight
beam adjusting screw in direction (a).
To lower a headlight beam, turn the adjusting
screw in direction (b).
1. Do not touch the glass part of the bulb.UB1463E0.book Page 43 Thursday, August 4, 2016 2:12 PM