Page 352 of 464
3527-3. Do-it-yourself maintenance
MIRAI_OM_USA_OM62023U
Remove the filter cover.
Remove the air conditioning fil-
ter and replace it with a new
one.
The “↑UP” marks shown on the fil-
ter should be pointing up.
■ Checking interval
Inspect and replace the air conditioning filter according to the maintenance
schedule. In dusty areas or areas with heavy traffic flow, early replacement
may be required. (For scheduled maintenance information, please refer to the
“Schedule Maintenance Guide” or “Owner’s Manual Supplement”.)
■ If air flow from the vents decreases dramatically
The filter may be clogged. Check the filter and replace if necessary.
5
6
NOTICE
■When using the air conditioning system
Make sure that a filter is always installed.
Using the air conditioning system without a filter may cause damage to the
system.
Page 353 of 464
3537-3. Do-it-yourself maintenance
MIRAI_OM_USA_OM62023U
7
Maintenance and care
Electronic key battery
●Flathead screwdriver
● Small flathead screwdriver
● Lithium battery CR2032
Take out the mechanical key.
(→ P. 1 1 7 )
Remove the cover.
To prevent damage to the key,
cover the tip of the flathead screw-
driver with a rag.
Remove the depleted battery.
Insert a new battery with the “+”
terminal facing up.
Replace the battery with a new one if it is depleted.
You will need the following items:
Replacing the battery
1
2
3
Page 354 of 464

3547-3. Do-it-yourself maintenance
MIRAI_OM_USA_OM62023U
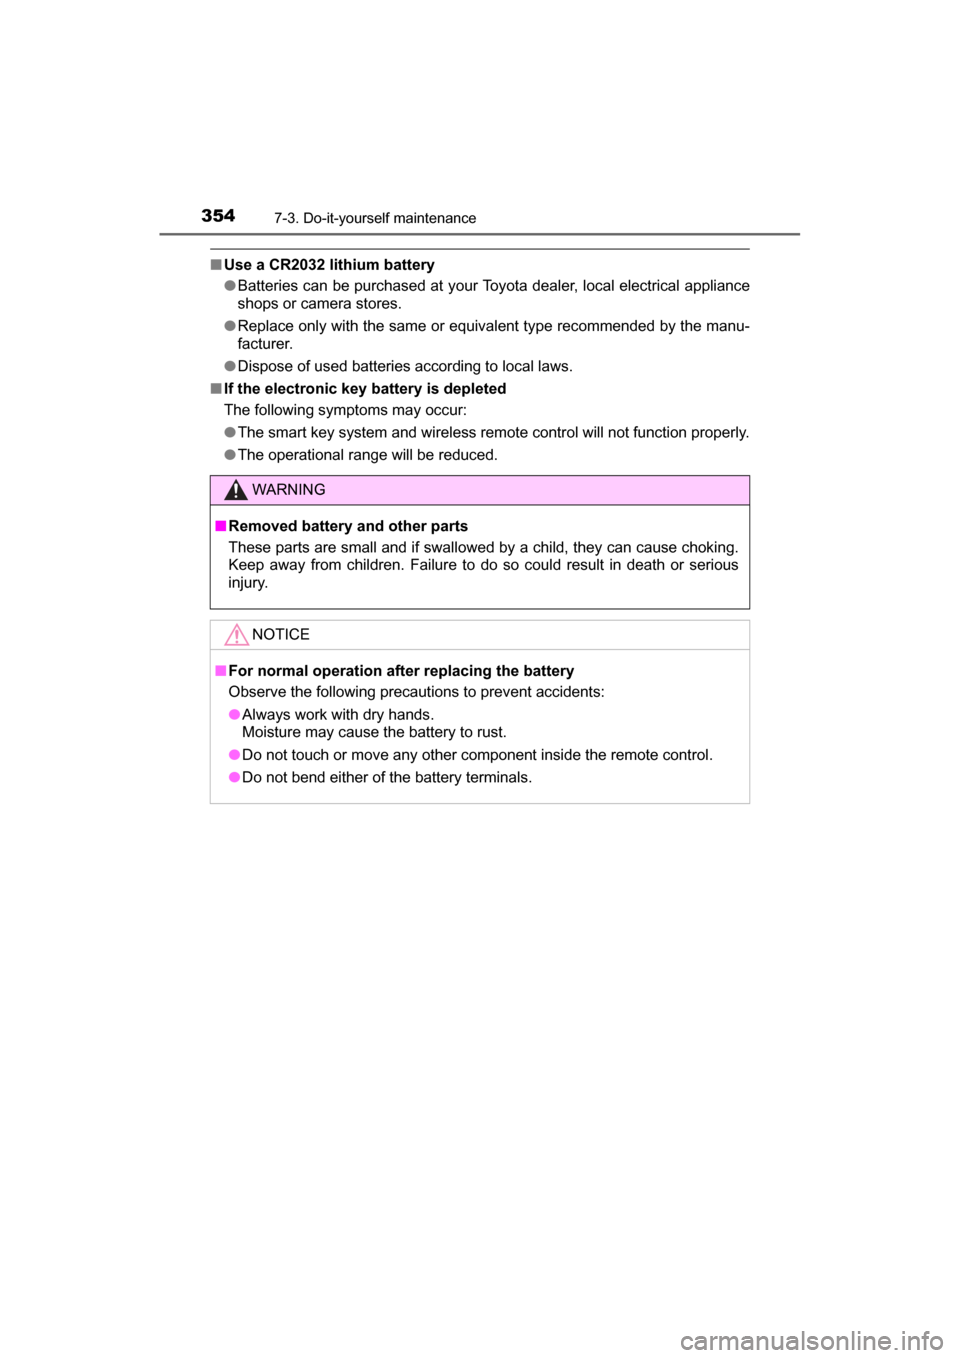
■Use a CR2032 lithium battery
●Batteries can be purchased at your Toyota dealer, local electrical appliance
shops or camera stores.
● Replace only with the same or equivalent type recommended by the manu-
facturer.
● Dispose of used batteries according to local laws.
■ If the electronic key battery is depleted
The following symptoms may occur:
●The smart key system and wireless remote control will not function properly.
● The operational range will be reduced.
WARNING
■ Removed battery and other parts
These parts are small and if swallowed by a child, they can cause choking.
Keep away from children. Failure to do so could result in death or serious
injury.
NOTICE
■For normal operation after replacing the battery
Observe the following precautions to prevent accidents:
● Always work with dry hands.
Moisture may cause the battery to rust.
● Do not touch or move any other component inside the remote control.
● Do not bend either of the battery terminals.
Page 355 of 464
3557-3. Do-it-yourself maintenance
MIRAI_OM_USA_OM62023U
7
Maintenance and care
Checking and replacing fuses
Turn the power switch off.
Open the fuse box cover.
Motor compartment
Push the tab in and lift the lid
off.
Driver’s side instrument panel
Remove the lid.
Remove the fuse with the pull-
out tool.
Only type A fuses can be removed
using the pullout tool.
If any of the electrical components do not operate, a fuse may
have blown. If this happens, check and replace the fuses as nec-
essary.
1
2
3
Page 356 of 464
3567-3. Do-it-yourself maintenance
MIRAI_OM_USA_OM62023U
Check if the fuse is blown.Normal fuse
Blown fuse
Replace the blown fuse with a new fuse of an appropriate amperage rat-
ing. The amperage rating can be found on the fuse box lid.
4
Ty p e AType B
Ty p e CType D
Page 357 of 464
3577-3. Do-it-yourself maintenance
MIRAI_OM_USA_OM62023U
7
Maintenance and care
■After a fuse is replaced
●If the lights do not turn on even after the fuse has been replaced, a bulb may
need replacement. ( →P. 358)
● If the replaced fuse blows again, have the vehicle inspected by your Toyota
dealer.
■ If there is an overload in a circuit
The fuses are designed to blow, protecting the wiring harness from damage.
WARNING
■ To prevent system breakdowns and vehicle fire
Observe the following precautions.
Failure to do so may cause damage to the vehicle, and possibly a fire or
injury.
● Never use a fuse of a higher amperage rating than that indicated, or use
any other object in place of a fuse.
● Always use a genuine Toyota fuse or equivalent.
Never replace a fuse with a wire, even as a temporary fix.
● Do not modify the fuses or fuse boxes.
NOTICE
■ Before replacing fuses
Have the cause of electrical overload determined and repaired by your
Toyota dealer as soon as possible.
Page 358 of 464

3587-3. Do-it-yourself maintenance
MIRAI_OM_USA_OM62023U
Light bulbs
■LED light bulbs
The following lights consist of a number of LEDs. If any of the LEDs burn out,
take your vehicle to your Toyota dealer to have the light replaced.
●Headlight low beams
● Headlight high beams
● Parking lights and daytime running lights
● Front side marker lights
● Front turn signal lights
● Side turn signal lights
● Tail lights
● Stop lights
● Rear side marker lights
● Rear turn signal lights
● High mounted stop lights
● License plate lights
● Back-up lights
■ Condensation build-up on the inside of the lens
Temporary condensation build-up on the inside of the headlight lens does not
indicate a malfunction.
Contact your Toyota dealer for more information in the following situations:
●Large drops of water have built up on the inside of the lens.
● Water has built up inside the headlight.
If any lights burn out, have it re placed by your Toyota dealer:
WARNING
■ Handling lights
Do not touch the lights while they are on or immediately after they have
been turned off. Doing so may result in burns.
Page 375 of 464

3758-2. Steps to take in an emergency
MIRAI_OM_USA_OM62023U
8
When trouble arises
WARNING
■Maintenance of the tires
Each tire, including the spare (if provided), should be checked monthly
when cold and inflated to the inflation pressure recommended by the
vehicle manufacturer on the vehicle placard or tire inflation pressure
label (tire and load information label). (If your vehicle has tires of a dif-
ferent size than the size indicated on the vehicle placard or tire inflation
pressure label [tire and load information label], you should determine
the proper tire inflation pressure for those tires.)
As an added safety feature, your vehicle has been equipped with a tire
pressure monitoring system (TPMS-ti re pressure warning system) that
illuminates a low tire pre ssure telltale (tire pressure warning light) when
one or more of your tires is significantly under-inflated. Accordingly,
when the low tire pressure telltale (tire pressure warning light) illumi-
nates, you should stop and check your tires as soon as possible, and
inflate them to the proper pressure. Driving on a significantly under-
inflated tire causes the tire to overheat and can lead to tire failure.
Under-inflation also reduces fuel effi ciency and tire tread life, and may
affect the vehicle’s handling and stopping ability.
Please note that the TPMS (tire pressure warning system) is not a sub-
stitute for proper ti re maintenance, and it is the driver’s responsibility to
maintain correct tire pressure, even if under-inflation has not reached
the level to trigger illumination of the TPMS low tire pressure telltale (tire
pressure warning light).
Your vehicle has also been equipped with a TPMS (tire pressure warn-
ing system) malfunction indicator to indicate when the system is not
operating properly. The TPMS (tire pressure warning system) malfunc-
tion indicator is combined with the lo w tire pressure telltale (tire pressure
warning light). When the system detects a malfunction, the telltale will
flash for approximately one minute and then remain continuously illumi-
nated. This sequence will continue upon subsequent vehicle start-ups as long as the malfunction exists. When the malfunction indicator is illu-
minated, the system may not be able to detect or signal low tire pres-
sure as intended.
TPMS (tire pressure warning system) malfunctions may occur for a vari-
ety of reasons, including the installation of replacement or alternate tires
or wheels on the vehicle that prevent the TPMS (tire pressure warning
system) from functioning properly. Always check the TPMS (tire pres-
sure warning system) malfunction te lltale after replacing one or more
tires or wheels on your vehicle to ensure that the replacement or alter-
nate tires and wheels allow the TPMS (tire pressure warning system) to
continue to function properly.