2017 TOYOTA HIGHLANDER CD player
[x] Cancel search: CD playerPage 117 of 392

117
3. MEDIA OPERATION
HIGHLANDER_Navi_U
AUDIO/VISUAL SYSTEM
3
No.Function
Select to display the audio source selection screen.
Select to display the sound setting screen.
Press to turn mute on/off.
Press to select an audio mode.
•Turn to adjust volume.
• Press to turn the audio system on/off.
• Press and hold to restart the audio system.
WA R N I N G
● Do not connect portable audio device or operate the controls while driving.
NOTICE
●Do not leave portable audio device in the vehicle. The temperature inside the vehicle may
become high, resulting in damage to the player.
● Do not push down on or apply unnecessary pressure to the portable audio device while it
is connected as this may damage the portable audio device or its terminal.
● Do not insert foreign objects into the port as this may damage the portable audio device
or its terminal.
Page 123 of 392
123
6. TIPS FOR OPERATING THE AUDIO/VISUAL SYSTEM
HIGHLANDER_Navi_U
AUDIO/VISUAL SYSTEM
3
Cargo loaded on the roof luggage carrier,
especially metal objects, may adversely
affect the reception of XM Satellite Radio.
Alternation or modifications carried out
without appropriate authorization may
invalidate the user’s right to operate the
equipment.
This CD player is intended for use with 4.7
in. (12 cm). discs only.
Extremely high temperatures can keep the
CD player from working. On hot days, use
the air conditioning system to cool the
inside of the vehicle before using the
player.
Bumpy roads or other vibrations may
make the CD player skip.
If moisture gets into the CD player, the
discs may not be able to be played.
Remove the discs from the player and
wait until it dries.
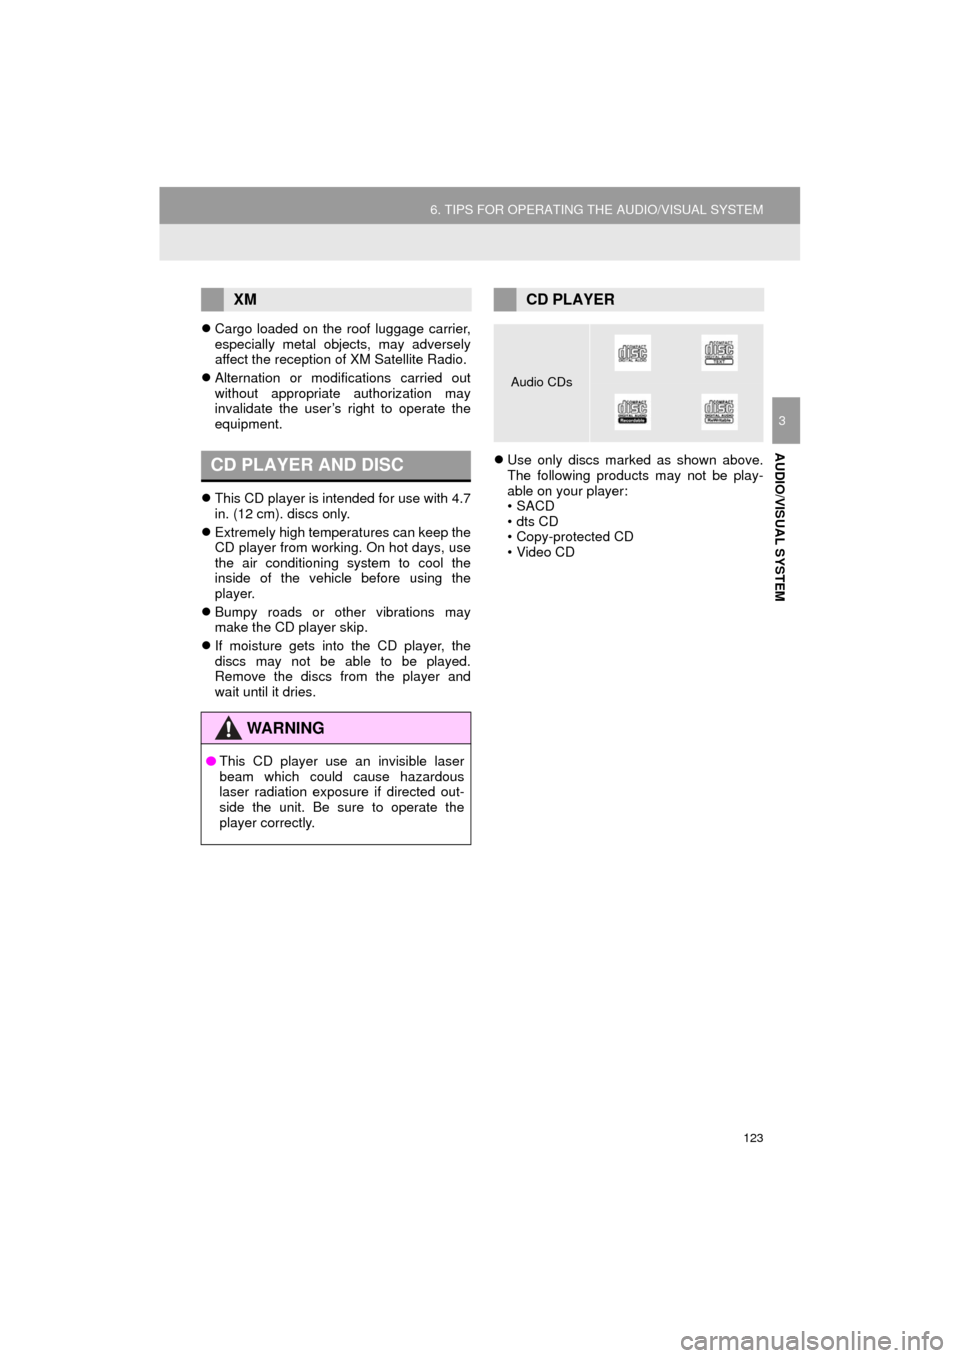
Use only discs marked as shown above.
The following products may not be play-
able on your player:
•SACD
• dts CD
• Copy-protected CD
• Video CD
XM
CD PLAYER AND DISC
WA R N I N G
● This CD player use an invisible laser
beam which could cause hazardous
laser radiation exposure if directed out-
side the unit. Be sure to operate the
player correctly.
CD PLAYER
Audio CDs
Page 124 of 392

124
6. TIPS FOR OPERATING THE AUDIO/VISUAL SYSTEM
HIGHLANDER_Navi_U
Special shaped discs
Transparent/translucent discs
Low quality discs
Labeled discs
Handle discs carefully, especially when
inserting them. Hold them on the edge
and do not bend them. Avoid getting fin-
gerprints on them, particularly on the shiny
side.
Dirt, scratches, warping, pin holes or other
disc damage could cause the player to
skip or to repeat a section of a track. (To
see a pin hole, hold the disc up to the
light.)
Remove discs from the players when not
in use. Store them in their plastic cases
away from moisture, heat and direct sun-
light.
NOTICE
●Do not use special shaped, transparent/
translucent, low quality or labeled discs
such as those shown in the illustrations.
The use of such discs may damage the
player, or it may be impossible to eject
the disc.
● This system is not designed for use of
Dual Discs. Do not use Dual Discs
because they may cause damage to the
player.
● Do not use discs with a protection ring.
The use of such discs may damage the
player, or it may be impossible to eject
the disc.
● Do not use printable discs. The use of
such discs may damage the player, or it
may be impossible to eject the disc.
Correct Wrong
Page 125 of 392
125
6. TIPS FOR OPERATING THE AUDIO/VISUAL SYSTEM
HIGHLANDER_Navi_U
AUDIO/VISUAL SYSTEM
3
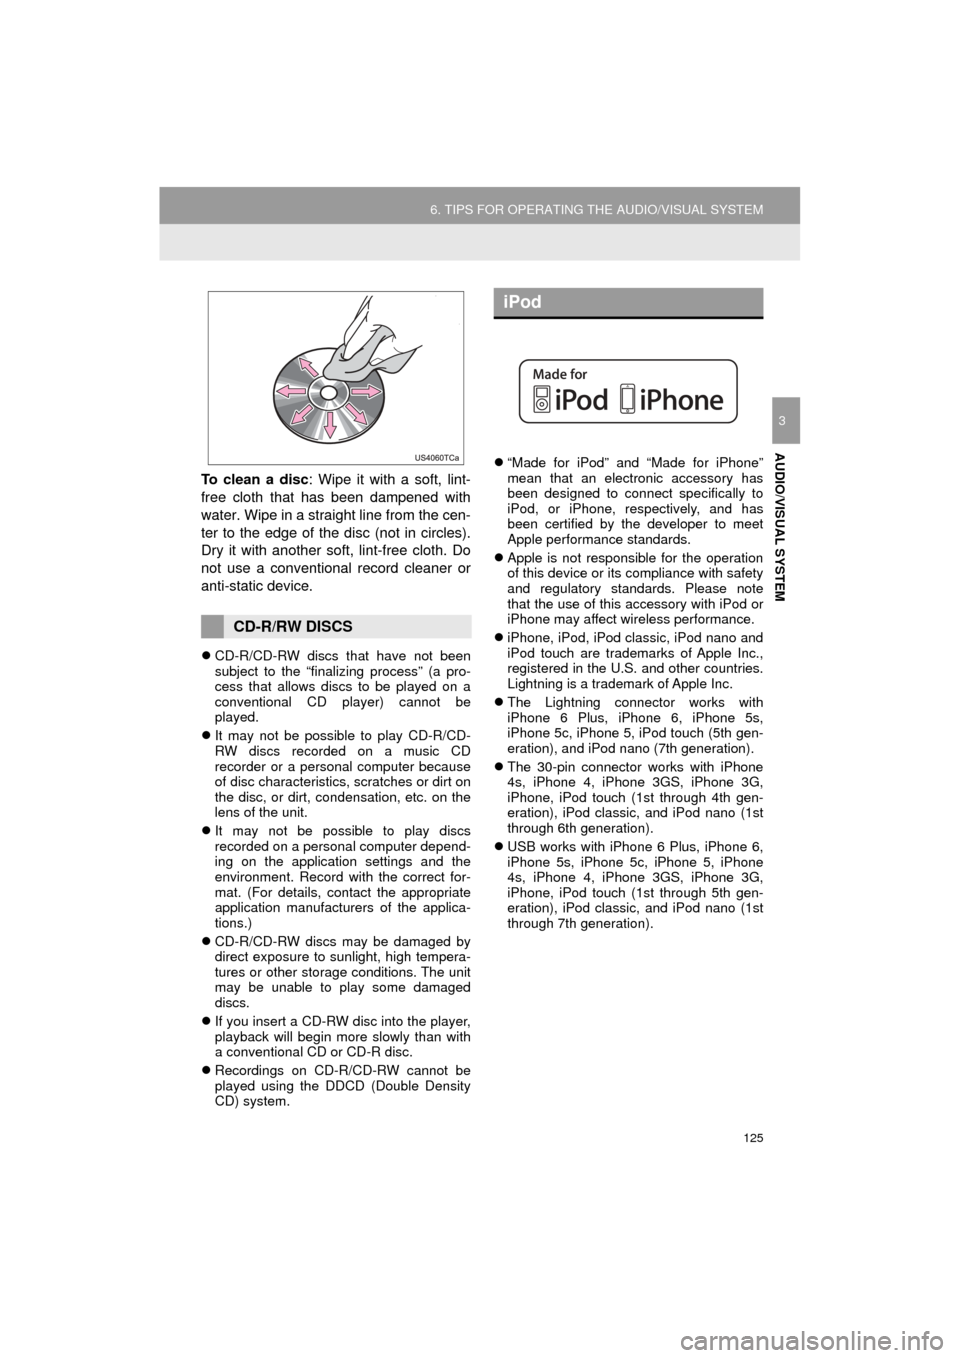
To clean a disc: Wipe it with a soft, lint-
free cloth that has been dampened with
water. Wipe in a straight line from the cen-
ter to the edge of the disc (not in circles).
Dry it with another soft, lint-free cloth. Do
not use a conventional record cleaner or
anti-static device.
CD-R/CD-RW discs that have not been
subject to the “finalizing process” (a pro-
cess that allows discs to be played on a
conventional CD player) cannot be
played.
It may not be possible to play CD-R/CD-
RW discs recorded on a music CD
recorder or a personal computer because
of disc characteristics, scratches or dirt on
the disc, or dirt, condensation, etc. on the
lens of the unit.
It may not be possible to play discs
recorded on a personal computer depend-
ing on the application settings and the
environment. Record with the correct for-
mat. (For details, contact the appropriate
application manufacturers of the applica-
tions.)
CD-R/CD-RW discs may be damaged by
direct exposure to sunlight, high tempera-
tures or other storage conditions. The unit
may be unable to play some damaged
discs.
If you insert a CD-RW disc into the player,
playback will begin more slowly than with
a conventional CD or CD-R disc.
Recordings on CD-R/CD-RW cannot be
played using the DDCD (Double Density
CD) system.
“Made for iPod” and “Made for iPhone”
mean that an electronic accessory has
been designed to connect specifically to
iPod, or iPhone, respectively, and has
been certified by the developer to meet
Apple performance standards.
Apple is not responsible for the operation
of this device or its compliance with safety
and regulatory standards. Please note
that the use of this accessory with iPod or
iPhone may affect wireless performance.
iPhone, iPod, iPod classic, iPod nano and
iPod touch are trademarks of Apple Inc.,
registered in the U.S. and other countries.
Lightning is a trademark of Apple Inc.
The Lightning connector works with
iPhone 6 Plus, iPhone 6, iPhone 5s,
iPhone 5c, iPhone 5, iPod touch (5th gen-
eration), and iPod nano (7th generation).
The 30-pin connector works with iPhone
4s, iPhone 4, iPhone 3GS, iPhone 3G,
iPhone, iPod touch (1st through 4th gen-
eration), iPod classic, and iPod nano (1st
through 6th generation).
USB works with iPhone 6 Plus, iPhone 6,
iPhone 5s, iPhone 5c, iPhone 5, iPhone
4s, iPhone 4, iPhone 3GS, iPhone 3G,
iPhone, iPod touch (1st through 5th gen-
eration), iPod classic, and iPod nano (1st
through 7th generation).
CD-R/RW DISCS
iPod
Page 128 of 392
128
6. TIPS FOR OPERATING THE AUDIO/VISUAL SYSTEM
HIGHLANDER_Navi_U
■COMPATIBLE CHANNEL MODES
MP3 (MPEG Audio Layer 3), WMA
(Windows Media Audio) and AAC
(Advanced Audio Coding) are audio com-
pression standards.
This system can play MP3/WMA/AAC files
on CD-R/CD-RW discs and USB memory.
This system can play disc recordings com-
patible with ISO 9660 level 1 and level 2
and with the Romeo and Joliet file system
and UDF (2.01 or lower).
When naming an MP3/WMA/AAC file, add
an appropriate file extension (.mp3/.wma/
.m4a).
This system plays back files with .mp3/
.wma/.m4a file extensions as MP3/WMA/
AAC files respectively. To prevent noise
and playback errors, use the appropriate
file extension.
This system can play only the first ses-
sion/border when using multi-session/bor-
der compatible discs.
MP3 files are compatible with the ID3 Tag
Ver. 1.0, Ver. 1.1, Ver. 2.2 and Ver. 2.3 for-
mats. This system cannot display disc
title, track title and artist name in other for-
mats.
WMA/AAC files can contain a WMA/AAC
tag that is used in the same way as an ID3
tag. WMA/AAC tags carry information
such as track title and artist name.
The emphasis function is available only
when playing MP3 files.
This system can play back AAC files
encoded by iTunes.
The sound quality of MP3/WMA files gen-
erally improves with higher bit rates. In
order to achieve a reasonable level of
sound quality, discs recorded with a bit
rate of at least 128 kbps are recom-
mended.
m3u playlists are not compatible with the
audio player.
MP3i (MP3 interactive) and MP3PRO for-
mats are not compatible with the audio
player.
The player is compatible with VBR (Vari-
able Bit Rate).
When playing back files recorded as VBR
(Variable Bit Rate) files, the play time will
not be correctly displayed if the fast for-
ward or reverse operations are used.
It is not possible to check folders that do
not include MP3/WMA/AAC files.
MP3/WMA/AAC files in folders up to 8 lev-
els deep can be played. However, the
start of playback may be delayed when
using discs containing numerous levels of
folders. For this reason, we recommend
creating discs with no more than 2 levels
of folders.
File typeChannel mode
MP3 filesStereo, joint stereo, dual
channel and monaural
WMA files2ch
AAC files1ch, 2ch (Dual channel is not
supported)
Page 134 of 392
134
7. REAR SEAT ENTERTAINMENT SYSTEM OPERATION
HIGHLANDER_Navi_U
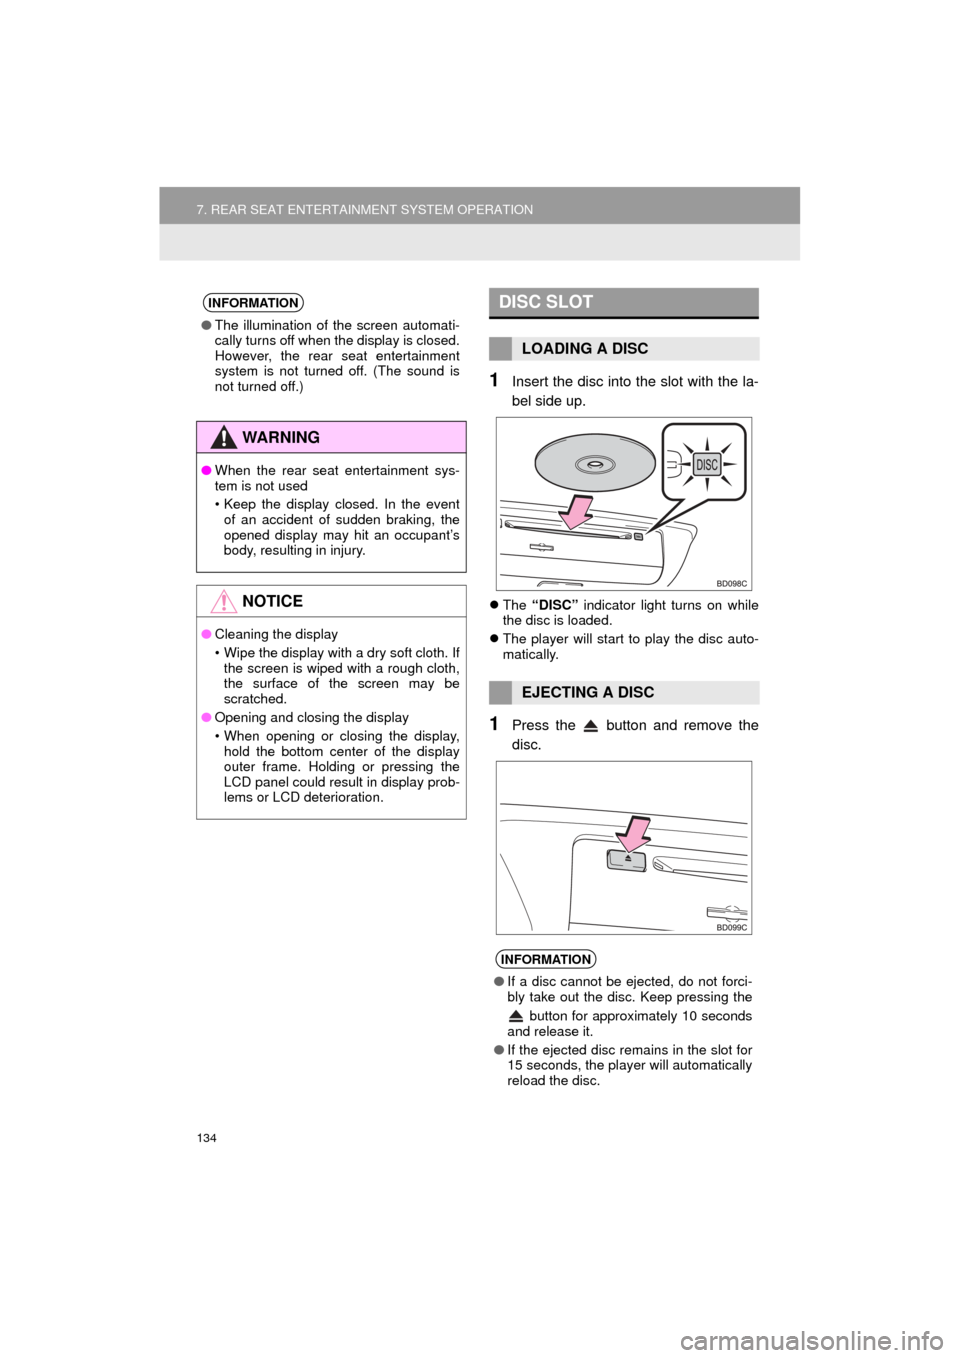
1Insert the disc into the slot with the la-
bel side up.
The “DISC” indicator light turns on while
the disc is loaded.
The player will start to play the disc auto-
matically.
1Press the button and remove the
disc.
INFORMATION
●The illumination of the screen automati-
cally turns off when the display is closed.
However, the rear seat entertainment
system is not turned off. (The sound is
not turned off.)
WA R N I N G
●When the rear seat entertainment sys-
tem is not used
• Keep the display closed. In the event
of an accident of sudden braking, the
opened display may hit an occupant’s
body, resulting in injury.
NOTICE
● Cleaning the display
• Wipe the display with a dry soft cloth. If
the screen is wiped with a rough cloth,
the surface of the screen may be
scratched.
● Opening and closing the display
• When opening or closing the display,
hold the bottom center of the display
outer frame. Holding or pressing the
LCD panel could result in display prob-
lems or LCD deterioration.
DISC SLOT
LOADING A DISC
EJECTING A DISC
INFORMATION
● If a disc cannot be ejected, do not forci-
bly take out the disc. Keep pressing the
button for approximately 10 seconds
and release it.
● If the ejected disc remains in the slot for
15 seconds, the player will automatically
reload the disc.
Page 141 of 392
141
7. REAR SEAT ENTERTAINMENT SYSTEM OPERATION
HIGHLANDER_Navi_U
AUDIO/VISUAL SYSTEM
3
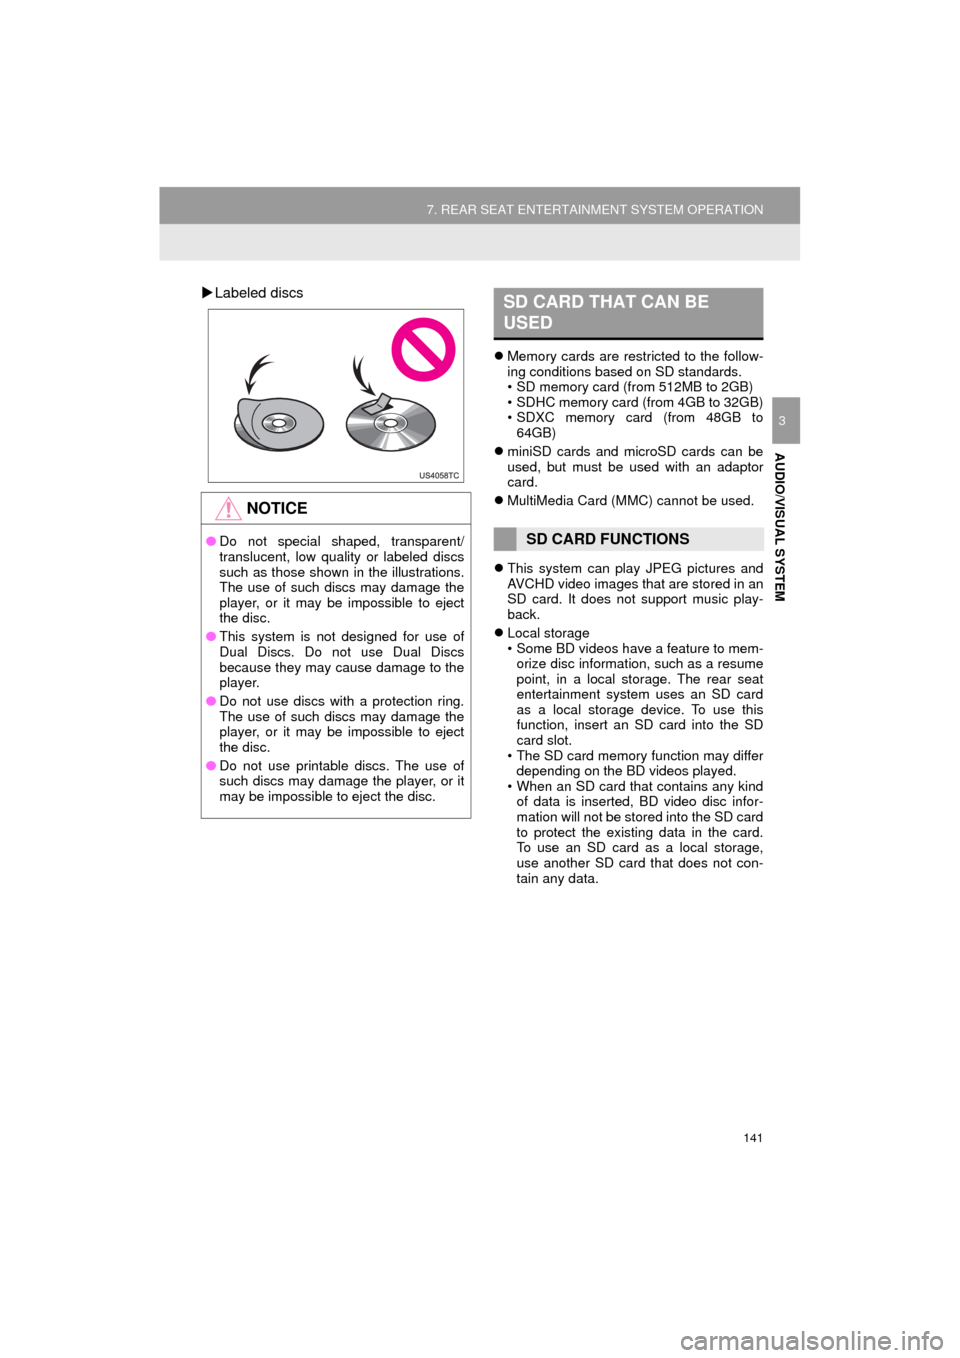
Labeled discs
Memory cards are restricted to the follow-
ing conditions based on SD standards.
• SD memory card (from 512MB to 2GB)
• SDHC memory card (from 4GB to 32GB)
• SDXC memory card (from 48GB to
64GB)
miniSD cards and microSD cards can be
used, but must be used with an adaptor
card.
MultiMedia Card (MMC) cannot be used.
This system can play JPEG pictures and
AVCHD video images that are stored in an
SD card. It does not support music play-
back.
Local storage
• Some BD videos have a feature to mem-
orize disc information, such as a resume
point, in a local storage. The rear seat
entertainment system uses an SD card
as a local storage device. To use this
function, insert an SD card into the SD
card slot.
• The SD card memory function may differ depending on the BD videos played.
• When an SD card that contains any kind of data is inserted, BD video disc infor-
mation will not be stored into the SD card
to protect the existing data in the card.
To use an SD card as a local storage,
use another SD card that does not con-
tain any data.
NOTICE
● Do not special shaped, transparent/
translucent, low quality or labeled discs
such as those shown in the illustrations.
The use of such discs may damage the
player, or it may be impossible to eject
the disc.
● This system is not designed for use of
Dual Discs. Do not use Dual Discs
because they may cause damage to the
player.
● Do not use discs with a protection ring.
The use of such discs may damage the
player, or it may be impossible to eject
the disc.
● Do not use printable discs. The use of
such discs may damage the player, or it
may be impossible to eject the disc.
SD CARD THAT CAN BE
USED
SD CARD FUNCTIONS
Page 146 of 392

146
7. REAR SEAT ENTERTAINMENT SYSTEM OPERATION
HIGHLANDER_Navi_U
1Insert a disc or press the “DISC” but-
ton.
The player will start to play the disc auto-
matically.
1Press the button to play/
pause.
Press and hold the button while
pausing, the video is played slowly.
1Press the “TOP MENU” or “MENU”
button.
2Select the menu item, and press the
“ENT” button to enter.
BD video
Selecting a chapter
Turning on the BD/DVD mode
TURNING ON THE BD/DVD
MODE
PLAYING/PAUSING A DISC
OPERATING THE DISC MENU
No.FunctionOPTION SCREEN
Press the “OPTION” button while
watching a BD/DVD video, the follow-
ing screen appears.
Press the “OPTION” button once
again or select “Hide Buttons” to turn
off the option screen.