2017 TOYOTA HIGHLANDER USB port
[x] Cancel search: USB portPage 73 of 392

3
73
HIGHLANDER_Navi_U
4
5
6
7
8
9
1
2
3
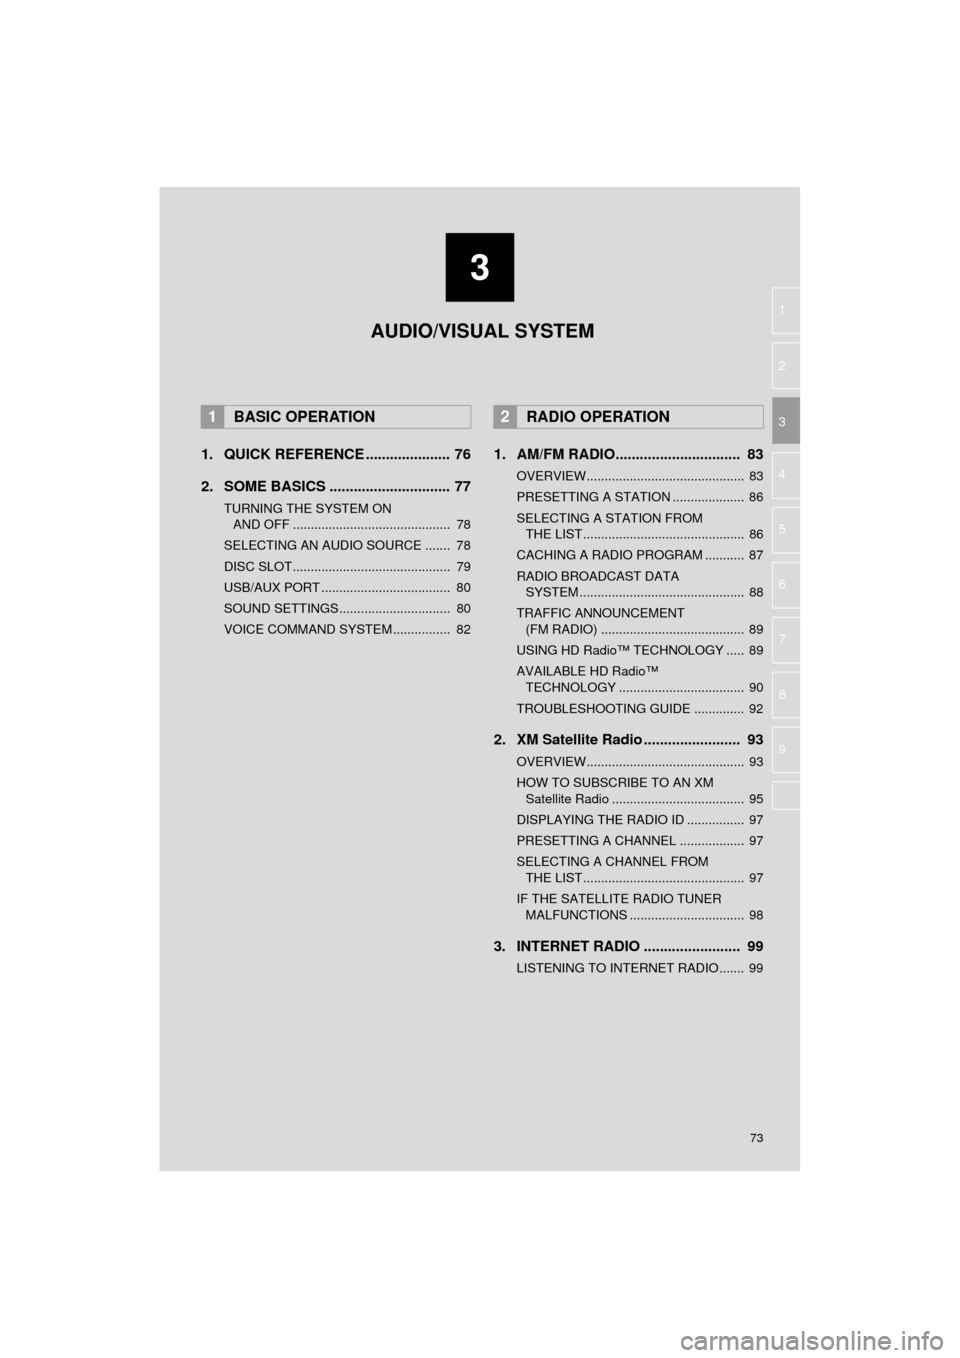
1. QUICK REFERENCE ..................... 76
2. SOME BASICS .............................. 77
TURNING THE SYSTEM ON AND OFF ............................................ 78
SELECTING AN AUDIO SOURCE ....... 78
DISC SLOT ............................................ 79
USB/AUX PORT .................................... 80
SOUND SETTINGS............................... 80
VOICE COMMAND SYSTEM ................ 82
1. AM/FM RADIO............................... 83
OVERVIEW............................................ 83
PRESETTING A STATION .................... 86
SELECTING A STATION FROM THE LIST ............................................. 86
CACHING A RADIO PROGRAM ........... 87
RADIO BROADCAST DATA SYSTEM .............................................. 88
TRAFFIC ANNOUNCEMENT (FM RADIO) ........................................ 89
USING HD Radio™ TECHNOLOGY ..... 89
AVAILABLE HD Radio™ TECHNOLOGY ................................... 90
TROUBLESHOOTING GUIDE .............. 92
2. XM Satellite Radio ........................ 93
OVERVIEW............................................ 93
HOW TO SUBSCRIBE TO AN XM Satellite Radio ..................................... 95
DISPLAYING THE RADIO ID ................ 97
PRESETTING A CHANNEL .................. 97
SELECTING A CHANNEL FROM THE LIST ............................................. 97
IF THE SATELLITE RADIO TUNER MALFUNCTIONS ................................ 98
3. INTERNET RADIO ..... ................... 99
LISTENING TO INTERNET RADIO....... 99
1BASIC OPERATION2RADIO OPERATION
AUDIO/VISUAL SYSTEM
Page 76 of 392

76
HIGHLANDER_Navi_U
1. BASIC OPERATION
1. QUICK REFERENCE
The audio control screen can be reached by the following methods:
Using the “AUDIO” button
Press the “AUDIO” button to display the audio screen.
Using the “APPS” button
Press the “APPS” button, then select “Audio” to display the audio screen.
FunctionPage
Using the radio83, 93, 99
Playing an audio CD or MP3/WMA/AAC disc100
Playing a USB memory103
Playing an iPod107
Playing a Bluetooth® device111
Using the AUX port11 6
Using the steering wheel audio switches11 8
Audio system settings120
Rear seat entertainment system132
INFORMATION
●The display and button positions will differ depending on the type of the system.
Page 80 of 392

80
1. BASIC OPERATION
HIGHLANDER_Navi_U
1Open the cover and connect a device.
Turn on the power of the device if it is not
turned on.
1Display the “Audio Settings” screen.
(→ P.120)
Type A
2Select “Automatic Sound Levelizer” .
3Select “High”, “Mid” , “Low” , or
“Off” .
Type B
2Select “Auto Sound Levelizer” .
1Display the “Audio Settings” screen.
(→P.120)
2Select “Surround” .
USB/AUX PORT
INFORMATION
●If a USB hub is plugged-in, two devices
can be connected at a time.
● Even if a USB hub is used to connect
more than two USB devices, only the
first two connected devices will be rec-
ognized.
SOUND SETTINGS
AUTOMATIC SOUND
LEVELIZER (ASL)
The system adjusts to the optimum vol-
ume and tone quality according to ve-
hicle speed to compensate for
increased vehicle noise.
SURROUND*
*: If equipped
Page 105 of 392

105
3. MEDIA OPERATION
HIGHLANDER_Navi_U
AUDIO/VISUAL SYSTEM
3
WA R N I N G
●Do not operate the player’s controls or connect the USB memory while driving.
NOTICE
●Do not leave your portable player in the car. In particular, high temperatures inside the
vehicle may damage the portable player.
● Do not push down on or apply unnecessary pressure to the portable player while it is con-
nected as this may damage the portable player or its terminal.
● Do not insert foreign objects into the port as this may damage the portable player or its
terminal.
INFORMATION
●If tag information exists, the file names will be changed to track names.
Page 109 of 392

109
3. MEDIA OPERATION
HIGHLANDER_Navi_U
AUDIO/VISUAL SYSTEM
3
WA R N I N G
●Do not operate the player’s controls or connect the iPod while driving.
NOTICE
●Do not leave your portable player in the car. In particular, high temperatures inside the
vehicle may damage the portable player.
● Do not push down on or apply unnecessary pressure to the portable player while it is con-
nected as this may damage the portable player or its terminal.
● Do not insert foreign objects into the port as this may damage the portable player or its
terminal.
INFORMATION
●When an iPod is connected using a genuine iPod cable, the iPod starts charging its bat-
tery.
● Depending on the iPod, the video sound may not be able to be heard.
● Depending on the iPod and the songs in the iPod, iPod cover art may be displayed. This
function can be changed to on/off. ( →P.120) It may take time to display iPod cover art,
and the iPod may not be operated while the cover art display is in process.
● When an iPod is connected and the audio source is changed to iPod mode, the iPod will
resume playing from the same point it was last used.
● Depending on the iPod that is connected to the system, certain functions may not be
available.
● Files/tracks selected by operating a connected iPod may not be recognized or displayed
properly.
● If an iPhone is connected via Bluetooth
® and USB at the same time, system operation
may become unstable. For known phone compatibility information, refer to
http://www.toyota.com/entune/
.
Page 128 of 392

128
6. TIPS FOR OPERATING THE AUDIO/VISUAL SYSTEM
HIGHLANDER_Navi_U
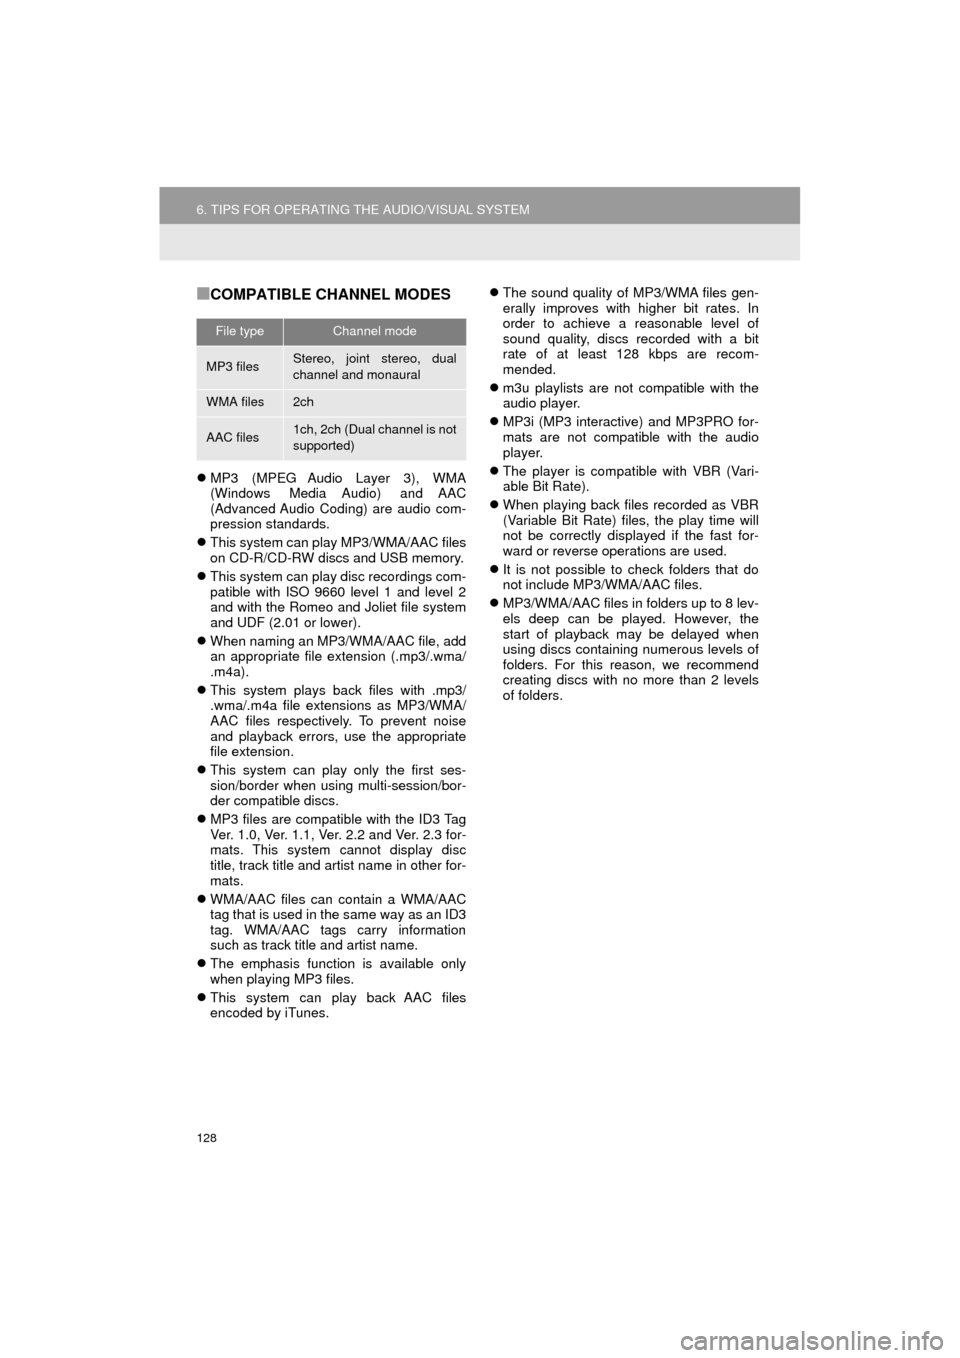
■COMPATIBLE CHANNEL MODES
MP3 (MPEG Audio Layer 3), WMA
(Windows Media Audio) and AAC
(Advanced Audio Coding) are audio com-
pression standards.
This system can play MP3/WMA/AAC files
on CD-R/CD-RW discs and USB memory.
This system can play disc recordings com-
patible with ISO 9660 level 1 and level 2
and with the Romeo and Joliet file system
and UDF (2.01 or lower).
When naming an MP3/WMA/AAC file, add
an appropriate file extension (.mp3/.wma/
.m4a).
This system plays back files with .mp3/
.wma/.m4a file extensions as MP3/WMA/
AAC files respectively. To prevent noise
and playback errors, use the appropriate
file extension.
This system can play only the first ses-
sion/border when using multi-session/bor-
der compatible discs.
MP3 files are compatible with the ID3 Tag
Ver. 1.0, Ver. 1.1, Ver. 2.2 and Ver. 2.3 for-
mats. This system cannot display disc
title, track title and artist name in other for-
mats.
WMA/AAC files can contain a WMA/AAC
tag that is used in the same way as an ID3
tag. WMA/AAC tags carry information
such as track title and artist name.
The emphasis function is available only
when playing MP3 files.
This system can play back AAC files
encoded by iTunes.
The sound quality of MP3/WMA files gen-
erally improves with higher bit rates. In
order to achieve a reasonable level of
sound quality, discs recorded with a bit
rate of at least 128 kbps are recom-
mended.
m3u playlists are not compatible with the
audio player.
MP3i (MP3 interactive) and MP3PRO for-
mats are not compatible with the audio
player.
The player is compatible with VBR (Vari-
able Bit Rate).
When playing back files recorded as VBR
(Variable Bit Rate) files, the play time will
not be correctly displayed if the fast for-
ward or reverse operations are used.
It is not possible to check folders that do
not include MP3/WMA/AAC files.
MP3/WMA/AAC files in folders up to 8 lev-
els deep can be played. However, the
start of playback may be delayed when
using discs containing numerous levels of
folders. For this reason, we recommend
creating discs with no more than 2 levels
of folders.
File typeChannel mode
MP3 filesStereo, joint stereo, dual
channel and monaural
WMA files2ch
AAC files1ch, 2ch (Dual channel is not
supported)
Page 385 of 392

385
HIGHLANDER_Navi_U
S
Satellite Radio.......................................... 93
Screen adjustment ................................... 41
Search operation ................................... 319Searching by address ........................ 321
Searching by address book................ 325
Searching by coordinates................... 328
Searching by emergency ................... 326
Searching by intersection and freeway ........................................... 326
Searching by map .............................. 328
Searching by point of interest............. 322
Searching from previous destinations .................................... 325
Selecting search area ........................ 320
Setting home as destination ............... 320
Setting preset destinations as destination ................................. 320
Setting Bluetooth
® details ........................ 51
“Bluetooth* Setup” screen .................... 51
Connecting a Bluetooth
® device .......... 54
Deleting a Bluetooth® device ............... 53
Editing the Bluetooth® device
information ........................................ 56
Registering a Bluetooth
® device .......... 52
“System Settings” screen ..................... 57
Setting home as the destination .............. 27
“Setup” screen ......................................... 20
Starting route guidance.......................... 329
Steering switches................................... 118
T
Talking on the Bluetooth® phone ........... 272
Incoming call waiting .......................... 274
Touch screen gestures ............................ 35
Touch screen operation ........................... 36
Toyota parking assist monitor ................ 198
Driving precautions............................. 198
Toyota parking assist monitor ............ 198
Screen display ..................................... 200
Switching the parking mode screen .... 202
Traffic information .................................. 314
Traffic settings........................................ 357
Auto avoid traffic................................. 358
My traffic routes .................................. 359
Screen for traffic settings.................... 357
TUNE·SCROLL button............................. 12
Typical voice guidance prompts............. 338
U
USB/AUX port .......................................... 80
USB memory.......................................... 103
Playing a USB audio .......................... 106
V
Voice command system ......................... 168
Voice settings........................................... 66
W
WMA ...................................................... 100
*: Bluetooth is a registered trademark of Bluetooth SIG, Inc.