Page 344 of 734
IconDescription
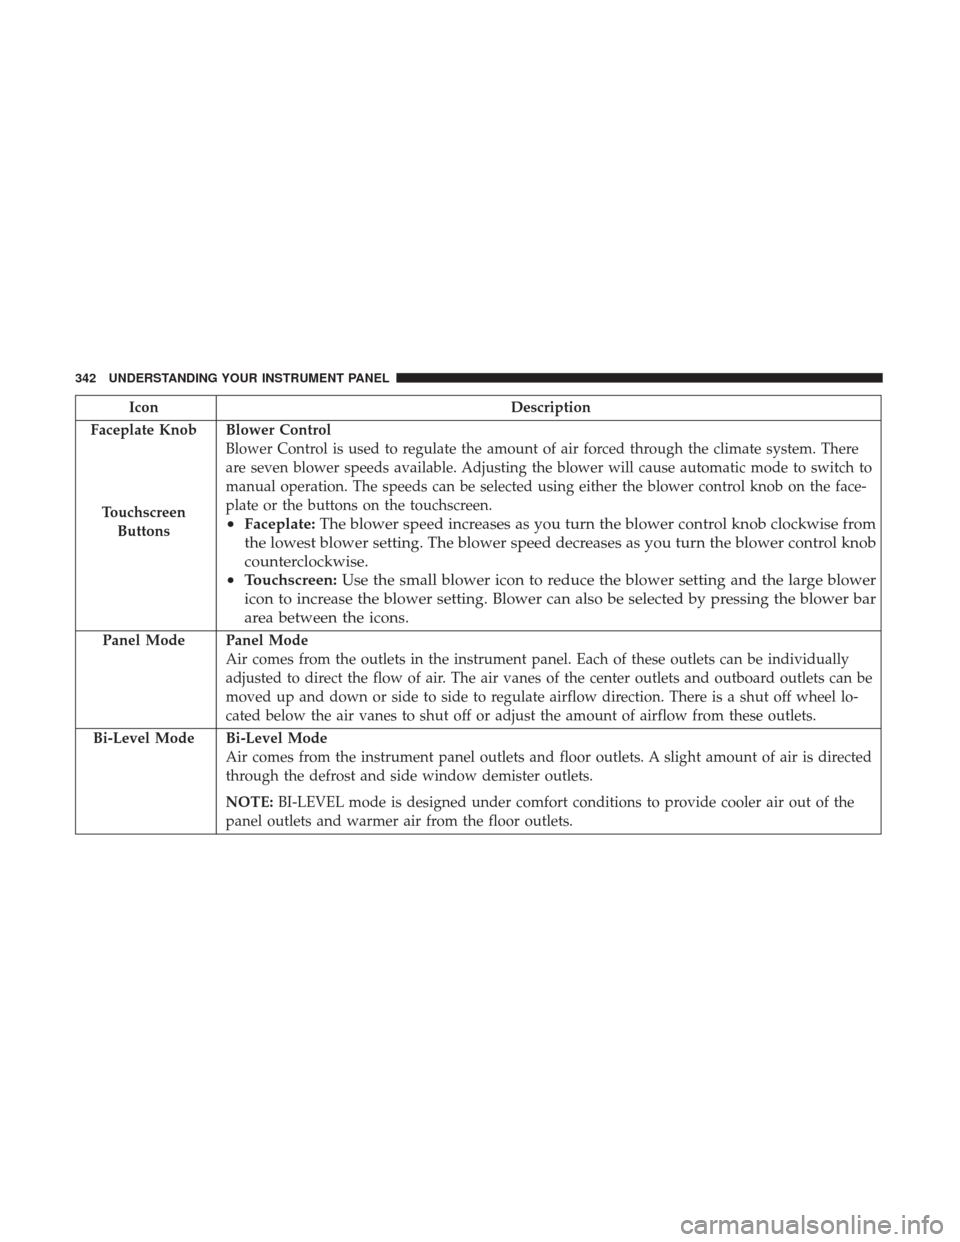
Faceplate Knob
Touchscreen Buttons
Blower Control
Blower Control is used to regulate the amount of air forced through the climate system. There
are seven blower speeds available. Adjusting the blower will cause automatic mode to switch to
manual operation. The speeds can be selected using either the blower control knob on the face-
plate or the buttons on the touchscreen.
• Faceplate: The blower speed increases as you turn the blower control knob clockwise from
the lowest blower setting. The blower speed decreases as you turn the blower control knob
counterclockwise.
• Touchscreen: Use the small blower icon to reduce the blower setting and the large blower
icon to increase the blower setting. Blower can also be selected by pressing the blower bar
area between the icons.
Panel ModePanel Mode
Air comes from the outlets in the instrument panel. Each of these outlets can be individually
adjusted to direct the flow of air. The air vanes of the center outlets and outboard outlets can be
moved up and down or side to side to regulate airflow direction. There is a shut off wheel lo-
cated below the air vanes to shut off or adjust the amount of airflow from these outlets.
Bi-Level Mode
Bi-Level Mode
Air comes from the instrument panel outlets and floor outlets. A slight amount of air is directed
through the defrost and side window demister outlets.
NOTE: BI-LEVEL mode is designed under comfort conditions to provide cooler air out of the
panel outlets and warmer air from the floor outlets.
342 UNDERSTANDING YOUR INSTRUMENT PANEL
Page 347 of 734
disabled automatically if this mode is selected. Attempting
to use Recirculation while in this mode will cause the LED
in the control button to blink and then turn off.
Automatic Temperature Control (ATC) —
If Equipped
Automatic Operation
1. Push the AUTO button on the faceplate, or the AUTObutton on the touchscreen on the Automatic Tempera-
ture Control (ATC) Panel.
2. Next, adjust the temperature you would like the system to maintain by adjusting the driver and passenger
temperature control buttons. Once the desired tempera-
ture is displayed, the system will achieve and automati-
cally maintain that comfort level.
3. When the system is set up for your comfort level, it is not necessary to change the settings. You will experience
the greatest efficiency by simply allowing the system to
function automatically. NOTE:
•
It is not necessary to move the temperature settings for
cold or hot vehicles. The system automatically adjusts
the temperature, mode, and blower speed to provide
comfort as quickly as possible.
• The temperature can be displayed in U.S. or Metric units
by selecting the US/Metric customer-programmable fea-
ture.
To provide you with maximum comfort in the Automatic
mode during cold start-ups, the blower fan will remain on
low until the engine warms up. The blower will increase in
speed and transition into Auto mode.
Manual Operation Override
This system offers a full complement of manual override
features. The AUTO symbol in the front ATC display will
be turned off when the system is being used in the manual
mode.
NOTE: The system will not automatically sense the pres-
ence of fog, mist or ice on the windshield. DEFROST mode
must be manually selected to clear the windshield and side
glass.
4
UNDERSTANDING YOUR INSTRUMENT PANEL 345
Page 354 of 734
Two buttons are all you need to control your Uconnect
system with your voice.Basic Voice Commands
The basic Voice Commands below can be given at any
point while using your Uconnect system.
Push the VR button
. After the beep, say�
•Cancel to stop a current voice session
• Help to hear a list of suggested Voice Commands
• Repeat to listen to the system prompts again
Notice the visual cues that inform you of your voice
recognition system’s status. Cues appear on the screen.
Voice Recognition (VR)/Phone Buttons
1 — Push To Begin Radio, Media, Navigation, Apps And Climate
Functions
2 — Push To Initiate Or To Answer A Phone Call, Send Or Receive
A Text
Uconnect 3.0
352 UNDERSTANDING YOUR INSTRUMENT PANEL
Page 372 of 734
Getting Started
Ensure Siri is enabled on your iPhone.1.
Pair your Siri enabled device to the vehicles sound
system. Refer to your Uconnect Owner ’s Manual Supple-
ment for a detailed pairing procedure.
Siri Enable Screens
1 — Select Settings on your
iPhone
2 — Select General3 — Select Siri
4 — Enable SiriVoice Recognition (VR)/Phone Buttons
1 — Push To Begin Radio, Media, Navigation, Apps And Climate
Functions
2 — Push To Initiate Or To Answer A Phone Call, Send Or Receive
A Text
370 UNDERSTANDING YOUR INSTRUMENT PANEL
Page 458 of 734
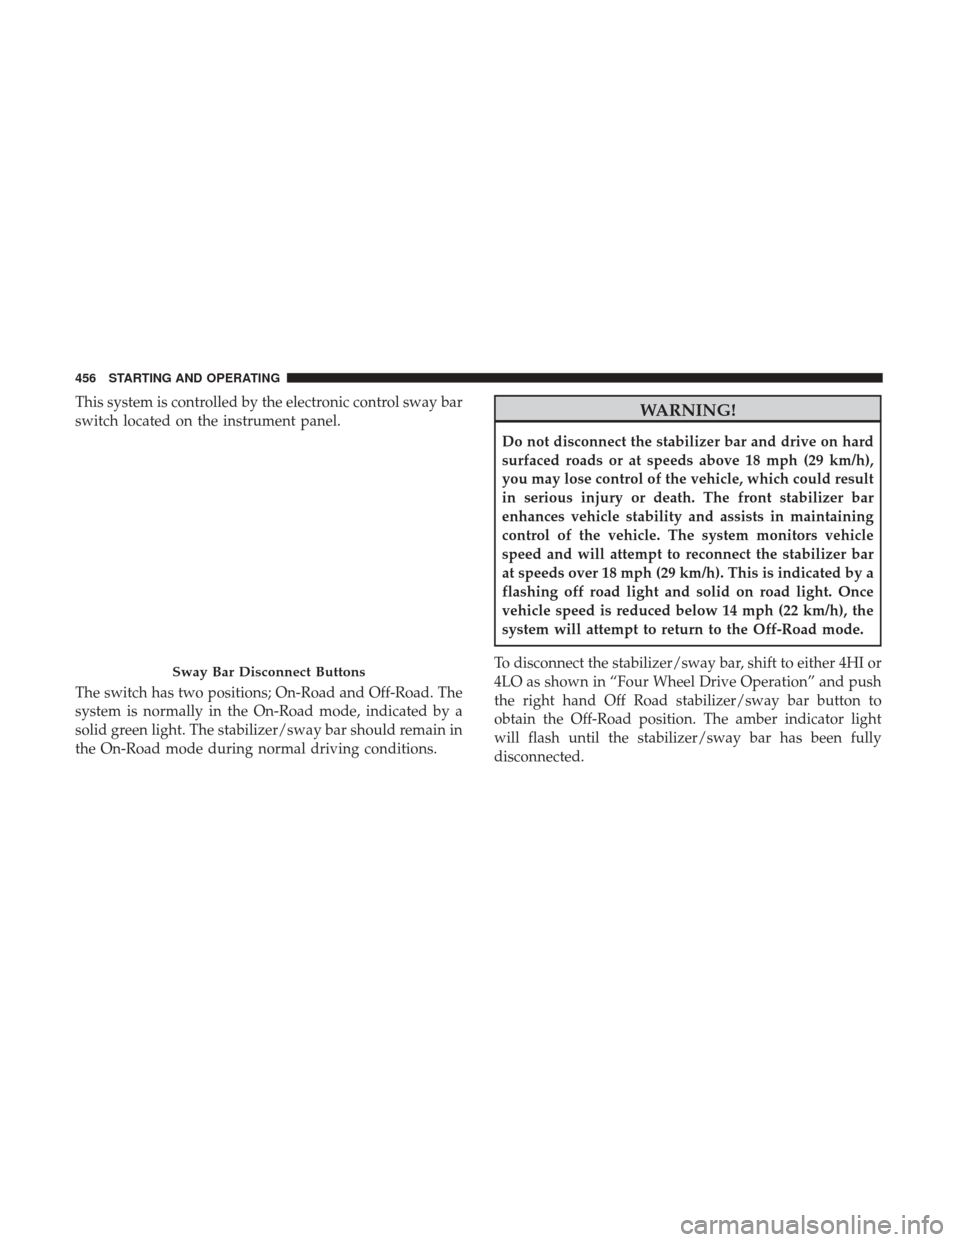
This system is controlled by the electronic control sway bar
switch located on the instrument panel.
The switch has two positions; On-Road and Off-Road. The
system is normally in the On-Road mode, indicated by a
solid green light. The stabilizer/sway bar should remain in
the On-Road mode during normal driving conditions.WARNING!
Do not disconnect the stabilizer bar and drive on hard
surfaced roads or at speeds above 18 mph (29 km/h),
you may lose control of the vehicle, which could result
in serious injury or death. The front stabilizer bar
enhances vehicle stability and assists in maintaining
control of the vehicle. The system monitors vehicle
speed and will attempt to reconnect the stabilizer bar
at speeds over 18 mph (29 km/h). This is indicated by a
flashing off road light and solid on road light. Once
vehicle speed is reduced below 14 mph (22 km/h), the
system will attempt to return to the Off-Road mode.
To disconnect the stabilizer/sway bar, shift to either 4HI or
4LO as shown in “Four Wheel Drive Operation” and push
the right hand Off Road stabilizer/sway bar button to
obtain the Off-Road position. The amber indicator light
will flash until the stabilizer/sway bar has been fully
disconnected.
Sway Bar Disconnect Buttons
456 STARTING AND OPERATING
Page 565 of 734
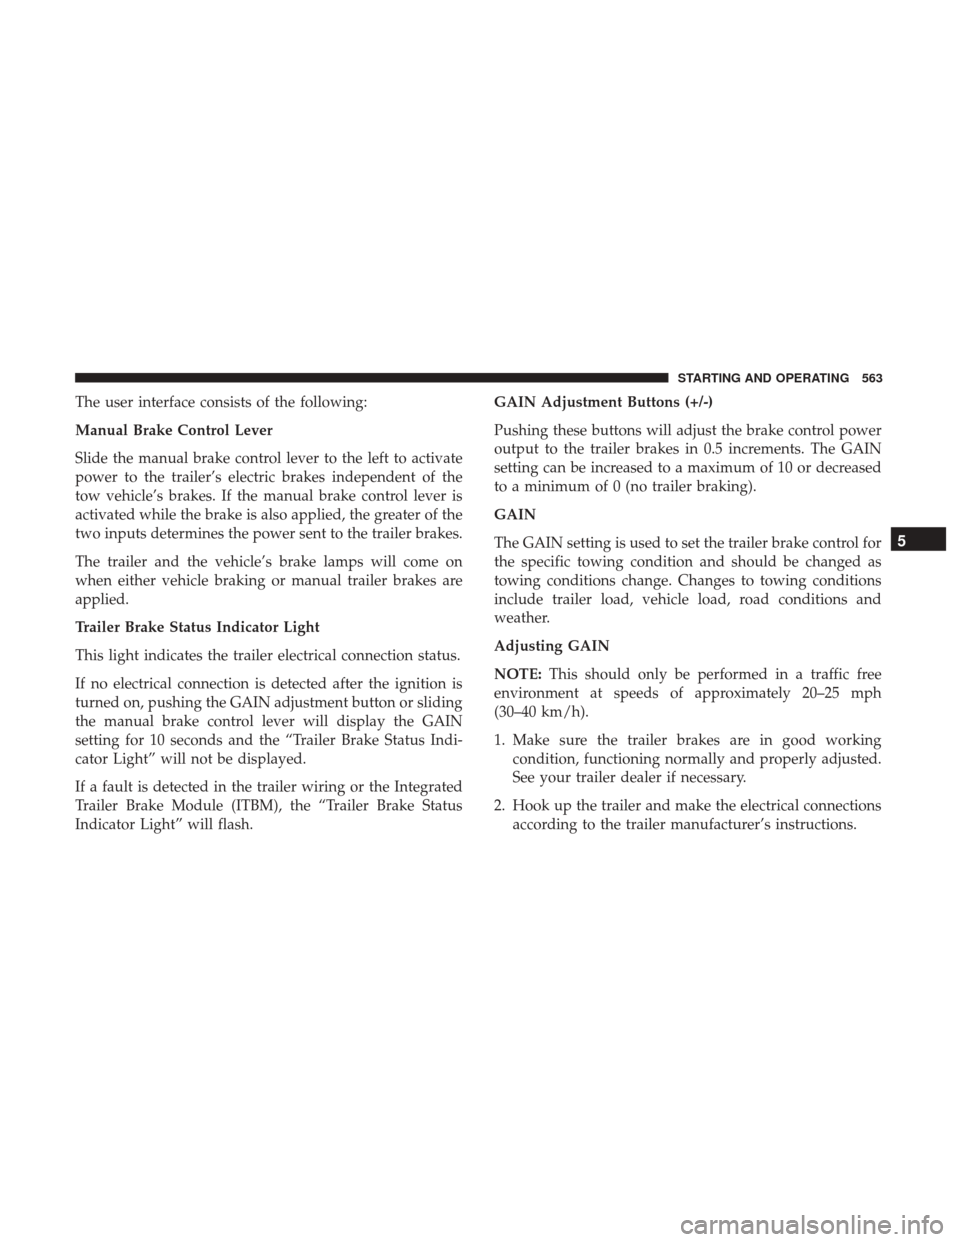
The user interface consists of the following:
Manual Brake Control Lever
Slide the manual brake control lever to the left to activate
power to the trailer’s electric brakes independent of the
tow vehicle’s brakes. If the manual brake control lever is
activated while the brake is also applied, the greater of the
two inputs determines the power sent to the trailer brakes.
The trailer and the vehicle’s brake lamps will come on
when either vehicle braking or manual trailer brakes are
applied.
Trailer Brake Status Indicator Light
This light indicates the trailer electrical connection status.
If no electrical connection is detected after the ignition is
turned on, pushing the GAIN adjustment button or sliding
the manual brake control lever will display the GAIN
setting for 10 seconds and the “Trailer Brake Status Indi-
cator Light” will not be displayed.
If a fault is detected in the trailer wiring or the Integrated
Trailer Brake Module (ITBM), the “Trailer Brake Status
Indicator Light” will flash.GAIN Adjustment Buttons (+/-)
Pushing these buttons will adjust the brake control power
output to the trailer brakes in 0.5 increments. The GAIN
setting can be increased to a maximum of 10 or decreased
to a minimum of 0 (no trailer braking).
GAIN
The GAIN setting is used to set the trailer brake control for
the specific towing condition and should be changed as
towing conditions change. Changes to towing conditions
include trailer load, vehicle load, road conditions and
weather.
Adjusting GAIN
NOTE:
This should only be performed in a traffic free
environment at speeds of approximately 20–25 mph
(30–40 km/h).
1. Make sure the trailer brakes are in good working condition, functioning normally and properly adjusted.
See your trailer dealer if necessary.
2. Hook up the trailer and make the electrical connections according to the trailer manufacturer’s instructions.
5
STARTING AND OPERATING 563
Page 566 of 734
3. When a trailer with electric/EOH brakes is plugged in,the trailer connected message should appear in the
instrument cluster display (if the connection is not
recognized by the ITBM, braking functions will not be
available), the GAIN setting will illuminate and the
correct type of trailer must be selected from the instru-
ment cluster display options.
4. Push the UP or DOWN button on the steering wheel until “TRAILER TOW” appears on the screen.
5. Push the RIGHT arrow on the steering wheel to enter “TRAILER TOW”.
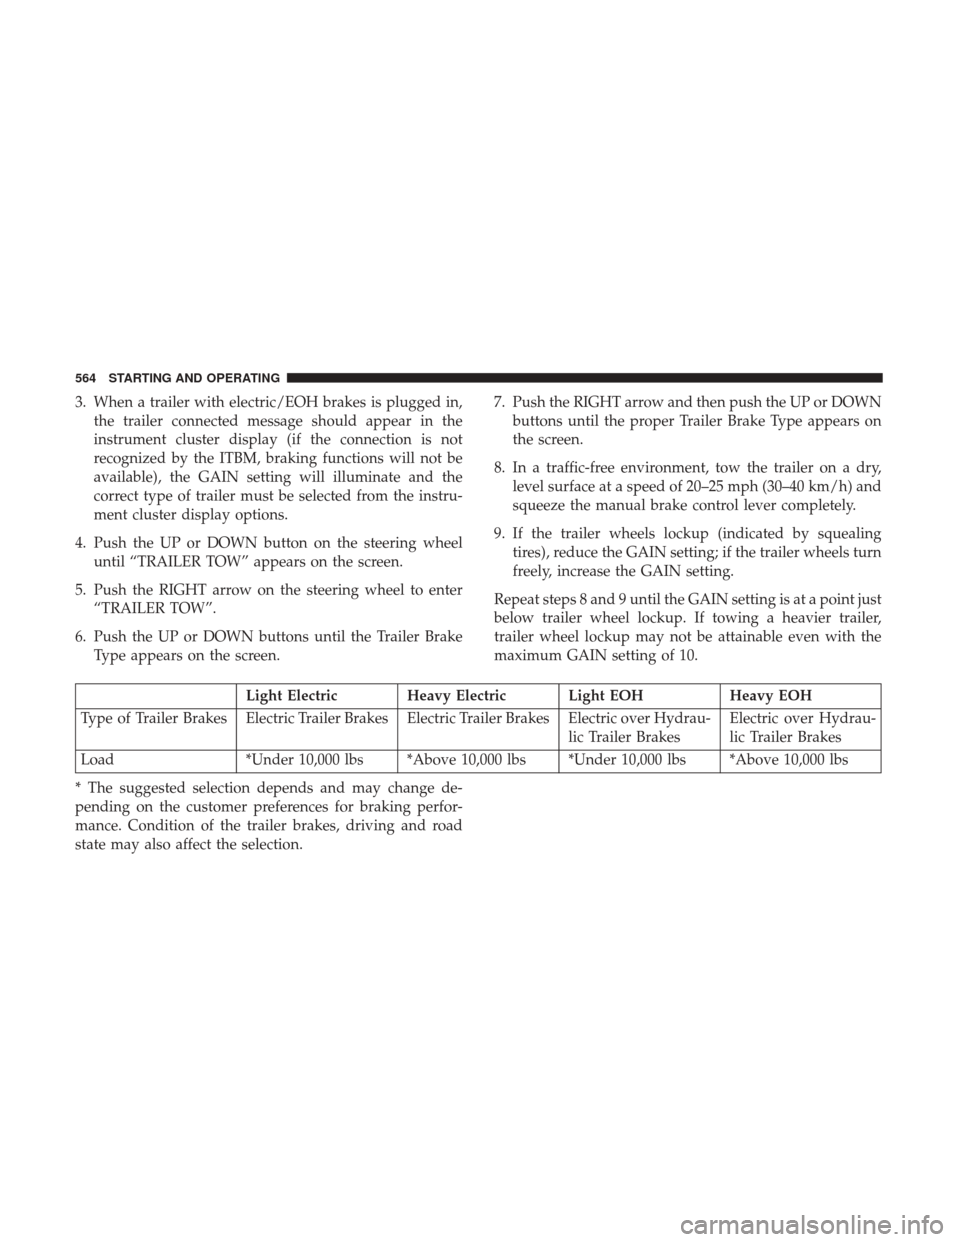
6. Push the UP or DOWN buttons until the Trailer Brake Type appears on the screen. 7. Push the RIGHT arrow and then push the UP or DOWN
buttons until the proper Trailer Brake Type appears on
the screen.
8. In a traffic-free environment, tow the trailer on a dry, level surface at a speed of 20–25 mph (30–40 km/h) and
squeeze the manual brake control lever completely.
9. If the trailer wheels lockup (indicated by squealing tires), reduce the GAIN setting; if the trailer wheels turn
freely, increase the GAIN setting.
Repeat steps 8 and 9 until the GAIN setting is at a point just
below trailer wheel lockup. If towing a heavier trailer,
trailer wheel lockup may not be attainable even with the
maximum GAIN setting of 10.
Light Electric Heavy Electric Light EOH Heavy EOH
Type of Trailer Brakes Electric Trailer Brakes Electric Trailer Brakes Electric over Hydrau- lic Trailer BrakesElectric over Hydrau-
lic Trailer Brakes
Load *Under 10,000 lbs *Above 10,000 lbs *Under 10,000 lbs *Above 10,000 lbs
* The suggested selection depends and may change de-
pending on the customer preferences for braking perfor-
mance. Condition of the trailer brakes, driving and road
state may also affect the selection.
564 STARTING AND OPERATING