Page 290 of 734
Buttons On The Faceplate
Buttons on the faceplate are located below the Uconnect
system in the center of the instrument panel. In addition,
there is a Scroll/Enter control knob located on the right
side of the Climate Controls in the center of the instrument
panel. Turn the control knob to scroll through menus and
change settings (i.e., 30, 60, 90), push the center of the
control knob one or more times to select or change a setting
(i.e., ON, OFF).
Your Uconnect system may also have Screen Off and Back
buttons located below the Uconnect system.
Push the Screen Off button to turn off the Uconnect
touchscreen. Push the Screen Off button a second time to
turn the touchscreen on.
Push the Back button to exit out of a Menu or certain
option on the Uconnect system.
Buttons On The Touchscreen
Buttons on the touchscreen are accessible on the Uconnect
display.
Customer Programmable Features — Uconnect 5.0
Personal Settings
Push the MORE or SETTINGS button on the faceplate, then
press the “Settings” button on the touchscreen (if
equipped) to display the settings menu screen. In this
mode the Uconnect system allows you to access program-
mable features that may be equipped such as Display,
Units, Voice, Clock, Safety & Driving Assistance, Lights,
Doors & Locks, Auto-On Comfort (if equipped), Engine Off
Options, Suspension, Trailer Brake, Audio, Compass Set-
tings, Phone/Bluetooth, SiriusXM Setup (if equipped),
Restore Settings, Clear Personal Data and System Informa-
tion.
NOTE:Only one category may be selected at a time.
When making a selection, press the button on the touch-
screen to enter the desired mode. Once in the desired
mode, press and release the preferred setting until the
button is highlighted. Once the setting is complete, either
press the back arrow or the “Done” button on the touch-
screen or the Back button on the faceplate to return to the
previous menu. Pressing the Up or Down Arrow buttons
on the touchscreen on the right side of the screen will allow
you to toggle up or down through the list of available
settings.
288 UNDERSTANDING YOUR INSTRUMENT PANEL
Page 298 of 734
Setting NameSelectable Options
Memory Linked To Fob — If Equipped On
Off
NOTE:
•The “Memory Linked To Fob” feature provides automatic driver seat positioning to enhance driver mobility when
entering and exiting the vehicle.
•The seat will return to the memorized seat location if “Memory Linked To Fob” is set to (On) when the key fob is
used to unlock the door. Passive Entry — If Equipped On Off
NOTE: The “Passive Entry” feature allows you to lock and unlock the vehicle’s door(s) without having to push the
key fob lock or unlock buttons. It automatically unlocks the doors when the outside door handle is grabbed.
Flash Lights With Lock On Off
NOTE: When the “Flash Lights With Lock” feature is selected, the exterior lights will flash when the doors are locked
or unlocked with the key fob. This feature may be selected with or without the “Sound Horn With Lock” feature se-
lected.
296 UNDERSTANDING YOUR INSTRUMENT PANEL
Page 303 of 734
Audio
After pressing the “Audio” button on the touchscreen, the
following settings will be available:
Setting NameSelectable Options
Balance/Fade Speaker Icon (Arrow Buttons) C
NOTE: The “Balance/Fade” feature allows you to adjust the Balance and Fade settings. Press and drag the speaker
icon or use the arrows to adjust, tap the “C” icon to readjust to the center.
Equalizer +–
NOTE: When in the “Equalizer” display you may adjust the Bass, Mid and Treble settings.
Speed Adjusted Vol- ume Off
12 3
NOTE: The “Speed Adjusted Volume” feature increases or decreases volume relative to vehicle speed.
Surround Sound — If Equipped On
Off
NOTE: The “Surround Sound” feature provides simulated surround sound mode.
AUX Volume Offset — If Equipped On
Off
NOTE: The “AUX Volume Offset” feature provides the ability to tune the audio level for portable devices connected
through the AUX input.
4
UNDERSTANDING YOUR INSTRUMENT PANEL 301
Page 309 of 734
Customer Programmable Features — Uconnect
8.4/8.4 NAV Personal Settings
Press the “Apps” button on the touchscreen then press the
“Settings” button on the touchscreen to display the settings
menu screen. In this mode the Uconnect system allows you
to access programmable features that may be equipped
such as Display, Voice, Clock, Safety & Driving Assistance,
Lights, Doors & Locks, Auto-On Comfort (if equipped),
Engine Off Options, Suspension, Trailer Brake, Audio,
Phone/Bluetooth, SiriusXM Setup (if equipped), Restore
Settings, Clear Personal Data and System Information.
NOTE:Only one category may be selected at a time. When making a selection, press the button on the touch-
screen to enter the desired mode. Once in the desired
mode, press and release the preferred setting until a
check-mark appears next to the setting, showing that
setting has been selected. Once the setting is complete,
either press the back arrow button on the touchscreen or
the Back button on the faceplate to return to the previous
menu or press the “X” button on the touchscreen to close
out of the settings screen. Pressing the Up or Down Arrow
buttons on the touchscreen on the right side of the screen
will allow you to toggle up or down through the list of
available settings.
NOTE:
All settings should be changed with the ignition in
the RUN position.
4
UNDERSTANDING YOUR INSTRUMENT PANEL 307
Page 318 of 734
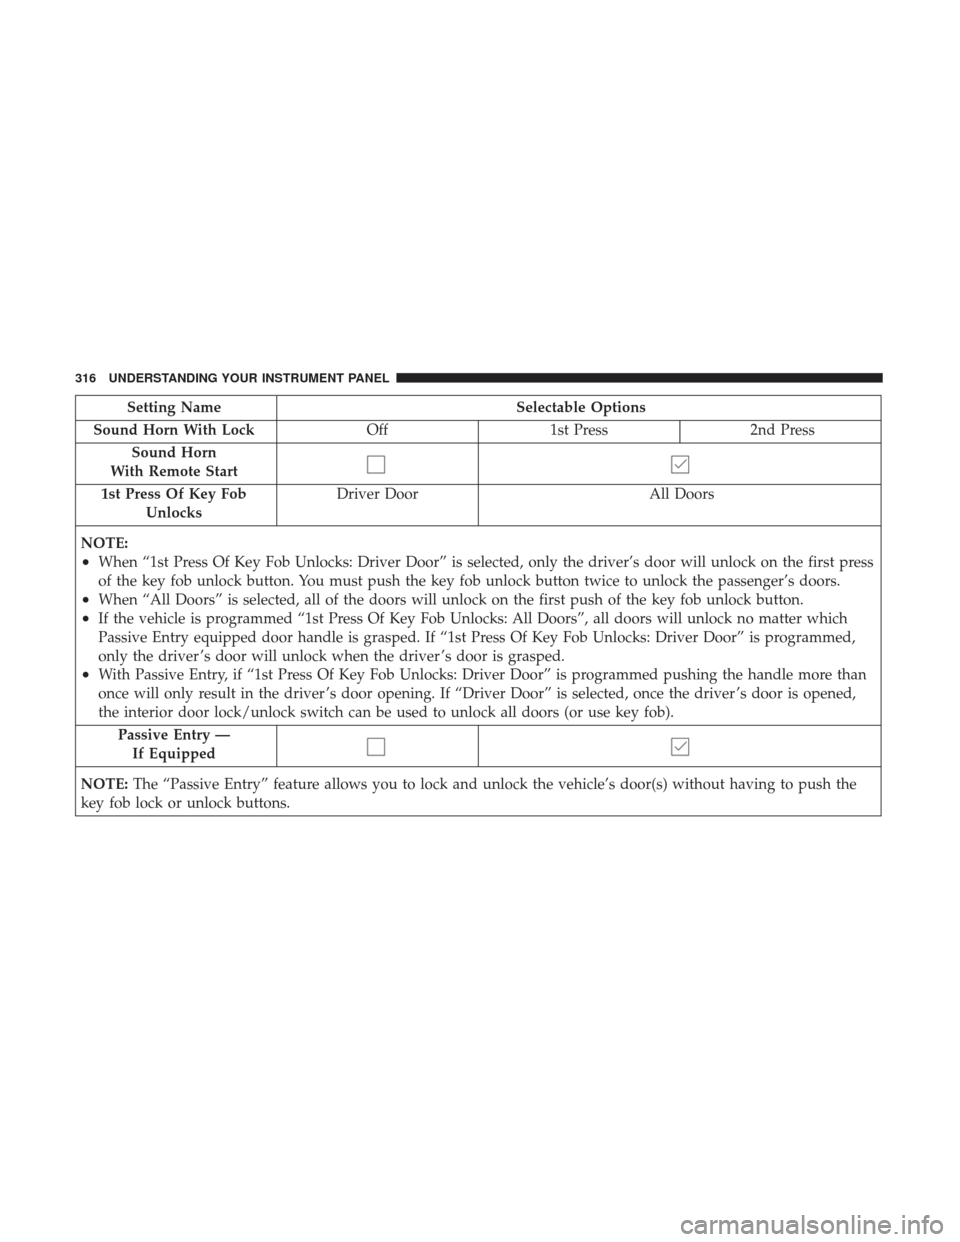
Setting NameSelectable Options
Sound Horn With Lock Off1st Press 2nd Press
Sound Horn
With Remote Start
1st Press Of Key Fob Unlocks Driver Door
All Doors
NOTE:
•When “1st Press Of Key Fob Unlocks: Driver Door” is selected, only the driver’s door will unlock on the first press
of the key fob unlock button. You must push the key fob unlock button twice to unlock the passenger’s doors.
•When “All Doors” is selected, all of the doors will unlock on the first push of the key fob unlock button.
•If the vehicle is programmed “1st Press Of Key Fob Unlocks: All Doors”, all doors will unlock no matter which
Passive Entry equipped door handle is grasped. If “1st Press Of Key Fob Unlocks: Driver Door” is programmed,
only the driver ’s door will unlock when the driver ’s door is grasped.
•With Passive Entry, if “1st Press Of Key Fob Unlocks: Driver Door” is programmed pushing the handle more than
once will only result in the driver ’s door opening. If “Driver Door” is selected, once the driver ’s door is opened,
the interior door lock/unlock switch can be used to unlock all doors (or use key fob). Passive Entry —If Equipped
NOTE: The “Passive Entry” feature allows you to lock and unlock the vehicle’s door(s) without having to push the
key fob lock or unlock buttons.
316 UNDERSTANDING YOUR INSTRUMENT PANEL
Page 323 of 734
Audio
After pressing the “Audio” button on the touchscreen the
following settings will be available:
Setting NameSelectable Options
Balance/Fade Speaker Icon (Arrow Buttons) C
NOTE: The “Balance/Fade” feature allows you to adjust the Balance and Fade settings. Press and drag the speaker
icon or use the arrows to adjust, tap the “C” icon to readjust to the center.
Equalizer +–
NOTE: When in the “Equalizer” display you may adjust the Bass, Mid and Treble settings.
Speed Adjusted Vol- ume OFF
12 3
NOTE: The “Speed Adjusted Volume” feature increases or decreases volume relative to vehicle speed.
Surround Sound — If Equipped On
Off
NOTE: The “Surround Sound” feature provides simulated surround sound mode.
AUX Volume Offset — If Equipped On
Off
NOTE: The “AUX Volume Offset” feature provides the ability to tune the audio level for portable devices connected
through the AUX input.
4
UNDERSTANDING YOUR INSTRUMENT PANEL 321
Page 329 of 734
STEERING WHEEL AUDIO CONTROLS —
IF EQUIPPED
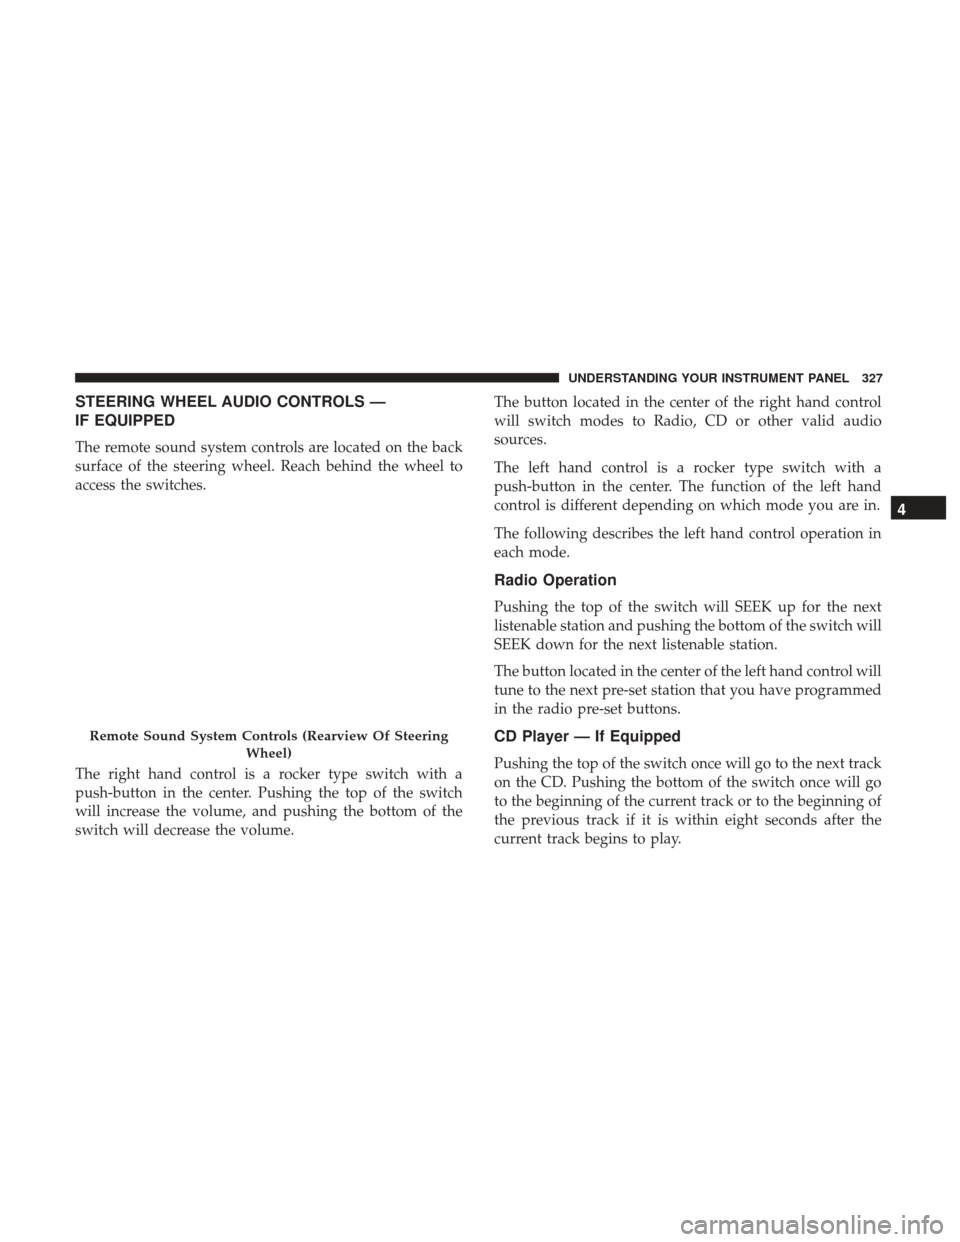
The remote sound system controls are located on the back
surface of the steering wheel. Reach behind the wheel to
access the switches.
The right hand control is a rocker type switch with a
push-button in the center. Pushing the top of the switch
will increase the volume, and pushing the bottom of the
switch will decrease the volume.The button located in the center of the right hand control
will switch modes to Radio, CD or other valid audio
sources.
The left hand control is a rocker type switch with a
push-button in the center. The function of the left hand
control is different depending on which mode you are in.
The following describes the left hand control operation in
each mode.
Radio Operation
Pushing the top of the switch will SEEK up for the next
listenable station and pushing the bottom of the switch will
SEEK down for the next listenable station.
The button located in the center of the left hand control will
tune to the next pre-set station that you have programmed
in the radio pre-set buttons.
CD Player — If Equipped
Pushing the top of the switch once will go to the next track
on the CD. Pushing the bottom of the switch once will go
to the beginning of the current track or to the beginning of
the previous track if it is within eight seconds after the
current track begins to play.
Remote Sound System Controls (Rearview Of Steering
Wheel)
4
UNDERSTANDING YOUR INSTRUMENT PANEL 327
Page 343 of 734
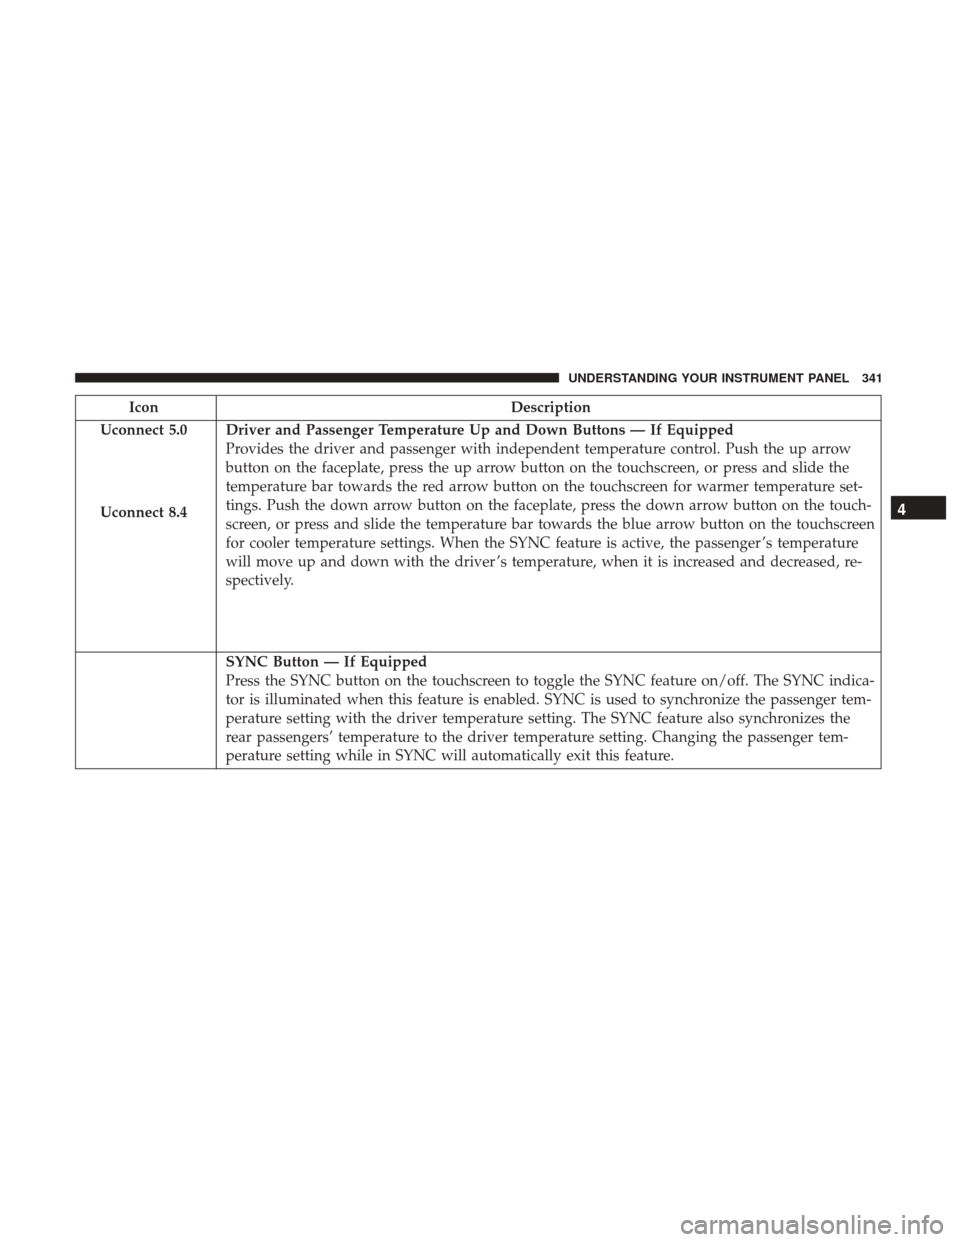
IconDescription
Uconnect 5.0
Uconnect 8.4
Driver and Passenger Temperature Up and Down Buttons — If Equipped
Provides the driver and passenger with independent temperature control. Push the up arrow
button on the faceplate, press the up arrow button on the touchscreen, or press and slide the
temperature bar towards the red arrow button on the touchscreen for warmer temperature set-
tings. Push the down arrow button on the faceplate, press the down arrow button on the touch-
screen, or press and slide the temperature bar towards the blue arrow button on the touchscreen
for cooler temperature settings. When the SYNC feature is active, the passenger ’s temperature
will move up and down with the driver ’s temperature, when it is increased and decreased, re-
spectively.
SYNC Button — If Equipped
Press the SYNC button on the touchscreen to toggle the SYNC feature on/off. The SYNC indica-
tor is illuminated when this feature is enabled. SYNC is used to synchronize the passenger tem-
perature setting with the driver temperature setting. The SYNC feature also synchronizes the
rear passengers’ temperature to the driver temperature setting. Changing the passenger tem-
perature setting while in SYNC will automatically exit this feature.
4
UNDERSTANDING YOUR INSTRUMENT PANEL 341