Page 179 of 734
1. Turn the ignition switch to the ON/RUN position.
For vehicle’s equipped with Keyless Enter-N-Go, place the
ignition in the RUN position with the Engine ON.
2. Place the hand - held transmitter 1 to 3 inches (3 to 8 cm)away from the HomeLink button you wish to program.
3. Push and hold the HomeLink button you want to program while you push and hold the hand - held
transmitter button.
4. Continue to hold both buttons until the instrument cluster display changes from “CHANNEL # TRAIN-
ING” to “CHANNEL # TRAINED,” then release both
buttons.
NOTE: •It may take up to 30 seconds or longer in some cases
for the channel to train.
• If “DID NOT TRAIN” appears in the Instrument
Cluster Display, repeat from Step 2.
5. At the garage door opener motor (in the garage), locate the “LEARN” or “TRAINING” button. This can usually
be found where the hanging antenna wire is attached to
the garage door opener/device motor. Firmly push and
release the “LEARN” or “TRAINING” button. On some garage door openers/devices there may be a light that
blinks when the garage door opener/device is in the
LEARN/TRAIN mode.
NOTE: You have 30 seconds in which to initiate the next
step after the LEARN button has been pushed.
6. Return to the vehicle and push the programmed HomeLink button twice (holding the button for two
seconds each time). The instrument cluster display will
show “CHANNEL # TRANSMIT.” If the garage door
opener/device activates, programming is complete.
NOTE: If the garage door opener/device does not activate,
push the button a third time (for two seconds) to complete
the training.
To program the remaining two HomeLink buttons, repeat
each step for each remaining button. DO NOT erase the
channels.
Reprogramming A Single HomeLink Button (Rolling
Code)
To reprogram a channel that has been previously trained,
follow these steps:
1. Cycle the ignition to the ON/RUN position.
3
UNDERSTANDING THE FEATURES OF YOUR VEHICLE 177
Page 180 of 734
2. Push and hold the desired HomeLink button until theindicator light begins to flash after 20 seconds. Do not
release the button.
3. Without releasing the button proceed with “Program-
ming A Rolling Code” step 2 and follow all remaining
steps.
Programming A Non-Rolling Code
For programming Garage Door Openers manufactured
before 1995.
1. Turn the ignition switch to the ON/RUN position.
2. Place the hand - held transmitter 1 to 3 inches (3 to 8 cm) away from the HomeLink button you wish to program.
3. Push and hold the HomeLink button you want to program while you push and hold the hand - held
transmitter button.
4. Continue to hold both buttons until the instrument cluster display changes from “CHANNEL # TRAIN-
ING” to “CHANNEL # TRAINED,” then release both
buttons. NOTE:
•It may take up to 30 seconds or longer in some cases
for the channel to train.
• If the instrument cluster display shows “DID NOT
TRAIN”, repeat from Step 2.
5. Push and hold the programmed HomeLink button. The instrument cluster display will display “CHANNEL #
TRANSMIT.” If the garage door opener/device acti-
vates, programming is complete.
To program the remaining two HomeLink buttons, repeat
each step for each remaining button. DO NOT erase the
channels.
Reprogramming A Single HomeLink Button
(Non-Rolling Code)
To reprogram a channel that has been previously trained,
follow these steps:
1. Cycle the ignition to the ON/RUN position.
2. Push and hold the desired HomeLink button until the indicator light begins to flash after 20 seconds. Do not
release the button.
178 UNDERSTANDING THE FEATURES OF YOUR VEHICLE
Page 181 of 734
3.Without releasing the button proceed with “Program-
ming A Non-Rolling Code” step 2 and follow all remain-
ing steps.
Canadian/Gate Operator Programming
For programming transmitters in Canada/United States
that require the transmitter signals to “time-out” after
several seconds of transmission.
Canadian radio frequency laws require transmitter signals
to time-out (or quit) after several seconds of transmission –
which may not be long enough for HomeLink to pick up
the signal during programming. Similar to this Canadian
law, some U.S. gate operators are designed to time-out in
the same manner.
It may be helpful to unplug the device during the cycling
process to prevent possible overheating of the garage door
or gate motor.
1. Turn the ignition switch to the ON/RUN position.
For vehicle’s equipped with Keyless Enter-N-Go, place the
ignition in the RUN position with the Engine ON. 2. Place the hand - held transmitter 1 to 3 inches (3 to 8 cm)
away from the HomeLink button you wish to program.
3. Push and hold the HomeLink button while you push and release (“cycle”), your hand - held transmitter every
two seconds.
4. Continue to hold both buttons until the instrument cluster display changes from “CHANNEL # TRAIN-
ING” to “CHANNEL # TRAINED,” then release both
buttons.
NOTE: •It may take up to 30 seconds or longer in some cases
for the channel to train.
• If the instrument cluster display shows “DID NOT
TRAIN”, repeat from Step 2.
5. Push and hold the programmed HomeLink button. The instrument cluster display will display “CHANNEL #
TRANSMIT.” If the device is plugged in and activates,
programming is complete.
If you unplugged the garage door opener/device for
programming, plug it back in at this time.3
UNDERSTANDING THE FEATURES OF YOUR VEHICLE 179
Page 182 of 734
Reprogramming A Single HomeLink Button
(Canadian/Gate Operator)
To reprogram a channel that has been previously trained,
follow these steps:
1. Turn the ignition switch to the ON/RUN position.
For vehicle’s equipped with Keyless Enter-N-Go, place the
ignition in the RUN position with the Engine ON.
2. Push and hold the desired HomeLink button until theinstrument cluster display shows “CHANNEL #
TRAINING” Do not release the button.
3. Without releasing the button proceed with “Canadian/
Gate Operator Programming” Step 2 and follow all
remaining steps.
Using HomeLink
To operate, push and release the programmed HomeLink
button. Activation will now occur for the programmed
device (i.e. garage door opener, gate operator, security
system, entry door lock, home/office lighting, etc.) The
hand-held transmitter of the device may also be used at
any time.
Security
It is advised to erase all channels before you sell or turn in
your vehicle.
To erase the channels press and hold the two outside
HomeLink buttons (I and III) for up 20 seconds. The
instrument cluster display will display “CLEARING
CHANNELS.” Release the buttons when the instrument
cluster display shows “CHANNELS CLEARED.”
The HomeLink Universal Transceiver is disabled when the
Vehicle Security Alarm is active.
Troubleshooting Tips
If you are having trouble programming HomeLink, here
are some of the most common solutions:
• Replace the battery in the Garage Door Opener hand-
held transmitter.
• Push the LEARN button on the Garage Door Opener to
complete the training for a Rolling Code.
• Did you unplug the device for programming and re-
member to plug it back in?
180 UNDERSTANDING THE FEATURES OF YOUR VEHICLE
Page 235 of 734
UNDERSTANDING YOUR INSTRUMENT PANEL
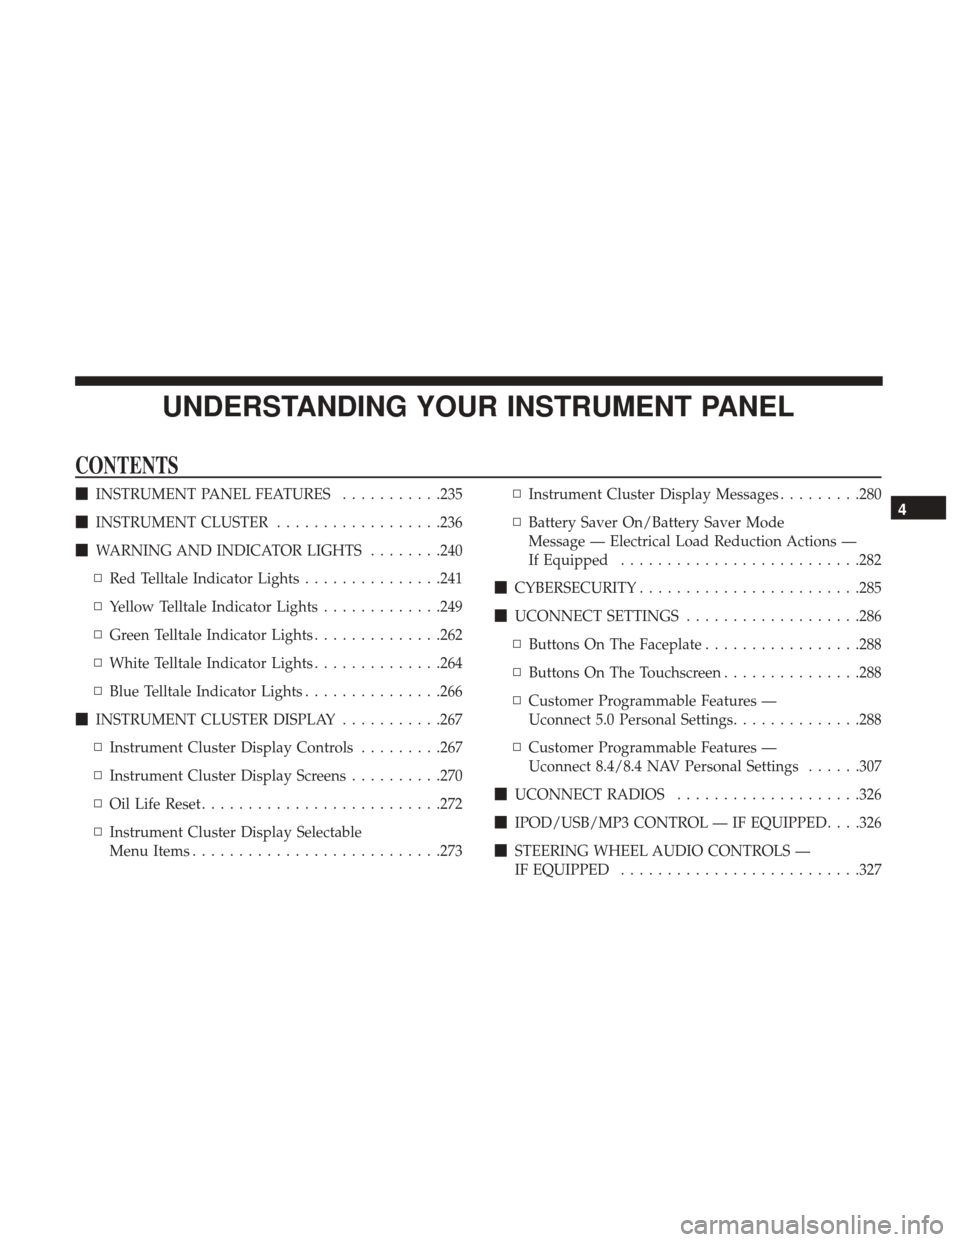
CONTENTS
�INSTRUMENT PANEL FEATURES ...........235
� INSTRUMENT CLUSTER ..................236
� WARNING AND INDICATOR LIGHTS ........240
▫ Red Telltale Indicator Lights ...............241
▫ Yellow Telltale Indicator Lights .............249
▫ Green Telltale Indicator Lights ..............262
▫ White Telltale Indicator Lights ..............264
▫ Blue Telltale Indicator Lights ...............266
� INSTRUMENT CLUSTER DISPLAY ...........267
▫ Instrument Cluster Display Controls .........267
▫ Instrument Cluster Display Screens ..........270
▫ Oil Life Reset ......................... .272
▫ Instrument Cluster Display Selectable
Menu Items .......................... .273▫
Instrument Cluster Display Messages .........280
▫ Battery Saver On/Battery Saver Mode
Message — Electrical Load Reduction Actions —
If Equipped ......................... .282
� CYBERSECURITY ....................... .285
� UCONNECT SETTINGS ...................286
▫ Buttons On The Faceplate .................288
▫ Buttons On The Touchscreen ...............288
▫ Customer Programmable Features —
Uconnect 5.0 Personal Settings ..............288
▫ Customer Programmable Features —
Uconnect 8.4/8.4 NAV Personal Settings ......307
� UCONNECT RADIOS ....................326
� IPOD/USB/MP3 CONTROL — IF EQUIPPED . . . .326
� STEERING WHEEL AUDIO CONTROLS —
IF EQUIPPED ......................... .3274
Page 271 of 734
The system allows the driver to select information by
pushing the following instrument cluster display control
buttons located on the left side of the steering wheel:•
Up Arrow Button
Push and release the uparrow button to scroll
upward through the main menu items, submenu
screen, and vehicle settings.
• Down Arrow Button
Push and release the downarrow button to scroll
downward through the main menu items, sub-
menu screen, and vehicle settings.
• Right Arrow Button
Push and release the rightarrow button to
access/select the information screens or sub-
menu screens of a main menu item. Push and
hold the RIGHT arrow button for two seconds to
reset displayed/selected features that can be reset.
• Left Arrow Button
Push and release the leftarrow button to access/
select the information screens, submenu screens
of a main menu item, or to return to the main
menu.
Instrument Cluster Display Control Buttons
4
UNDERSTANDING YOUR INSTRUMENT PANEL 269
Page 288 of 734
NOTE:
•FCA or your dealer may contact you directly regarding
software updates.
• To help further improve vehicle security and minimize
the potential risk of a security breach, vehicle owners
should:
• Routinely check
www.driveuconnect.com/software-update
to learn about available Uconnect software updates.
• Only connect and use trusted media devices (e.g.
personal mobile phones, USBs, CDs).
Privacy of any wireless and wired communications cannot
be assured. Third parties may unlawfully intercept infor-
mation and private communications without your consent.
For further information, refer to “Privacy Practices – If
Equipped with Uconnect 8.4 radio” in “All About
Uconnect Access” in your Uconnect Owner ’s Manual
Supplement and “Onboard Diagnostic System (OBD II)
Cybersecurity”.UCONNECT SETTINGS
The Uconnect system uses a combination of buttons on the
touchscreen and buttons on the faceplate located on the
center of the instrument panel that allows you to access
and change the customer programmable features. Many
features can vary by vehicle.
Uconnect 3.0 Power Hard Button
286 UNDERSTANDING YOUR INSTRUMENT PANEL
Page 289 of 734
Uconnect 5.0 Buttons On The Touchscreen And ButtonsOn The Faceplate
1 — Uconnect Buttons On The Touchscreen
2 — Uconnect Buttons On The Faceplate
Uconnect 8.4/8.4 NAV Buttons On The Touchscreen AndButtons On The Faceplate
1 — Uconnect Buttons On The Touchscreen
2 — Uconnect Buttons On The Faceplate
4
UNDERSTANDING YOUR INSTRUMENT PANEL 287