Page 293 of 734
Clock & Date
After pressing the “Clock & Date” button on the touch-
screen, the following settings will be available:
Setting NameSelectable Options
Set Time 12 hour24 hour
NOTE: Within the “Set Time” feature, press the corresponding arrow above and below the current time to adjust,
then select “AM” or “PM.”
Set Date Up ArrowDown Arrow
Safety/Assistance
After pressing the “Safety/Assistance” button on the
touchscreen, the following settings will be available:
Setting Name Selectable Options
ParkSense — If Equipped Sound Only Sounds and Display
NOTE: The ParkSense system will scan for objects behind the vehicle when the transmission gear selector is in RE-
VERSE and the vehicle speed is less than 7 mph (11 km/h). It will provide an alert (audible and/or visual) to indi-
cate the proximity to other objects.
4
UNDERSTANDING YOUR INSTRUMENT PANEL 291
Page 296 of 734
Lights
After pressing the “Lights” button on the touchscreen, the
following settings will be available:
Setting NameSelectable Options
Headlight Off Delay 030609 0
Headlight Illumina- tion On Approach 03
0609 0
NOTE: When the “Headlight Illumination On Approach” feature is selected, it allows the adjustment of the amount
of time the headlights remain on when the doors are unlocked with the key fob.
Headlights WithWipers — IfEquipped On
Off
Auto Dim High Beams — IfEquipped On
Off
Flash Lights With Lock On
Off
NOTE: When the “Flash Lights With Lock” feature is selected, the exterior lights will flash when the doors are locked
or unlocked with the key fob. This feature may be selected with or without the sound horn on lock feature selected.
294 UNDERSTANDING YOUR INSTRUMENT PANEL
Page 297 of 734

Doors & Locks
After pressing the “Doors & Locks” button on the touch-
screen, the following settings will be available:
Setting NameSelectable Options
Auto Door Locks On Off
NOTE: When the “Auto Door Locks” feature is selected, all doors will lock automatically when the vehicle reaches a
speed of 15 mph (24 km/h).
Auto Unlock On Exit On Off
NOTE: When the “Auto Unlock On Exit” feature is selected, all doors will unlock when the vehicle is stopped, the
transmission is in the PARK or NEUTRAL position and the driver’s door is opened.
Sound Horn With Lock Off1st Press 2nd Press
Remote Door Unlock All Driver
NOTE: The “Remote Door Unlock” feature will allow you to program your remote door locks to open “All doors” or
only the “Driver door” with the first push of the key fob or grabbing the Passive Entry door handle.
Sound Horn With Remote Start On
Off
NOTE: When the “Sound Horn With Remote Start” feature is selected, the horn will sound when the remote start is
activated.
4
UNDERSTANDING YOUR INSTRUMENT PANEL 295
Page 298 of 734
Setting NameSelectable Options
Memory Linked To Fob — If Equipped On
Off
NOTE:
•The “Memory Linked To Fob” feature provides automatic driver seat positioning to enhance driver mobility when
entering and exiting the vehicle.
•The seat will return to the memorized seat location if “Memory Linked To Fob” is set to (On) when the key fob is
used to unlock the door. Passive Entry — If Equipped On Off
NOTE: The “Passive Entry” feature allows you to lock and unlock the vehicle’s door(s) without having to push the
key fob lock or unlock buttons. It automatically unlocks the doors when the outside door handle is grabbed.
Flash Lights With Lock On Off
NOTE: When the “Flash Lights With Lock” feature is selected, the exterior lights will flash when the doors are locked
or unlocked with the key fob. This feature may be selected with or without the “Sound Horn With Lock” feature se-
lected.
296 UNDERSTANDING YOUR INSTRUMENT PANEL
Page 307 of 734

Setting NameSelectable Options
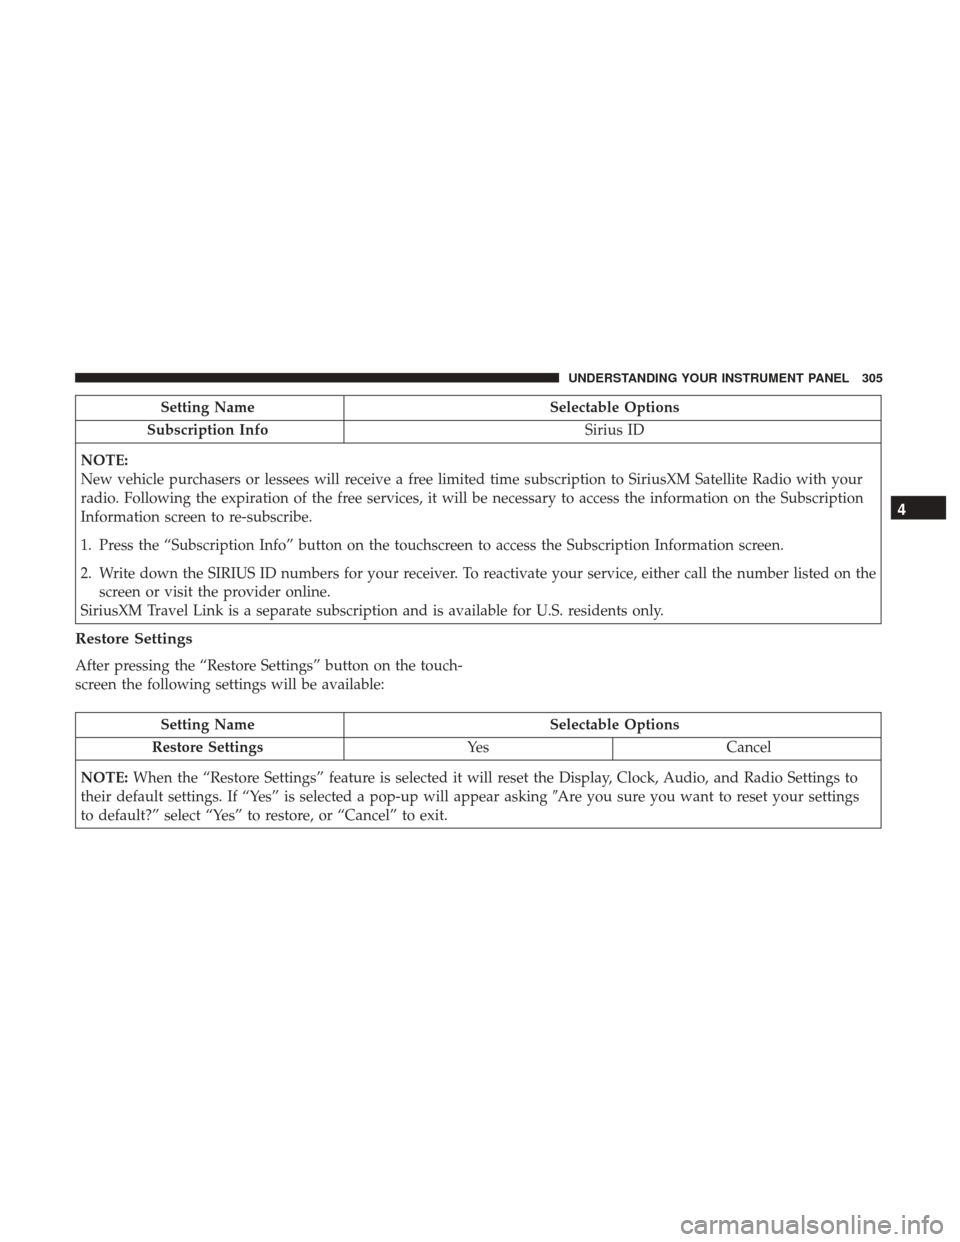
Subscription Info Sirius ID
NOTE:
New vehicle purchasers or lessees will receive a free limited time subscription to SiriusXM Satellite Radio with your
radio. Following the expiration of the free services, it will be necessary to access the information on the Subscription
Information screen to re-subscribe.
1. Press the “Subscription Info” button on the touchscreen to access the Subscription Information screen.
2. Write down the SIRIUS ID numbers for your receiver. To reactivate your service, either call the number listed on the screen or visit the provider online.
SiriusXM Travel Link is a separate subscription and is available for U.S. residents only.
Restore Settings
After pressing the “Restore Settings” button on the touch-
screen the following settings will be available:
Setting Name Selectable Options
Restore Settings YesCancel
NOTE: When the “Restore Settings” feature is selected it will reset the Display, Clock, Audio, and Radio Settings to
their default settings. If “Yes” is selected a pop-up will appear asking �Are you sure you want to reset your settings
to default?” select “Yes” to restore, or “Cancel” to exit.
4
UNDERSTANDING YOUR INSTRUMENT PANEL 305
Page 309 of 734

Customer Programmable Features — Uconnect
8.4/8.4 NAV Personal Settings
Press the “Apps” button on the touchscreen then press the
“Settings” button on the touchscreen to display the settings
menu screen. In this mode the Uconnect system allows you
to access programmable features that may be equipped
such as Display, Voice, Clock, Safety & Driving Assistance,
Lights, Doors & Locks, Auto-On Comfort (if equipped),
Engine Off Options, Suspension, Trailer Brake, Audio,
Phone/Bluetooth, SiriusXM Setup (if equipped), Restore
Settings, Clear Personal Data and System Information.
NOTE:Only one category may be selected at a time. When making a selection, press the button on the touch-
screen to enter the desired mode. Once in the desired
mode, press and release the preferred setting until a
check-mark appears next to the setting, showing that
setting has been selected. Once the setting is complete,
either press the back arrow button on the touchscreen or
the Back button on the faceplate to return to the previous
menu or press the “X” button on the touchscreen to close
out of the settings screen. Pressing the Up or Down Arrow
buttons on the touchscreen on the right side of the screen
will allow you to toggle up or down through the list of
available settings.
NOTE:
All settings should be changed with the ignition in
the RUN position.
4
UNDERSTANDING YOUR INSTRUMENT PANEL 307
Page 312 of 734
Clock
After pressing the “Clock” button on the touchscreen, the
following settings will be available:
Setting NameSelectable Options
Sync Time With GPS — If Equipped
Set Time Hours +–
Set Time Minutes +–
Time Format 12hrs24hrs
Show Time In Status Bar — If Equipped
NOTE: The “Show Time In Status Bar” feature will allow you to turn on or shut off the digital clock in the status bar.
310 UNDERSTANDING YOUR INSTRUMENT PANEL
Page 316 of 734

Lights
After pressing the “Lights” button on the touchscreen, the
following settings will be available:
Setting NameSelectable Options
Headlight Off Delay +–
NOTE: When the “Headlight Off Delay” feature is selected, the driver can choose to have the headlights remain on
for 0, 30, 60, or 90 seconds when exiting the vehicle.
Headlight IlluminationOn Approach +–
NOTE: When the “Headlight Illumination On Approach” feature is selected, the headlights will activate and remain
on for 0, 30, 60, or 90 seconds when the doors are unlocked with the key fob.
Headlights With Wipers — If Equipped
NOTE: When the “Headlights With Wipers” feature is selected, and the headlight switch is in the AUTO position, the
headlights will turn on approximately 10 seconds after the wipers are turned on. The headlights will also turn off
when the wipers are turned off if they were turned on by this feature.
Auto Dim High Beams — If Equipped
NOTE: When the “Auto Dim High Beams” feature is selected, the high beam headlights will deactivate automatically
under certain conditions.
314 UNDERSTANDING YOUR INSTRUMENT PANEL