2017 Peugeot 308 instrument panel
[x] Cancel search: instrument panelPage 71 of 566
69
3008-2_en_Chap02_ouvertures_ed01-2016
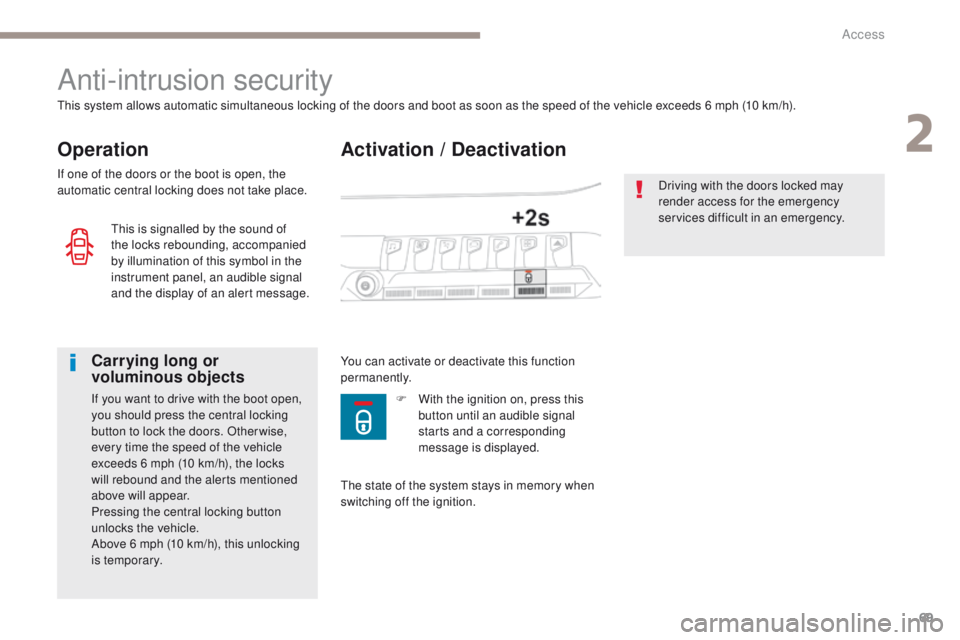
Activation / Deactivation
Anti-intrusion security
Operation
This system allows automatic simultaneous locking of the doors and boot as soon as the speed of the vehicle exceeds 6 mph (10 km/h).
If one of the doors or the boot is open, the
automatic central locking does not take place.
Carrying long or
voluminous objects
If you want to drive with the boot open,
you should press the central locking
button to lock the doors. Other wise,
every time the speed of the vehicle
exceeds 6 mph (10 km/h), the locks
will rebound and the alerts mentioned
above will appear.
Pressing the central locking button
unlocks the vehicle.
Above 6 mph (10 km/h), this unlocking
is temporary.You can activate or deactivate this function
permanently.
Driving with the doors locked may
render access for the emergency
services difficult in an emergency.
This is signalled by the sound of
the locks rebounding, accompanied
by illumination of this symbol in the
instrument panel, an audible signal
and the display of an alert message.
The state of the system stays in memory when
switching off the ignition.F
W ith the ignition on, press this
button until an audible signal
starts and a corresponding
message is displayed.
2
Access
Page 77 of 566
75
3008-2_en_Chap02_ouvertures_ed01-2016
Boot
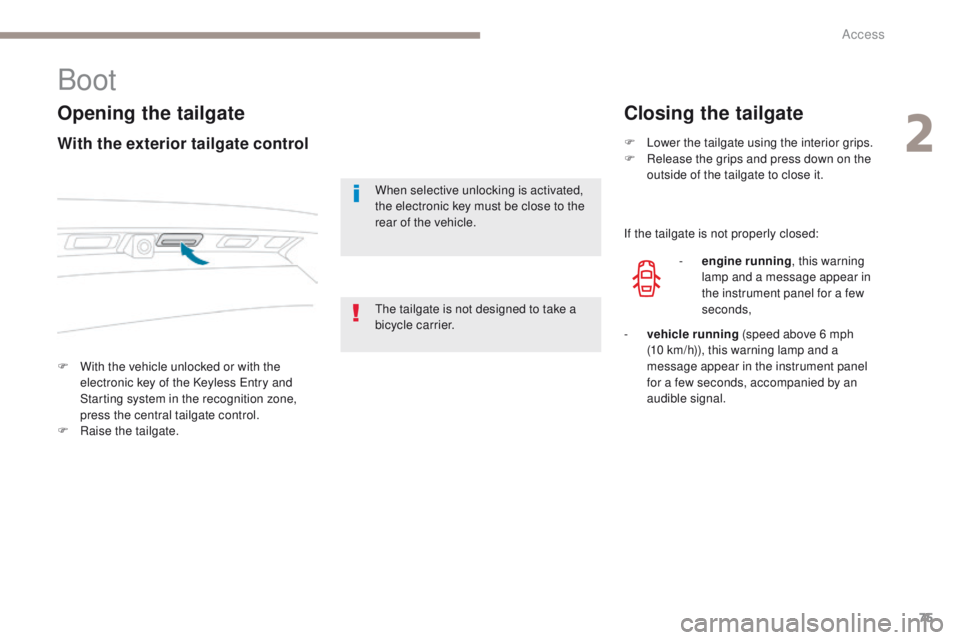
Opening the tailgate
F With the vehicle unlocked or with the electronic key of the Keyless Entry and
Starting system in the recognition zone,
press the central tailgate control.
F
Ra
ise the tailgate.
Closing the tailgate
When selective unlocking is activated,
the electronic key must be close to the
rear of the vehicle. F
L
ower the tailgate using the interior grips.
F
R
elease the grips and press down on the
outside of the tailgate to close it.
With the exterior tailgate control
The tailgate is not designed to take a
bicycle carrier. If the tailgate is not properly closed:
-
e
ngine running
, this warning
lamp and a message appear in
the instrument panel for a few
seconds,
-
v
ehicle running (speed above 6 mph
(10
km/h)), this warning lamp and a
message appear in the instrument panel
for a few seconds, accompanied by an
audible signal.
2
Access
Page 90 of 566
88
3008-2_en_Chap03_ergonomie-et-confort_ed01-2016
Driving position
Adopting a good driving position helps improve your comfort and protection.
It also optimises interior and exterior visibility as well as access to controls.
Sitting comfortably
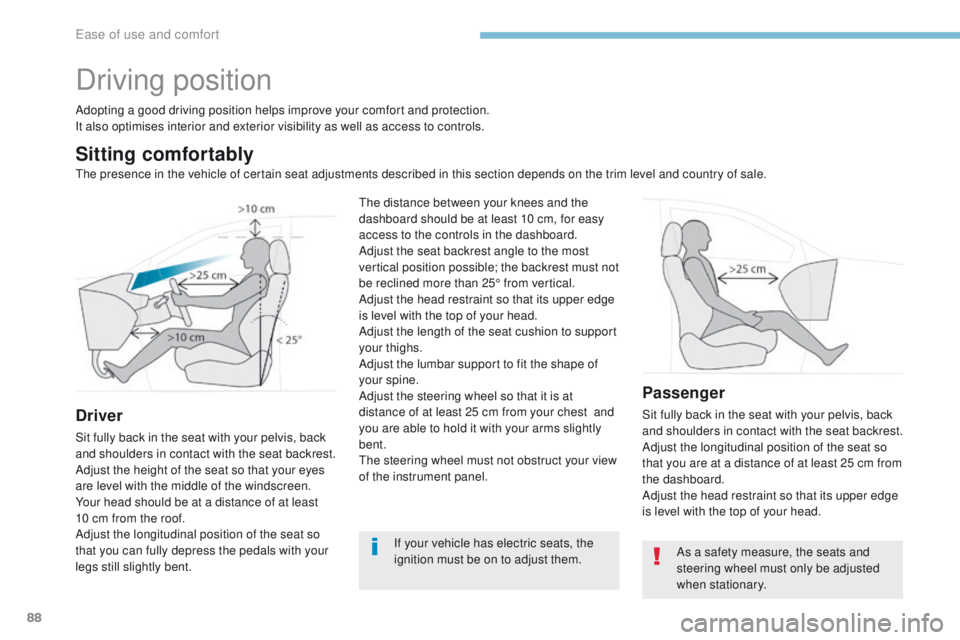
Driver
Sit fully back in the seat with your pelvis, back
and shoulders in contact with the seat backrest.
Adjust the height of the seat so that your eyes
are level with the middle of the windscreen.
Your head should be at a distance of at least
10 cm from the roof.
Adjust the longitudinal position of the seat so
that you can fully depress the pedals with your
legs still slightly bent.
Passenger
Sit fully back in the seat with your pelvis, back
and shoulders in contact with the seat backrest.
Adjust the longitudinal position of the seat so
that you are at a distance of at least 25 cm from
the dashboard.
Adjust the head restraint so that its upper edge
is level with the top of your head.
If your vehicle has electric seats, the
ignition must be on to adjust them.
The distance between your knees and the
dashboard should be at least 10 cm, for easy
access to the controls in the dashboard.
Adjust the seat backrest angle to the most
vertical position possible; the backrest must not
be reclined more than 25° from vertical.
Adjust the head restraint so that its upper edge
is level with the top of your head.
Adjust the length of the seat cushion to support
your thighs.
Adjust the lumbar support to fit the shape of
your spine.
Adjust the steering wheel so that it is at
distance of at least 25 cm from your chest
and
you are able to hold it with your arms slightly
bent.
The steering wheel must not obstruct your view
of the instrument panel.
As a safety measure, the seats and
steering wheel must only be adjusted
when stationary.
The presence in the vehicle of certain seat adjustments described in this section depends on the trim level and country of sale.
Ease of use and comfort
Page 143 of 566
141
3008-2_en_Chap04_eclairage-et-visibilite_ed01-2016
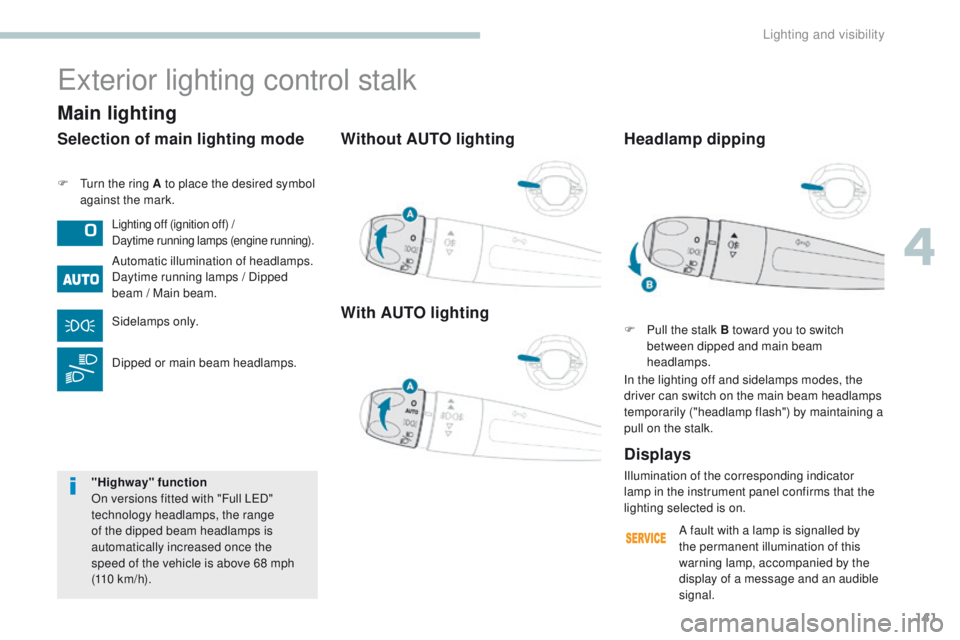
Without AUTO lighting
With AUTO lighting
F Turn the ring A to place the desired symbol against the mark.
Exterior lighting control stalk
Lighting off (ignition off) /
Daytime running lamps (engine running).
Automatic illumination of headlamps.
Daytime running lamps / Dipped
beam / Main beam.
Sidelamps only.
Dipped or main beam headlamps.
Displays
Selection of main lighting mode
Illumination of the corresponding indicator
lamp in the instrument panel confirms that the
lighting selected is on.
Headlamp dipping
F Pull the stalk B toward you to switch
between dipped and main beam
headlamps.
In the lighting off and sidelamps modes, the
driver can switch on the main beam headlamps
temporarily ("headlamp flash") by maintaining a
pull on the stalk.
Main lighting
"Highway" function
On versions fitted with "Full LED"
technology headlamps, the range
of the dipped beam headlamps is
automatically increased once the
speed of the vehicle is above 68 mph
(110
km/h). A fault with a lamp is signalled by
the permanent illumination of this
warning lamp, accompanied by the
display of a message and an audible
signal.
4
Lighting and visibility
Page 146 of 566
144
3008-2_en_Chap04_eclairage-et-visibilite_ed01-2016
Direction indicators
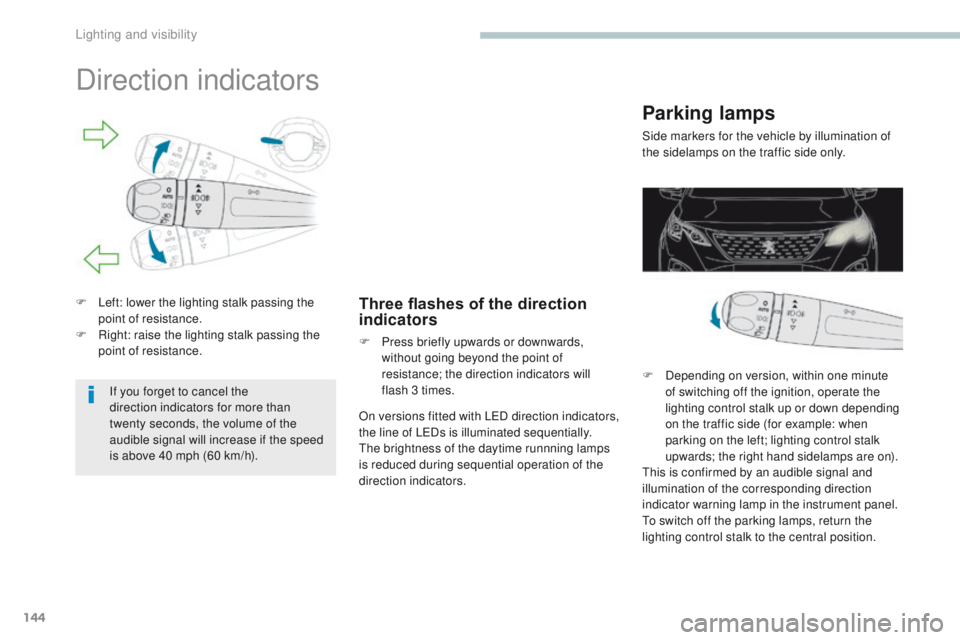
F Left: lower the lighting stalk passing the point of resistance.
F
R
ight: raise the lighting stalk passing the
point of resistance.Three flashes of the direction
indicators
F Press briefly upwards or downwards, without going beyond the point of
resistance; the direction indicators will
flash 3 times.
If you forget to cancel the
direction indicators for more than
twenty
seconds, the volume of the
audible signal will increase if the speed
is above 40 mph (60 km/h). On versions fitted with LED direction indicators,
the line of LEDs is illuminated sequentially.
The brightness of the daytime runnning lamps
is reduced during sequential operation of the
direction indicators.
Parking lamps
Side markers for the vehicle by illumination of
the sidelamps on the traffic side only.
F
D
epending on version, within one minute
of switching off the ignition, operate the
lighting control stalk up or down depending
on the traffic side (for example: when
parking on the left; lighting control stalk
upwards; the right hand sidelamps are on).
This is confirmed by an audible signal and
illumination of the corresponding direction
indicator warning lamp in the instrument panel.
To switch off the parking lamps, return the
lighting control stalk to the central position.
Lighting and visibility
Page 147 of 566
145
3008-2_en_Chap04_eclairage-et-visibilite_ed01-2016
Headlamp beam height adjustment
Automatic adjustment of
"Full LED" technology
headlamps
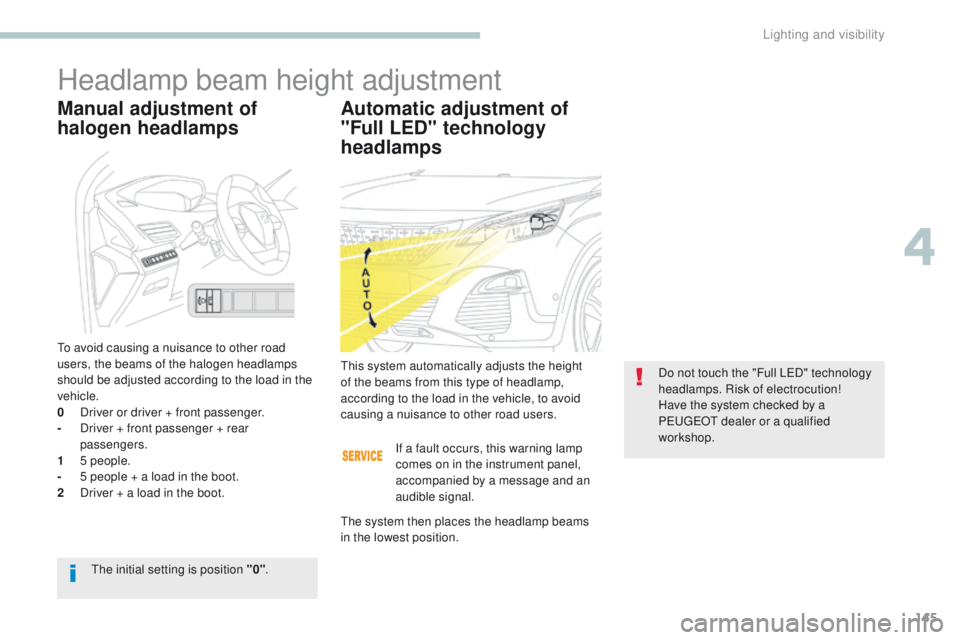
This system automatically adjusts the height
of the beams from this type of headlamp,
according to the load in the vehicle, to avoid
causing a nuisance to other road users.Do not touch the "Full LED" technology
headlamps. Risk of electrocution!
Have the system checked by a
PEUGEOT dealer or a qualified
workshop.
The initial setting is position "0" .
Manual adjustment of
halogen headlamps
To avoid causing a nuisance to other road
users, the beams of the halogen headlamps
should be adjusted according to the load in the
vehicle.
0
D
river or driver + front passenger.
-
D
river + front passenger + rear
passengers.
1
5
people.
-
5 p
eople + a load in the boot.
2
D
river + a load in the boot. If a fault occurs, this warning lamp
comes on in the instrument panel,
accompanied by a message and an
audible signal.
The system then places the headlamp beams
in the lowest position.
4
Lighting and visibility
Page 148 of 566
146
3008-2_en_Chap04_eclairage-et-visibilite_ed01-2016
Automatic guide-me-home
lighting
With the "Automatic illumination of headlamps"
function activated, under low ambient light, the
sidelamps, dipped beam headlamps and door
mirror spotlamps come on automatically when
the ignition is switched off.
Activation, deactivation and the duration of the
guide-me-home lighting are set in the vehicle
parameters menu in the screen.
Automatic illumination of headlamps
When a low level of ambient light is detected by a sunshine sensor, the number plate
lamps, sidelamps and dipped beam headlamps are switched on automatically, without any action
on the part of the driver. They can also come on if rain is detected, at the same time as automatic
operation of the windscreen wipers.
As soon as the brightness returns to a sufficient level or after the windscreen wipers are switched
off, the lamps are switched off automatically.
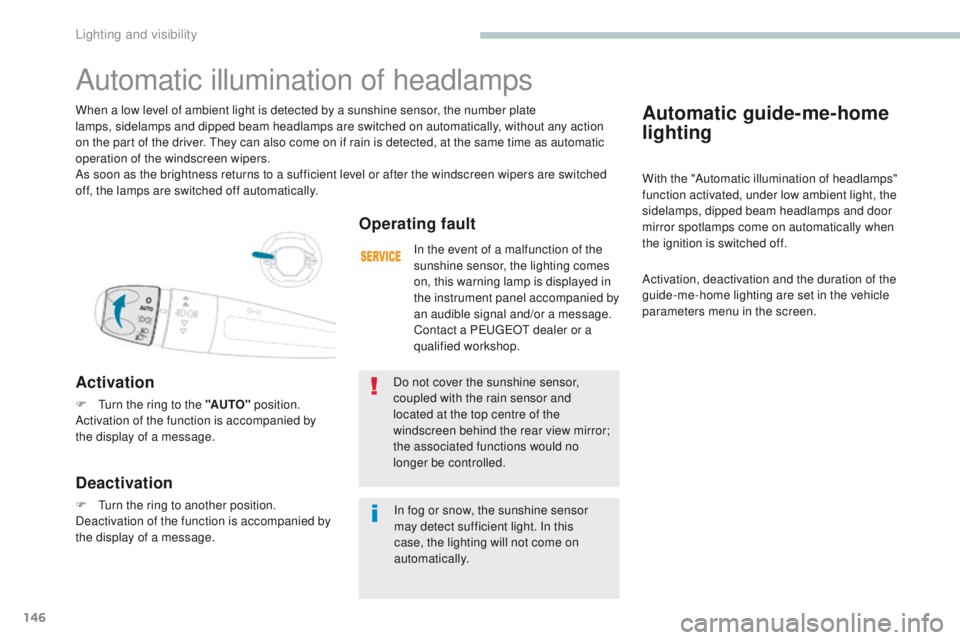
Activation
F Turn the ring to the "AUTO" position.
Activation of the function is accompanied by
the display of a message.
Operating fault
In the event of a malfunction of the
sunshine sensor, the lighting comes
on, this warning lamp is displayed in
the instrument panel accompanied by
an audible signal and/or a message.
Contact a PEUGEOT dealer or a
qualified workshop.
Do not cover the sunshine sensor,
coupled with the rain sensor and
located at the top centre of the
windscreen behind the rear view mirror;
the associated functions would no
longer be controlled.
Deactivation
F Turn the ring to another position.
Deactivation of the function is accompanied by
the display of a message. In fog or snow, the sunshine sensor
may detect sufficient light. In this
case, the lighting will not come on
automatically.
Lighting and visibility
Page 152 of 566
150
3008-2_en_Chap04_eclairage-et-visibilite_ed01-2016
Activation
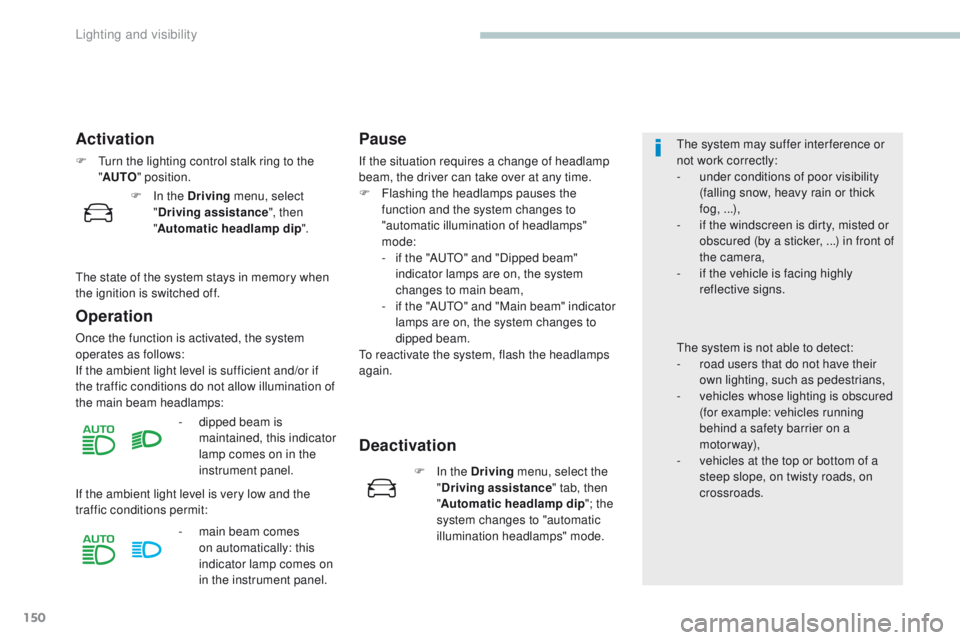
F Turn the lighting control stalk ring to the "AUTO " position.
Operation
Once the function is activated, the system
operates as follows:
If the ambient light level is sufficient and/or if
the traffic conditions do not allow illumination of
the main beam headlamps:
Pause
If the situation requires a change of headlamp
beam, the driver can take over at any time.
F
F
lashing the headlamps pauses the
function and the system changes to
"automatic illumination of headlamps"
mode:
-
i
f the "AUTO" and "Dipped beam"
indicator lamps are on, the system
changes to main beam,
-
i
f the "AUTO" and "Main beam" indicator
lamps are on, the system changes to
dipped beam.
To reactivate the system, flash the headlamps
again.
-
d
ipped beam is
maintained, this indicator
lamp comes on in the
instrument panel.
If the ambient light level is very low and the
traffic conditions permit: -
m
ain beam comes
on automatically: this
indicator lamp comes on
in the instrument panel.
Deactivation
The system may suffer interference or
not work correctly:
-
u
nder conditions of poor visibility
(falling snow, heavy rain or thick
fog, ...),
-
i
f the windscreen is dirty, misted or
obscured (by a sticker, ...) in front of
the camera,
-
i
f the vehicle is facing highly
reflective signs.
The system is not able to detect:
-
r
oad users that do not have their
own lighting, such as pedestrians,
-
v
ehicles whose lighting is obscured
(for example: vehicles running
behind a safety barrier on a
motorway),
-
v
ehicles at the top or bottom of a
steep slope, on twisty roads, on
crossroads.
F
I
n the Driving menu, select
" Driving assistance ", then
" Automatic headlamp dip ".
F
I
n the Driving menu, select the
" Driving assistance " tab, then
" Automatic headlamp dip "; the
system changes to "automatic
illumination headlamps" mode.
The state of the system stays in memory when
the ignition is switched off.
Lighting and visibility