Page 527 of 578

165
.
Audio and Telematics
Transversal-Peugeot_en_Chap03_RD6_ed01-2016
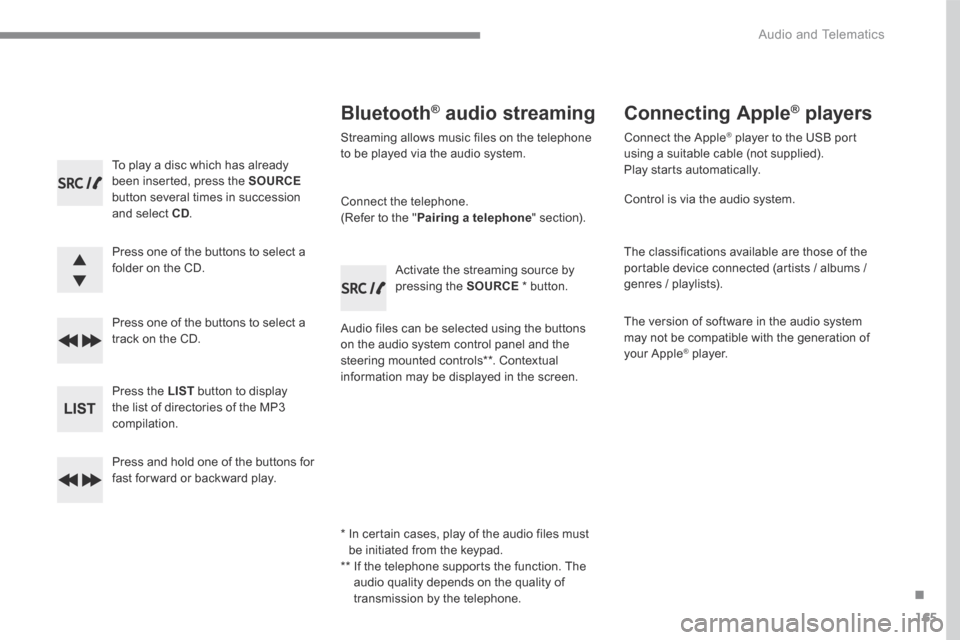
To play a disc which has already been inserted, press the SOURCEbutton several times in succession and select CD.
Press one of the buttons to select a folder on the CD.
Press one of the buttons to select a track on the CD.
Press the LIST button to display the list of directories of the MP3 compilation.
Press and hold one of the buttons for fast for ward or backward play.
Bluetooth ®Bluetooth ®Bluetooth audio streaming ® audio streaming ®
Streaming allows music files on the telephone to be played via the audio system.
Connect the telephone. (Refer to the " Pairing a telephone " section).
Audio files can be selected using the buttons on the audio system control panel and the steering mounted controls ** . Contextual information may be displayed in the screen.
Activate the streaming source by pressing the SOURCE * button.
Connecting Apple ®Connecting Apple ®Connecting Apple players ® players ®
Connect the Apple ® player to the USB port ® player to the USB port ®
using a suitable cable (not supplied). Play starts automatically.
Control is via the audio system.
The classifications available are those of the portable device connected (artists / albums / genres / playlists).
The version of software in the audio system may not be compatible with the generation of your Apple ® player. ® player. ®
* In certain cases, play of the audio files must be initiated from the keypad. ** If the telephone supports the function. The audio quality depends on the quality of transmission by the telephone.
Page 531 of 578

169
.
Audio and Telematics
Transversal-Peugeot_en_Chap03_RD6_ed01-2016
Receiving a call
An incoming call is announced by a ring and a superimposed display in the screen.
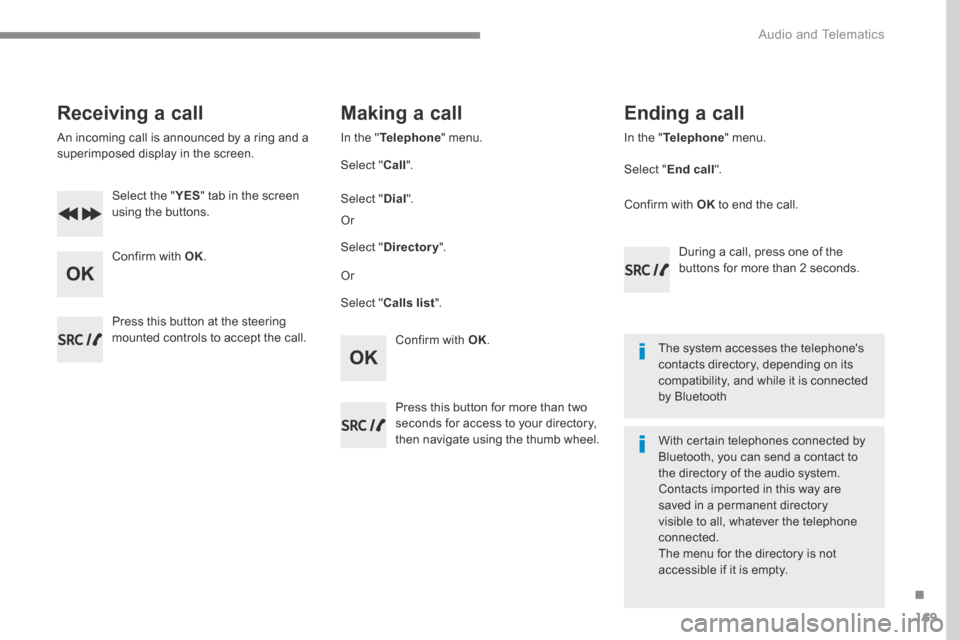
Select the " YES Select the " YES Select the " " tab in the screen using the buttons.
Confirm with OK .
Confirm with OK .
Press this button at the steering mounted controls to accept the call.
Making a call
In the " Telephone " menu.
Select " Call ".
Select " Calls list ".
Select " Dial ".
Or
Or
Select " Directory ".
Press this button for more than two seconds for access to your directory, then navigate using the thumb wheel.
In the " Telephone " menu.
Select " End call ".
Ending a call
During a call, press one of the buttons for more than 2 seconds.
Confirm with OK to end the call.
The system accesses the telephone's contacts directory, depending on its compatibility, and while it is connected by Bluetooth
With certain telephones connected by Bluetooth, you can send a contact to the directory of the audio system. Contacts imported in this way are saved in a permanent directory visible to all, whatever the telephone
connected. The menu for the directory is not accessible if it is empty.
Page 549 of 578

9
The programmable heating operates independently from the engine.
With the engine off, it preheats the coolant circuit to ensure optimal engine operating temperature
as soon as it is started up.
The programmable heating is switched on by the long range remote control. It may be immediate or
deferred thanks to a programming function.
Programmable heating
Always switch off the programmable heating when refuelling to avoid any risk of fire or
explosion.
The programmable heating is powered by the vehicle fuel tank. Before use, ensure that
the remaining quantity of fuel is sufficient. If the fuel tank is in its reser ve, we strongly
recommend you do not programme the heating.
To avoid the risks of intoxication or asphyxia, the programmable heating must not be used,
even for short periods, in a closed environment such as a garage or workshop which are not
equipped with an exhaust gas extraction system.
Do not park the vehicle on a flammable sur face (dry grass, dead leaves, paper, etc.) - risk of
fire!
The volumetric alarm movement detector
may be disrupted by the programmable
heating air flows when it is operating.
To avoid any untimely triggering of the
alarm when using the programmable
heating, it is advisable that the volumetric
monitoring is deactivated. Adapting the programmable heating
enables you to use it to preheat the
passenger compartment of your vehicle.
Contact a PEUGEOT dealer or a qualified
workshop.
Presentation
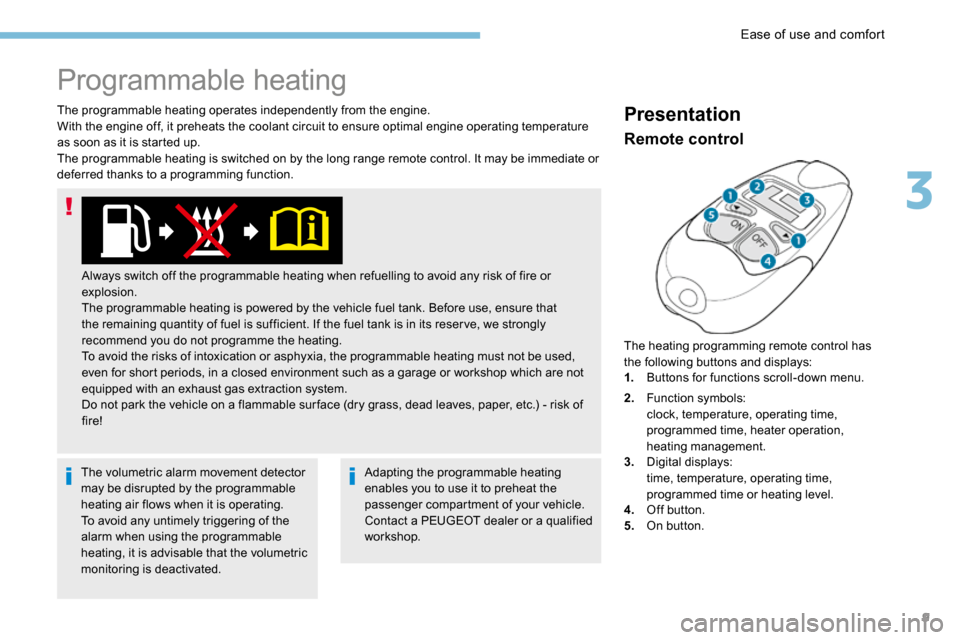
The heating programming remote control has
the following buttons and displays:
1.
Buttons for functions scroll-down menu.
Remote control
2.Function symbols:
clock, temperature, operating time,
programmed time, heater operation,
heating management.
3. Digital displays:
time, temperature, operating time,
programmed time or heating level.
4. Off button.
5. On button.
3
Ease of use and comfort
Page 550 of 578
10
lit up: deferred programmed start-up.
flashing: heating on.
turned off: heating off.
Operating indicator light
F Press button 1 several times to display the
functions.
The first press on the left or right button
displays the time.
Then, the left button is used to scroll to the
programmed time then the heating level (" C1"
to " C5").
The right button is used to scroll to the
passenger compartment temperature then
the heater operating time when immediately
switched on.
Function display
The passenger compartment temperature
information is only available when the
engine is off.
Setting the time
F After having displayed the time, using
button 1 , press on buttons 4 and 5
simultaneously within 10 seconds.
This symbol will flash.
F Set the time with button 1 .
F Press simultaneously on buttons 4 and 5 to
save it.
This symbol will be displayed.
Ease of use and comfort
Page 551 of 578
11
Immediate switching on
During these operations, if the message
"FA I L " appears, it means that the signal
has not been received. Follow the
procedure again after having changed
position.
Adjusting the operating time
F Press on button 1 to display the operating
time
F
Press on button 5 until the message " OK"
appears.
When the signal has been received, the
message " OK" is displayed along with the
operating time.
The heater starts and this symbol is
displayed.
This indicator light flashes during
heating.
F To deactivate the function, press on button
4 until the message " OK" appears. This symbol and the indicator light
will turn off.
This symbol will be displayed.
F After having displayed the operating time,
press on buttons 4 and 5 simultaneously
within 10 seconds.
This symbol will flash.
F Adjust the time by pressing on the buttons
1: by 10 min increment and maximum value
of 30 mins.
3
Ease of use and comfort
Page 552 of 578
12
Deferred switching on
You must programme your start time for the
system to automatically calculate the optimal
time to start the heater.
This symbol will be displayed.
F After having displayed the programming
time, press on buttons 4 and 5
simultaneously within 10 seconds.
The factory value setting is 30 minutes.
F Set the time by pressing on button 1 .
F Press simultaneously on buttons 4 and 5 to
save it.
This symbol will be displayed.
F
Press on button 1 to display the
programming time.
This symbol will be displayed.
This symbol will flash.Programming the start timeF Press simultaneously on buttons 4 and 5 to
save the operating time.
Ease of use and comfort
Page 553 of 578

13
F After having displayed the programming
time using button 1 , press on button 5 until
the message " OK" appears.
Activation / Deactivation
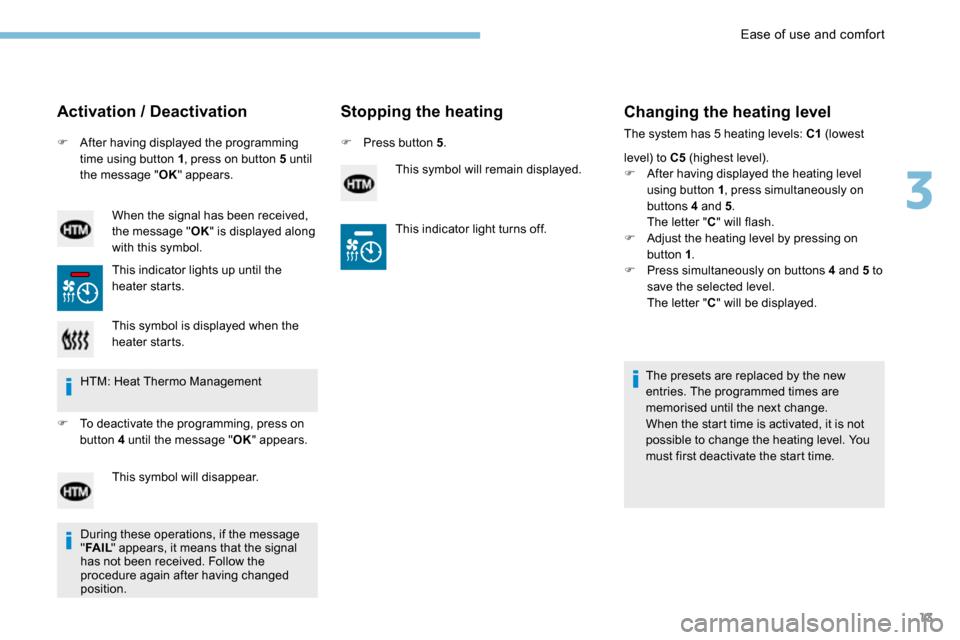
When the signal has been received,
the message " OK" is displayed along
with this symbol.
This indicator lights up until the
heater starts.
Stopping the heating
F Press button 5 .
This symbol will remain displayed.
Changing the heating level
The system has 5 heating levels: C1 (lowest
level) to C5 (highest level).
F After having displayed the heating level
using button 1 , press simultaneously on
buttons 4 and 5 .
The letter " C" will flash.
F Adjust the heating level by pressing on
button 1 .
F Press simultaneously on buttons 4 and 5 to
save the selected level.
The letter " C" will be displayed.
The presets are replaced by the new
entries. The programmed times are
memorised until the next change.
When the start time is activated, it is not
possible to change the heating level. You
must first deactivate the start time.
This symbol is displayed when the
heater starts.
HTM: Heat Thermo Management
F To deactivate the programming, press on
button 4 until the message " OK" appears.
This symbol will disappear. This indicator light turns off.
During these operations, if the message
" FA I L " appears, it means that the signal
has not been received. Follow the
procedure again after having changed
position.
3
Ease of use and comfort