Page 542 of 578
2
Driver's cab
Digital instrument panel 12-15
Warning lamps 16-31
Indicators 32- 40
Control knobs 40 - 42
- Daily odometer/CHECK
- Dimmer control/ambient lighting
Outside mirrors 99-100
Window winder 82-83
Changing / Replacing a fuse 331
Opening the bonnet 294
Privacy drape / Sunroof
84- 87
Ceiling lights 128
Ambient lighting 129
Emergency or assistance call 158-159
Belt indicator display /
front passenger airbag 169 -170, 174
Inside mirror 101
Manual gearbox 210
Automatic gearbox 211-215
Electric parking brake 203-209
Touch screen
48 -53
Function i- Cockpit Amplify 102-103
Distress signal 157
Heating / Ventilation 104-105
Monozone semi-
automatic air conditioning 108 -110
Bizone automatic air conditioning 111-115
Front demisting/defrosting 116
Rear demisting/defrosting 118
Heated seats 97
Intruder detection alarm/
Starting with knob START/STOP
200 -202
Advanced Grip Control 164-165
Hill Assist Descent Control 166 -167
Over view
Page 543 of 578
3
Driver's cab
Embedded command steering
wheel
Lighting c ontrols 141-14 4, 14 6 -15 0
Speed memorisation 226
Speed limit recognition 227-230
Speed limiting device 231-233
Speed regulator 234-237
Dynamic cruise control
with Stop function 238-246
Steering wheel adjustment 99 Wiper c ontrols
152-15 5
Trip computer 43 - 44
Dynamic pack 217
Hor n 157
Lateral control barUnlocking system -
Opening/closing of the
hands free hatchback 76 - 81
Programmable heating Addition
Headlamp main beam setting 145
Interior monitoring alarm 70-73
Childproof locks 194
.
Over view
Page 547 of 578

7
Reinitialising the motorised
tailgate
This operation is necessary where there is
no movement - after detection of an obstacle,
connecting or recharging the battery, etc.
F Open the tailgate manually, if necessary.
F Fully close the tailgate manually.
If the problem persists, contact a PEUGEOT
dealer or a qualified workshop.
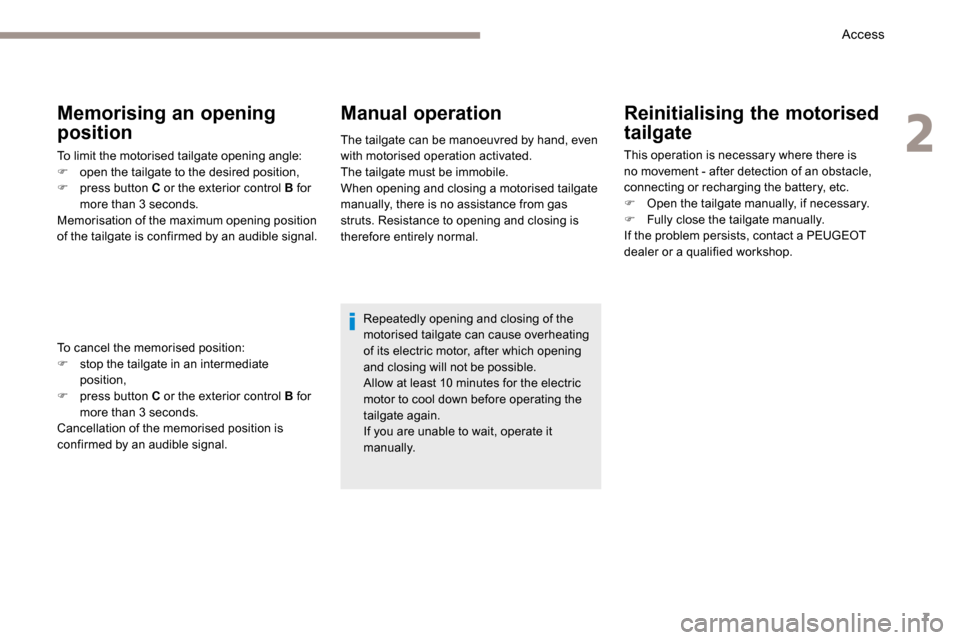
Memorising an opening
position
To limit the motorised tailgate opening angle:
F open the tailgate to the desired position,
F press button C or the exterior control B for
more than 3 seconds.
Memorisation of the maximum opening position
of the tailgate is confirmed by an audible signal.
Manual operation
The tailgate can be manoeuvred by hand, even
with motorised operation activated.
The tailgate must be immobile.
When opening and closing a motorised tailgate
manually, there is no assistance from gas
struts. Resistance to opening and closing is
therefore entirely normal.
Repeatedly opening and closing of the
motorised tailgate can cause overheating
of its electric motor, after which opening
and closing will not be possible.
Allow at least 10 minutes for the electric
motor to cool down before operating the
tailgate again.
If you are unable to wait, operate it
manually.
To cancel the memorised position:
F
stop the tailgate in an intermediate
position,
F press button C or the exterior control B for
more than 3 seconds.
Cancellation of the memorised position is
confirmed by an audible signal.
2
Access
Page 548 of 578

8
Precautions in use
In wintry conditions
In the event of an accumulation of snow
on the tailgate, clear the snow before
commanding a motorised opening of the
tailgate.
The formation of ice can block the tailgate
and prevent its opening: wait until the ice
melts with the heating of the passenger
compartment.When washing
When washing the vehicle in an automatic
car wash, don't forget to lock your vehicle
to avoid the risk of unexpected opening.
Recommendations related to the "Hands-Free Tailgate
Access" function
If several kicking movements to operate the
tailgate have no effect, wait a few seconds
before trying again.
The function automatically deactivates in heavy
rain or following a build-up of snow.
If it does not work, check that the electronic key
is not exposed to a source of electromagnetic
pollution (smartphone etc.).
The function may not work correctly with a
prosthetic leg.
The function may not work correctly if your
vehicle is fitted with a towbar. In some circumstances, the tailgate may open
or close by itself, particularly if:
-
you hitch or unhitch a trailer,
- you fit or remove a bicycle carrier,
- you load or unload bicycles from a bicycle
c a r r i e r,
- you place or lift something behind the
vehicle,
- an animal approaches the rear bumper,
- you are washing your vehicle,
- your vehicle is being serviced,
- you are accessing the spare wheel
(depending on version).
To avoid such operating problems, keep the
electronic key away from the sensor zone or
deactivate the "Hands-Free Tailgate Access"
function.
Access
Page 549 of 578

9
The programmable heating operates independently from the engine.
With the engine off, it preheats the coolant circuit to ensure optimal engine operating temperature
as soon as it is started up.
The programmable heating is switched on by the long range remote control. It may be immediate or
deferred thanks to a programming function.
Programmable heating
Always switch off the programmable heating when refuelling to avoid any risk of fire or
explosion.
The programmable heating is powered by the vehicle fuel tank. Before use, ensure that
the remaining quantity of fuel is sufficient. If the fuel tank is in its reser ve, we strongly
recommend you do not programme the heating.
To avoid the risks of intoxication or asphyxia, the programmable heating must not be used,
even for short periods, in a closed environment such as a garage or workshop which are not
equipped with an exhaust gas extraction system.
Do not park the vehicle on a flammable sur face (dry grass, dead leaves, paper, etc.) - risk of
fire!
The volumetric alarm movement detector
may be disrupted by the programmable
heating air flows when it is operating.
To avoid any untimely triggering of the
alarm when using the programmable
heating, it is advisable that the volumetric
monitoring is deactivated. Adapting the programmable heating
enables you to use it to preheat the
passenger compartment of your vehicle.
Contact a PEUGEOT dealer or a qualified
workshop.
Presentation
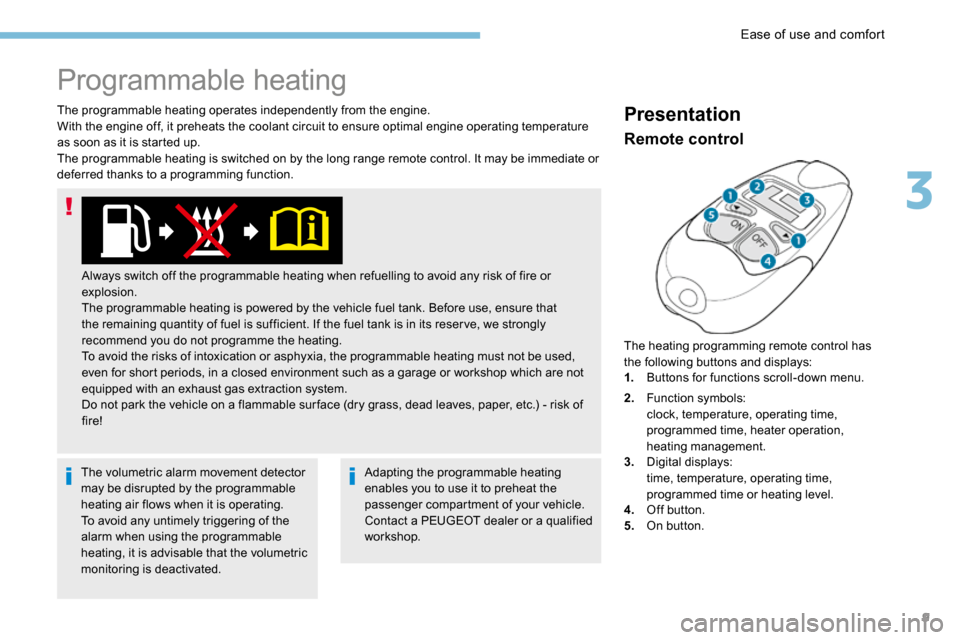
The heating programming remote control has
the following buttons and displays:
1.
Buttons for functions scroll-down menu.
Remote control
2.Function symbols:
clock, temperature, operating time,
programmed time, heater operation,
heating management.
3. Digital displays:
time, temperature, operating time,
programmed time or heating level.
4. Off button.
5. On button.
3
Ease of use and comfort
Page 550 of 578
10
lit up: deferred programmed start-up.
flashing: heating on.
turned off: heating off.
Operating indicator light
F Press button 1 several times to display the
functions.
The first press on the left or right button
displays the time.
Then, the left button is used to scroll to the
programmed time then the heating level (" C1"
to " C5").
The right button is used to scroll to the
passenger compartment temperature then
the heater operating time when immediately
switched on.
Function display
The passenger compartment temperature
information is only available when the
engine is off.
Setting the time
F After having displayed the time, using
button 1 , press on buttons 4 and 5
simultaneously within 10 seconds.
This symbol will flash.
F Set the time with button 1 .
F Press simultaneously on buttons 4 and 5 to
save it.
This symbol will be displayed.
Ease of use and comfort
Page 551 of 578
11
Immediate switching on
During these operations, if the message
"FA I L " appears, it means that the signal
has not been received. Follow the
procedure again after having changed
position.
Adjusting the operating time
F Press on button 1 to display the operating
time
F
Press on button 5 until the message " OK"
appears.
When the signal has been received, the
message " OK" is displayed along with the
operating time.
The heater starts and this symbol is
displayed.
This indicator light flashes during
heating.
F To deactivate the function, press on button
4 until the message " OK" appears. This symbol and the indicator light
will turn off.
This symbol will be displayed.
F After having displayed the operating time,
press on buttons 4 and 5 simultaneously
within 10 seconds.
This symbol will flash.
F Adjust the time by pressing on the buttons
1: by 10 min increment and maximum value
of 30 mins.
3
Ease of use and comfort
Page 553 of 578

13
F After having displayed the programming
time using button 1 , press on button 5 until
the message " OK" appears.
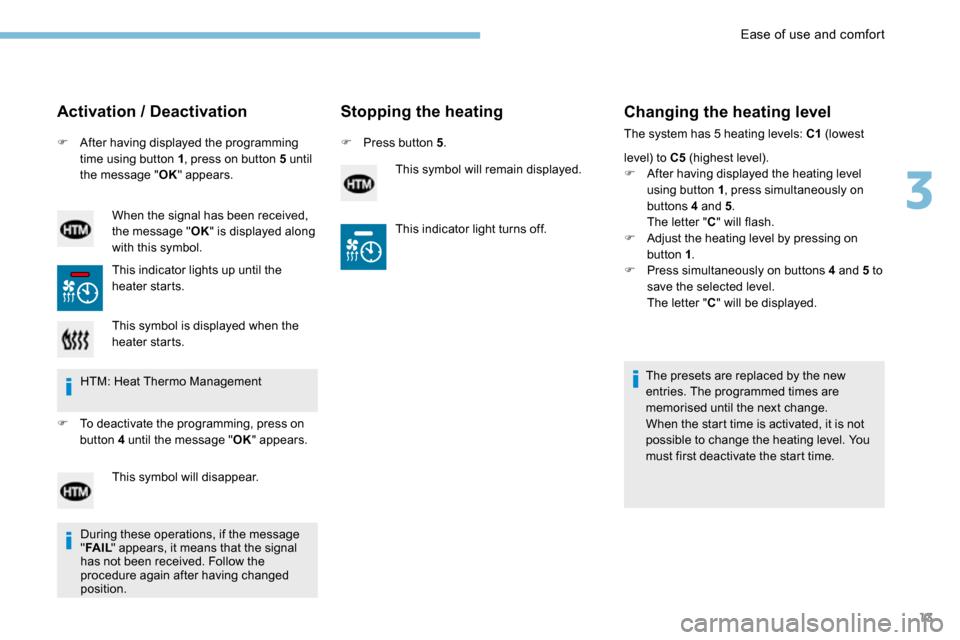
Activation / Deactivation
When the signal has been received,
the message " OK" is displayed along
with this symbol.
This indicator lights up until the
heater starts.
Stopping the heating
F Press button 5 .
This symbol will remain displayed.
Changing the heating level
The system has 5 heating levels: C1 (lowest
level) to C5 (highest level).
F After having displayed the heating level
using button 1 , press simultaneously on
buttons 4 and 5 .
The letter " C" will flash.
F Adjust the heating level by pressing on
button 1 .
F Press simultaneously on buttons 4 and 5 to
save the selected level.
The letter " C" will be displayed.
The presets are replaced by the new
entries. The programmed times are
memorised until the next change.
When the start time is activated, it is not
possible to change the heating level. You
must first deactivate the start time.
This symbol is displayed when the
heater starts.
HTM: Heat Thermo Management
F To deactivate the programming, press on
button 4 until the message " OK" appears.
This symbol will disappear. This indicator light turns off.
During these operations, if the message
" FA I L " appears, it means that the signal
has not been received. Follow the
procedure again after having changed
position.
3
Ease of use and comfort