2017 NISSAN TITAN parking brake
[x] Cancel search: parking brakePage 383 of 671
When adding air to an under-inflated tire, the TPMS
with Easy Fill Tire Alert provides visual and audible
signals outside the vehicle to help you inflate the
tires to the recommended COLD tire pressure.
Vehicle set-up1. Park the vehicle in a safe and level place.
2. Apply the parking brake and place the shift lever to the P (Park) position.
3. Place the ignition switch to the ON position. Do not start the engine.
Operation 1. Add air to the tire.
2. After a few seconds, the hazard indicators will start flashing.
3. When the designated pressure is reached, the horn beeps once and the hazard indica-
tors stop flashing.
4. Perform the above steps for each tire. ●If the tire is over-inflated more than ap-
proximately 4 psi (30 kPa) , the horn
beeps and the hazard indicators flash
three times. To correct the pressure, push
the core of the valve stem on the tire
briefly to release pressure. When the
pressure reaches the designated pres-
sure, the horn beeps once. ●
If the hazard indicator does not flash
within approximately 15 seconds after
starting to inflate the tire, it indicates that
the Easy Fill Tire Alert is not operating.
● The TPMS will not activate the Easy Fill
Tire Alert under the following conditions:
– If there is interference from an external device or transmitter.
– The air pressure from the inflation device is not sufficient to inflate the tire.
– There is a malfunction in the TPMS sys- tem.
– There is a malfunction in the horn or haz- ard indicators.
– The identification code of the tires pres- sure sensor is not registered to the sys-
tem.
– The battery of the tire pressure sensor is low.
● If the Easy Fill Tire Alert does not operate
due to TPMS interference, move the ve-
hicle about 3 ft (1 m) backward or forward
and try again.
If the Easy Fill Tire Alert is not working, use a tire
pressure gauge.
ON-PAVEMENT AND OFF-ROAD
DRIVING PRECAUTIONS
Utility vehicles have a significantly higher
rollover rate than other types of vehicles.
They have higher ground clearance than passen-
ger cars to make them capable of performing in a
variety of on-pavement and off-road applications.
This gives them a higher center of gravity than
ordinary vehicles. An advantage of higher ground
clearance is a better view of the road, allowing
you to anticipate problems. However, they are not
designed for cornering at the same speeds as
conventional 2-wheel drive vehicles any more
than low-slung sports cars are designed to per-
form satisfactorily under off-road conditions. If at
all possible, avoid sharp turns at high speeds. As
with other vehicles of this type, failure to operate
this vehicle correctly may result in loss of control
or vehicle rollover. In a rollover crash, an unbelted
person is significantly more likely to die than a
person wearing a seat belt.
For additional information, refer to “Driving safety
precautions” in this section.
5-6Starting and driving
Page 387 of 671
●If at all possible, avoid sharp turning
maneuvers, particularly at high speeds.
Your NISSAN 4-wheel drive vehicle has
a higher center of gravity than a passen-
ger car. The vehicle is not designed for
cornering at the same speeds as pas-
senger cars. Failure to operate this ve-
hicle correctly could result in loss of
control and/or a rollover accident.
● Always use tires of the same type, size,
brand, construction (bias, bias-belted,
or radial) , and tread pattern on all four
wheels. Install tire chains on the rear
wheels when driving on slippery roads
and drive carefully.
● Be sure to check the brakes immedi-
ately after driving in mud or water. For
additional information, refer to “Wet
brakes” in this section.
● Avoid parking your vehicle on steep
hills. If you get out of the vehicle and it
rolls forward, backward or sideways,
you could be injured. ●
Whenever you drive off-road through
sand, mud or water as deep as the
wheel hub, more frequent maintenance
may be required. For additional infor-
mation, refer to “Maintenance sched-
ules” in the “Maintenance and sched-
ules” section of this manual.
WARNING
Do not operate the push-button ignition
switch while driving the vehicle except in
an emergency. (The engine will stop when
the ignition switch is pushed three con-
secutive times in quick succession or the
ignition switch is pushed and held for
more than 2 seconds.) If the engine stops
while the vehicle is being driven, this
could lead to a crash and serious injury
LSD2014
PUSH-BUTTON IGNITION SWITCH
5-10Starting and driving
Page 391 of 671
NISSAN VEHICLE IMMOBILIZER
SYSTEM
The NISSAN Vehicle Immobilizer System will not
allow the engine to start without the use of the
registered key.
If the engine fails to start using a registered key
(for example, when interference is caused by
another registered key, an automated toll road
device or automatic payment device on the key
ring) , restart the engine using the following pro-
cedures:1. Leave the ignition switch in the ON position for approximately 5 seconds.
2. Turn the ignition switch to the OFF or LOCK position, and wait approximately 10 sec-
onds.
3. Repeat steps 1 and 2.
4. Restart the engine while holding the device (which may have caused the interference)
separate from the registered key.
If the no start condition re-occurs, NISSAN rec-
ommends placing the registered key on a sepa-
rate key ring to avoid interference from other
devices. ●
Make sure the area around the vehicle is
clear.
● Check fluid levels such as engine oil, cool-
ant, brake fluid, DEF (Diesel only) and
windshield-washer fluid as frequently as
possible, or at least whenever you refuel.
● Check that all windows and lights are clean.
● Visually inspect tires for their appearance
and condition. Also check tires for proper
inflation.
● Check that all doors are closed.
● Position seat and adjust head
restraints/headrests.
● Adjust inside and outside mirrors.
● Fasten seat belts and ask all passengers to
do likewise.
● Check the operation of warning lights when
the ignition switch is placed in the ON posi-
tion. For additional information, refer to
“Warning lights, indicator lights and audible
reminders” in the “Instruments and controls”
section of this manual. 1. Apply the parking brake.
2. Move the shift lever to P (Park) or N (Neu-
tral) . P (Park) is recommended.
The starter is designed not to operate
unless the shift lever is in either P
(Park) or N (Neutral) .
3. Push the ignition switch to the ON position. Depress the brake pedal and push the igni-
tion switch to start the engine.
To start the engine immediately, push and
release the ignition switch while depressing
the brake pedal with the ignition switch in
any position.
● If the engine is very hard to start in ex-
tremely cold weather or when restarting,
depress the accelerator pedal a little (ap-
proximately 1/3 to the floor) and while
holding, crank the engine. Release the
accelerator pedal when the engine starts.
● If the engine is very hard to start because
it is flooded, depress the accelerator
pedal all the way to the floor and hold it.
Push the ignition switch to the ON posi-
tion to start cranking the engine. After five
or six seconds, stop cranking by pushing
the ignition switch to LOCK. After crank-
ing the engine, release the accelerator
pedal. Crank the engine with your foot off
BEFORE STARTING THE ENGINE STARTING THE ENGINE (gasoline engine only)
5-14Starting and driving
Page 395 of 671
CAUTION
To avoid possible damage to your vehicle,
when stopping the vehicle on an uphill
grade, do not hold the vehicle by depress-
ing the accelerator pedal. The foot brake
should be used for this purpose1. After starting the engine, fully depress the foot brake pedal before moving the shift
lever out of the P (Park) position.
2. Keep the foot brake pedal depressed and move the shift lever into a driving gear.
3. Release the foot brake, then gradually start the vehicle in motion.
The automatic transmission is designed so
the foot brake pedal MUST be depressed
before shifting from P (Park) to any drive
position while the ignition switch is in the
ON position.
The shift lever cannot be moved out of the
P (Park) position and into any of the other
gear positions if the ignition switch is
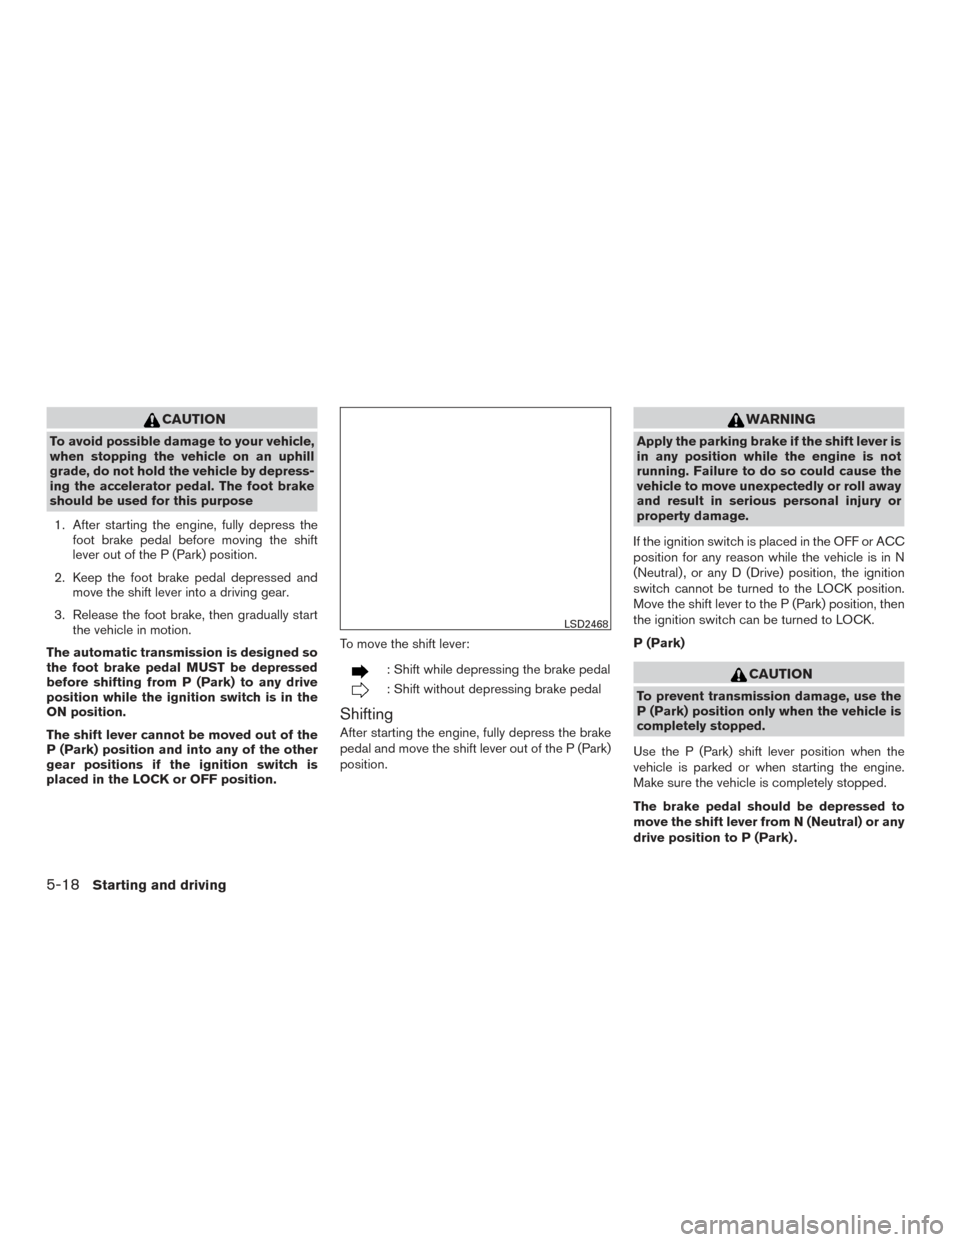
placed in the LOCK or OFF position. To move the shift lever:
: Shift while depressing the brake pedal
: Shift without depressing brake pedal
Shifting
After starting the engine, fully depress the brake
pedal and move the shift lever out of the P (Park)
position.
WARNING
Apply the parking brake if the shift lever is
in any position while the engine is not
running. Failure to do so could cause the
vehicle to move unexpectedly or roll away
and result in serious personal injury or
property damage.
If the ignition switch is placed in the OFF or ACC
position for any reason while the vehicle is in N
(Neutral) , or any D (Drive) position, the ignition
switch cannot be turned to the LOCK position.
Move the shift lever to the P (Park) position, then
the ignition switch can be turned to LOCK.
P (Park)
CAUTION
To prevent transmission damage, use the
P (Park) position only when the vehicle is
completely stopped.
Use the P (Park) shift lever position when the
vehicle is parked or when starting the engine.
Make sure the vehicle is completely stopped.
The brake pedal should be depressed to
move the shift lever from N (Neutral) or any
drive position to P (Park) .
LSD2468
5-18Starting and driving
Page 396 of 671
Apply the parking brake. When parking on a hill,
apply the parking brake first, then move the shift
lever into the P (Park) position.
R (Reverse)
CAUTION
To prevent transmission damage, use the
R (Reverse) position only when the vehicle
is completely stopped.
Use the R (Reverse) position to back up. Make
sure the vehicle is completely stopped before
selecting the R (Reverse) position. The brake
pedal must be depressed to move the shift
lever from P (Park) , N (Neutral) or any drive
position to R (Reverse) .
N (Neutral)
Neither forward nor reverse gear is engaged. The
engine can be started in this position. You may
shift to N (Neutral) and restart a stalled engine
while the vehicle is moving.
D (Drive)
Use this position for all normal forward driving.
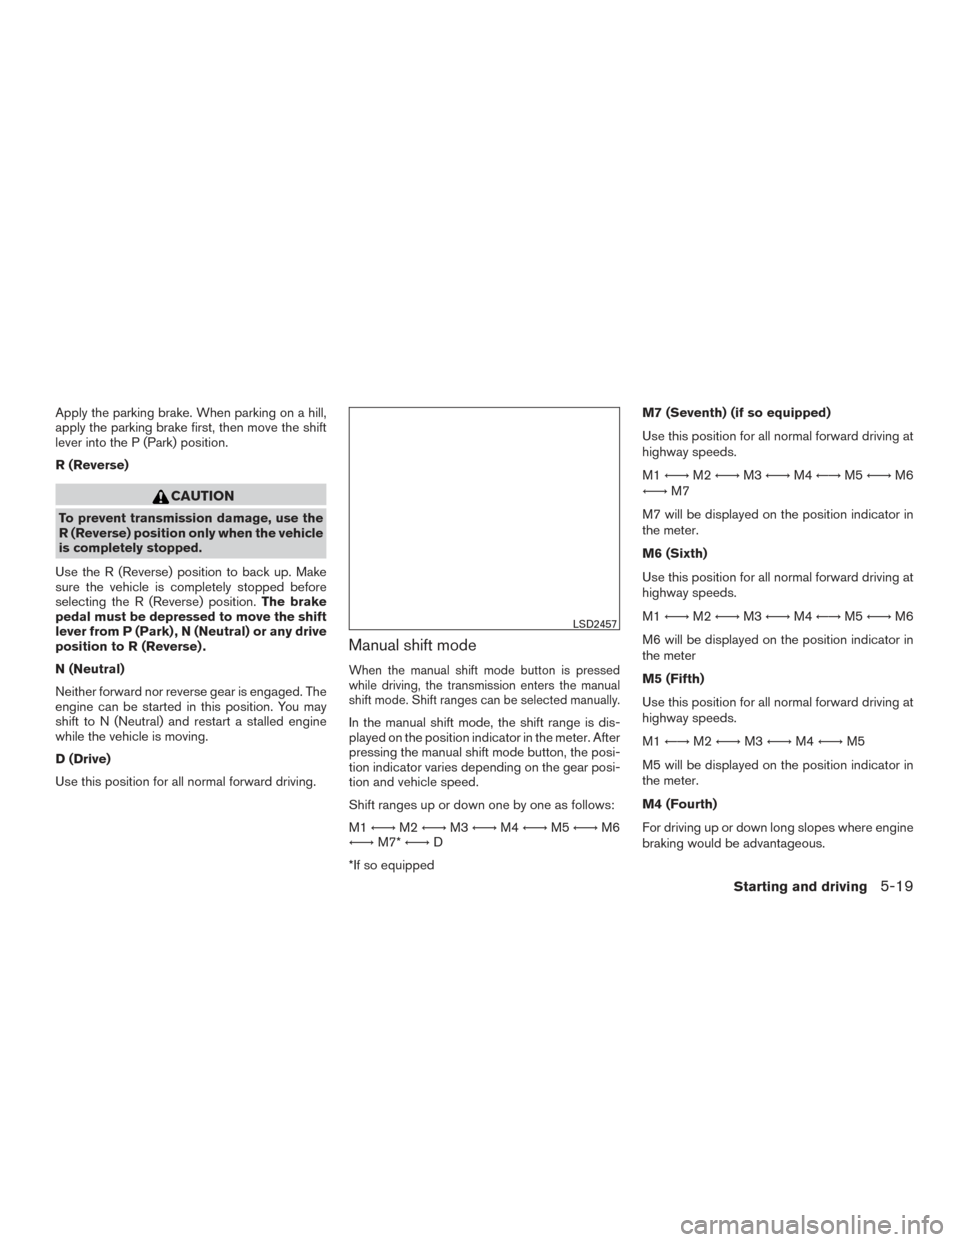
Manual shift mode
When the manual shift mode button is pressed
while driving, the transmission enters the manual
shift mode. Shift ranges can be selected manually.
In the manual shift mode, the shift range is dis-
played on the position indicator in the meter. After
pressing the manual shift mode button, the posi-
tion indicator varies depending on the gear posi-
tion and vehicle speed.
Shift ranges up or down one by one as follows:
M1 ←→ M2←→ M3←→ M4←→ M5←→ M6
←→ M7*←→ D
*If so equipped M7 (Seventh) (if so equipped)
Use this position for all normal forward driving at
highway speeds.
M1
←→ M2←→ M3←→ M4←→ M5←→ M6
←→ M7
M7 will be displayed on the position indicator in
the meter.
M6 (Sixth)
Use this position for all normal forward driving at
highway speeds.
M1 ←→ M2←→ M3←→ M4←→ M5←→ M6
M6 will be displayed on the position indicator in
the meter
M5 (Fifth)
Use this position for all normal forward driving at
highway speeds.
M1 ←→ M2←→ M3←→ M4←→ M5
M5 will be displayed on the position indicator in
the meter.
M4 (Fourth)
For driving up or down long slopes where engine
braking would be advantageous.
LSD2457
Starting and driving5-19
Page 398 of 671
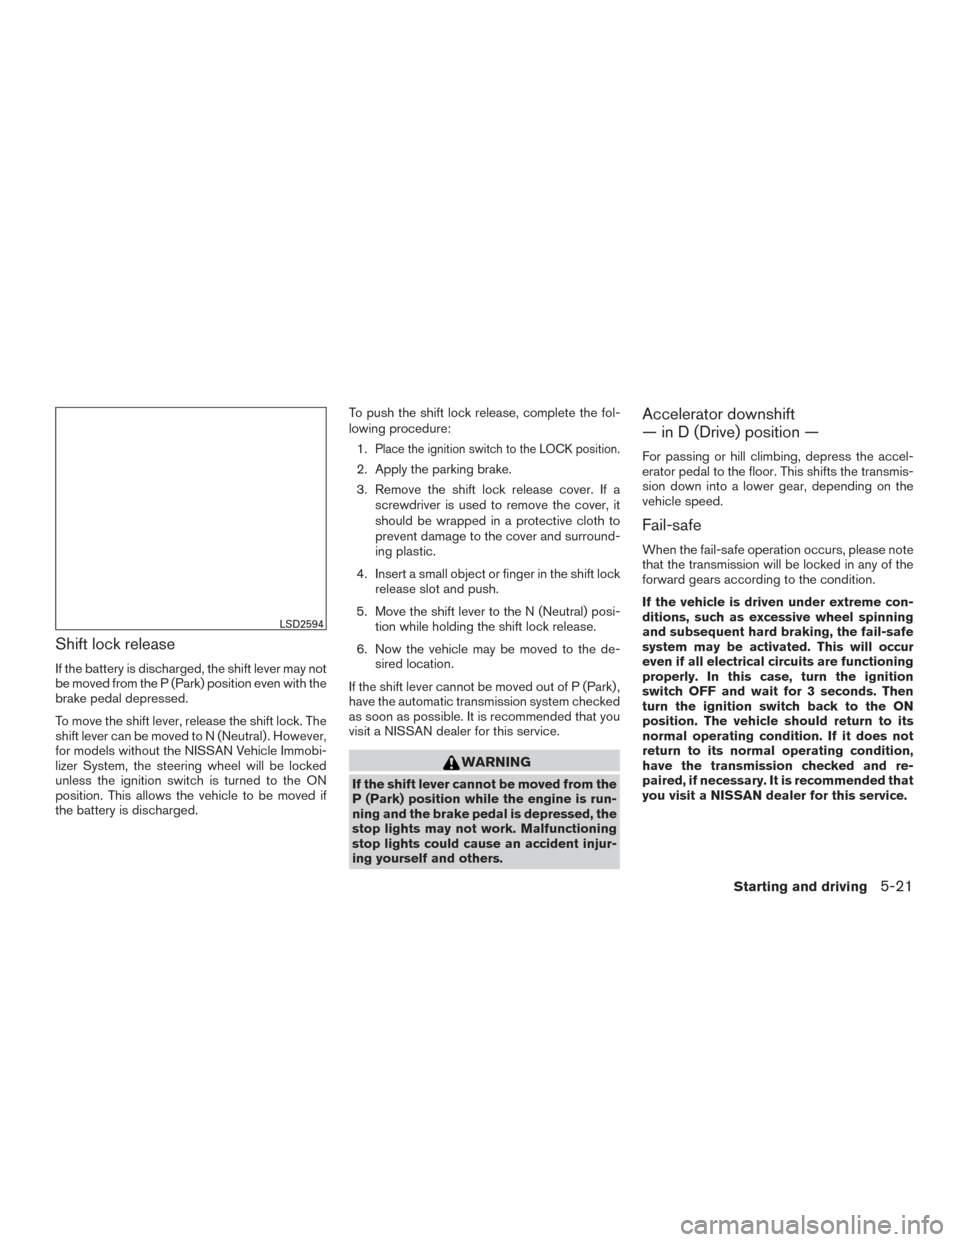
Shift lock release
If the battery is discharged, the shift lever may not
be moved from the P (Park) position even with the
brake pedal depressed.
To move the shift lever, release the shift lock. The
shift lever can be moved to N (Neutral) . However,
for models without the NISSAN Vehicle Immobi-
lizer System, the steering wheel will be locked
unless the ignition switch is turned to the ON
position. This allows the vehicle to be moved if
the battery is discharged.To push the shift lock release, complete the fol-
lowing procedure:
1.
Place the ignition switch to the LOCK position.
2. Apply the parking brake.
3. Remove the shift lock release cover. If a screwdriver is used to remove the cover, it
should be wrapped in a protective cloth to
prevent damage to the cover and surround-
ing plastic.
4. Insert a small object or finger in the shift lock release slot and push.
5. Move the shift lever to the N (Neutral) posi- tion while holding the shift lock release.
6. Now the vehicle may be moved to the de- sired location.
If the shift lever cannot be moved out of P (Park) ,
have the automatic transmission system checked
as soon as possible. It is recommended that you
visit a NISSAN dealer for this service.
WARNING
If the shift lever cannot be moved from the
P (Park) position while the engine is run-
ning and the brake pedal is depressed, the
stop lights may not work. Malfunctioning
stop lights could cause an accident injur-
ing yourself and others.
Accelerator downshift
— in D (Drive) position —
For passing or hill climbing, depress the accel-
erator pedal to the floor. This shifts the transmis-
sion down into a lower gear, depending on the
vehicle speed.
Fail-safe
When the fail-safe operation occurs, please note
that the transmission will be locked in any of the
forward gears according to the condition.
If the vehicle is driven under extreme con-
ditions, such as excessive wheel spinning
and subsequent hard braking, the fail-safe
system may be activated. This will occur
even if all electrical circuits are functioning
properly. In this case, turn the ignition
switch OFF and wait for 3 seconds. Then
turn the ignition switch back to the ON
position. The vehicle should return to its
normal operating condition. If it does not
return to its normal operating condition,
have the transmission checked and re-
paired, if necessary. It is recommended that
you visit a NISSAN dealer for this service.
LSD2594
Starting and driving5-21
Page 399 of 671
WARNING
●Be sure the parking brake is fully re-
leased before driving. Failure to do so
can cause brake failure and lead to an
accident.
● Do not release the parking brake from
outside the vehicle.
● Do not use the shift lever in place of the
parking brake. When parking, be sure
the parking brake is fully engaged.
● To help avoid risk of injury or death
through unintended operation of the
vehicle and /or its systems, do not leave
children, people who require the assis-
tance of others or pets unattended in
your vehicle. Additionally, the tempera-
ture inside a closed vehicle on a warm
day can quickly become high enough to
cause a significant risk of injury or
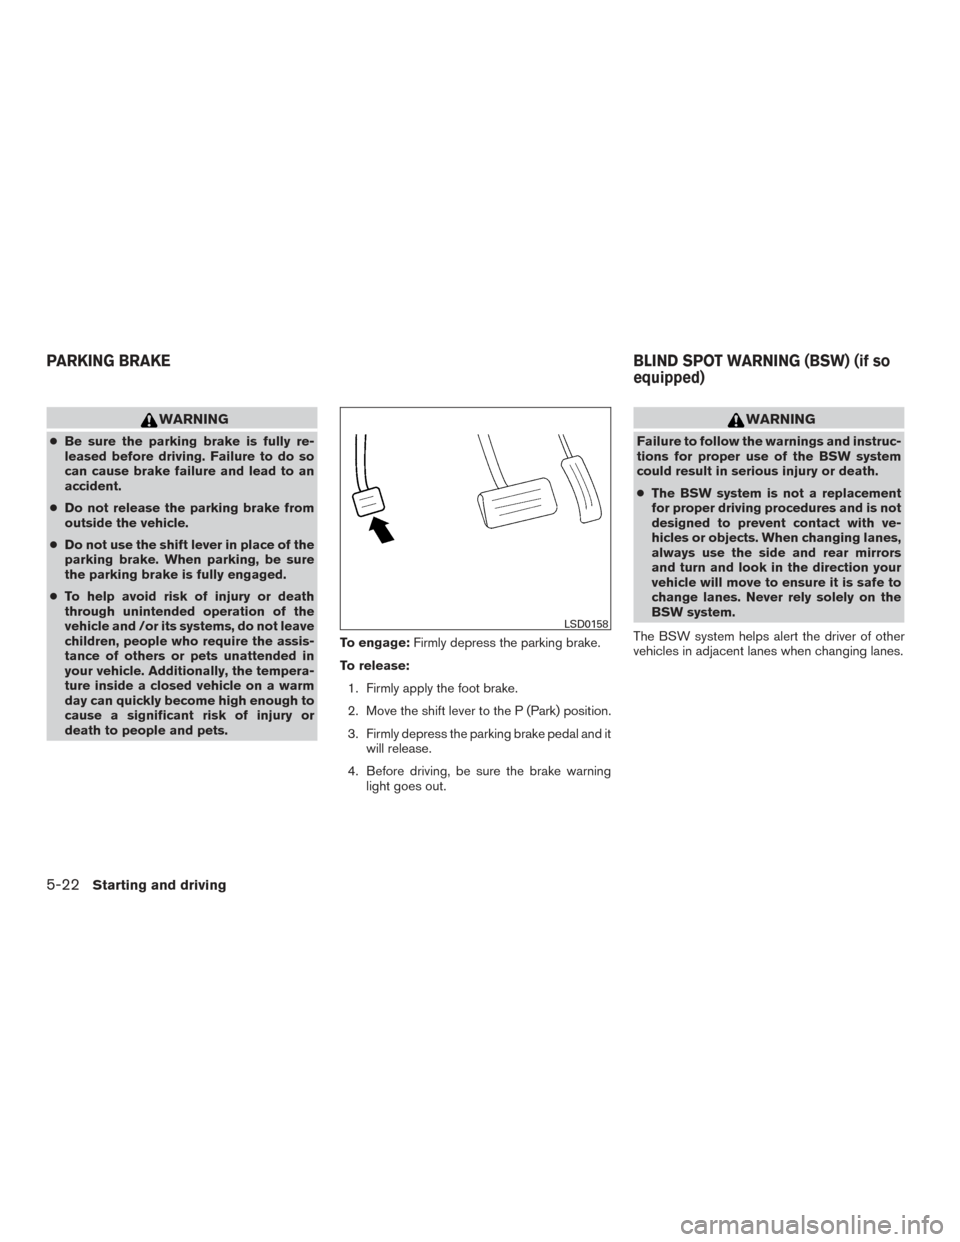
death to people and pets. To engage:
Firmly depress the parking brake.
To release: 1. Firmly apply the foot brake.
2. Move the shift lever to the P (Park) position.
3. Firmly depress the parking brake pedal and it will release.
4. Before driving, be sure the brake warning light goes out.
WARNING
Failure to follow the warnings and instruc-
tions for proper use of the BSW system
could result in serious injury or death.
●The BSW system is not a replacement
for proper driving procedures and is not
designed to prevent contact with ve-
hicles or objects. When changing lanes,
always use the side and rear mirrors
and turn and look in the direction your
vehicle will move to ensure it is safe to
change lanes. Never rely solely on the
BSW system.
The BSW system helps alert the driver of other
vehicles in adjacent lanes when changing lanes.
LSD0158
PARKING BRAKE BLIND SPOT WARNING (BSW) (if so
equipped)
5-22Starting and driving
Page 422 of 671
TRANSFER CASE SHIFTING
PROCEDURES
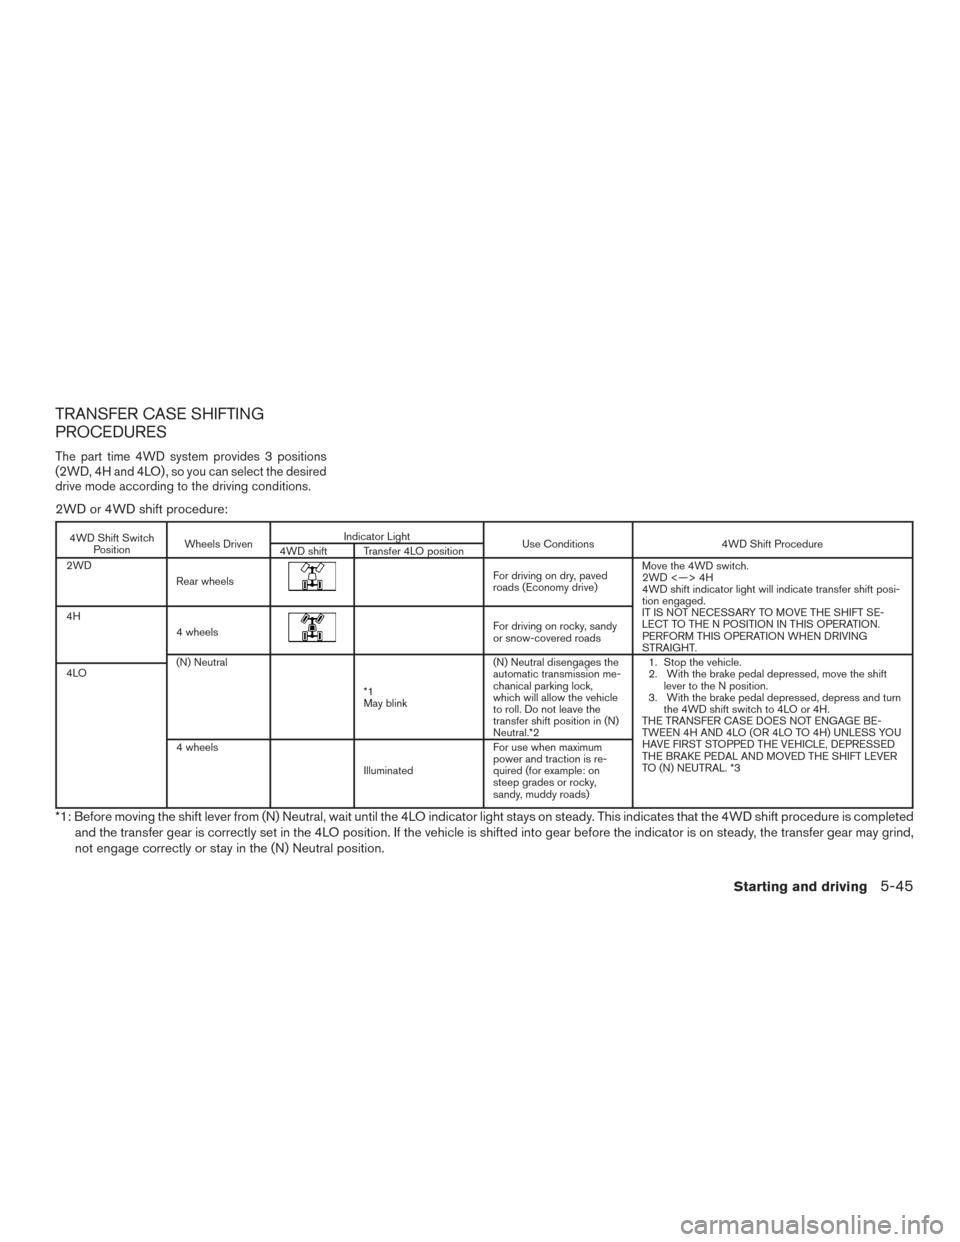
The part time 4WD system provides 3 positions
(2WD, 4H and 4LO) , so you can select the desired
drive mode according to the driving conditions.
2WD or 4WD shift procedure:
4WD Shift SwitchPosition Wheels Driven Indicator Light
Use Conditions 4WD Shift Procedure
4WD shift Transfer 4LO position
2WD
Rear wheels
For driving on dry, paved
roads (Economy drive) Move the 4WD switch.
2WD <—> 4H
4WD shift indicator light will indicate transfer shift posi-
tion engaged.
IT IS NOT NECESSARY TO MOVE THE SHIFT SE-
LECT TO THE N POSITION IN THIS OPERATION.
PERFORM THIS OPERATION WHEN DRIVING
STRAIGHT.
4H
4 wheels
For driving on rocky, sandy
or snow-covered roads
(N) Neutral
*1
May blink (N) Neutral disengages the
automatic transmission me-
chanical parking lock,
which will allow the vehicle
to roll. Do not leave the
transfer shift position in (N)
Neutral.*2 1. Stop the vehicle.
2. With the brake pedal depressed, move the shift
lever to the N position.
3. With the brake pedal depressed, depress and turn the 4WD shift switch to 4LO or 4H.
THE TRANSFER CASE DOES NOT ENGAGE BE-
TWEEN 4H AND 4LO (OR 4LO TO 4H) UNLESS YOU
HAVE FIRST STOPPED THE VEHICLE, DEPRESSED
THE BRAKE PEDAL AND MOVED THE SHIFT LEVER
TO (N) NEUTRAL. *3
4LO
4 wheels
Illuminated For use when maximum
power and traction is re-
quired (for example: on
steep grades or rocky,
sandy, muddy roads)
*1: Before moving the shift lever from (N) Neutral, wait until the 4LO indicator light stays on steady. This indicates that the 4WD shift procedure is completed
and the transfer gear is correctly set in the 4LO position. If the vehicle is shifted into gear before the indicator is on steady, the transfer gear may grind,
not engage correctly or stay in the (N) Neutral position.
Starting and driving5-45