2017 NISSAN SENTRA parking brake
[x] Cancel search: parking brakePage 12 of 491
1. Moonroof (if so equipped) (P. 2-57)
2. Interior lights (P. 2-59)
3. Sun visors (P. 3-29)
4. Rearview mirror (P. 3-30)
5. Glove box (P. 2-49)
6. Cup holders (P. 2-49)
7. Parking brake (P. 5-23)
8. Front console (P. 2-49)
9. Rear armrest (if so equipped) (P. 1-2)Cup holders (if so equipped) (P. 2-49)
Refer to the page number indicated in pa-
rentheses for operating details.
LII2472
PASSENGER COMPARTMENT
Illustrated table of contents0-5
Page 22 of 491
CAUTION
When adjusting the seat positions, be
sure not to contact any moving parts to
avoid possible injuries and/or damage.
FRONT MANUAL SEAT
ADJUSTMENT (for passenger’s seat
and if so equipped for driver’s seat)
Your vehicle seats can be adjusted manually. For
additional information about adjusting the seats,
refer to the steps outlined in this section.
Forward and backward
Pull the center of the bar up and hold it while you
slide the seat forward or backward to the desired
position. Release the bar to lock the seat in
position.
Reclining
To recline the seatback, pull the lever up and lean
back. To bring the seatback forward, pull the lever
up and lean your body forward. Release the lever
to lock the seatback in position.
The reclining feature allows adjustment of the
seatback for occupants of different sizes for
added comfort and to help obtain proper seat
belt fit. For additional information, refer to “Pre-
cautions on seat belt usage” in this section. Also,
the seatback can be reclined to allow occupants
to rest when the vehicle is stopped and the shift
lever (CVT) is in P (Park) or the manual shift lever
is in N (Neutral) with the parking brake applied.
LRS2642LRS2643
Safety—Seats, seat belts and supplemental restraint system1-3
Page 24 of 491
belt fit. For additional information, refer to “Pre-
cautions on seat belt usage” in this section. Also,
the seatback can be reclined to allow occupants
to rest when the vehicle is stopped and the shift
lever is in P (Park) or N (Neutral) position with the
parking brake fully applied.
Seat lifter
Move the switch as shown to adjust the height of
the seat cushion.
Lumbar support
The lumbar support feature provides adjustable
lower back support to the driver. Push the switch
as shown to adjust the seatback lumbar area.
LRS2784LRS2745
Safety—Seats, seat belts and supplemental restraint system1-5
Page 95 of 491
CHECKING LIGHTS
With all doors closed, apply the parking brake,
fasten the seat belts and place the ignition switch
in the ON position without starting the engine.
The following lights (if so equipped) will come on:
,or,,or
The following lights (if so equipped) will come on
briefly and then go off:
or,,,,,
SPORT ,
If any light does not come on or operate in a way
other than described, it may indicate a burned-
out bulb and/or a system malfunction. It is recom-
mended that you have the system checked by a
NISSAN dealer.
Some indicators and warnings are also displayed
on the vehicle information display between the
speedometer and tachometer. For additional in-
formation, refer to “Vehicle information display” in
this section.
WARNING LIGHTS
orAnti-lock Braking
System (ABS)
warning light
When the ignition switch is placed in the ON
position, the ABS warning light illuminates and
then turns off. This indicates the ABS is opera-
tional.
If the ABS warning light illuminates while the
engine is running or while driving, it may indicate
the ABS is not functioning properly. Have the
system checked. It is recommended that you visit
a NISSAN dealer for this service.
If an ABS malfunction occurs, the anti-lock func-
tion is turned off. The brake system then operates
normally but without anti-lock assistance. For
additional information, refer to “Brake system” in
the “Starting and driving” section of this manual.
orBrake warning light
This light functions for both the parking brake and
the foot brake systems.
Parking brake indicator
When the ignition switch is placed in the ON
position, the light comes on when the parking
brake is applied. Low brake fluid warning light
When the ignition switch is placed in the ON
position, the light warns of a low brake fluid level.
If the light comes on while the engine is running,
with the parking brake not applied, stop the ve-
hicle and perform the following:
1. Check the brake fluid level. Add brake fluid as necessary. For additional information, re-
fer to “Brake fluid” in the “Do-it-yourself”
section of this manual.
2. If the brake fluid level is correct, have the warning system checked. It is recommended
that you visit a NISSAN dealer for this ser-
vice.
WARNING
●Your brake system may not be working
properly if the warning light is on. Driv-
ing could be dangerous. If you judge it
to be safe, drive carefully to the nearest
service station for repairs. Otherwise,
have your vehicle towed because driv-
ing it could be dangerous.
● Pressing the brake pedal with the en-
gine stopped and/or a low brake fluid
level may increase your stopping dis-
tance and braking will require greater
pedal effort as well as pedal travel.
2-16Instruments and controls
Page 96 of 491
●If the brake fluid level is below the
MINIMUM or MIN mark on the brake
fluid reservoir, do not drive until the
brake system has been checked. It is
recommended that you visit a NISSAN
dealer for this service.
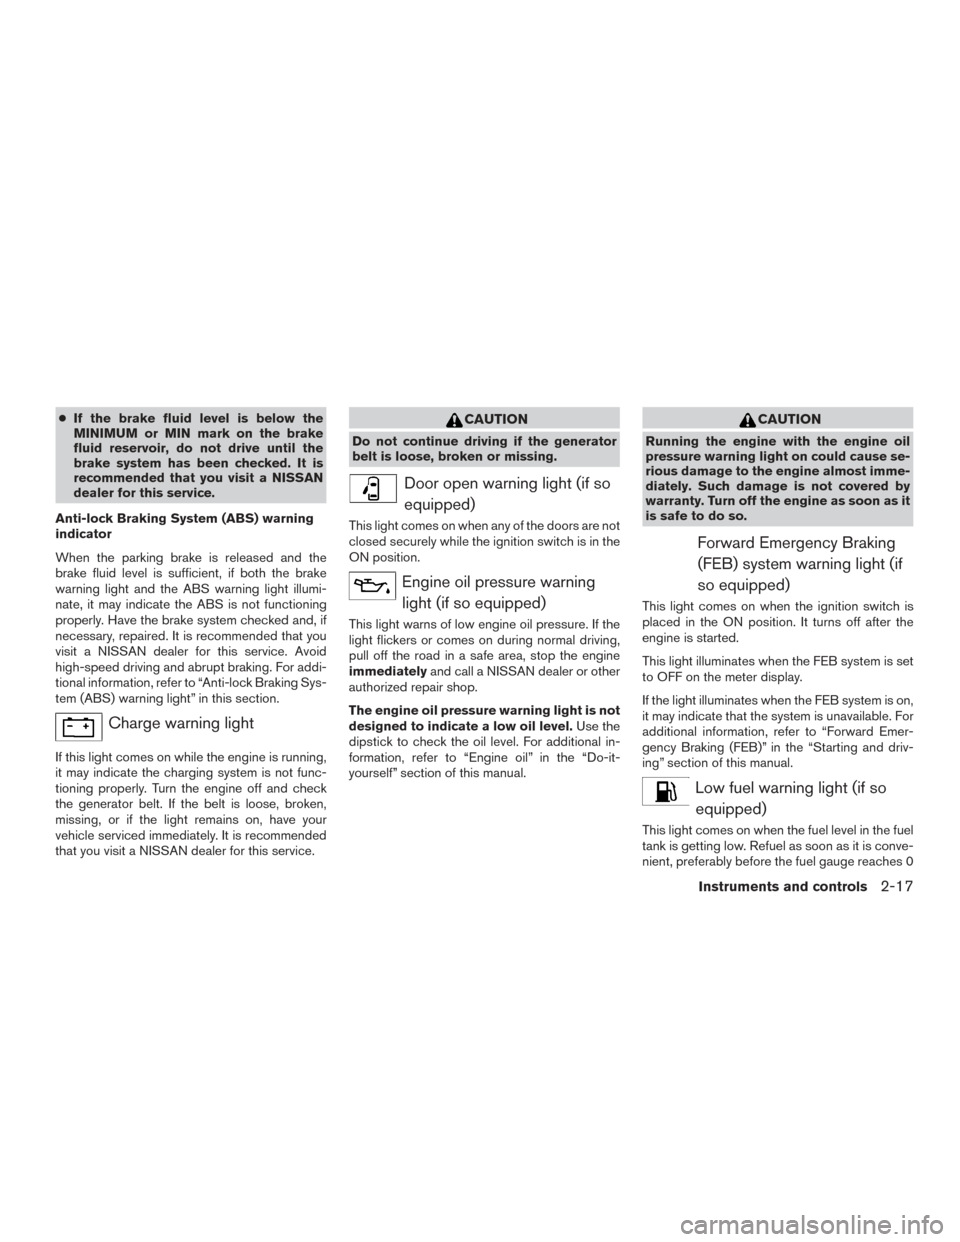
Anti-lock Braking System (ABS) warning
indicator
When the parking brake is released and the
brake fluid level is sufficient, if both the brake
warning light and the ABS warning light illumi-
nate, it may indicate the ABS is not functioning
properly. Have the brake system checked and, if
necessary, repaired. It is recommended that you
visit a NISSAN dealer for this service. Avoid
high-speed driving and abrupt braking. For addi-
tional information, refer to “Anti-lock Braking Sys-
tem (ABS) warning light” in this section.
Charge warning light
If this light comes on while the engine is running,
it may indicate the charging system is not func-
tioning properly. Turn the engine off and check
the generator belt. If the belt is loose, broken,
missing, or if the light remains on, have your
vehicle serviced immediately. It is recommended
that you visit a NISSAN dealer for this service.
CAUTION
Do not continue driving if the generator
belt is loose, broken or missing.
Door open warning light (if so equipped)
This light comes on when any of the doors are not
closed securely while the ignition switch is in the
ON position.
Engine oil pressure warninglight (if so equipped)
This light warns of low engine oil pressure. If the
light flickers or comes on during normal driving,
pull off the road in a safe area, stop the engine
immediately and call a NISSAN dealer or other
authorized repair shop.
The engine oil pressure warning light is not
designed to indicate a low oil level. Use the
dipstick to check the oil level. For additional in-
formation, refer to “Engine oil” in the “Do-it-
yourself” section of this manual.
CAUTION
Running the engine with the engine oil
pressure warning light on could cause se-
rious damage to the engine almost imme-
diately. Such damage is not covered by
warranty. Turn off the engine as soon as it
is safe to do so.
Forward Emergency Braking
(FEB) system warning light (if
so equipped)
This light comes on when the ignition switch is
placed in the ON position. It turns off after the
engine is started.
This light illuminates when the FEB system is set
to OFF on the meter display.
If the light illuminates when the FEB system is on,
it may indicate that the system is unavailable. For
additional information, refer to “Forward Emer-
gency Braking (FEB)” in the “Starting and driv-
ing” section of this manual.
Low fuel warning light (if soequipped)
This light comes on when the fuel level in the fuel
tank is getting low. Refuel as soon as it is conve-
nient, preferably before the fuel gauge reaches 0
Instruments and controls2-17
Page 98 of 491
●If the light does not illuminate with the
ignition switch placed in the ON posi-
tion, have the vehicle checked as soon
as possible. It is recommended that you
visit a NISSAN dealer for this service.
● If the light illuminates while driving,
avoid sudden steering maneuvers or
abrupt braking, reduce vehicle speed,
pull off the road to a safe location and
stop the vehicle as soon as possible.
Driving with under-inflated tires may
permanently damage the tires and in-
crease the likelihood of tire failure. Se-
rious vehicle damage could occur and
may lead to an accident and could result
in serious personal injury or death.
Check the tire pressure for all four tires.
Adjust the tire pressure to the recom-
mended COLD tire pressure shown on
the Tire and Loading Information label
located in the driver’s door opening to
turn the low tire pressure warning light
off. If the light still illuminates while
driving after adjusting the tire pressure,
a tire may be flat or the TPMS may
bemalfunctioning. If you have a flat tire,
replace it with a spare tire as soon as possible. If no tire is flat and all tires are
properly inflated, have the vehicle
checked. It is recommended that you
visit a NISSAN dealer for this service.
● Since the spare tire is not equipped with
TPMS, when a spare tire is mounted or a
wheel is replaced the TPMS will not
function and the low tire pressure warn-
ing light will flash for approximately
1 minute. The light will remain on after
1 minute. Have your tires replaced
and/or TPMS system reset as soon as
possible. It is recommended that you
visit a NISSAN dealer for these services.
● Replacing tires with those not originally
specified by NISSAN could affect the
proper operation of the TPMS.
CAUTION
● The TPMS is not a substitute for the
regular tire pressure check. Be sure to
check the tire pressure regularly.
● If the vehicle is being driven at speeds
of less than 16 mph (25 km/h), the
TPMS may not operate correctly.
● Be sure to install the specified size of
tires to the four wheels correctly.
Low windshield-washer fluid
warning light (if so equipped)
This light comes on when the windshield-washer
fluid is at a low level. Add windshield-washer fluid
as necessary. For additional information, refer to
“Windshield-washer fluid” in the “Do-it-yourself”
section of this manual.
Master warning light (if soequipped)
When the ignition switch is in the ON position,
the master warning light illuminates if any of the
following are displayed on the vehicle information
display:
● No key warning
● Low washer fluid warning
● Parking brake release warning
● Door open warning
● Loose fuel cap warning
● Check tire pressure warning
● Emergency brake warning
● Lock warning
● I-Key system warning
● Headlight system warning
Instruments and controls2-19
Page 103 of 491
Light reminder chime
With the ignition switch placed in the OFF posi-
tion, a chime sounds when the driver’s door is
opened if the headlights or parking lights are on.
Turn the headlight control switch off before leav-
ing the vehicle.
NISSAN Intelligent Key® door buzzer
(if so equipped)
The Intelligent Key door buzzer sounds if any one
of the following improper operations is found.● The ignition switch is not returned to the
LOCK position when locking the doors.
● The Intelligent Key is left inside the vehicle
when locking the doors.
● The Intelligent Key is taken outside the ve-
hicle when operating the vehicle.
● Any doors are not closed securely when
locking the doors.
When the buzzer sounds, be sure to check both
the vehicle and the Intelligent Key. For additional
information, refer to “NISSAN Intelligent Key®” in
the “Pre-driving checks and adjustments” section
of this manual.
Parking brake reminder chime
A chime sounds if the parking brake is set and the
vehicle is driven. The chime will stop if the parking
brake is released or the vehicle speed returns to
zero.
The vehicle information display is located to the
left of the speedometer. It displays such items as:● Vehicle settings
● Trip computer information
● Drive system warnings and settings
● Cruise control system information
● NISSAN Intelligent Key® operation informa-
tion
● Indicators and warnings
LIC2630
VEHICLE INFORMATION DISPLAY (if
so equipped)
2-24Instruments and controls
Page 111 of 491
VEHICLE INFORMATION DISPLAY
WARNINGS AND INDICATORS
1. No Key Detected
2. Key ID Incorrect
3. Key Battery Low4. I-Key System Error: See Owner’s Manual
5. Shift to Park
6. Push brake and start switch to drive (if so
equipped) 7. Push clutch and start switch to drive (if so
equipped)
8. Engine start operation for Intelligent Key sys- tem (if I-Key battery level is low)
9. Release Parking Brake
LIC3675
2-32Instruments and controls