Page 15 of 491
MRA8DE engine
1. Engine oil filler cap (P. 8-7)
2. Brake and clutch (if so equipped) fluidreservoir (P. 8-11)
3. Air cleaner (P. 8-17)
4. Battery (P. 8-13)
5. Fuse and relay box (P. 8-20)
6. Engine coolant reservoir (P. 8-5)
7. Radiator cap (P. 8-5)
8. Engine oil dipstick (P. 8-7)
9. Drive belt location (P.8-15)
10. Windshield-washer fluid reservoir
(P. 8-12)
Refer to the page number indicated in pa-
rentheses for operating details.
LDI2931
ENGINE COMPARTMENT CHECK
LOCATIONS
0-8Illustrated table of contents
Page 16 of 491
MR16DDT engine
1. Engine oil filler cap (P. 8-7)
2. Brake and clutch (if so equipped) fluidreservoir (P. 8-11)
3. Air cleaner (P. 8-17)
4. Battery (P. 8-13)
5. Fuse and relay box (P. 8-20)
6. Engine coolant reservoir (P. 8-5)
7. Radiator cap (P. 8-5)
8. Engine oil dipstick (P. 8-7)
9. Drive belt location (P.8-15)
10. Windshield-washer fluid reservoir
(P. 8-12)
11. Relay box (DTRL) (if so equipped)
(P. 8-20)
Refer to the page number indicated in pa-
rentheses for operating details.
LDI3011
Illustrated table of contents0-9
Page 79 of 491

2 Instruments and controls
Instrument panel...................................2-2
Meters and gauges ................................2-3
Speedometer and odometer .....................2-4
Tachometer ....................................2-7
Engine coolant temperature gauge ...............2-7
Fuel gauge ....................................2-8
Trip computer (if so equipped) ...................2-9
Outside temperature display ....................2-12
Compass (if so equipped) ......................... 2-12
Compass display .............................. 2-12
Warning lights, indicator lights and audible
reminders ........................................ 2-15
Checking lights ............................... 2-16
Warning lights ................................ 2-16
Indicator lights ................................ 2-21
Audible reminders ............................. 2-23
Vehicle Information Display (if so equipped) .........2-24
How to use the vehicle information display .......2-25
Startup display ................................ 2-25
Settings ...................................... 2-25
Vehicle information display warnings and
indicators ..................................... 2-32
Security systems ................................. 2-36Vehicle security system (if so equipped)
..........2-36
NISSAN vehicle immobilizer system .............2-38
Wiper and washer switch ......................... 2-39
Switch operation .............................. 2-39
Rear window and outside mirror (if so equipped)
defroster switch .................................. 2-40
Headlight and turn signal switch ....................2-41
Headlight control switch ........................ 2-41
Daytime Running Lights (DRL) (Type A)
(if so equipped) ............................... 2-43
Daytime Running Lights (DRL) (Type B)
(if so equipped) ............................... 2-43
LED Daytime Running Lights (DRL)
(Type C — NISMO) (if so equipped) .............2-44
Instrument brightness control ...................2-44
Turn signal switch ............................. 2-45
Fog light switch (if so equipped) ................2-45
Horn ............................................ 2-46
Heated
seat switches (if so equipped) ..............2-46
Vehicle Dynamic Control (VDC) off switch
(if so equipped) .................................. 2-47
E-call (SOS) switch (if so equipped) ................2-48
Power outlet ..................................... 2-48
Storage ......................................... 2-49
Page 82 of 491
15. Ignition switch (if so equipped) (P. 5-8)Push-button ignition switch
(if so equipped) (P. 5-10)
16. Tilt/Telescopic steering (P. 3-28)
17. Hood release (P. 3-24) Fuel filler door release (P. 3-26)
18. ECO mode switch (if so equipped)
(P. 5-24)
Vehicle Dynamic Control (VDC) OFF
switch (if so equipped) (P. 2-47)
SPORT mode switch (if so equipped)
(P. 5-24)
19. Instrument brightness control (P. 2-41) Power mirror switch (P. 3-32)
Trunk release (P. 3-25)
* Refer to the separate Navigation System Own-
er’s Manual (if so equipped) .
Refer to the page number indicated in pa-
rentheses for operating details.
1. Tachometer
2. Coolant temperature gauge
3. Warning and indicator lights
4. Fuel gauge
5. Speedometer 6. Odometer
Twin trip odometer
Trip computer
Fuel Economy
ECO mode indicator
Outside temperature display
Type A (if so equipped)
LIC3415
METERS AND GAUGES
Instruments and controls2-3
Page 83 of 491
1. TachometerWarning and indicator lights
2. Vehicle information display Odometer
Twin trip odometer
Outside temperature display 3. Speedometer
Warning and indicator lights
4. Fuel gauge
5. Engine coolant temperature gauge
SPEEDOMETER AND ODOMETER
This vehicle is equipped with a speedometer and
odometer. The speedometer is located on the
right side the meter cluster. The odometer is
located within the vehicle information display
(TypeA—ifsoequipped) or the trip computer
(TypeB—ifsoequipped) to the left of the
speedometer.
Type B (if so equipped)
LIC3416
2-4Instruments and controls
Page 86 of 491

The low tire pressure warning light remains illu-
minated until the tires are inflated to the recom-
mended COLD tire pressure. The CHECK TIRE
PRES warning message is displayed each time
the ignition switch is placed in the ON position as
long as the low tire pressure warning light re-
mains illuminated. For additional information, re-
fer to “Low tire pressure warning light” in the
“Instruments and controls” section, “Tire Pres-
sure Monitoring System (TPMS)” in the “Starting
and driving” section, and “Wheels and tires” in
the “Do-it-yourself” section of this manual.
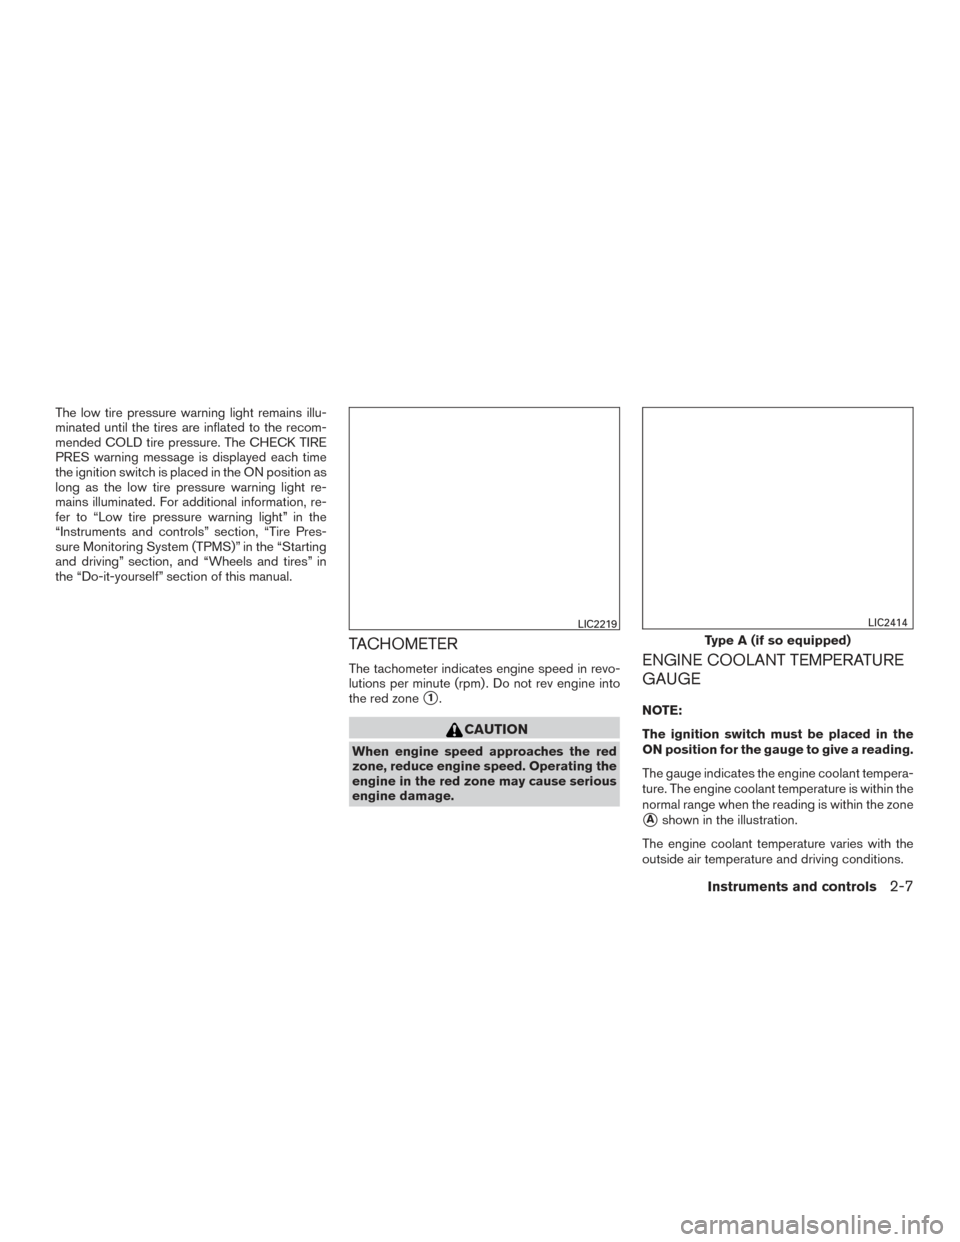
TACHOMETER
The tachometer indicates engine speed in revo-
lutions per minute (rpm) . Do not rev engine into
the red zone
�1.
CAUTION
When engine speed approaches the red
zone, reduce engine speed. Operating the
engine in the red zone may cause serious
engine damage.
ENGINE COOLANT TEMPERATURE
GAUGE
NOTE:
The ignition switch must be placed in the
ON position for the gauge to give a reading.
The gauge indicates the engine coolant tempera-
ture. The engine coolant temperature is within the
normal range when the reading is within the zone
�Ashown in the illustration.
The engine coolant temperature varies with the
outside air temperature and driving conditions.
LIC2219
Type A (if so equipped)
LIC2414
Instruments and controls2-7
Page 87 of 491

CAUTION
If the gauge indicates a coolant tempera-
ture near the hot (H) end of the normal
range, reduce vehicle speed to decrease
the temperature. If the gauge is over the
normal range, stop the vehicle as soon as
safely possible. If the engine is over-
heated, continued operation of the vehicle
may seriously damage the engine. For ad-
ditional information, refer to “If your ve-
hicle overheats” in the “In case of emer-
gency” section for immediate action
required
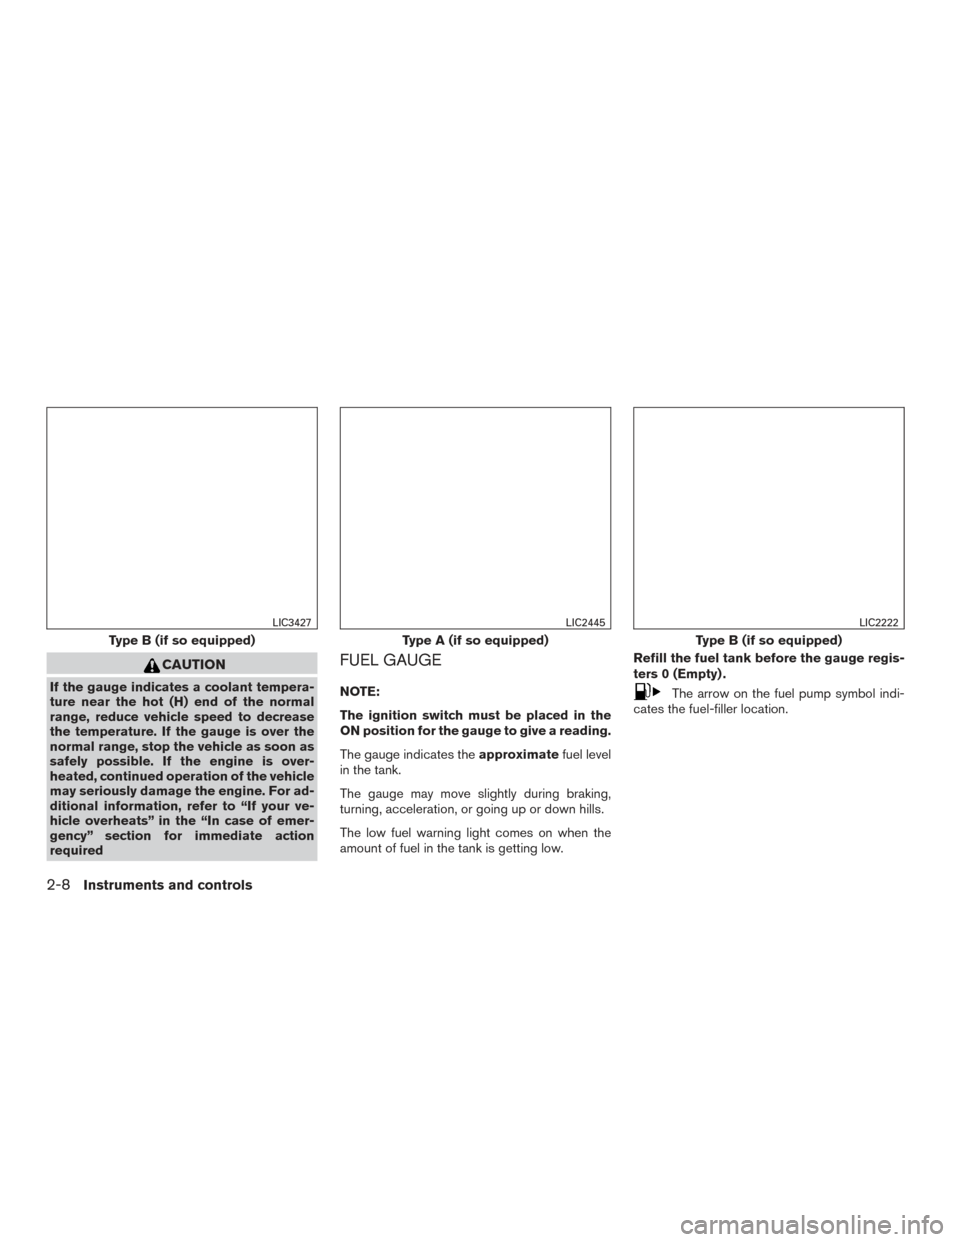
FUEL GAUGE
NOTE:
The ignition switch must be placed in the
ON position for the gauge to give a reading.
The gauge indicates theapproximatefuel level
in the tank.
The gauge may move slightly during braking,
turning, acceleration, or going up or down hills.
The low fuel warning light comes on when the
amount of fuel in the tank is getting low. Refill the fuel tank before the gauge regis-
ters 0 (Empty) .The arrow on the fuel pump symbol indi-
cates the fuel-filler location.
Type B (if so equipped)
LIC3427
Type A (if so equipped)
LIC2445
Type B (if so equipped)
LIC2222
2-8Instruments and controls
Page 204 of 491

5. Turn the temperature control dial to the de-sired position.
Dehumidified defogging
This mode is used to defog the windows and
dehumidify the air.
1. Press the
air flow control button.
2. Turn the
fan control dial to the desired
position.
● When the
orare selected, the
air conditioner automatically turns on if the
outside temperature is more than 36°F
(2°C) . This dehumidifies the air which helps
defog the windshield. The
mode au-
tomatically turns off, allowing outside air to
be drawn into the passenger compartment
to further improve the defogging perfor-
mance.
● The air conditioner is always on in
mode, regardless of whether the indicator
light is on or off.
3. Turn the temperature control dial to the de- sired position.
Operating tips
●Keep the windows and moonroof closed
while the air conditioner is in operation.
● After parking in the sun, drive for 2 or 3 min-
utes with the windows open to vent hot air
from the passenger compartment. Then,
close the windows. This allows the air con-
ditioner to cool the interior more quickly.
● The air conditioning system should be
operated for approximately 10 minutes
at least once a month. This helps pre-
vent damage to the system due to lack
of lubrication.
● A visible mist may be seen coming from the
ventilators in hot, humid conditions as the air
is cooled rapidly. This does not indicate a
malfunction.
● If the engine coolant temperature
gauge indicates engine coolant tem-
perature over the normal range, turn
the air conditioner off. For additional
information, refer to “If your vehicle
overheats” in the “In case of emer-
gency” section of this manual.
AIR FLOW CHARTS
The following charts show the button and dial
positions for MAXIMUM AND QUICK heating,
cooling or defrosting. The air recirculation
button should always be in the OFF posi-
tion for heating and defrosting.
Monitor, climate, audio, phone and voice recognition systems4-27