Page 10 of 491
1. Engine hood (P. 3-24)
2. Wiper and washer switch (P. 2-39)
3. Windshield (P. 8-18)
4. Power windows (P. 2-55)
5. Door locks (P. 3-5)Key fob (if so equipped) (P. 3-7)
NISSAN Intelligent Key®
(if so equipped) (P. 3-10)
Keys (P. 3-2)
6. Mirrors (P. 3-30)
7. Tire pressure (P. 8-33) Flat tire (P. 6-3)
Tire chains (P. 8-33)
8. Headlight and turn signal switch
(P. 2-41)
Replacing bulbs (P. 8-28)
Daytime running lights system
(if so equipped) (P. 2-41)
9. Fog light switch (if so equipped)
(P. 2-41)
Daytime running lights system
(if so equipped) (P. 2-41)
Refer to the page number indicated in pa-
rentheses for operating details.
LII2427
EXTERIOR FRONT
Illustrated table of contents0-3
Page 11 of 491
1. Trunk lid (P. 3-25)Trunk lid release (P. 3-25)
2. High-mounted stop light
(if so equipped) (P. 8-28)
3. Replacing bulbs (P. 8-28)
4. Rear window defroster switch (P. 2-40)
5. Child safety rear door lock (P. 3-5)
6. Fuel-filler door (P. 3-26) Fuel-filler cap (P. 3-26)
Fuel recommendation (P. 10-2)
7. Rearview camera (if so equipped)
(P. 4-10)
Refer to the page number indicated in pa-
rentheses for operating details.
LII2382
EXTERIOR REAR
0-4Illustrated table of contents
Page 12 of 491
1. Moonroof (if so equipped) (P. 2-57)
2. Interior lights (P. 2-59)
3. Sun visors (P. 3-29)
4. Rearview mirror (P. 3-30)
5. Glove box (P. 2-49)
6. Cup holders (P. 2-49)
7. Parking brake (P. 5-23)
8. Front console (P. 2-49)
9. Rear armrest (if so equipped) (P. 1-2)Cup holders (if so equipped) (P. 2-49)
Refer to the page number indicated in pa-
rentheses for operating details.
LII2472
PASSENGER COMPARTMENT
Illustrated table of contents0-5
Page 82 of 491
15. Ignition switch (if so equipped) (P. 5-8)Push-button ignition switch
(if so equipped) (P. 5-10)
16. Tilt/Telescopic steering (P. 3-28)
17. Hood release (P. 3-24) Fuel filler door release (P. 3-26)
18. ECO mode switch (if so equipped)
(P. 5-24)
Vehicle Dynamic Control (VDC) OFF
switch (if so equipped) (P. 2-47)
SPORT mode switch (if so equipped)
(P. 5-24)
19. Instrument brightness control (P. 2-41) Power mirror switch (P. 3-32)
Trunk release (P. 3-25)
* Refer to the separate Navigation System Own-
er’s Manual (if so equipped) .
Refer to the page number indicated in pa-
rentheses for operating details.
1. Tachometer
2. Coolant temperature gauge
3. Warning and indicator lights
4. Fuel gauge
5. Speedometer 6. Odometer
Twin trip odometer
Trip computer
Fuel Economy
ECO mode indicator
Outside temperature display
Type A (if so equipped)
LIC3415
METERS AND GAUGES
Instruments and controls2-3
Page 120 of 491
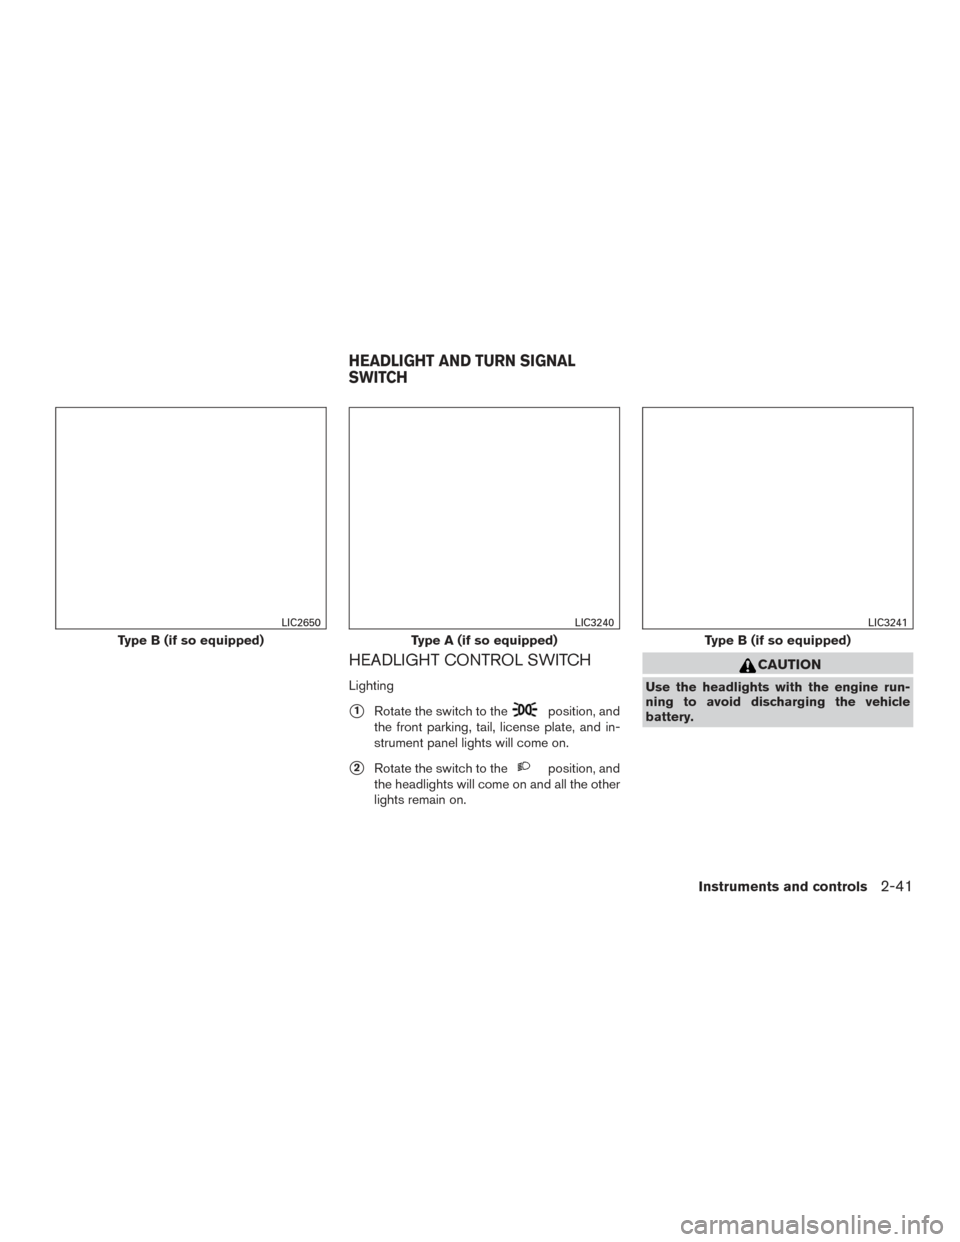
HEADLIGHT CONTROL SWITCH
Lighting
�1Rotate the switch to theposition, and
the front parking, tail, license plate, and in-
strument panel lights will come on.
�2Rotate the switch to theposition, and
the headlights will come on and all the other
lights remain on.
CAUTION
Use the headlights with the engine run-
ning to avoid discharging the vehicle
battery.
Type B (if so equipped)
LIC2650
Type A (if so equipped)
LIC3240
Type B (if so equipped)
LIC3241
HEADLIGHT AND TURN SIGNAL
SWITCH
Instruments and controls2-41
Page 121 of 491

Autolight system
The autolight system allows the headlights to be
set so they turn on and off automatically. The
autolight system can:● Turn on the headlights, front parking, tail,
license plate and instrument panel lights au-
tomatically when it is dark.
● Turn off all the lights when it is light.
● Keep all the lights on a period of time after
you place the ignition switch in the OFF
position and all doors are closed. NOTE:
Autolight activation sensitivity and the time
delay for autolight shutoff is adjustable for
vehicles with navigation system. For addi-
tional information, refer to “Vehicle set-
tings” in this section.
To turn on the autolight system:
1. Place the headlight switch in the AUTO po- sition
�1.
2. Place the ignition switch in the ON position.
3. The autolight system automatically turns the headlights on and off.
Initially, if the ignition switch is placed in the OFF
position and a door is opened and left open, the
headlights remain on for a period of time. If an-
other door is opened while the headlights are on,
then the timer is reset.
To turn the autolight system off, place the switch
in the OFF,
,orposition. Be sure you do not put anything on top of
the autolight sensor located in the top side
�1of the instrument panel. The autolight
sensor controls the autolight; if it is cov-
ered, the autolight sensor reacts as if it is
dark out and the headlights will illuminate.
If this occurs while parked with the engine
off and the ignition switch placed in the ON
position, your vehicle’s battery could be-
come discharged.
WIC1437LIC3578
2-42Instruments and controls
Page 122 of 491

Headlight beam select
�1To select the high beam function, ensure the
low beams are engaged, and push the lever
forward. The high beam lights come on and
the blue
indicator light illuminates.
�2Pull the lever back to return to the low beam.
�3Pulling and releasing the lever flashes the
headlight high and low beams on and off.
The low beams need not be engaged for this
function.
Battery saver system
The battery saver system automatically turns off
the ignition after a period of time when the igni-
tion switch is left in the ACC or ON position.
The battery saver system automatically turns off
the following lights after a period of time when the
ignition switch is placed in the OFF position and
the doors are closed:
● Headlights, when the headlight switch is in
the
orposition
● Interior lights, when left in the ON position
CAUTION
Even though the battery saver feature au-
tomatically turns off the headlights after a
period of time, you should turn the head-
light switch to the OFF position when the
engine is not running to avoid discharging
the vehicle battery.
DAYTIME RUNNING LIGHTS (DRL)
(Type A) (if so equipped)
The headlights automatically illuminate at 100%
intensity (low beam is used for the Daytime Run-
ning Lights (DRL) system) when the engine is
started with the parking brake released. The DRL
operate with the headlight switch in the OFF
position. When the DRL system is active, the clearance lights, tail lights, front side marker
lights, and rear side marker lights are off. To turn
the DRL system off, turn the switch to the
position.
When the headlight switch is placed in the
position for full illumination when driving at night
there will be no difference in the low beam inten-
sity.
If the parking brake is applied before the engine is
started, the DRL do not illuminate. The DRL illu-
minate once the parking brake is released. The
DRL will remain on until the ignition switch is
placed in the OFF position.
It is necessary at dusk to turn the headlight switch
on for interior controls and switches to illuminate,
as those remain off while the switch is in the OFF
position.
DAYTIME RUNNING LIGHTS (DRL)
(Type B) (if so equipped)
The headlights automatically illuminate at 100%
intensity (low beam is used for the Daytime Run-
ning Lights (DRL) system) when the engine is
started and the parking brake released. The DRL
operate with the headlight switch in the OFF
position. When the DRL system is active, the
clearance lights, tail lights, front side marker
LIC3250
Instruments and controls2-43
Page 123 of 491

lights, and rear side marker lights are off. To turn
the DRL system off, turn the switch to the
position.
If the parking brake is applied before the engine is
started, the DRL do not illuminate. The DRL illu-
minate when the parking brake is released. The
DRL will remain on until the ignition switch is
placed in the OFF position.
It is necessary at dusk to turn the headlight switch
on for interior controls and switches to illuminate,
as those remain off while the switch is in the OFF
position.
WARNING
When the DRL system is active, tail lights
on your vehicle are not on. It is necessary
at dusk to turn on your headlights. Failure
to do so could cause and accident injuring
yourself and others.
LED DAYTIME RUNNING LIGHTS
(DRL) (Type C — NISMO) (if so
equipped)
The LED Daytime Running Lights (DRL) auto-
matically illuminate at 100% intensity when the
engine is started and the parking brake released.
The LED DRL operate with the headlight switch
in the OFF position. To turn off the LED DRL
system, turn the headlight switch to the
position.
If the parking brake is applied before the engine is
started, the LED DRL do not illuminate. The LED
DRL illuminate when the parking brake is re-
leased. The LED DRL will remain on until the
ignition switch is placed in the OFF position.
It is necessary at dusk to turn the headlight switch
on for interior controls and switches to illuminate,
as those remain off while the switch is in the OFF
position.
WARNING
When the LED DRL system is active, tail
lights on your vehicle are not on. It is
necessary at dusk to turn on your head-
lights. Failure to do so could cause an
accident injuring yourself and others.
INSTRUMENT BRIGHTNESS
CONTROL
Press the “+” button�Ato increase the bright-
ness of instrument panel lights.
Press the “-” button
�Bto decrease the bright-
ness of instrument panel lights.
LIC2418
2-44Instruments and controls

2. Wiper and washer switch (P. 2-39)
3. Windshield (P. 8-18)
4. Power windows (P. 2-55)
5. Door locks (P. 3-5)Key fob (if so equipped) (P. 3-7)
NISSAN Intelligent Key®
(if so")
Trunk lid release (P. 3-25)
2. High-mounted stop light
(if so equipped) (P. 8-28)
3. Replacing bulbs (P. 8-28)
4. Rear window defroster switch (P. 2-40)
5. Child safety rear door")
 (P. 2-57)
2. Interior lights (P. 2-59)
3. Sun visors (P. 3-29)
4. Rearview mirror (P. 3-30)
5. Glove box (P. 2-49)
6. Cup holders (P. 2-49)
7. Parking brake (P. 5-23)
8. F")
 (P. 5-8)Push-button ignition switch
(if so equipped) (P. 5-10)
16. Tilt/Telescopic steering (P. 3-28)
17. Hood release (P. 3-24) Fuel filler door release (P. 3-26)")