2017 MITSUBISHI iMiEV steering
[x] Cancel search: steeringPage 194 of 296

Safe driving techniques 6-4 Driving safety
6
Move the driver’s seat as far backward as possible, while still
keeping good visibil-
ity, and good control of the steering wheel, brakes, accele
rator, and controls.
Check the instrument panel indicators forany possible problem. Move the front passe
nger seat as far back
as possible. Make sure that infa
nts and small children
are properly restrained in accordance with all laws and regulations.
Check these by selecti
ng the defroster mode,
and set the blower swit
ch on high. You should
be able to feel the air blowing against the windshield. (Refer to “Defrosting or defogging the wind- shield and door windows” on page 7-9.) Check all the tires for heavy tread wear or uneven wear patterns.
Look for stones, nails,
glass, or other objects
stuck in the tread. Look
for any tread cuts or sidewall cracks. Check the wheel nuts for tightness, and the tires for proper pressures. Replace your tires beforethey are heavily worn out.
As your vehicle is equi
pped with a tire pres-
sure monitoring system, there is a risk ofdamage to the tire inflation pressure sensors when the tire is replaced on the rim. Tire replacement should, th
erefore, be performed
only by a certified i-MiEV dealer. Have someone watch while you turn all the exterior lights on and off. Also check the turn signal indicators and
high-beam indicators on
the instrument panel. Check the ground under the vehicle after parking overnight, for wa
ter, oil, or other
leaks. Make sure all the fluid levels are cor- rect.
N00629200124
Even this vehicle’s safety equipment, andyour safest driving, cannot guarantee that youcan avoid an accident or injury. However, if you give extra attention to the following areas, you can better protect yourself andyour passengers:
Drive defensively. Be aware of traffic, road and weather conditions. Leave plentyof stopping distance between your vehicle and the vehicle ahead. Before changing lanes, check your mir- rors and use your turn signal light. While driving, watch the behavior of other drivers, bicyc
lists, and pedestrians.
Always obey applicable
laws and regula-
tions. Be a polite and alert driver. Always leave room for unexpected events, such as sudden braking.
N00629400416
Check the 12V starter battery, including terminals and cables. During extremely cold weather, the 12V starter battery willnot be as strong and
its power level may
drop. Before driving the vehicle, check to see ifthe headlights are as bright as normal. Charge or replace the 12V starter battery if necessary. During extreme coldweather, it is possibl
e that a very low 12V
starter battery could freeze.
Defrosters Tires
Lights Fluid leaks Safe driving techniques
Driving during cold weather
BK0220401US.book 4 ページ 2015年6月3日 水曜日 午前7時42分
Page 196 of 296

Parking 6-6 Driving safety
6
N00629600317
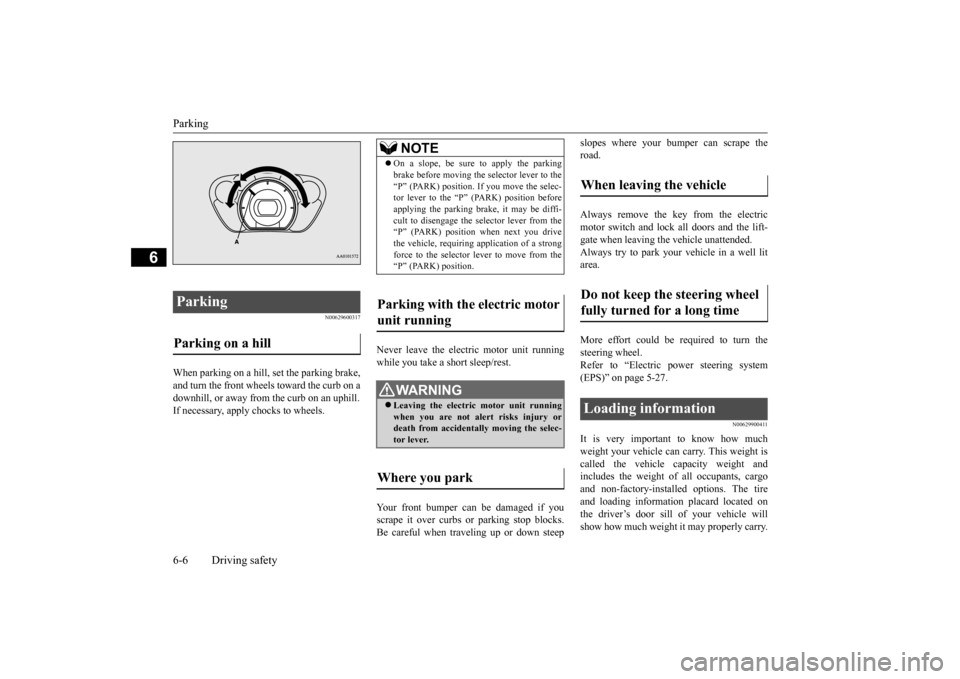
When parking on a hill, set the parking brake, and turn the front wheels toward the curb on a downhill, or away from
the curb on an uphill.
If necessary, apply chocks to wheels.
Never leave the electric motor unit running while you take a short sleep/rest. Your front bumper can be damaged if you scrape it over curbs or parking stop blocks. Be careful when traveling up or down steep
slopes where your bumper can scrape the road. Always remove the key from the electric motor switch and lock all doors and the lift-gate when leaving
the vehicle unattended.
Always try to park your vehicle in a well lit area. More effort could be required to turn the steering wheel. Refer to “Electric power steering system(EPS)” on page 5-27.
N00629900411
It is very important to know how muchweight your vehicle can carry. This weight is called the vehicle ca
pacity weight and
includes the weight of
all occupants, cargo
and non-factory-installed options. The tire and loading information placard located on the driver’s door sill of your vehicle willshow how much weight
it may properly carry.
Parking Parking on a hill
NOTE
On a slope, be sure to apply the parking brake before moving the selector lever to the“P” (PARK) position. If you move the selec-tor lever to the
Page 197 of 296

Loading information Driving safety 6-7
6
It is important to famil
iarize yourself with the
following terms before loading your vehicle: Vehicle maximum load on the tire: load on an individual tire that is determined bydistributing to each axle its share of the maximum loaded vehicle weight and dividing by two. Vehicle normal load on the tire: load on an individual tire that is determined by dis- tributing to each axle its share of the curbweight, accessory weight, and normal occupant weight and dividing by two. Maximum loaded vehicle weight: the sum of - (a) Curb weight; (b) Accessory weight;(c) Vehicle capacity weight; and (d) Production options weight. Curb weight: the weight of a motor vehi- cle with standard e
quipment including the
maximum capacity of oil, and coolant.
Accessory weight: the combined weight (in excess of those st
andard items which
may be replaced) of automatic transmis- sion, power steering, power brakes, power windows, power seats,
radio, and heater,
to the extent that these items are available as factory- installe
d equipment (whether
installed or not). Vehicle capacity weight: the rated cargo and luggage load plus 150 lbs (68 kg)
*
times the vehicle’s designated seating capacity. Production options weight: the combined weight of those installed regular produc- tion options weighing over 5 lbs (2.3 kg) in excess of those standard items whichthey replace, not prev
iously considered in
curb weight or accessory weight, includ- ing heavy duty brakes,
ride levelers, roof
rack, heavy duty battery, and special trim. Normal occupant weight: 150 lbs (68 kg)
*
times the number of specified occupants.(In your vehicle the number is 2) Occupant distributi
on: distribution of
occupants in a vehicle as specified. (Inyour vehicle the distribution is 2 in front seat)
N00630100370
The tire and loading information placard is located on the driver’s door sill. This placard shows the maximum number of occupants permitted to
ride in your vehicle as
well as “the combined
weight of occupants
and cargo” (C), which
is called the vehicle
capacity weight. This
placard also tells you
the size and recomme
nded inflation pressure
for the original equipment tires on your vehi-cle. For more information, refer to “Tires” on page 9-10.
WA R N I N G Never overload your ve
hicle. Overloading
can damage your vehicl
e, adversely affect
vehicle performance, including handlingand braking, cause tire failure, and result in an accident.
* : 150 lbs (68 kg) is the weight of one per- son as defined by U.S.A. and Canadian regulations.
Tire and loading information placard
BK0220401US.book 7 ページ 2015年6月3日 水曜日 午前7時42分
Page 203 of 296

7
Comfort controlsVents ................................................................................................7-2 Air conditioning ..........
...........
...........
...........
...........
...........
.........
.....7-4
Important air conditioning operating tips ..
...........
...........
.........
.....7-10
Air purifier ..................................................................................... 7-11 Remote Climate Control ................................................................ 7-11 AM/FM electronically tune
d radio with CD player
(if so equipped) .......................................................................... 7-11 To play iPod/USB memory devi
ce tracks via
voice operation
(vehicles with Bluetooth
® 2.0 interface) ...................................7-20
Steering wheel audio remote control
switch (if so equipped) ........7-22
Error codes .....................................................................................7-24 Handling of compact discs .............................................................7-25Antenna ..........................................................................................7-27 Clock (if so equipped) ....................................................................7-27 General information about your radio .....
...........
...........
...........
.....7-28
BK0220401US.book 1 ページ 2015年6月3日 水曜日 午前7時42分
Page 224 of 296

Steering wheel audio remote cont
rol switch (if so equipped)
7-22 Comfort controls
7
5. If there are two or more matches, the voice guide will say “More than onematch was found, would you like to play
de says “Playing
N00772500010
1. Say “Play” on the main menu. 2. After the voice guide says “Would you like to play by Artist, Album, Playlist or Genre?,” say “Genre”. would you like to play?,” say the musictype. 4. If there is only one match, the system pro- ceeds to step 6.5. If there are two or more matches, the voice guide will say “More than one match was found, would you like to play
If you say “No,” the next matching genre is uttered by the system. 6. After the voice gui
de says “Playing
N00714800471
The remote control switch is located on theleft side of th
e steering wheel.
NOTE
If you say “No” to three
or all playlist names
uttered by the system, the voice guide willsay “Playlist not found,
please try again” and
the system returns to step 2.NOTE
If the confirmation function is active, the voice guide confirms if
the playlist name is
correct. If the playlist name is correct, say “Yes”. If not, say “No”. After the voice guidesays “Playlist not foun
d, please try again,”
the system returns to step 2. Refer to “Con- firmation function se
tting” on page 5-57.
To search by genre
NOTE
The Bluetooth
® 2.0 interface
starts recogniz-
ing the connected device.If the connected device
cannot be recognized
or a connection error
occurs, the Bluetooth
®
2.0 interface starts an appropriate voice guide. Follow the voice guide.NOTE
If you say “Genre
NOTE
If you say “No” to three or all genres uttered by the system, the voice guide will say “Genre not found, please try again” and thesystem returns to step 2.NOTE
If the confirmation function is active, the voice guide confirms if the genre is correct. If the genre is correct, say “Yes”. If not, say“No”. After the voice
guide says “Genre not
found, please try again,” the system returns to step 2. Refer to
“Confirmation function
setting” on page 5-57.
Steering wheel audio remote control switch
(if so equipped)
BK0220401US.book 22 ページ 2015年6月3日 水曜日 午前7時42分
Page 225 of 296

Steering wheel audio remote control switch (if so equipped)
Comfort controls 7-23
7
It can be used when the electric motor switch is in the “ON” or “ACC” position. Press the power switch to turn on the power. When the power is turned on, the last mode
used before turning off is displayed. To turn off the power, press and hold down the powerswitch for about 2 seconds until you hear a beep. While the button is pressed, the volume will continue to increase. While the button is pressed, the volume will continue to decrease. Press the mode selector button to select the desired mode.The mode changes in the following order. AM
FM1
FM2
CD
USB or iPod
*
Bluetooth
®* AM
* : If you connect these devices.
Press the mode selector button and select AM or FM mode. After pressing one of
these buttons, a receiv-
able station will be automatically selected and reception of the st
ation will begin.
Press the mode selector
button and select CD
mode. To fast forward or fast
reverse the disc, press
the fast-forward button or the fast-reverse button. You can fast forward the disc by holding down the fast-forward button. While the but-
1- Volume up button 2- Volume down button 3- Power switch/Mode selector button4- Seek up/Track up/File up/Fast-forward
button
5- Seek down/Track down/File
down/Fast-reverse buttonNOTE
Do not press multiple buttons at the same time when using the steering wheel audioremote control switch.
To turn on the power
Vo l u m e c o n t r o l
Volume up button
Volume down button
Mode selection
To listen to the radio
Automatic tuning
Seek up button/Seek down buttonTo listen to a CD
To fast forward/reverse the disc (music CDs only)
Fast forward
BK0220401US.book 23 ページ 2015年6月3日 水曜日 午前7時42分
Page 234 of 296

If the vehicle breaks down 8-2 For emergencies
8
N00836301243
If your vehicle breaks down on the road, move to the shoulder and turn on the hazard warning flashers. If there is no shoulder, orthe shoulder is not safe, drive in the right lane slowly, with the hazard lights flashing, until you come to a safe stopping place. Keep theflashers flashing. If the ready indicator light goes out while driving, the brakes a
nd steering will continue
to work, but without power assist, so more effort will be required
for braking and steer-
ing. Stop the vehicle on the shoulder of the road and turn on the hazard warning flashers. If you need to push your vehicle, turn theelectric motor switch to the “ON” position, and place the selector lever in the “N” (NEU- TRAL) position.
N00836400742
If the electric motor unit cannot be energizedbecause the 12V starter battery is weak ordead, you can start it with the battery from another vehicle using jumper cables.
1. Take off any metal jewelry such as watch bands or bracelets
that might make an
accidental electrical contact. 2. Position the vehi
cles close enough
together so that the jumper cables can reach, but be sure the vehicles are nottouching each other.
3. Set the parking brake firmly on your vehi- cle and move the selector lever into the “P” (PARK) position. 4. Set the parking brake firmly on the othervehicle. Put the automatic transaxle in “P”5. Turn the ignition switch (the electric motor switch) on each vehicle to the “LOCK” position. 6. Remove the battery
cover, and then make
sure your 12V starter
battery electrolyte is
at the proper level. (Refer to “Checking 12V starter battery electrolyte level” onpage 9-8.)
If the vehicle breaks down Jump-starting
WA R N I N G To reduce the risk of igniting flammable gas that may be em
itted from the 12V
starter battery, carefully read this sectionbefore jump-starting the vehicle. Do not try to start the electric motor unit by pushing or towing the vehicle. This can cause an accident re
sulting in serious
injury or death and
can damage the vehi-
cle.CAUTION Do not attempt jump st
arting the 12V starter
battery while the main
drive lithium-ion bat-
tery is being charged. Doing so could dam-age the vehicle or charging equipment.NOTE
Do not use jumper cables if they have dam- age or corrosion.
CAUTION Check the other vehicle.
It must have a 12V
battery. If the other system is not 12V, bothsystems can be damaged.NOTE
Turn off all lights, heat
er, and othe
r electrical
loads. This will
help avoid sparks.
BK0220401US.book 2 ページ 2015年6月3日 水曜日 午前7時42分
Page 242 of 296

Tire repair kit 8-10 For emergencies
8
If there is a gap between the tire and wheel because the tire has moved inwardfrom the wheel rim, press the tire tread towards the wheel to close the gap before running the compressor. (With no gaps,the tire pressure will rise.) pull the power cord plug out of the 12 V power outlet.
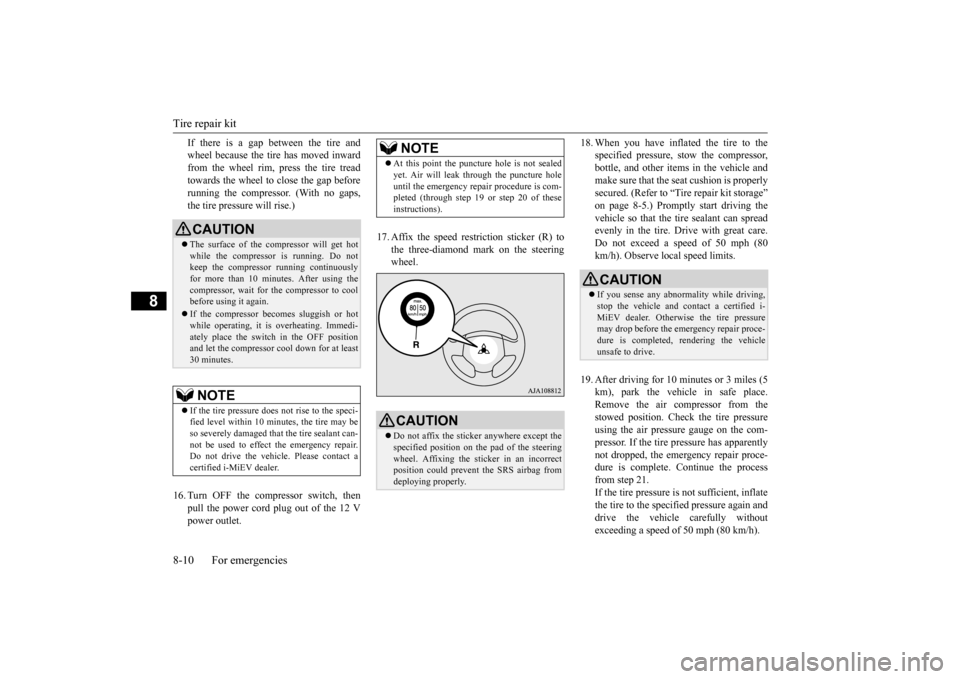
17. Affix the speed restriction sticker (R) to
the three-diamond mark on the steering wheel.
18. When you have inflated the tire to the
specified pressure, stow the compressor,bottle, and other items
in the vehicle and
make sure that the seat cushion is properly secured. (Refer to “Tire repair kit storage” vehicle so that the tire sealant can spread evenly in the tire. Drive with great care.Do not exceed a speed of 50 mph (80 km/h). Observe local speed limits.
19. After driving for 10 minutes or 3 miles (5
km), park the vehi
cle in safe place.
Remove the air compressor from the stowed position. Check the tire pressure using the air pressure gauge on the com-pressor. If the tire pressure has apparently not dropped, the emergency repair proce- dure is complete. Continue the processfrom step 21. If the tire pressure is
not sufficient, inflate
the tire to the specified pressure again anddrive the vehicle carefully without exceeding a speed of 50 mph (80 km/h).
CAUTION The surface of the compressor will get hot while the compressor is running. Do not keep the compressor running continuously for more than 10 minutes. After using thecompressor, wait for the compressor to cool before using it again. If the compressor becomes sluggish or hot while operating, it is
overheating. Immedi-
ately place the switch in the OFF positionand let the compressor cool down for at least 30 minutes.NOTE
If the tire pressure does not rise to the speci- fied level within 10 mi
nutes, the tire may be
so severely damaged that the tire sealant can- not be used to effect the emergency repair. Do not drive the vehicl
e. Please contact a
certified i-MiEV dealer.
NOTE
At this point the punctu
re hole is
not sealed
yet. Air will leak through the puncture holeuntil the emergency repa
ir procedure is com-
pleted (through step 19 or step 20 of these instructions).CAUTION Do not affix the sticke
r anywhere except the
specified position on th
e pad of the steering
wheel. Affixing the sticker in an incorrect position could prevent the SRS airbag fromdeploying properly.
CAUTION If you sense any abnorma
lity while driving,
stop the vehicle and c
ontact a certified i-
MiEV dealer. Otherwise the tire pressure may drop before the emergency repair proce- dure is completed,
rendering the vehicle
unsafe to drive.
BK0220401US.book 10 ページ 2015年6月3日 水曜日 午前7時42分