2017 MERCEDES-BENZ S-Class COUPE Head up display
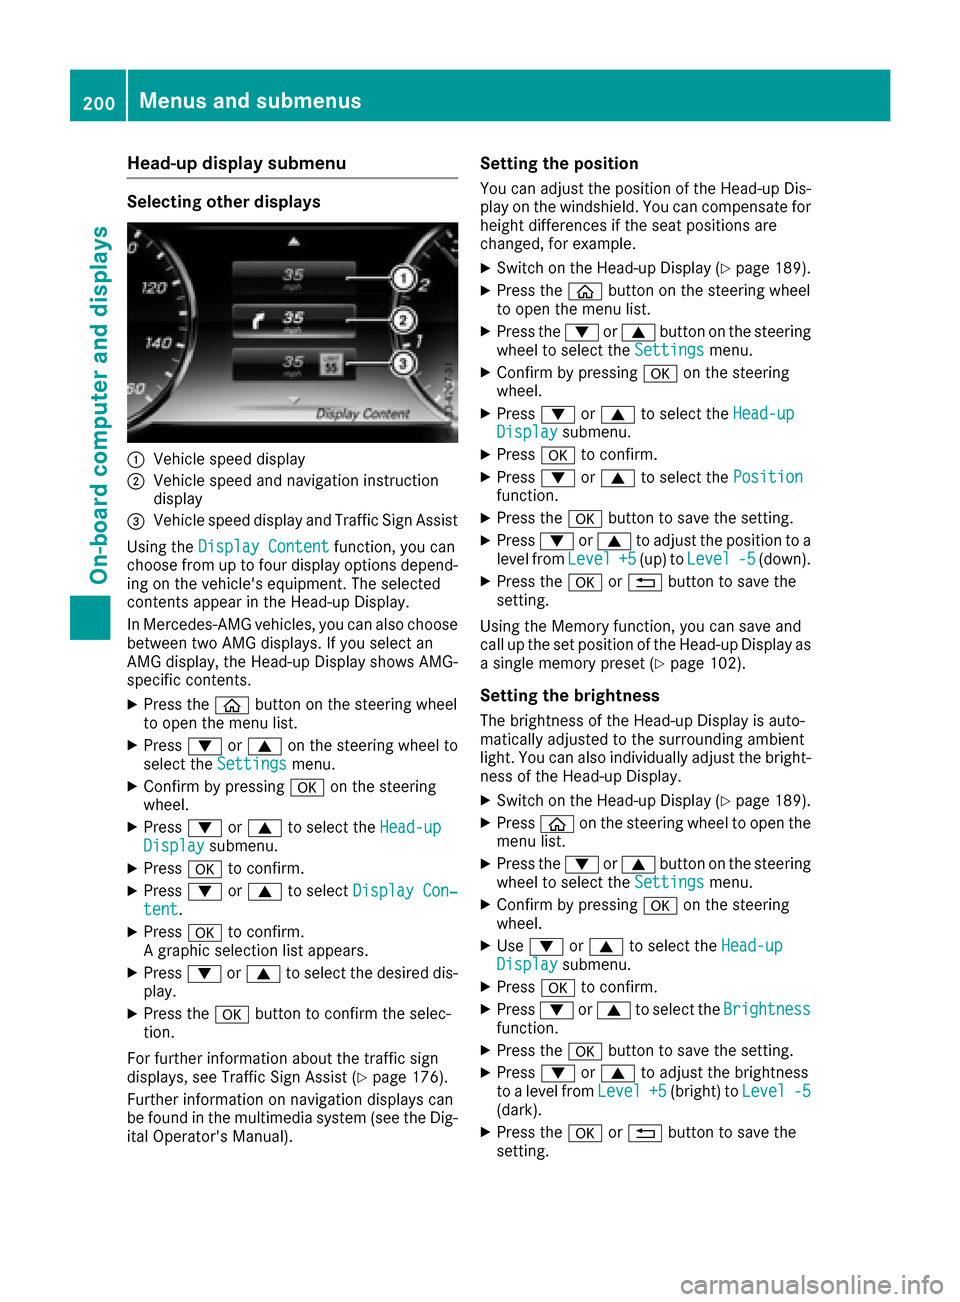
[x] Cancel search: Head up displayPage 202 of 338

Head-up display submenu
Selecting other displays
0043Vehicle speed display
0044Vehicle speed and navigation instruction
display
0087Vehicle speed display and Traffic Sign Assist
Using the Display Content
function, you can
choose from up to four display options depend-
ing on the vehicle's equipment. The selected
contents appear in the Head-up Display.
In Mercedes-AMG vehicles, you can also choose
between two AMG displays. If you select an
AMG display, the Head-up Display shows AMG-
specific contents.
XPress the 00E2button on the steering wheel
to open the menu list.
XPress 0064or0063 on the steering wheel to
select the Settingsmenu.
XConfirm by pressing 0076on the steering
wheel.
XPress 0064or0063 to select the Head-upDisplaysubmenu.
XPress0076to confirm.
XPress 0064or0063 to select Display Con‐tent.
XPress0076to confirm.
A graphic selection list appears.
XPress 0064or0063 to select the desired dis-
play.
XPress the 0076button to confirm the selec-
tion.
For further information about the traffic sign
displays, see Traffic Sign Assist (
Ypage 176).
Further information on navigation displays can
be found in the multimedia system (see the Dig-
ital Operator's Manual).
Setting the position
You can adjust the position of the Head-up Dis-
play on the windshield. You can compensate for
height differences if the seat positions are
changed, for example.
XSwitch on the Head-up Display (Ypage 189).
XPress the 00E2button on the steering wheel
to open the menu list.
XPress the 0064or0063 button on the steering
wheel to select the Settingsmenu.
XConfirm by pressing 0076on the steering
wheel.
XPress 0064or0063 to select the Head-upDisplaysubmenu.
XPress0076to confirm.
XPress 0064or0063 to select the Positionfunction.
XPress the0076button to save the setting.
XPress 0064or0063 to adjust the position to a
level from Level+5(up) toLevel-5(down).
XPress the 0076or0038 button to save the
setting.
Using the Memory function, you can save and
call up the set position of the Head-up Display as
a single memory preset (
Ypage 102).
Setting the brightness
The brightness of the Head-up Display is auto-
matically adjusted to the surrounding ambient
light. You can also individually adjust the bright-
ness of the Head-up Display.
XSwitch on the Head-up Display (Ypage 189).
XPress 00E2on the steering wheel to open the
menu list.
XPress the 0064or0063 button on the steering
wheel to select the Settingsmenu.
XConfirm by pressing 0076on the steering
wheel.
XUse 0064 or0063 to select the Head-upDisplaysubmenu.
XPress0076to confirm.
XPress 0064or0063 to select the Brightnessfunction.
XPress the0076button to save the setting.
XPress 0064or0063 to adjust the brightness
to a level from Level+5(bright) toLevel-5(dark).
XPress the0076or0038 button to save the
setting.
200Menus and submenus
On-board computer and displays
Page 203 of 338

Light submenu
Switching the spotlight function on/off
XPress00E2on the steering wheel to open the
menu list.
XPress 0064or0063 on the steering wheel to
select the Settingsmenu.
XConfirm by pressing 0076on the steering
wheel.
XPress 0064or0063 to select the Lightssubmenu.
XPress0076to confirm.
XPress the 0064or0063 button to select the
Spotlightfunction.
XPress the 0076button to save the setting.
When the spotlight function is activated, the
assistance graphic shows the pedestrian
symbol.
Further information on the spotlight function
(
Ypage 179).
Switching the daytime running lamps on/ off
This function is not available in Canada.
XPress the 00E2button on the steering wheel
to open the menu list.
XPress 0064or0063 on the steering wheel to
select the Settingsmenu.
XConfirm by pressing 0076on the steering
wheel.
XUse 0064 or0063 to select the Lightssub-
menu.
XPress 0076to confirm.
XUsing 0064or0063, select the DaytimeRunning Lightsfunction.
If the DaytimeRunningLightsfunction has
been switched on, the cone of light in the
multifunction display is shown in white and
blue.
XPress the 0076button to save the setting.
Further information on daytime running lamps
Daytime Running Lights
(Ypage 104).
Instrument cluster submenu
Selecting the distance unit
The DisplayUnitSpeed-/Odometerfunction
allows you to choose whether certain displays
appear in kilometers or miles in the multifunc-
tion display.
XPress the 00E2button on the steering wheel
to open the menu list.
XPress the 0064or0063 button on the steering
wheel to select the Settingsmenu.
XConfirm by pressing 0076on the steering
wheel.
XPress 0064or0063 to select the Instru‐ment Clustersubmenu.
XPress0076to confirm.
XPress the 0064or0063 button to select the
Display Unit Speed-/Odometerfunction.
The current setting kmorMilesappears.
XPress the 0076button to save the setting.
The selected unit of measurement for distance
applies to:
Rspeedometer
Rdigital speedometer in the Tripmenu
Radditional speedometer in the status area on
the multifunction display
The unit in the additional speedometer is dis-
played inversely to the selected distance unit.
Rthe odometer and trip odometer
Rthe trip computer
Rthe current consumption and the range
Rnavigation instructions in the Navimenu
Rcruise control
RSPEEDTRONIC
RDISTRONIC PLUS
RDISTRONIC PLUS with Steering Assist and
Stop&Go Pilot
RASSYST PLUS service interval display
Switching the additional speedometer
on/off
TheAdditional Speedometer [km/h]func-
tion allows you to choose whether the status
area in the multifunction display shows the
speed digitally. The unit in the additional speed-
ometer is always inverse to the speedometer
unit.
XPress 00E2on the steering wheel to open the
menu list.
XPress 0064or0063 on the steering wheel to
select the Settingsmenu.
XConfirm by pressing 0076on the steering
wheel.
XPress 0064or0063 to select the Instru‐ment Clustersubmenu.
XPress0076to confirm your selection.
Menus and submenus201
On-board computer and displays
Z
Page 217 of 338

Display messagesPossible causes/consequences and0050Solutions
If thecondition sare no tfulfilled ,th esystem is no toperating correctly.
XVisit aqualified specialist workshop immediately.
Fo rfurther information about th eOccupant Classification System, see
(
Ypage 49).
Lights
Display messagesPossible causes/consequences and 0050Solutions
0049
CheckLeftLowBeam(Example)
The bulb in question is malfunctioning .
XVisitaqualified specialist workshop .
or
XChec kwhether you are permitte dto replace th ebulb yourself
(Ypage 108).
iLE Dligh tsources: th edisplay message for th ecorrespondin g
lamp only appear swhen all th eLEDs in th elamp hav efailed.
0049
Malfunction SeeOperator’ sManual
The exterio rlighting is malfunctioning .
XVisitaqualified specialist workshop .
0049
AutoLam pFunctionInoperative
The ligh tsensor is malfunctioning .
XVisitaqualified specialist workshop .
0049
Switch Off Lights
You leaveth evehicl eand th elights are switched on . Awarning tone
also sounds.
XTurn th eligh tswitch to position 0058.
0049
Switch On Headlamps
You are drivingwit hlow-beam headlamp sswitched off .
XTurn theligh tswitch to position 0058or0058.
Adaptive HighbeamAssist Plu sInoper ‐ative
Adaptive Highbea mAssis tPlus is faulty.
XVisit aqualified specialist workshop .
Adaptive HighbeamAssist PlusCur ‐rently UnavailableSee Operator' sMan ‐ual
Adaptive Highbea mAssis tPlus is deactivated and temporarily inop-
erative .
Possibl ecauses are:
Rth ewindshield in th ecamera' sfield of vision is dirty
Rvisibilit yis impaire ddue to heav yrain ,snow or fog
XClean th ewindshield.
If th esystem detects that th ecamera is full yoperational again ,th e
Adaptive Highbeam Assist Plu sAvailable Again
message is
displayed.
Adaptive Highbea mAssis tPlus is available again .
Display messages215
On-board computer and displays
Z
Page 312 of 338

bility to maintain correct tire pressure, even ifunderinflation has not reached the level to
trigger illumination of the TPMS low tire pres-
sure telltale.
Your vehicle has also been equipped with a
TPMS malfunction indicator to indicate when
the system is not operating properly. The
TPMS malfunction indicator is combined with
the low tire pressure telltale. When the sys-
tem detects a malfunction, the warning lamp
will flash for approximately a minute and thenremain continuously illuminated. This
sequence will be repeated every time the vehi-
cle is started as long as the malfunction
exists. When the malfunction indicator is illu-
minated, the system may not be able to detect
or signal low tire pressure as intended.
TPMS malfunctions may occur for a variety of
reasons, including the installation of incom-
patible replacement or alternate tires or
wheels on the vehicle that prevent the TPMS
from functioning properly. Always check the
TPMS malfunction telltale after replacing one
or more tires or wheels on your vehicle to
ensure that the replacement or alternate Tires
and wheels allow the TPMS to continue to
function properly.
It is the driver's responsibility to set the tire
pressure to that recommended for cold tires
which is suitable for the operating situation
(
Ypage 306). Note that the correct tire pressure
for the current operating situation must first be
taught-in to the tire pressure monitor. If a sub-
stantial loss of pressure occurs, the warning
threshold for the warning message is aligned to
the taught-in reference values. Restart the tire
pressure monitor after adjusting the pressure of
the cold tires (
Ypage 311). The current pres-
sures are saved as new reference values. As a
result, a warning message will appear if the tire pressure drops significantly.
The tire pressure monitor does not warn you of
an incorrectly set tire pressure. Observe the
notes on the recommended tire pressure
(
Ypage 306).
The tire pressure monitor is n
ot able to warn you
of a sudden loss of pressure, e.g. if the tire is
penetrated by a foreign object. In the event of a
sudden loss of pressure, bring the vehicle to a halt by braking carefully. Avoid abrupt steering
movements.
The tire pressure monitor has a yellow warning
lamp in the instrument cluster for indicating
pressure loss or a malfunction. Whether the
warning lamp flashes or lights up indicates
whether a tire pressure is too low or the tire
pressure monitor is malfunctioning:
Rif the warning lamp is lit continuously, the tire
pressure on one or more tires is significantly
too low. The tire pressure monitor is not mal-
functioning.
Rif the warning lamp flashes for around a
minute and then remains lit constantly, the
tire pressure monitor is malfunctioning.
In addition to the warning lamp, a message
appears in the multifunction display. Observe
the information on display messages
(
Ypage 226).
It may take up to ten minutes for a malfunction
of the tire pressure monitor to be indicated. A
malfunction will be indicated by the tire pres-
sure warning lamp flashing for approximately
one minute and then remaining lit. When the
malfunction has been rectified, the tire pressure
warning lamp goes out after a few minutes of
driving.
The tire pressure values indicated by the on-
board computer may differ from those meas-
ured at a gas station with a pressure gauge. The
tire pressures shown by the on-board computer
refer to those measured at sea level. At high
altitudes, the tire pressure values indicated by a pressure gauge are higher than those shown by
the on-board computer. In this case, do not
reduce the tire pressures.
The operation of the tire pressure monitor can
be affected by interference from radio transmit-
ting equipment (e.g. radio headphones, two-way
radios) that may be being operated in or near the
vehicle.
Checking the tire pressure electroni-
cally
XMake sure that the SmartKey is in position 2
in the ignition lock (Ypage 121).
XUse 00E2 on the steering wheel to call up the
list of menus.
XPress 0063or0064 on the steering wheel to
select the Servicemenu.
XPress the0076button.
310Tire pressure
Wheels and tires