2017 MERCEDES-BENZ GLC-Class phone
[x] Cancel search: phonePage 124 of 178

or manual access data (Ypage 122) must be
set.
Setting access data of the mobile
phone network provider
Selecting the predefined access data of
the mobile phone network provider
XTo select Predefined Settings: turn and
press the controller.
A list of countries appears.
If the mobile phone network provider provides
multiple access data options, the relevant
access data still has to be selected. This
depends on the data package used, for example.
To check whether the predetermined dial-in
data corresponds with the dial-in data provided by your mobile phone network provider, pro-
ceed as follows (
Ypage 123) and select Man‐ual Settings. The access data is displayed.
The access data for the mobile phone network
provider is selected once for the mobile phone
connected and is loaded again each time the
mobile phone is connected. Establishing a con-
nection (
Ypage 124).
You must set the access data of the mobile
phone network provider who provides the SIM
card and the associated data package (access
settings) for the connected mobile phone. The
access data remains the same when you are in a
different country (roaming). The access data of
another network is notselected.
Manually setting the access data of the
mobile phone network provider
XTo select Manual Settings: turn and press
the controller.
An overview of the provider settings appears.
XSet access data (Ypage 122).
XTo select ConfirmSettings: turn and press
the controller.
The access data for the mobile phone network
provider is selected once for the mobile phone
connected and is loaded again each time the
mobile phone is connected. Establishing a con-
nection (
Ypage 124).
You must set the access data of the mobile
phone network provider who provides the SIM
card and the associated data package (access
settings) for the connected mobile phone. The
access data remains the same when you are in a
different country (roaming). The access data of
another network is notselected.
Setting access data
Set the access data in accordance with your
data package. You can contact your mobile
phone network provider to obtain the precise
access data.
122Setting up an Internet connection (Canada)
Online and Internet functions
Page 125 of 178

Explanation of the access data
Input fieldMeaning
Phone Num‐ber:Access number for estab-
lishing the connection
The access number
depends on the mobile
phone used. For GSM/
UMTS mobile phones,
*99***1#
is used as a
standard.
AccessPoint:APN network access point
(Access PointName)
You can obtain this infor-
mation from your mobile
phone network provider.
Entry is not necessary for
all mobile phone network
providers and mobile
phones.
PDP Type:Internet protocol used.
You can obtain this infor-
mation from your mobile
phone network provider.
User ID:The user identification can
be obtained from your
mobile phone network pro-
vider.
Entry is not necessary for
all mobile phone network
providers.
Password:The password can be
obtained from your mobile
phone network provider.
Entry is not necessary for
all mobile phone network
providers.
Auto DNS:Automatic allocation of
DNS servers is activated. If
the function is deactivated,
the DNS server addresses
must be entered manually.
DNS (Domain Name
Service).
DNS1:
DNS2:
Fields for entering the DNS
server addresses manually.
The address can be
obtained from your mobile
phone network provider.
Managing existing access data
Calling up the device list
XCall up Internet functions (Ypage 124).
XTo switch to the menu bar: slide 6the con-
troller.
XTo select Settings: turn and press the con-
troller.
XTo select Configure Internet Settings:
turn and press the controller.
The device list is displayed.
Editing the access data
The mobile phone must be connected with the
system for the access data to be changed.
When the Internet connection is active, you can-
not edit or delete the access data of the cur-
rently set mobile phone network provider.
XCall up the device list (Ypage 123).
XTo highlight the desired mobile phone in the
device list: turn the controller.
XTo select G: slide 9the controller.
XTo select Change Configuration: turn and
press the controller.
XSelect Predefined SettingsorManualSettings.
The provider settings are displayed.
In order to edit the access data of the mobile
phone network provider you have two options:
ROption 1: select the predefined access data of
the mobile phone network provider
(
Ypage 122).
ROption 2: manually set the access data of the
mobile phone network provider (Ypage 122).
Setting up an Internet connection (Canada)123
Online and Internet functions
Z
Page 126 of 178

Canceling Internet access permission
for a mobile phone
XCall up the device list (Ypage 123).
XTo highlight the desired mobile phone in the
device list: turn the controller.
XTo selectG: slide 9the controller.
XTo select Delete Configuration: turn and
press the controller.
A prompt appears asking whether you wish to
delete the Internet configuration.
XTo select Yes: turn and press the controller.
The Internet access permission for the mobile
phone is now canceled. The mobile phone can
now no longer be used by the system for
Internet functions.
Setting automatic disconnection of
the Internet connection
If a preset time has elapsed during which the
Internet functions have not been used, the Inter-
net automatically disconnects.
XCall up the device list (Ypage 123).
XTo highlight the desired mobile phone in the
device list: turn the controller.
XTo select G: slide 9the controller.
XTo select Disconnect AutomaticallyWhen Inactive: turn and press the control-
ler.
XTo select 5 Minutes,10 Minutesor 20Minutes: turn and press the controller.
Managing all Internet devices
If multiple mobile phones have been enabled for
Internet usage, these can be given priorities.
The system then selects the mobile phone with the highest priority to establish an Internet con-
nection.
XCall up the device list (Ypage 123).
XTo highlight the mobile phone: turn the con-
troller.
XTo select
G: slide 9the controller.
XTo select Manage All Internet Devices:
turn and press the controller.
A menu appears.
XTo highlight a mobile telephone: turn the con-
troller.
XTo select G: slide 9the controller.
XTo select Change Device Priority: turn
and press the controller.
XTo move the desired mobile phone up or
down: turn and press the controller.
The mobile phone's priority is changed.
The priority of the mobile phones is deter-
mined by the hierarchy. The mobile phone at
the top of the list has the highest priority.
Establishing/ending the connection
Establishing the connection
Read the conditions for establishing a connec-
tion (Ypage 120).
A connection can be established, for example
by:
Rentering a web address (Ypage 127)
Rcalling up a Mercedes-Benz App
(Ypage 125)
Rcalling up a favorite
Restablishing an Internet connection via a Wi-Fi
device
The "Allow shared Wi-Fi usage" option must
be activated in the multimedia system for
this. (
Ypage 38)
Ending the connection
XPress Cancelin the connections window.
Calling up Internet functions
XTo show the main function bar: slide 5the
controller.
XTo select ®: turn and press the controller.
The menu with the Internet functions is dis-
played.
124Establishing/ending the connection
Online and Internet functions
Page 127 of 178

Connection status
:Display of existing connection and signal
strength of the mobile phone network
In most cases, the current connection status is
then shown in the status bar when you switch to
another main function.
Detailed connection status
XCall up Internet functions (Ypage 124).
XTo switch to the menu bar: slide 6the con-
troller.
XTo select Settings: turn and press the con-
troller.
XTo select Connection Status: turn and
press the controller.
The following information is displayed:
Rthe volume of transferred data
Rconnection status
Rthe device name of the mobile phone
Ending the connection
USA: you cannot cancel the connection your-
self. The Internet connection is automatically
terminated if the system does not recognize any
user input within a five-minute time period.
Canada:
XCall up Internet functions (Ypage 124).
XTo switch to the menu bar: slide 6the con-
troller.
XTo select ©: turn and press the controller.
If the mobile phone Internet connection is can-
celed, the multimedia system tries to reconnect.
You should therefore always end the connection
in the multimedia system.
Mercedes-Benz Apps
General notes
To be able to use Mercedes-Benz Apps, you have
to register and confirm the terms and condi-
tions.
Calling up Mercedes-Benz Apps
XCall up Internet functions (Ypage 124).
XTo select Mercedes-Benz Apps: turn and
press the controller.
XTo call up the app: turn and press the con-
troller.
You can find further Mercedes-Benz Apps and
information under:
http://apps.mercedes-benz.com/apps/
iThe available features are country-depend-
ent.
License fees may be applicable.
Mercedes-Benz Companion
Introduction
The Mercedes-Benz Companion app enables
door-to-door navigation.
Door-to-door navigation means:
RThe current destination is transferred from
the vehicle's multimedia system to an exter-
nal device (iPhone
®or Apple Watch®).
This enables you to continue navigating to a
destination which is in a pedestrian zone, for
example.
RConversely, a destination can be selected on
the external device and transferred to the
vehicle's multimedia system.
Requirements
Observe the following requirements for using
Mercedes-Benz Companion:
RThe iPhone®must be switched on and logged
into a mobile phone network.
RThe iPhone®must have an IOS version higher
than version 8.0.
Mercedes-Benz Companion125
Online and Internet functions
Z
Page 128 of 178

RMercedes-Benz Companion must be installed
on the iPhone®and activated (see the manu-
facturer's operating instructions).
RThe iPhone®must be connected to the mul-
timedia system (Ypage 92).
RMercedes-Benz Companion must be author-
ized on the multimedia system.
RTo use door-to-door navigation, location
access must be enabled on the iPhone®.
RThe Apple Watch®must be connected to the
iPhone®(see the manufacturer's operating
instructions).
Authorizing Mercedes-Benz Compan-
ion
If you wish to use Mercedes-Benz Companion
with the multimedia system, you must first
authorize it.
If you wish to use door-to-door navigation, you
must first enable location finding on your
iPhone
®.
On the multimedia system
XSwitch on the multimedia system.
A prompt appears asking for permission for
Mercedes-Benz Companion to connect with
the vehicle.
XGive authorization.
On the iPhone
®
XCall up Mercedes-Benz Companion
A prompt appears asking permission for
Mercedes-Benz Companion to access loca-
tion details.
XAllow access.
Door-to-door navigation using Mercedes-
Benz Companion can now be used.
Door-to-door navigation (transferring
a destination from the vehicle to an
external device)
You can transfer the destination from the vehi-
cle to an iPhone®or Apple Watch®.
This way, you can navigate on foot to a destina- tion that cannot be reached by vehicle. In the vehicle
XSwitch off the engine and remove the Smart-
Key.
The current destination and the vehicle's
location are transferred from the multimedia
system to the iPhone
®or Apple Watch®.
On the iPhone
®
XSelect the destination and select the pedes-
trian symbol.
XStart navigation.
If using the iPhone®to navigate, you will be
guided to your destination via navigation dis-
plays and spoken instructions.
If you use an Apple Watch
®, navigation is
done via the watch.
The Apple Watch
®assists you with route guid-
ance by vibrating, emitting acoustic signals
and giving spoken commands.
Door-to-door navigation (transferring
a destination from an external device
to the vehicle)
You can transfer the destination from an exter-
nal device to the vehicle's multimedia system:
Rvia the Apple Watch®
Rvia the iPhone®
On the iPhone®
XSelect Mercedes-Benz Companion.
XSelect Send a Destination.
XEnter the destination.
A list of possible destinations is displayed.
XSelect the destination.
XTransfer the destination to the vehicle.
On the Apple Watch
®
XSelect Mercedes-Benz Companion.
XSelect Send to Car.
XSelectFind destinations.
XSay the destination.
XConfirm the entered text with Done.
A list of possible destinations is displayed.
XSelect the destination.
XTransfer the destination to the vehicle.
126Mercedes-Benz Companion
Online and Internet functions
Page 129 of 178

In the vehicle and on the multimedia system
XSwitch on the multimedia system.
The destination in the Apple Watch®or
iPhone®is transferred to the multimedia sys-
tem.
XAccept the displayed destination.
Route guidance starts.
iYou also have the option of transferring des-
tinations or coordinates from other applica-
tions to Mercedes-Benz Companion.
Navigating to the vehicle
You can be guided to the vehicle's location:
Rvia the Apple Watch®
Rvia the iPhone®
On the iPhone®
XSelect Send a Destination.
XSelect the vehicle location and the pedestrian
symbol.
XStart navigation.
On the Apple Watch
®
XSelect Locate Car.
XSelect the car symbol.
XStart navigation.
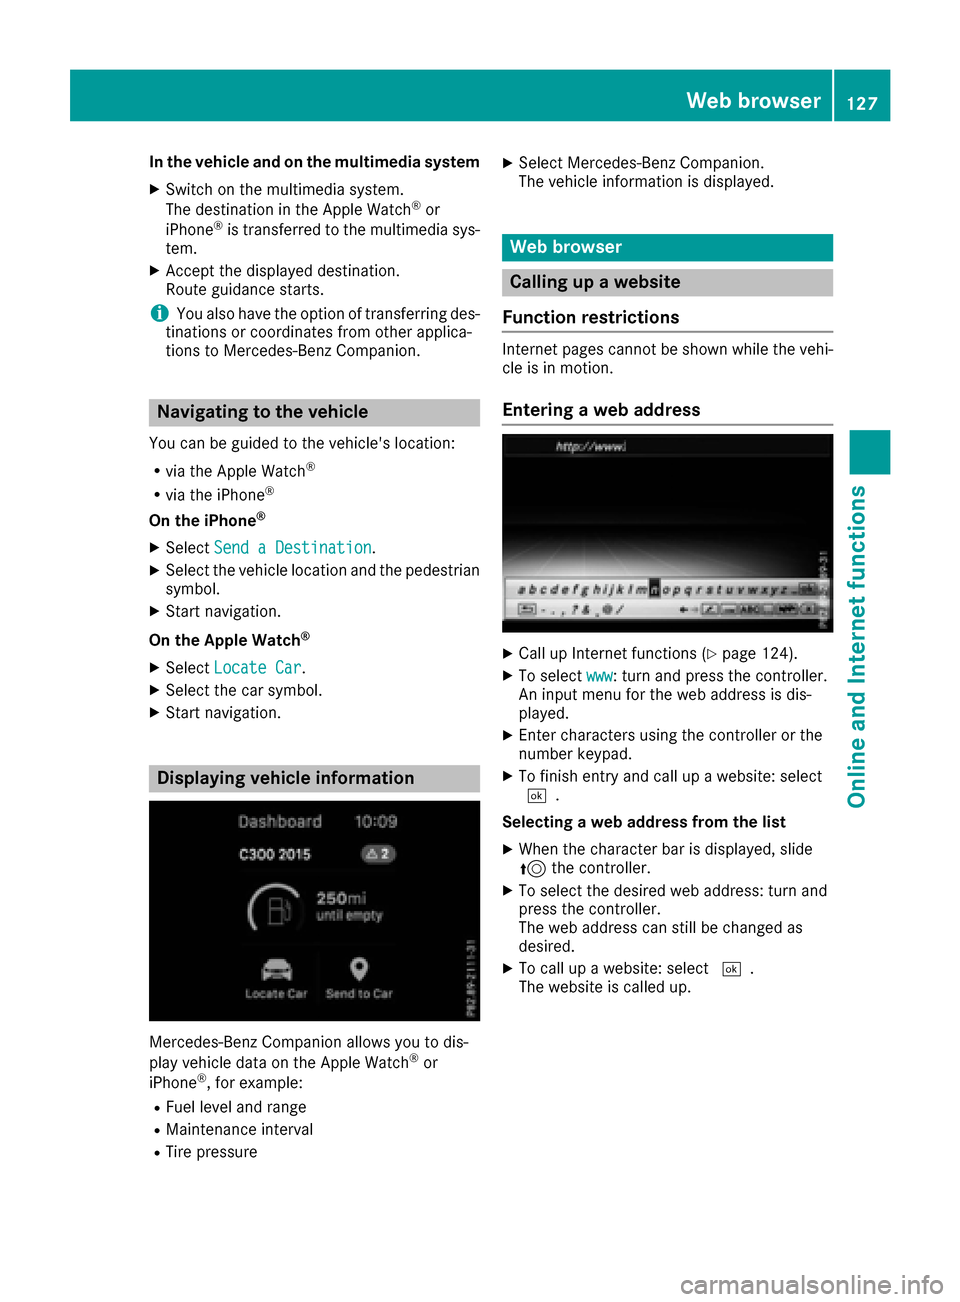
Displaying vehicle information
Mercedes-Benz Companion allows you to dis-
play vehicle data on the Apple Watch®or
iPhone®, for example:
RFuel level and range
RMaintenance interval
RTire pressure
XSelect Mercedes-Benz Companion.
The vehicle information is displayed.
Web browser
Calling up a website
Function restrictions
Internet pages cannot be shown while the vehi-
cle is in motion.
Entering a web address
XCall up Internet functions (Ypage 124).
XTo select www: turn and press the controller.
An input menu for the web address is dis-
played.
XEnter characters using the controller or the
number keypad.
XTo finish entry and call up a website: select
¬.
Selecting a web address from the list
XWhen the character bar is displayed, slide
5 the controller.
XTo select the desired web address: turn and
press the controller.
The web address can still be changed as
desired.
XTo call up a website: select ¬.
The website is called up.
Web browser127
Online and Internet functions
Z
Page 138 of 178

If available, you will see:
Rthe track that is currently being played
Rthe artist of the track that is currently being
played
Rthe album name
Rthe channel abbreviation
Rthe logo of the station or Artist Experience®
Back to radio display:
XTo selectInfo: slide6and press the con-
troller.
Satellite radio
General notes
The satellite radio mode requires satellite radio
equipment and registration with a satellite radio
provider.
Note that the categories and channels shown in
the illustrations depend on the program content
offered by the provider. The illustrations and
descriptions in these operating instructions may
therefore differ from the channels and catego-
ries offered by the provider.
Satellite radio mode may be temporarily unavail-
able or interrupted for a variety of reasons.
These include environmental or topographical
conditions as well as other factors beyond the
control of Mercedes-Benz USA, LLC. This means
operation may not be possible in certain areas.
These include:
Rtunnels
Rparking garages
Rlocations inside or next to buildings
Rlocations in the vicinity of other structures
Sirius XM®Satellite Radio offers more than 140
digital-quality radio channels, providing 100%
commercial-free music, sports, news and enter-
tainment.
Sirius XM
®Satellite Radio uses a fleet of high-
performance satellites to broadcast around the
clock throughout the USA and Canada.
The satellite radio program is available for a
monthly fee. Details are available from the Sirius
XM
®Service Center and at
http://www.siriusxm.com (USA) or
http://www.siriusxm.ca (Canada).
Your new Mercedes-Benz vehicle comes with
Sirius XM
®Satellite Radio pre-installed at the factory. This service is free for a six-month trial
period. About a month before the trial period
ends, information will be provided on how to
extend this subscription. An acoustic signal
sounds and a message is shown, describing how
the subscription can be extended.
iSirius, XM and all related marks and logos
are trademarks of Sirius XM Radio Inc. and its
subsidiaries. All other marks, channel names
and logos are the property of their respective
owners. All rights reserved.
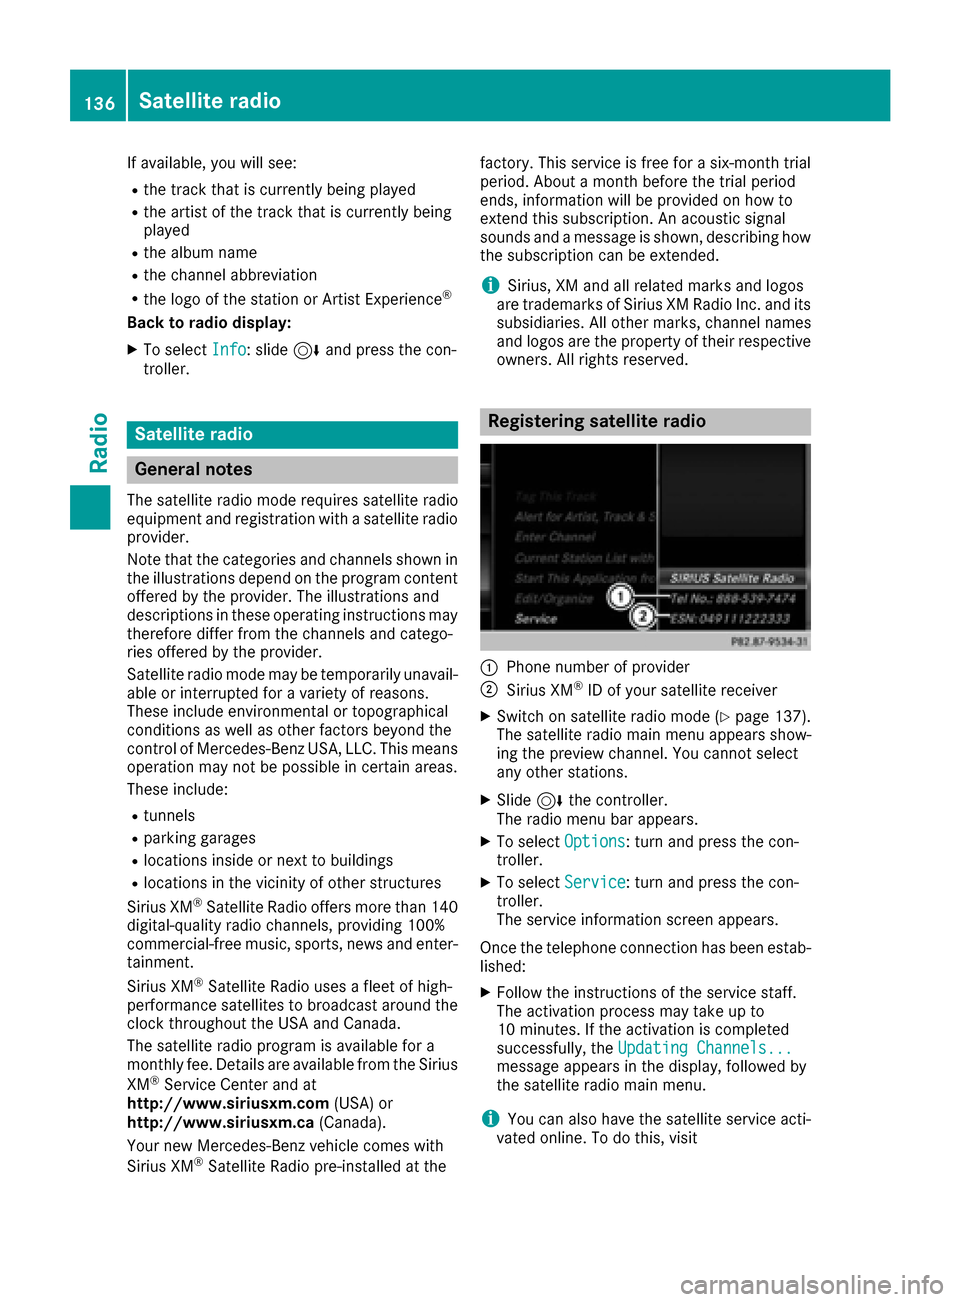
Registering satellite radio
:Phone number of provider
;Sirius XM®ID of your satellite receiver
XSwitch on satellite radio mode (Ypage 137).
The satellite radio main menu appears show-
ing the preview channel. You cannot select
any other stations.
XSlide 6the controller.
The radio menu bar appears.
XTo select Options: turn and press the con-
troller.
XTo select Service: turn and press the con-
troller.
The service information screen appears.
Once the telephone connection has been estab-
lished:
XFollow the instructions of the service staff.
The activation process may take up to
10 minutes. If the activation is completed
successfully, the Updating Channels...
message appears in the display, followed by
the satellite radio main menu.
iYou can also have the satellite service acti-
vated online. To do this, visit
136Satellite radio
Radio
Page 142 of 178

Rthe artist of the track that is currently being
played
Rthe current track
XTo return to the radio display:selectInfoby sliding 6and pressing the controller.
Displaying service information
The provider's customer service center is avail-
able by phone at any time to answer any general
questions or questions on the versions availa-
ble.
XTo select Options: turn and press the con-
troller.
XTo select Service: turn and press the con-
troller.
The provider's details appear.
XTo return to the main display: press the
% button.
Channel list updates
During reception of a new channel list, the
Updating Channels...message is shown.
The channel last selected is switched to mute
until the update has been completed. Satellite
radio mode is not available during this process. Once the update has been completed, the sat-
ellite radio basic menu appears. If the channel
last selected is available, this channel will be
played.
Sound settings
Information on sound settings (Ypage 165).
140Satellite radio
Radio