2017 MERCEDES-BENZ GLA SUV winter tyres
[x] Cancel search: winter tyresPage 6 of 369
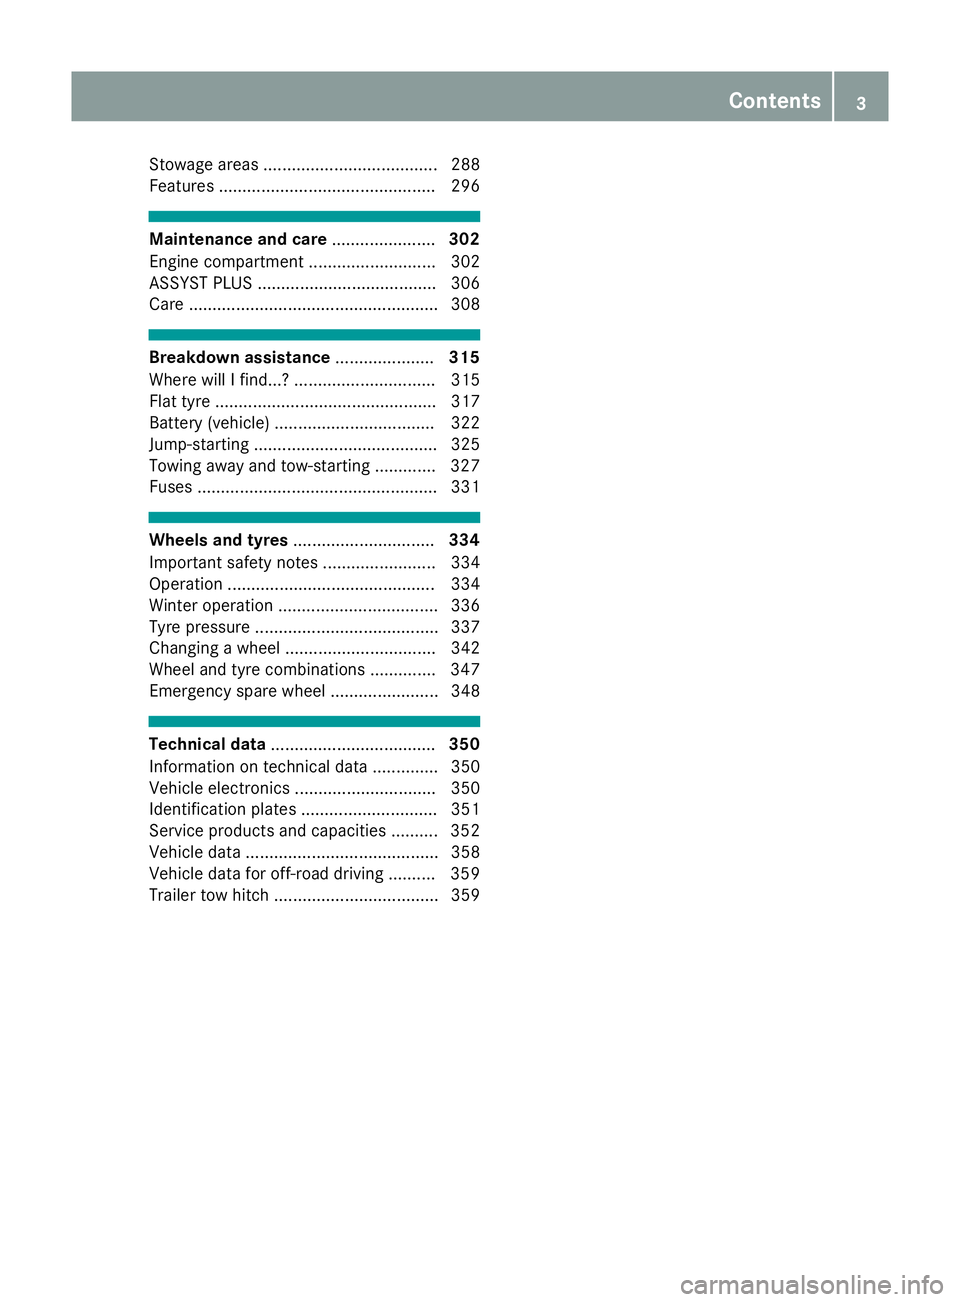
Stowage areas ..................................... 288
Features .............................................. 296 Maintenance and care
......................302
Engine compartment ........................... 302
ASSYST PLUS ...................................... 306
Care ..................................................... 308 Breakdown assistance
.....................315
Where will I find...? .............................. 315
Flat tyre ............................................... 317
Battery (vehicle) .................................. 322
Jump-starting ....................................... 325
Towing away and tow-starting ............. 327
Fuses ................................................... 331 Wheels and tyres
.............................. 334
Important safety notes ........................ 334
Operation ............................................ 334
Winter operation .................................. 336
Tyre pressure ....................................... 337
Changing a wheel ................................ 342
Wheel and tyre combinations .............. 347
Emergency spare wheel ....................... 348 Technical data
................................... 350
Information on technical data .............. 350
Vehicle electronics .............................. 350
Identification plates ............................. 351
Service products and capacities .......... 352
Vehicle data ......................................... 358
Vehicle data for off-road driving .......... 359
Trailer tow hitch ................................... 359 Contents
3
Page 27 of 369
Important safety notes .................. 334
Information on driving .................... 334
Removing a wheel
.......................... 345
Storing ........................................... 343
Tightening torque ........................... 346
Wheel size/tyre size ...................... 347
Wheels and tyres
Changing a whee l.......................... 343
Windowbag
Display message ............................ 243
Operation ......................................... 49
Windows
Cleaning ......................................... 310
see Side windows
Windscreen
Demisting ...................................... 134
Windscreen washer fluid
see Windscreen washer system
Windscreen washer system
Important safety notes .................. 357
Topping up ..................................... 306
Windscreen wipers
Display message ............................ 263
Problem (malfunction) ................... 127
Rear window wipe r........................ 124
Replacing the wiper blades ............ 125
Switching on/of f........................... 124
Winter driving
General notes ................................ 336
Winter operation
Slippery road surfaces ................... 172
Snow chains .................................. 337
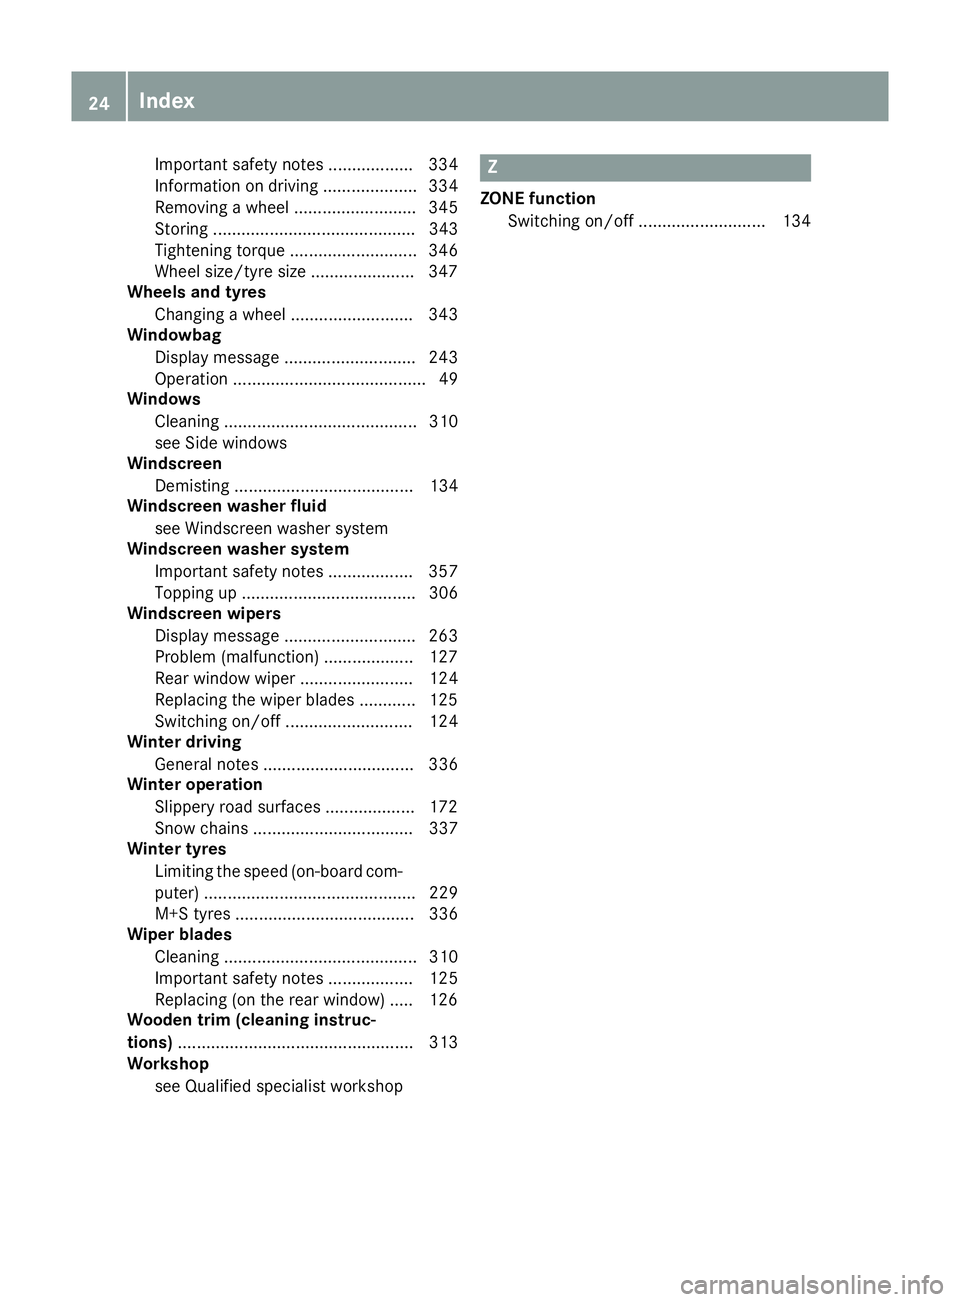
Winter tyres
Limiting the speed (on-board com-
puter) ............................................. 229
M+S tyres ...................................... 336
Wiper blades
Cleaning ......................................... 310
Important safety notes .................. 125
Replacing (on the rear window )..... 126
Wooden trim (cleaning instruc-
tions) .................................................. 313
Workshop
see Qualified specialist workshop Z
ZONE function Switching on/of f........................... 134 24
Index
Page 71 of 369
Driving safety systems
Driving safety systems overview
In this section, you will find information about
the following driving safety systems:
R ABS (Anti-lock BrakingSystem)
(Y page 68)
R BAS (Brake AssistSystem) (Y page 69)
R Active Brake Assist (Y page 69)
R Adaptive brake lights (Y page 71)
R ESP ®
(E lectronic StabilityProgram)
(Y page 72)
R EBD (electronic brake forcedistribution)
(Y page 75)
R ADAPTIVE BRAKE (Y page 75)
R STEER CONTROL (Y page 75)Important safety notes
If you fail to adapt your driving style or if you are
inattentive, the driving safety systems can nei-
ther reduce the risk of an accident nor override
the laws of physics. Driving safety systems are
merely aids designed to assist driving. You are
responsible for maintaining the distance to the
vehicle in front, for vehicle speed, for braking in
good time, and for staying in lane. Always adapt your driving style to suit the prevailing road and weather conditions and maintain a safe distance
from the vehicle in front. Drive carefully.
The driving safety systems described work as
effectively as possible only when there is ade-
quate contact between the tyres and the road
surface. Please pay special attention to the
notes on tyres, recommended minimum tyre
tread depths etc. (Y page 335).
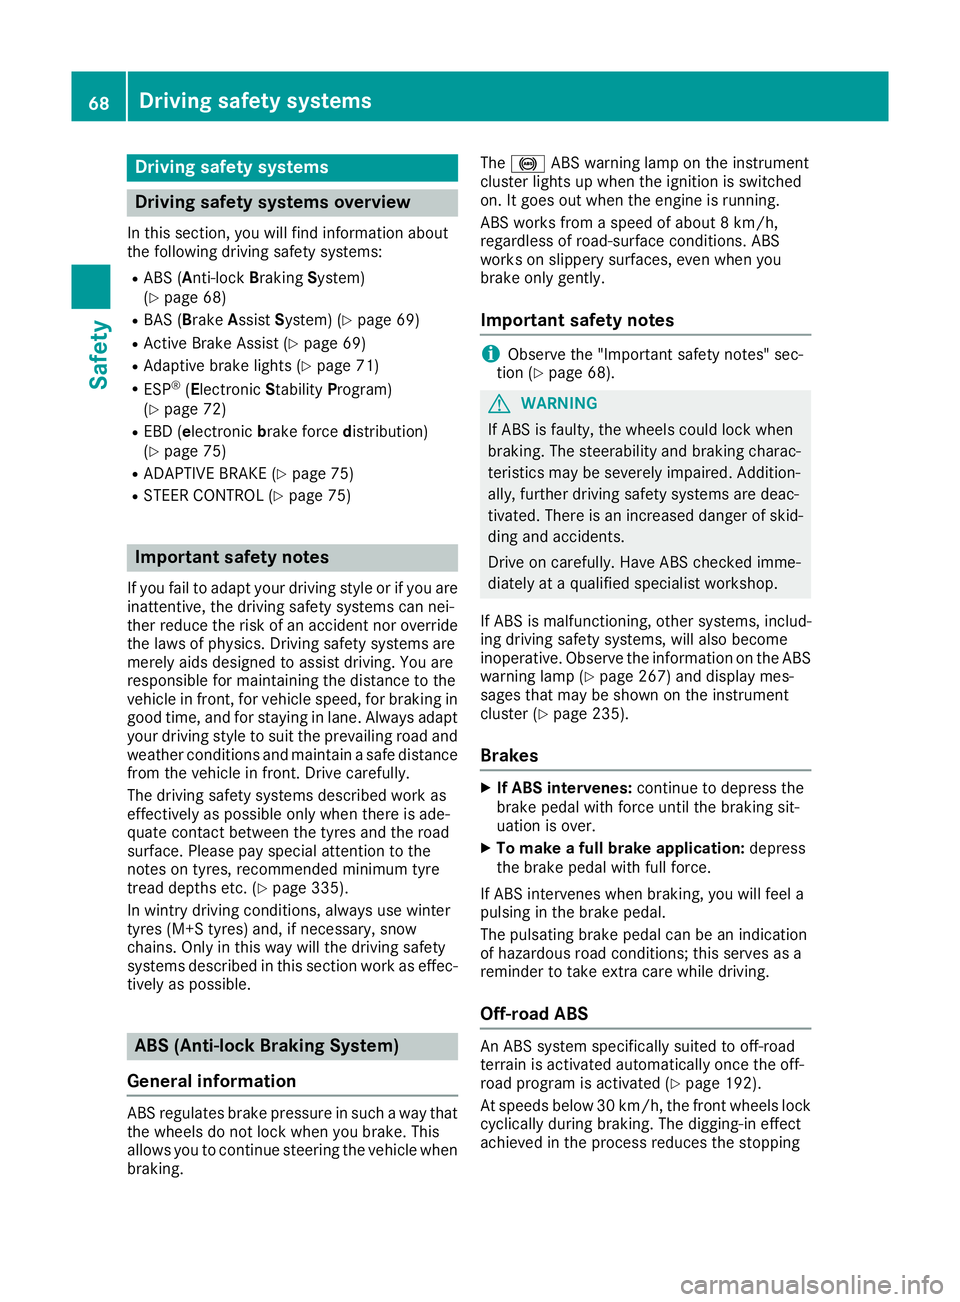
In wintry driving conditions, always use winter
tyres (M+S tyres) and, if necessary, snow
chains. Only in this way will the driving safety
systems described in this section work as effec-
tively as possible. ABS (Anti-lock Braking System)
General information ABS regulates brake pressure in such a way that
the wheels do not lock when you brake. This
allows you to continue steering the vehicle when braking. The
! ABS warning lamp on the instrument
cluster lights up when the ignition is switched
on. It goes out when the engine is running.
ABS works from a speed of about 8 km/h,
regardless of road-surface conditions. ABS
works on slippery surfaces, even when you
brake only gently.
Important safety notes i
Observe the "Important safety notes" sec-
tion (Y page 68). G
WARNING
If ABS is faulty, the wheels could lock when
braking. The steerability and braking charac-
teristics may be severely impaired. Addition-
ally, further driving safety systems are deac-
tivated. There is an increased danger of skid- ding and accidents.
Drive on carefully. Have ABS checked imme-
diately at a qualified specialist workshop.
If ABS is malfunctioning, other systems, includ-
ing driving safety systems, will also become
inoperative. Observe the information on the ABS warning lamp (Y page 267) and display mes-
sages that may be shown on the instrument
cluster (Y page 235).
Brakes X
If ABS intervenes: continue to depress the
brake pedal with force until the braking sit-
uation is over.
X To make a full brake application: depress
the brake pedal with full force.
If ABS intervenes when braking, you will feel a
pulsing in the brake pedal.
The pulsating brake pedal can be an indication
of hazardous road conditions; this serves as a
reminder to take extra care while driving.
Off-road ABS An ABS system specifically suited to off-road
terrain is activated automatically once the off-
road program is activated (Y
page 192).
At speeds below 30 km/h, the front wheels lock
cyclically during braking. The digging-in effect
achieved in the process reduces the stopping 68
Driving safety syste
msSafety
Page 175 of 369
Driving on wet roads
Aquaplaning If water has accumulated to a certain depth on
the road surface, there is a danger of aquaplan- ing occurring, even if:
R you are driving at low speeds
R the tyres have adequate tread depth
For this reason, drive in the following manner in the event of heavy rain or in conditions in which
aquaplaning can occur:
R lower your speed
R avoid tyre ruts
R avoid sudden steering movements
R brake carefully
Driving on flooded roads !
Bear in mind that vehicles travelling in front
or in the opposite direction create waves. This may cause the maximum permissible water
depth to be exceeded.
These notes must be observed under all cir-
cumstances. You could otherwise damage
the engine, the electronics or the transmis-
sion.
If you must drive on stretches of road on which
water has collected, please bear in mind that:
R in the case of standing water, the water level
must be no higher than the lower edge of the
vehicle body
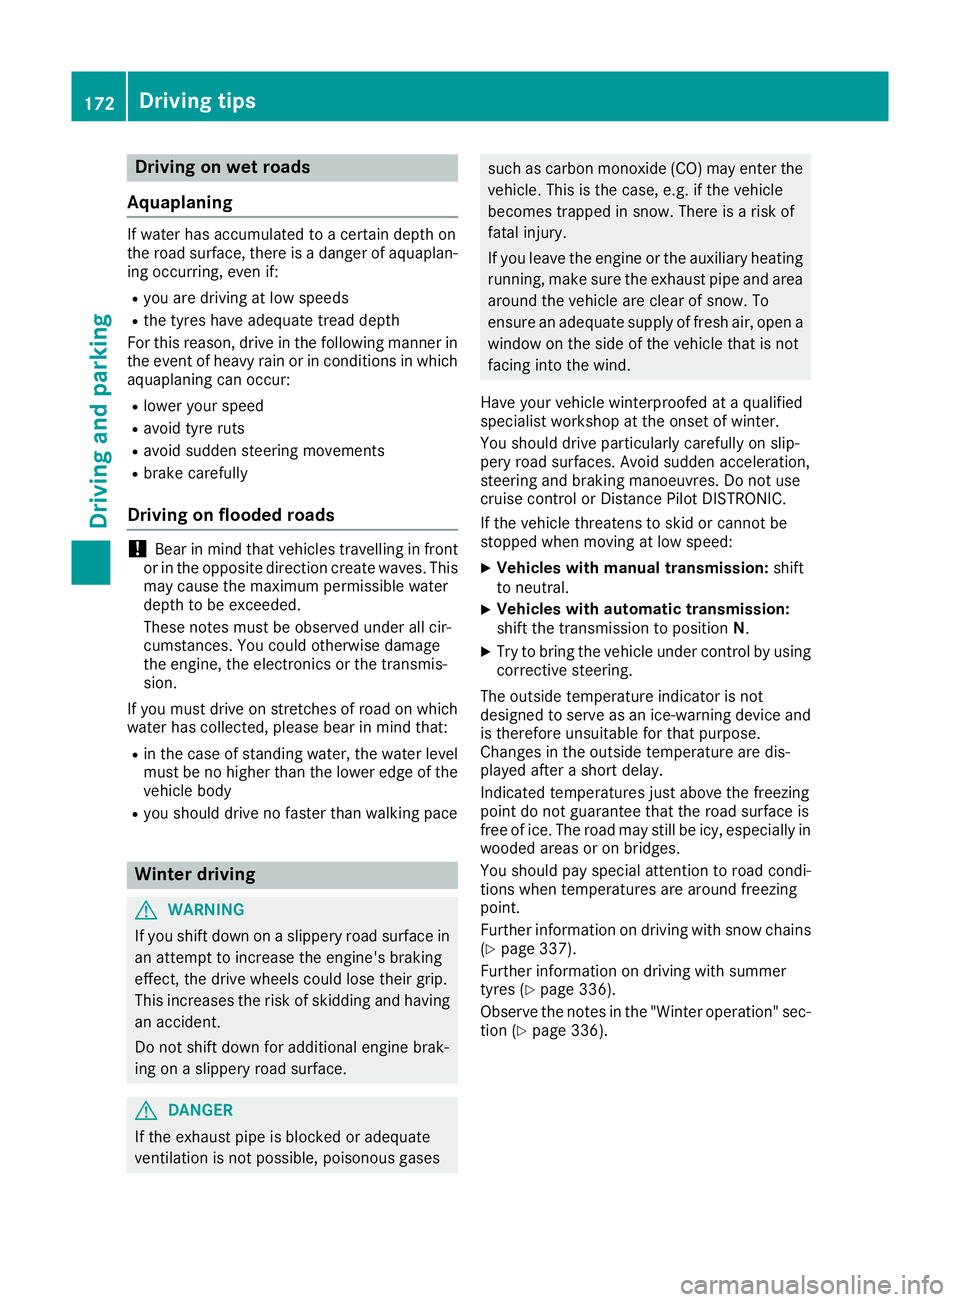
R you should drive no faster than walking pace Winter driving
G
WARNING
If you shift down on a slippery road surface in an attempt to increase the engine's braking
effect, the drive wheels could lose their grip.
This increases the risk of skidding and having
an accident.
Do not shift down for additional engine brak-
ing on a slippery road surface. G
DANGER
If the exhaust pipe is blocked or adequate
ventilation is not possible, poisonous gases such as carbon monoxide (CO) may enter the
vehicle. This is the case, e.g. if the vehicle
becomes trapped in snow. There is a risk of
fatal injury.
If you leave the engine or the auxiliary heating
running, make sure the exhaust pipe and area
around the vehicle are clear of snow. To
ensure an adequate supply of fresh air, open a window on the side of the vehicle that is not
facing into the wind.
Have your vehicle winterproofed at a qualified
specialist workshop at the onset of winter.
You should drive particularly carefully on slip-
pery road surfaces. Avoid sudden acceleration,
steering and braking manoeuvres. Do not use
cruise control or Distance Pilot DISTRONIC.
If the vehicle threatens to skid or cannot be
stopped when moving at low speed:
X Vehicles with manual transmission: shift
to neutral.
X Vehicles with automatic transmission:
shift the transmission to position N.
X Try to bring the vehicle under control by using
corrective steering.
The outside temperature indicator is not
designed to serve as an ice-warning device and
is therefore unsuitable for that purpose.
Changes in the outside temperature are dis-
played after a short delay.
Indicated temperatures just above the freezing
point do not guarantee that the road surface is
free of ice. The road may still be icy, especially in wooded areas or on bridges.
You should pay special attention to road condi-
tions when temperatures are around freezing
point.
Further information on driving with snow chains
(Y page 337).
Further information on driving with summer
tyres (Y page 336).
Observe the notes in the "Winter operation" sec-
tion (Y page 336). 172
Driving tipsDriving and pa
rking
Page 181 of 369
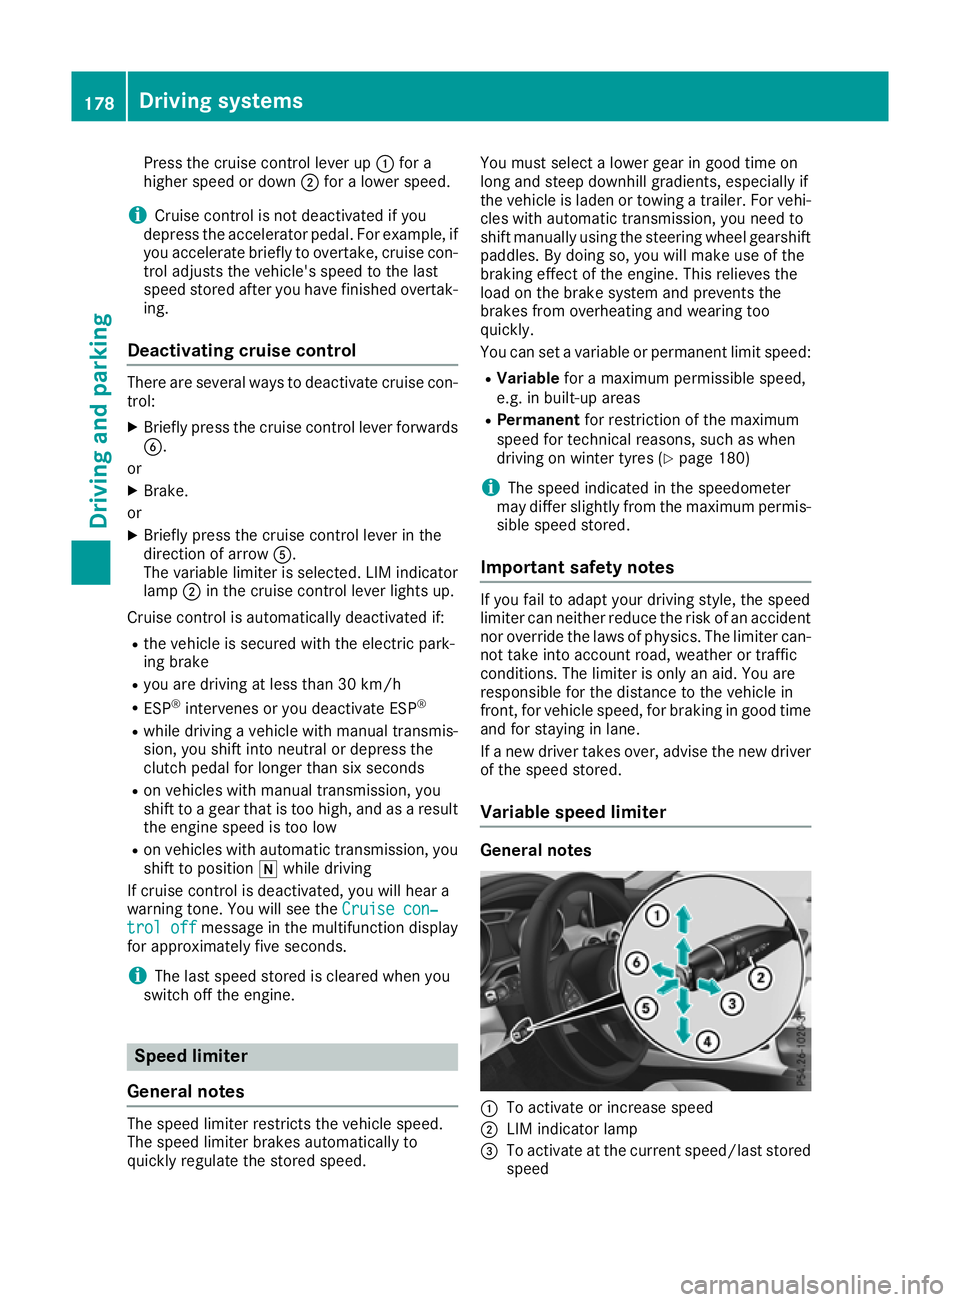
Press the cruise control lever up
:for a
higher speed or down ;for a lower speed.
i Cruise control is not deactivated if you
depress the accelerator pedal. For example, if
you accelerate briefly to overtake, cruise con-
trol adjusts the vehicle's speed to the last
speed stored after you have finished overtak-
ing.
Deactivating cruise control There are several ways to deactivate cruise con-
trol:
X Briefly press the cruise control lever forwards
B.
or X Brake.
or X Briefly press the cruise control lever in the
direction of arrow A.
The variable limiter is selected. LIM indicator lamp ;in the cruise control lever lights up.
Cruise control is automatically deactivated if:
R the vehicle is secured with the electric park-
ing brake
R you are driving at less than 30 km/h
R ESP ®
intervenes or you deactivate ESP ®
R while driving a vehicle with manual transmis-
sion, you shift into neutral or depress the
clutch pedal for longer than six seconds
R on vehicles with manual transmission, you
shift to a gear that is too high, and as a result
the engine speed is too low
R on vehicles with automatic transmission, you
shift to position iwhile driving
If cruise control is deactivated, you will hear a
warning tone. You will see the Cruise con‐
Cruise con‐
trol off trol off message in the multifunction display
for approximately five seconds.
i The last speed stored is cleared when you
switch off the engine. Speed limiter
General notes The speed limiter restricts the vehicle speed.
The speed limiter brakes automatically to
quickly regulate the stored speed. You must select a lower gear in good time on
long and steep downhill gradients, especially if
the vehicle is laden or towing a trailer. For vehi-
cles with automatic transmission, you need to
shift manually using the steering wheel gearshiftpaddles. By doing so, you will make use of the
braking effect of the engine. This relieves the
load on the brake system and prevents the
brakes from overheating and wearing too
quickly.
You can set a variable or permanent limit speed:
R Variable for a maximum permissible speed,
e.g. in built-up areas
R Permanent for restriction of the maximum
speed for technical reasons, such as when
driving on winter tyres (Y page 180)
i The speed indicated in the speedometer
may differ slightly from the maximum permis- sible speed stored.
Important safety notes If you fail to adapt your driving style, the speed
limiter can neither reduce the risk of an accident nor override the laws of physics. The limiter can-
not take into account road, weather or traffic
conditions. The limiter is only an aid. You are
responsible for the distance to the vehicle in
front, for vehicle speed, for braking in good time
and for staying in lane.
If a new driver takes over, advise the new driver
of the speed stored.
Variable speed limiter General notes
:
To activate or increase speed
; LIM indicator lamp
= To activate at the current speed/last stored
speed 178
Driving systemsDriving and parking
Page 183 of 369
Cruise control or Distance Pilot DISTRONIC is
selected.
Vehicles with manual transmission: the lim-
iter switches off if you shift to a higher gear and as a result, the engine speed is too low.
i The last speed stored is cleared when you
switch off the engine.
Permanent limiter If you wish to restrict the maximum speed of the
vehicle for an extended period (e.g. when driving with winter tyres), the desired maximum speed
can be set with the permanent limiter.
You can use the on-board computer to limit the
speed to a value between 160 km/h and
240 km/h (Y page 229).
Shortly before the stored speed is reached, it
appears in the multifunction display. When you
confirm the message with aor%, the
display is suppressed until you next switch off
the engine. The speed will only be displayed
again once the engine has been restarted.
The permanent limiter remains active even if the variable limiter is deactivated. The driven speed
will remain below the stored speed even in the
event of kickdown. Distance Pilot DISTRONIC
General notes Distance Pilot DISTRONIC regulates the speed
and automatically helps you maintain the dis-
tance to the vehicle detected in front. The sys-
tem detects vehicles using the radar sensor sys-
tem. Distance Pilot DISTRONIC brakes automat- ically to avoid exceeding the set speed or to
maintain the designated distance from the vehi- cle in front.
If Distance Pilot DISTRONIC detects that there is
a risk of a collision with the vehicle in front, you will be warned visually and acoustically. Without
your intervention, Distance Pilot DISTRONIC
cannot prevent a collision. An intermittent warn- ing tone will then sound and the distance warn- ing lamp will light up in the instrument cluster.
Brake immediately to increase the distance to
the vehicle in front, or take evasive action, pro-
vided it is safe to do so.
Distance Pilot DISTRONIC operates in the rangebetween 0 km/h and 200 km/h. Shift to a lower gear in good time on long and
steep downhill gradients. Take particular note of
this when driving a laden vehicle. By doing so,
you will make use of the braking effect of the
engine. This relieves the load on the brake sys-
tem and prevents the brakes from overheating
and wearing too quickly.
Do not use Distance Pilot DISTRONIC on roads
with steep gradients.
For Distance Pilot DISTRONIC to assist you
when driving, the radar sensor system must be
operational.
Important safety notes G
WARNING
Distance Pilot DISTRONIC does not recognise
R people or animals
R stationary objects on the road, e.g. stopped
or parked vehicles
R oncoming vehicles or crossing traffic
As a result, Distance Pilot DISTRONIC may
neither give warnings nor intervene in such
situations. There is a risk of an accident.
Always pay careful attention to the traffic sit-
uation and be ready to brake. G
WARNING
Distance Pilot DISTRONIC cannot always
clearly identify other road users and complex
traffic situations.
In such cases, Distance Pilot DISTRONIC may:
R give an unnecessary warning and then
brake the vehicle
R neither give a warning nor intervene
R accelerate or brake unexpectedly
There is a risk of an accident.
Continue to drive carefully and be ready to
brake, especially if Distance Pilot DISTRONIC
warns you. G
WARNING
Distance Pilot DISTRONIC brakes your vehicle with up to 50% of the maximum possible
deceleration. If this deceleration is not suffi-
cient, Distance Pilot DISTRONIC alerts you 180
Driving systemsDriving and parking
Page 193 of 369
The
AMG Ride Control COMFORT
AMG Ride Control COMFORT message
appears in the multifunction display. 4MATIC
! Never tow the vehicle with one axle raised.
This may damage the differential. Damage of
this sort is not covered by the Mercedes-Benz
implied warranty. All wheels must remain
either on the ground or be fully raised.
Observe the instructions for towing the vehi-
cle with all wheels in full contact with the
ground.
4MATIC, together with ESP ®
, improves the trac-
tion of your vehicle whenever a drive wheel
spins due to insufficient grip.
If you fail to adapt your driving style, 4MATIC can neither reduce the risk of an accident nor over-
ride the laws of physics. 4MATIC cannot take
account of road, weather and traffic conditions.
4MATIC is only an aid. You are responsible for
the distance to the vehicle in front, for vehicle
speed, for braking in good time and for staying in
lane.
If a drive wheel spins due to insufficient grip:
R when pulling away, only depress the acceler-
ator pedal as far as is necessary.
R accelerate less when driving.
i In wintry driving conditions, the maximum
effect of 4MATIC can only be achieved if you
use winter tyres (M+S tyres), with snow
chains if necessary. DSR
General notes i
DSR (Downhill Speed Regulation) is only
available for vehicles with the ON&OFFROAD
package.
DSR is an aid to assist you when driving down-
hill. It keeps the speed of travel at the speed
selected on the on-board computer. The steeper
the downhill gradient, the greater the DSR brak-
ing effect on the vehicle. When driving on flat
stretches of road or on an uphill gradient, the
DSR braking effect is minimal or non-existent.
DSR controls the vehicle’s speed when it is acti- vated and the transmission is in position h,k
or i. By accelerating or braking, you can always drive at a higher or a lower speed than
that set on the on-board computer.
Important safety notes G
WARNING
If the speed driven and the set speed deviate and you activate DSR on a slippery road sur-
face, the wheels may lose traction. This
increases the risk of skidding and having an
accident.
Before switching DSR on, please take into
consideration the road surface and the differ-
ence between driving speed and the set
speed.
If you fail to adapt your driving style, DSR can
neither reduce the risk of accident nor override the laws of physics. DSR cannot take account ofroad, weather and traffic conditions. DSR is only
an aid. You are responsible for the distance to
the vehicle in front, for vehicle speed, for brak-
ing in good time and for staying in lane.
You are always responsible for keeping control
of the vehicle and for assessing whether the
downhill gradient can be managed. DSR may not
always be able to keep to the set speed, depend-
ing on road surface and tyre conditions. Select a set speed suitable for the prevailing conditions
and when necessary, apply the brakes manually.
Further information about "Driving off-road"
(Y page 173).
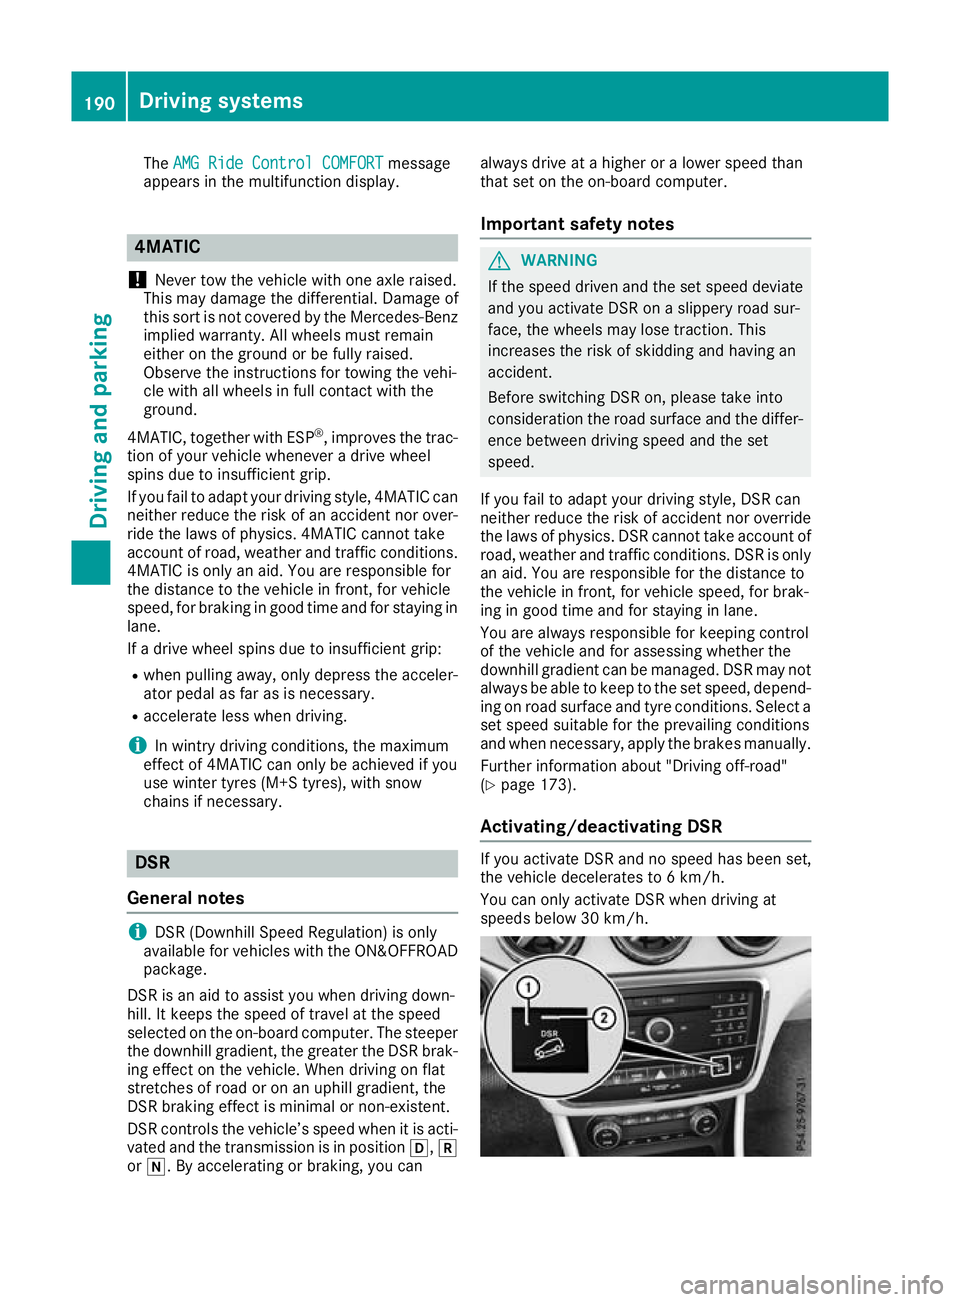
Activating/deactivating DSR If you activate DSR and no speed has been set,
the vehicle decelerates to 6 km/h.
You can only activate DSR when driving at
speeds below 30 km/h.190
Driving systemsDriving and parking
Page 232 of 369
Selecting permanent display
United Kingdom: this function is unavailable.
The Permanent display:
Permanent display: function allows you
to choose whether the multifunction display
always shows the outside temperature or the
speed.
The speed display is inverse to your speedome- ter.
X Press the =or; button on the steering
wheel to select the Settings
Settings menu.
X Press the :or9 button to select the
Instrument cluster Instrument cluster submenu.
X Press ato confirm.
X Press the :or9 button to select the
Permanent display:
Permanent display: function.
The current setting, outside temperature
outside temperature
or Dig. speedo [mph]:
Dig. speedo [mph]:, appears.
X Press the abutton to save the setting.
Lights Switching the daytime driving lights
on/off
The Daytime driving lights Daytime driving lights function can
only be switched on with the engine turned off.
X Press the =or; button on the steering
wheel to select the Settings
Settingsmenu.
X Press the :or9 button to select the
Lights
Lights submenu.
X Press ato confirm.
X Press the :or9 button to select the
Daytime driving lights
Daytime driving lights function.
If the Daytime
Daytime driving
drivinglights
lightsfunction has
been switched on, the cone of light and the
W symbol in the multifunction display are
shown in orange.
X Press the abutton to save the setting.
Further information on daytime driving lights
(Y page 116).
Vehicle Setting permanent SPEEDTRONIC
You can set the permanent limiter using the
Limit speed (winter tyres):
Limit speed (winter tyres): function.
X Press the =or; button on the steering
wheel to select the Settings Settingsmenu.
X Press the :or9 button to select the
Vehicle
Vehicle submenu. X
Press ato confirm.
X Press :or9 to select the Limit
Limit
speed (winter tyres):
speed (winter tyres): function.
You will see the current setting.
X Press ato confirm.
X Press the :or9 button to adjust the
permanent speed limiter in increments of ten
(160 km/h 160 km/h to240 km/h
240 km/h). The Off
Offsetting
switches the permanent speed limiter off.
X Press the abutton to store the entry.
Further information on the permanent speed
limiter (Y page 180).
Activating/deactivating the automatic
locking feature
X Press the =or; button on the steering
wheel to select the Settings Settingsmenu.
X Press the :or9 button to select the
Vehicle
Vehicle submenu.
X Press ato confirm.
X Press the :or9 button to select the
Automatic door locks
Automatic door locks function.
If the Automatic door locks
Automatic door locks function is
switched on, the multifunction display shows
the vehicle's doors in orange.
X Press ato save the setting.
If you activate the Automatic door locks
Automatic door locks
function, the vehicle is centrally locked above a
speed of around 15 km/h.
For further information on the automatic locking feature; see (Y page 87).
Activating/deactivating the acoustic
locking confirmation
If you switch on the Acoustic AcousticLock
Lockfunction, an
acoustic signal sounds when you lock the vehi-
cle.
X Press the =or; button on the steering
wheel to select the Settings Settingsmenu.
X Press the :or9 button to select the
Vehicle
Vehicle submenu.
X Press ato confirm.
X Press the :or9 button to select the
Acoustic Lock
Acoustic Lock function.
If the Acoustic Lock
Acoustic Lock function is activated,
the & symbol in the multifunction display
lights up orange.
X Press the abutton to save the setting. Menus and submenus
229On-board computer and displays Z