2017 MERCEDES-BENZ GLA SUV fog light
[x] Cancel search: fog lightPage 203 of 369

Cancelling Parking Pilot
X
Stop the movement of the multifunction
steering wheel or steer yourself.
Parking Pilot is cancelled at once. The Park‐ Park‐
ing Pilot cancelled
ing Pilot cancelled message appears in
the multifunction display.
or X Press the PARKTRONIC button (Y page 195).
Parking Assist PARKTRONIC is switched off
and Parking Pilot is immediately cancelled.
The Parking Pilot cancelled
Parking Pilot cancelled message
appears in the multifunction display.
Parking Pilot is cancelled automatically when:
R the electric parking brake is applied
R transmission position jis selected in vehi-
cles with automatic transmission
R parking using Parking Pilot is no longer pos-
sible
R you are driving at a speed greater than
10 km/h
R a wheel spins and ESP ®
intervenes or fails. In
such cases the ÷warning lamp lights up
on the instrument cluster
A warning tone sounds. The parking symbol dis-
appears and the multifunction display shows the
Parking Pilot cancelled
Parking Pilot cancelled message.
When Parking Pilot is cancelled, you must steer and brake again yourself.
If a system malfunction occurs, the vehicle is
braked to a standstill. To drive on, depress the
accelerator pedal again. Rear view camera
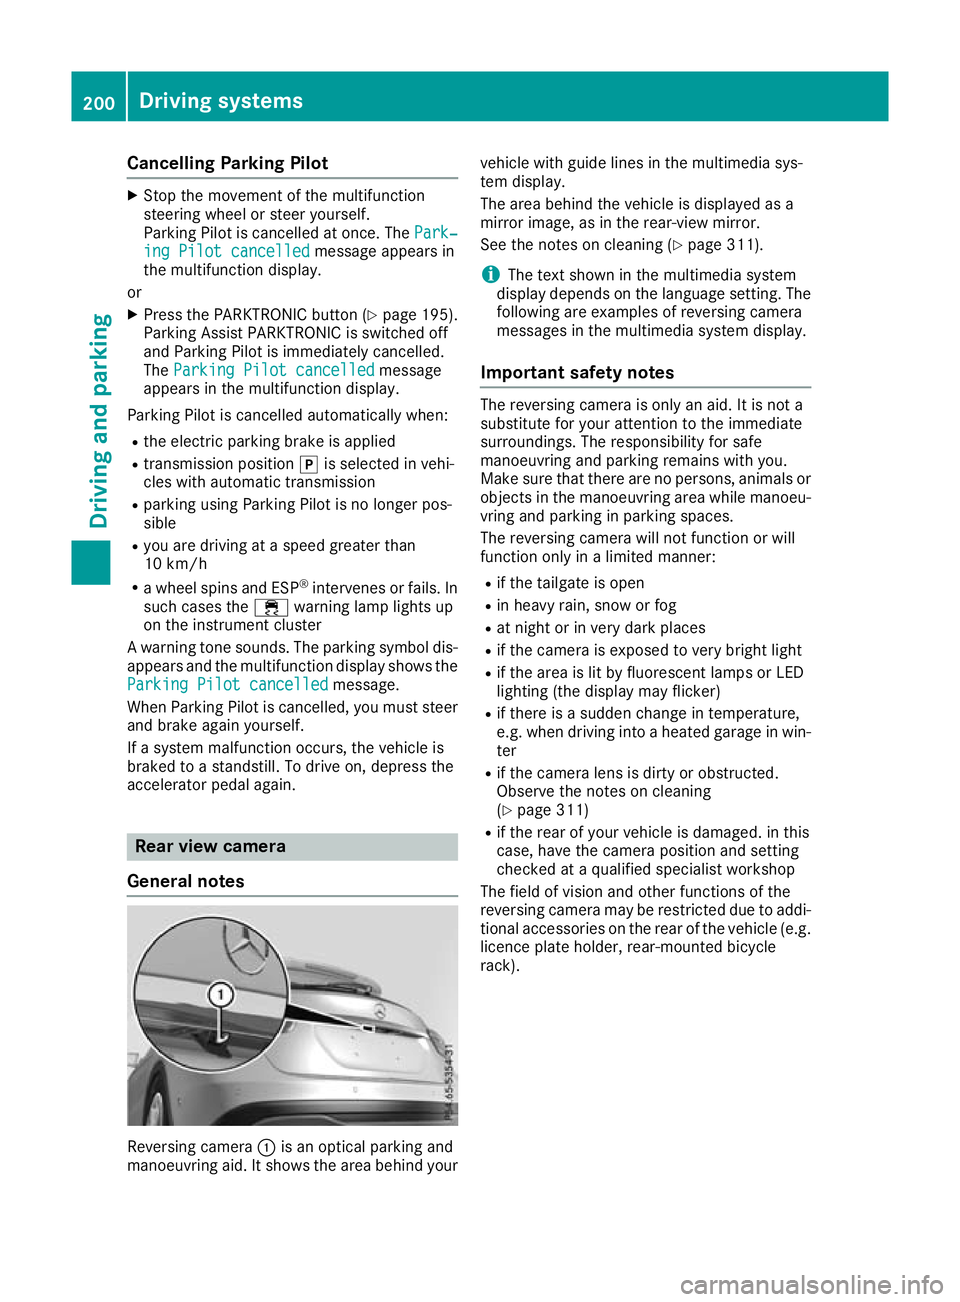
General notes Reversing camera
:is an optical parking and
manoeuvring aid. It shows the area behind your vehicle with guide lines in the multimedia sys-
tem display.
The area behind the vehicle is displayed as a
mirror image, as in the rear-view mirror.
See the notes on cleaning (Y
page 311).
i The text shown in the multimedia system
display depends on the language setting. The following are examples of reversing camera
messages in the multimedia system display.
Important safety notes The reversing camera is only an aid. It is not a
substitute for your attention to the immediate
surroundings. The responsibility for safe
manoeuvring and parking remains with you.
Make sure that there are no persons, animals or
objects in the manoeuvring area while manoeu-
vring and parking in parking spaces.
The reversing camera will not function or will
function only in a limited manner:
R if the tailgate is open
R in heavy rain, snow or fog
R at night or in very dark places
R if the camera is exposed to very bright light
R if the area is lit by fluorescent lamps or LED
lighting (the display may flicker)
R if there is a sudden change in temperature,
e.g. when driving into a heated garage in win-
ter
R if the camera lens is dirty or obstructed.
Observe the notes on cleaning
(Y page 311)
R if the rear of your vehicle is damaged. in this
case, have the camera position and setting
checked at a qualified specialist workshop
The field of vision and other functions of the
reversing camera may be restricted due to addi-
tional accessories on the rear of the vehicle (e.g. licence plate holder, rear-mounted bicycle
rack). 200
Driving systemsDriving and parking
Page 208 of 369

R
under the front bumper
R very close to the front bumper
R very close to the rear bumper
R under the rear bumper
R in the area immediately above the recessed
handle on the boot lid
R very close to the exterior mirrors
You are responsible for safety at all times and
must always pay attention to your immediate
surroundings when parking and manoeuvring.
This applies to the areas behind, in front of and
beside the vehicle. You could otherwise endan-
ger yourself and others.
The 360° camera will not function or will func-
tion only to a limited extent:
R if the doors are open
R if the exterior mirrors are folded in
R if the tailgate is open
R in heavy rain, snow or fog
R at night or in very dark places
R if the cameras are exposed to very bright light
R if the area is lit by fluorescent lamps or LED
lighting (the display may flicker)
R if there is a sudden change in temperature,
e.g. when driving into a heated garage in win- ter
R if the camera lenses are dirty or covered
R if the vehicle components in which the cam-
eras are fitted are damaged: In this event,
have the camera position and setting checked at a qualified specialist workshop
Do not use the 360° camera under such cir-
cumstances. You could otherwise injure others
or damage objects when parking the vehicle.
Activation conditions The 360° camera image can be displayed if:
R your vehicle is equipped with a 360° camera
R COMAND Online is switched on; see the sep-
arate COMAND Online operating instructions
R the 360° camera 360° camera function is activated Activating the 360° camera using the
SYS button X
Press the Wbutton for longer than 2 sec-
onds; see the separate COMAND Online oper-
ating instructions.
The following appears depending on whether
gear hork is selected:
R full-screen view with image from the front
camera
R full-screen view with image from the revers-
ing camera
Activating the 360° camera using
COMAND Online X
Press the Wbutton, see the separate
COMAND Online operating Instructions.
X Select System System by turning cVdthe COMAND
controller and press Wto confirm.
X Select 360°
360°camera
camera and press Wto confirm.
The following appears depending on whether
gear hork is selected:
R a split screen with top view and the image
from the front camera or
R a split screen with top view and the image
from the rear view camera
For further information on the COMAND con-
troller; see the separate COMAND Online oper-
ating instructions.
Switching on the 360° camera using
reverse gear You can show images from the 360° camera
automatically by engaging reverse gear.
X Make sure that the key is in position 2in the
ignition lock.
X Make sure that the Activation by R gear Activation by R gear
setting is active in COMAND Online, see the
separate COMAND Online operating instruc-
tions.
X To show the 360° camera image: engage
reverse gear.
The area behind the vehicle is shown in the
COMAND display in split-screen mode:
R vehicle with guide lines
R top view of the vehicle Driving systems
205Driving and parking Z
Page 250 of 369

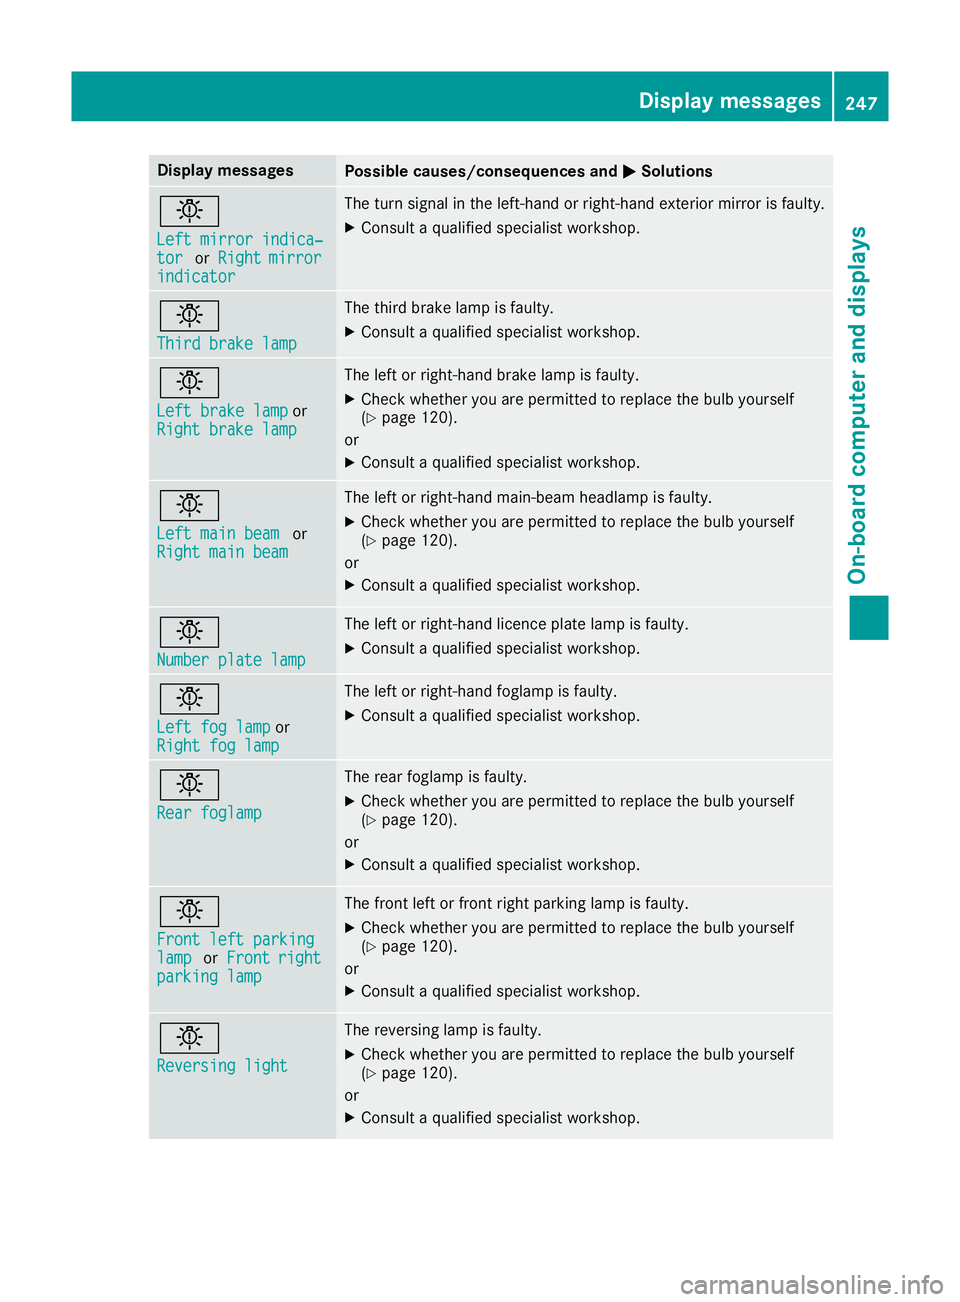
Display messages
Possible causes/consequences and
M
MSolutions b
Left mirror indica‐ Left mirror indica‐
tor tor
orRight
Right mirror
mirror
indicator
indicator The turn signal in the left-hand or right-hand exterior mirror is faulty.
X Consult a qualified specialist workshop. b
Third brake lamp Third brake lamp The third brake lamp is faulty.
X Consult a qualified specialist workshop. b
Left brake lamp Left brake lamp
or
Right brake lamp
Right brake lamp The left or right-hand brake lamp is faulty.
X Check whether you are permitted to replace the bulb yourself
(Y page 120).
or
X Consult a qualified specialist workshop. b
Left main beam Left main beam
or
Right main beam
Right main beam The left or right-hand main-beam headlamp is faulty.
X Check whether you are permitted to replace the bulb yourself
(Y page 120).
or X Consult a qualified specialist workshop. b
Number plate lamp Number plate lamp The left or right-hand licence plate lamp is faulty.
X Consult a qualified specialist workshop. b
Left fog lamp Left fog lamp
or
Right fog lamp
Right fog lamp The left or right-hand foglamp is faulty.
X Consult a qualified specialist workshop. b
Rear foglamp Rear foglamp The rear foglamp is faulty.
X Check whether you are permitted to replace the bulb yourself
(Y page 120).
or X Consult a qualified specialist workshop. b
Front left parking Front left parking
lamp lamp
orFront
Front right
right
parking lamp
parking lamp The front left or front right parking lamp is faulty.
X Check whether you are permitted to replace the bulb yourself
(Y page 120).
or X Consult a qualified specialist workshop. b
Reversing light Reversing light The reversing lamp is faulty.
X Check whether you are permitted to replace the bulb yourself
(Y page 120).
or
X Consult a qualified specialist workshop. Display
messages
247On-board computer and displays Z
Page 251 of 369

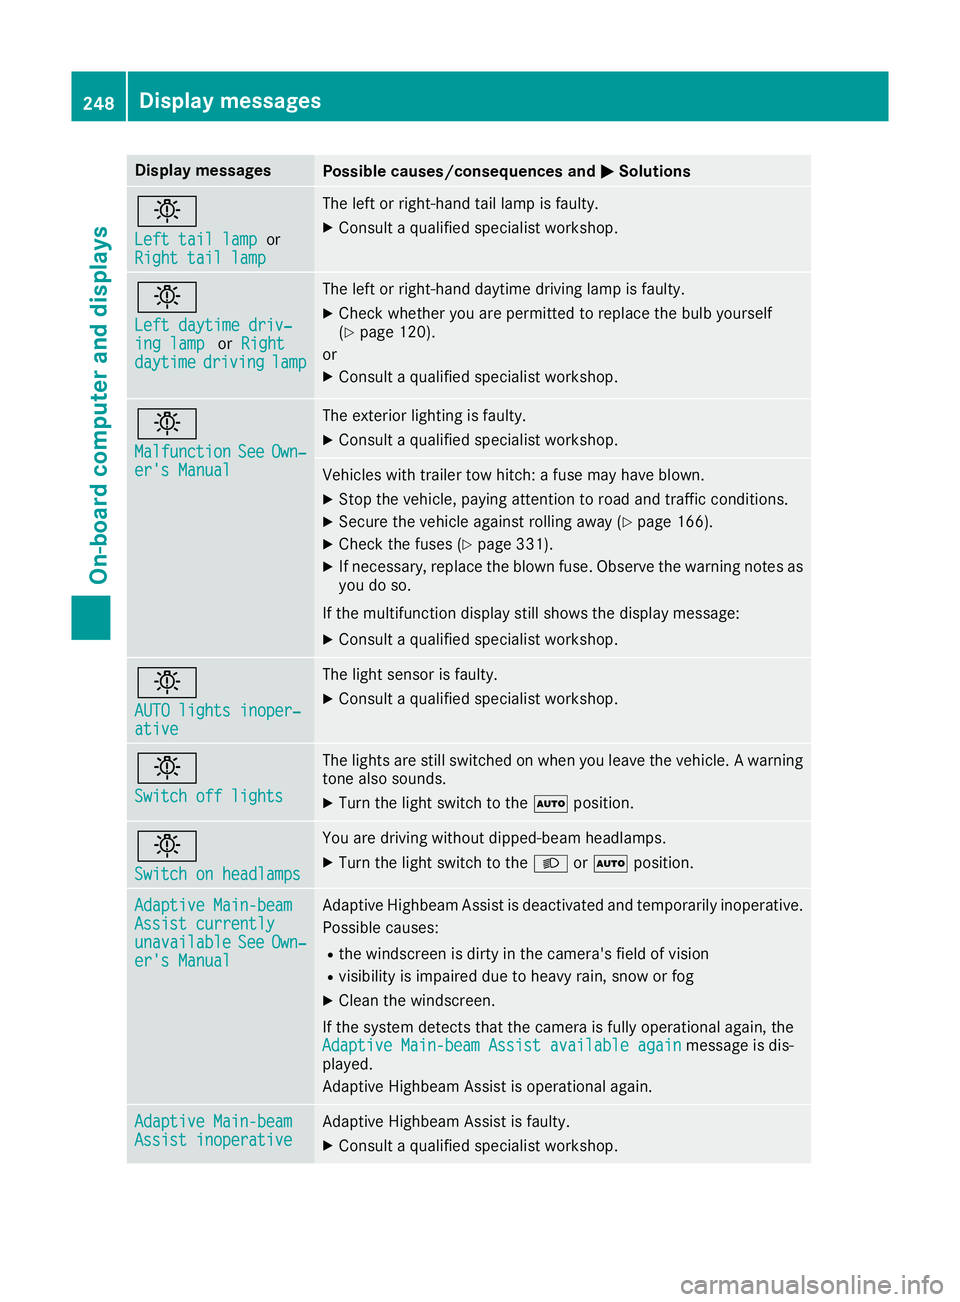
Display messages
Possible causes/consequences and
M
MSolutions b
Left tail lamp Left tail lamp
or
Right tail lamp
Right tail lamp The left or right-hand tail lamp is faulty.
X Consult a qualified specialist workshop. b
Left daytime driv‐ Left daytime driv‐
ing lamp ing lamp
orRight
Right
daytime
daytime driving
drivinglamp
lamp The left or right-hand daytime driving lamp is faulty.
X Check whether you are permitted to replace the bulb yourself
(Y page 120).
or
X Consult a qualified specialist workshop. b
Malfunction Malfunction
See
SeeOwn‐
Own‐
er's Manual
er's Manual The exterior lighting is faulty.
X Consult a qualified specialist workshop. Vehicles with trailer tow hitch: a fuse may have blown.
X Stop the vehicle, paying attention to road and traffic conditions.
X Secure the vehicle against rolling away (Y page 166).
X Check the fuses (Y page 331).
X If necessary, replace the blown fuse. Observe the warning notes as
you do so.
If the multifunction display still shows the display message: X Consult a qualified specialist workshop. b
AUTO lights inoper‐ AUTO lights inoper‐
ative ative The light sensor is faulty.
X
Consult a qualified specialist workshop. b
Switch off lights Switch off lights The lights are still switched on when you leave the vehicle. A warning
tone also sounds.
X Turn the light switch to the Ãposition. b
Switch on headlamps Switch on headlamps You are driving without dipped-beam headlamps.
X
Turn the light switch to the Lorà position. Adaptive Main-beam Adaptive Main-beam
Assist currently Assist currently
unavailable unavailable
See
SeeOwn‐
Own‐
er's Manual
er's Manual Adaptive Highbeam Assist is deactivated and temporarily inoperative.
Possible causes:
R the windscreen is dirty in the camera's field of vision
R visibility is impaired due to heavy rain, snow or fog
X Clean the windscreen.
If the system detects that the camera is fully operational again, the Adaptive Main-beam Assist available again
Adaptive Main-beam Assist available again message is dis-
played.
Adaptive Highbeam Assist is operational again. Adaptive Main-beam Adaptive Main-beam
Assist inoperative Assist inoperative Adaptive Highbeam Assist is faulty.
X
Consult a qualified specialist workshop. 248
Display
messagesOn-board computer and displays