2017 MERCEDES-BENZ G-Class bluetooth
[x] Cancel search: bluetoothPage 7 of 286
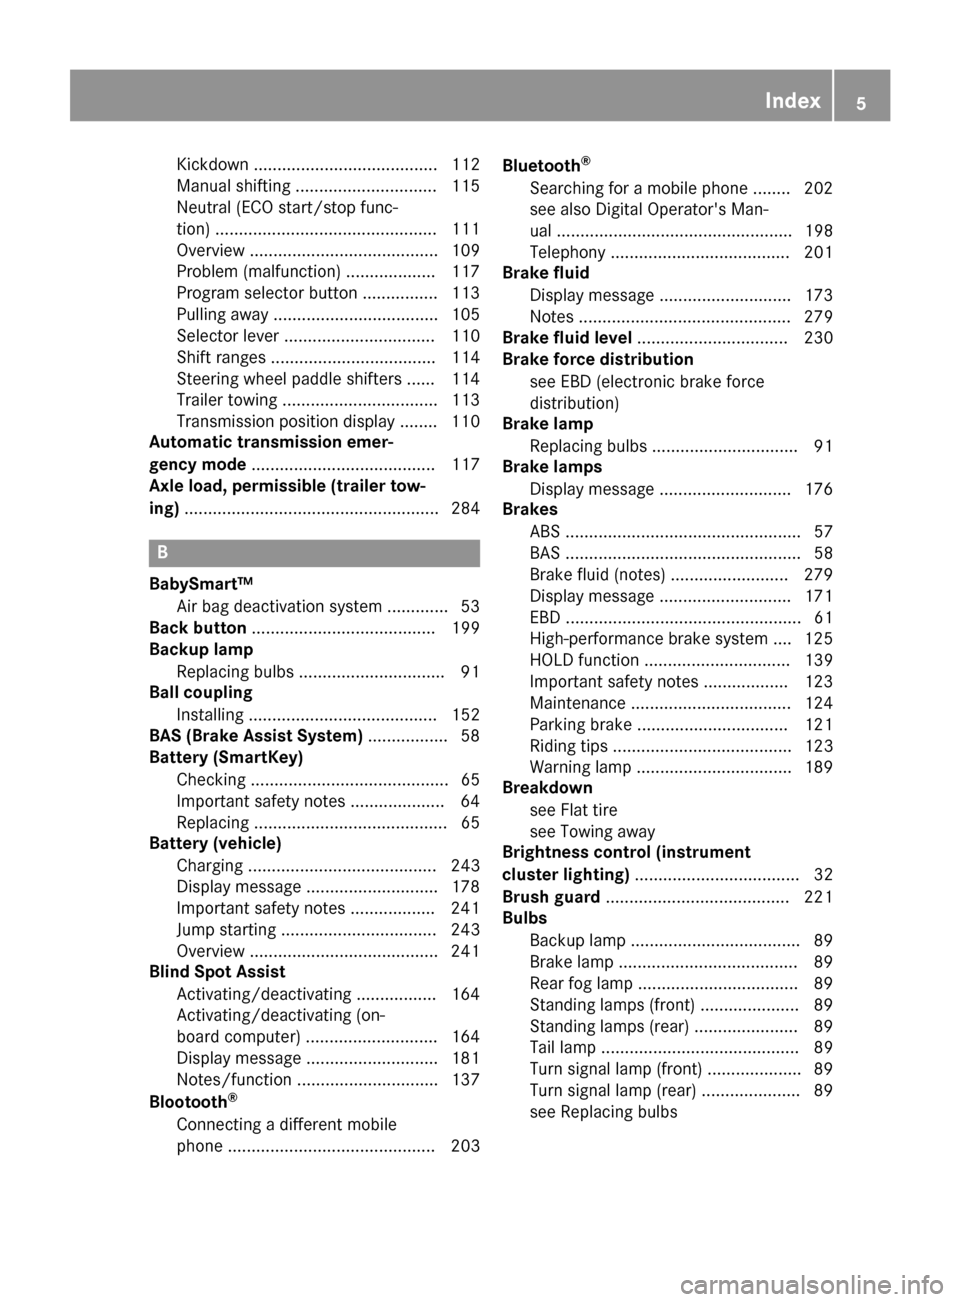
Kickdown ....................................... 112
Manualshifting .............................. 115
Neutral (ECO start/stop func-
tion) ............................................... 111
Overview ........................................ 109
Problem (malfunction) ................... 117
Programs elector button ................ 113
Pulling awa y................................... 105
Selector lever ................................ 110
Shift ranges ................................... 114
Steering wheelp addleshifters ...... 114
Trailer towing ................................. 113
Transmission position display ........ 110
Automatic transmission emer-
gencym ode....................................... 117
Axle load, permissible( trailertow-
ing) ...................................................... 284
B
BabySmart™
Air ba gdeactivation system ............. 53
Back button ....................................... 199
Backup lamp
Replacing bulb s............................... 91
Ball coupling
Installing ........................................ 152
BAS (Brake Assist System) ................. 58
Battery (SmartKey)
Checking .......................................... 65
Important safety notes .................... 64
Replacing ......................................... 65
Battery (vehicle)
Charging ........................................ 243
Displa ymessage ............................ 178
Important safety notes .................. 241
Jump starting ................................. 243
Overview ........................................ 241
Blind SpotA ssist
Activating/deactivating ................. 164
Activating/deactivating (on-
board computer) ............................ 164
Displa ymessage ............................ 181
Notes/function .............................. 137
Blootooth
®
Connecting adifferent mobile
phone ............................................ 203 Bluetooth
®
Searching for
amobilephone ........ 202
see also Digital Operator's Man-
ua l.................................................. 198
Telephony ...................................... 201
Brake fluid
Displa ymessage ............................ 173
Notes. ............................................ 279
Brake fluid level ................................ 230
Brake forc edistribution
see EBD (electronicb rake force
distribution)
Brake lamp
Replacing bulb s............................... 91
Brake lamps
Displa ymessage ............................ 176
Brakes
ABS .................................................. 57
BAS .................................................. 58
Brake fluid (notes) ......................... 279
Displa ymessage ............................ 171
EBD .................................................. 61
High-performance brake system .... 125
HOLD function ............................... 139
Important safety notes .................. 123
Maintenance .................................. 124
Parking brake ................................ 121
Riding tip s...................................... 123
Warning lamp ................................. 189
Breakdown
see Fla ttire
see Towing away
Brightness control( instrument
clusterl ighting) ................................... 32
Brush guard ....................................... 221
Bulbs
Backu plam p.................................... 89
Brake lamp ...................................... 89
Rear fog lamp .................................. 89
Standing lamps (fro nt) ..................... 89
Sta
nding lamps (rear) ...................... 89
Tail lamp .......................................... 89
Turn signall amp(front) .................... 89
Turn signall amp(rear) ..................... 89
see Replacing bulbs
Index5
Page 14 of 286
Hazard warning lamps ..................... 87
High beamflasher ............................ 87
High-beamh eadlamps ..................... 87
Light switch .....................................8 5
Low-beamh eadlamps...................... 85
Parking lamps .................................. 86
Rear fog lamp .................................. 86
Standing lamps ................................ 86
Switching the daytime running
lamps on/off( on-board com-
puter) ............................................. 165
Switching the daytime running
lamps on/off( switch) ...................... 85
Switching the exterio rlighting
delaye dswitch-off on/off( on-
board computer) ............................ 165
Switching the surround lighting
on/off( on-board computer) .......... 165
Turn signal s..................................... 87
see Interior lighting
see Replacing bulbs
Load anchorage ................................. 208
Loadin gguidelines ............................ 204
Locking
see Central locking
Locking (doors)
Automati c........................................ 67
Emergency locking ........................... 68
From inside (central locking but-
ton) .................................................. 67
Locking centrally
see Central locking
Locking verification signal (on-
board computer) ............................... 166
LO WR ANGE off-road gear ................ 146
Low-beam headlamps
Displa ymessage ............................ 176
Switching on/off. ............................. 85
Lumbar support
Adjusting the 4-wa ylum bars up-
por t.................................................. 78
Luxury hea drestraints ....................... 76
M
M+S tires ............................................ 253
Malfunctio nmessage
see Displa ymessages Matte finis
h(clea ning instruc-
tions) .................................................. 233
mbrace
Call priority .................................... 218
Displa ymessage ............................ 173
Downloading destinations
(COMAND) ..................................... 218
Downloading routes ....................... 221
Emergency cal l.............................. 215
Generaln otes ................................ 214
Ge ofencing ................................... 221
Info cal lbutton .............................. 217
Locating astolen vehicl e............... 220
Remote fault diagnosis. ................. 220
Remote vehicl eloc king .................. 219
Roadside assistance button ........... 216
Search &Send ............................... 218
Self-test ......................................... 215
Speed alert .................................... 221
System .......................................... 215
Triggering the vehicl ealarm ........... 221
Vehicl eremote unlocking .............. 219
Mechanical key
Function/note s................................ 64
Genera lnotes .................................. 64
Inserting .......................................... 64
Locking vehicl e................................ 68
Removing ......................................... 64
Unlocking the driver'sd oor.............. 68
Memory card (audio) ......................... 162
Memory function ................................. 83
Mercedes-Benz Intelligent Drive
DISTRONIC PLUS. .......................... 132
Messagem emory (on-board com-
puter) .................................................. 170
Messages
see Displa ymessages
Mirro rturn signal
Cleaning ......................................... 234
Mirrors
Sun visor ........................................ 211
see Exterior mirrors
see Rear-vie wmirror
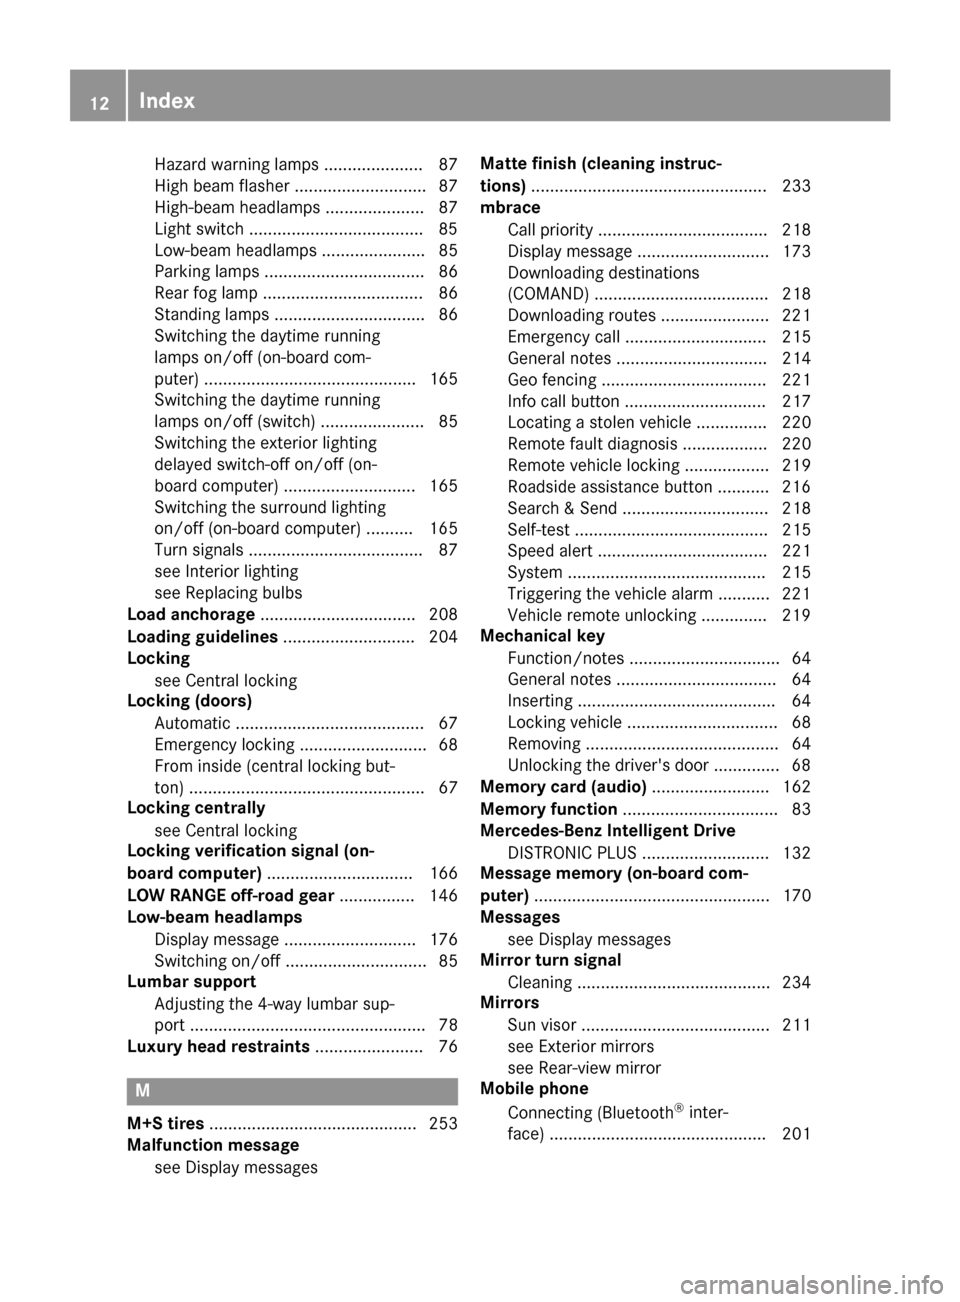
Mobil ephone
Connecting (Bluetooth®inter-
face ).............................................. 201
12Index
Page 32 of 286
the data carrierinyourvehicl edocument wallet
and ,including updates ,onthe following web-
site:
http://www.mercedes-benz.com/opensource
Registere dtrademarks
Registered trademarks:
RBluetooth®isar egistere dtrademark of Blue-
tooth SIG Inc.
RDTS™ is aregistere dtrademark of DTS, Inc.
RDolby®and MLP™a reregistere dtrademarks
of DOLBY Laboratories.
RBabySmart™, ESP®and PRE-SAFE®ar er eg-
istere dtrademarks of Daimler AG.
RHomeLink®isar egistere dtrademark of John-
son Controls.
RiPod®and iTunes®ar er egistere dtrademarks
of Apple Inc.
RLogic7®is ar egistere dtrademark of Harman
Internationa lIndustries.
RMicrosoft®and Windows media®ar er egis-
tere dtrademarks of Microsoft Corporation.
RSIRIUS®isar egistere dtrademark of Sirius
XM Radi oInc.
RHD Radio™ is aregistere dtrademark of iBiq-
uity Digita lCorporation.
RGracenote®is ar egistere dtrademark of
Gracenote,I nc.
RZAGAT Survey®and relatedbrands ar eregis-
tere dtrademarks of Zaga tSurvey ,LLC.
30Informationonc opyright
Introduction
Page 165 of 286
XSwitch on the multimediasystem and select
video DVD.
XPress the =or; button on the steering
wheel to select the Audiomenu.
XTo select the next or previous scene:
brieflypress the 9or: button.
XTo select ascene from the scen elist
(rapi dscrolling): press and holdt he9
or : button unti ldesire dscene :has
bee nreached.
TV operation
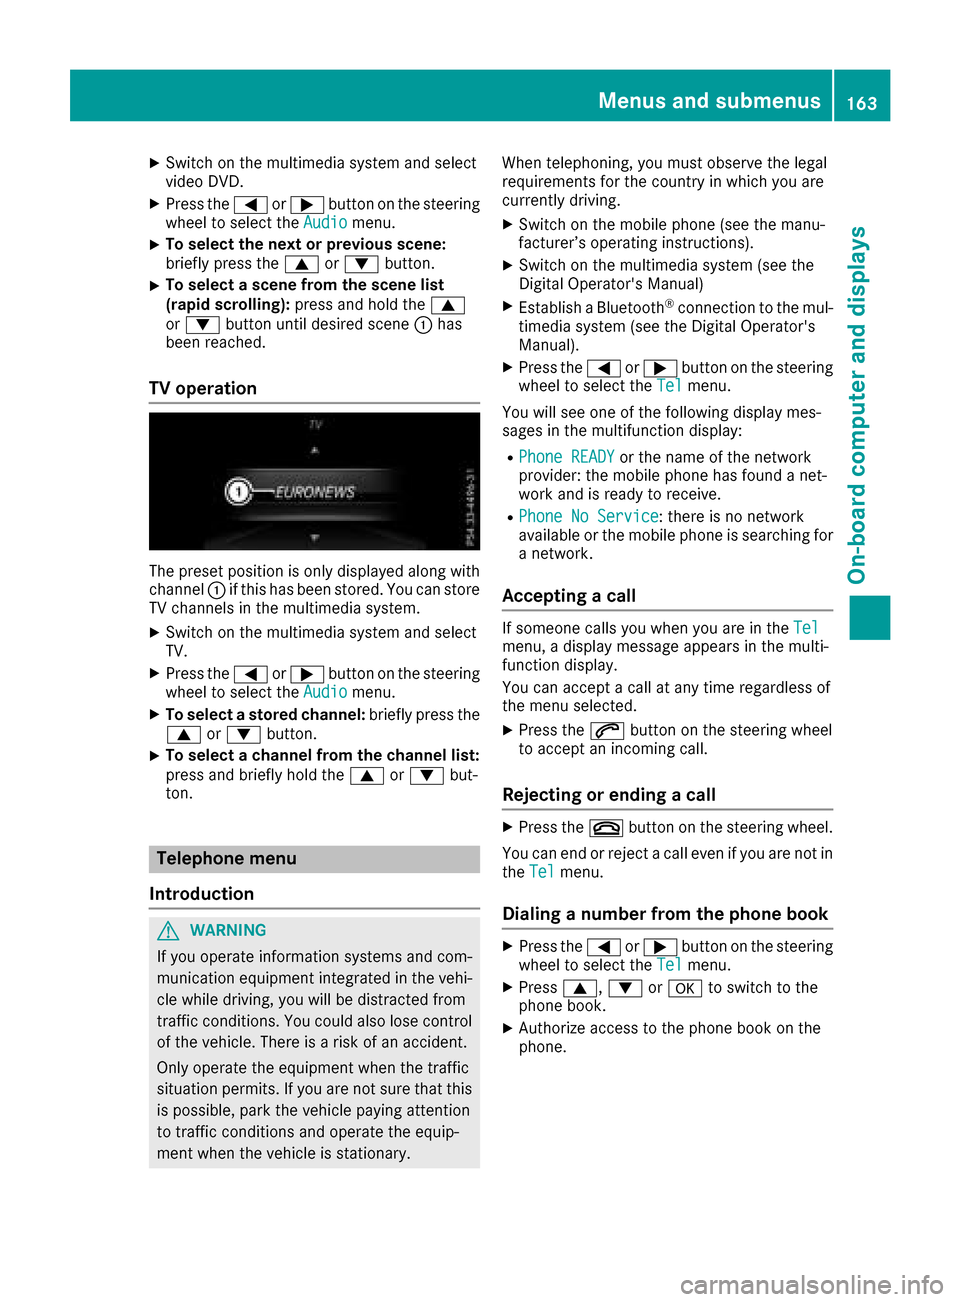
The preset position is only displayed along with
channel :if this hasb eens tored. You can store
TV channels in the multimedi asystem.
XSwitch on the multimedi asystem and select
TV.
XPress the =or; button on the steering
wheel to select the Audiomenu.
XTo selectastored channel: brieflypress the
9 or: button.
XTo select achanne lfrom the channe llist:
press and brieflyh oldthe9 or: but-
ton.
Telephone menu
Introduction
GWARNING
If yo uoperate information systems and com-
munication equipment integrate dinthe vehi-
cle whil edriving ,you will be distracted from
traffic conditions .You could also lose control
of the vehicle. There is ariskofana ccident.
Only operate the equipment when the traffic
situation permits .Ifyouare not sure that this
is possible ,parkt he vehicl epayin gattention
to traffic conditions and operate the equip-
ment when the vehicl eisstationary. Whent
elephoning, yo umusto bserve the legal
requirements for the country in which yo uare
currently driving.
XSwitch on the mobil ephone (se ethe manu-
facturer’so perating instructions).
XSwitch on the multimedi asystem (se ethe
Digital Operator's Manual)
XEstablish aBluetooth®connection to the mul-
timedi asystem (se ethe Digital Operator's
Manual).
XPress the =or; button on the steering
wheel to select the Telmenu.
You will see one of the following display mes-
sages in the multifunction display:
RPhoneR EADYor the name of the network
provider: the mobil ephone hasf oundanet-
work and is ready to receive.
RPhoneNoS ervice:there is no network
available or the mobil ephone is searching for
an etwork.
Accepting acall
If someone calls yo uwheny ou are in the Telmenu,adisplay message appears in the multi-
function display.
You can accept acallata ny time regardless of
the menu selected.
XPress the 6button on the steering wheel
to accept an incoming call.
Rejecting or endin gacall
XPress the ~button on the steering wheel.
You can end or reject acalle ve nify ouare not in
the Tel
menu.
Dialing anumberf rom the phon ebook
XPress the =or; button on the steering
wheel to select the Telmenu.
XPress9, :ora to switch to the
phone book.
XAuthorize access to the phone boo konthe
phone.
Menus and submenus163
On-board computer and displays
Z
Page 203 of 286
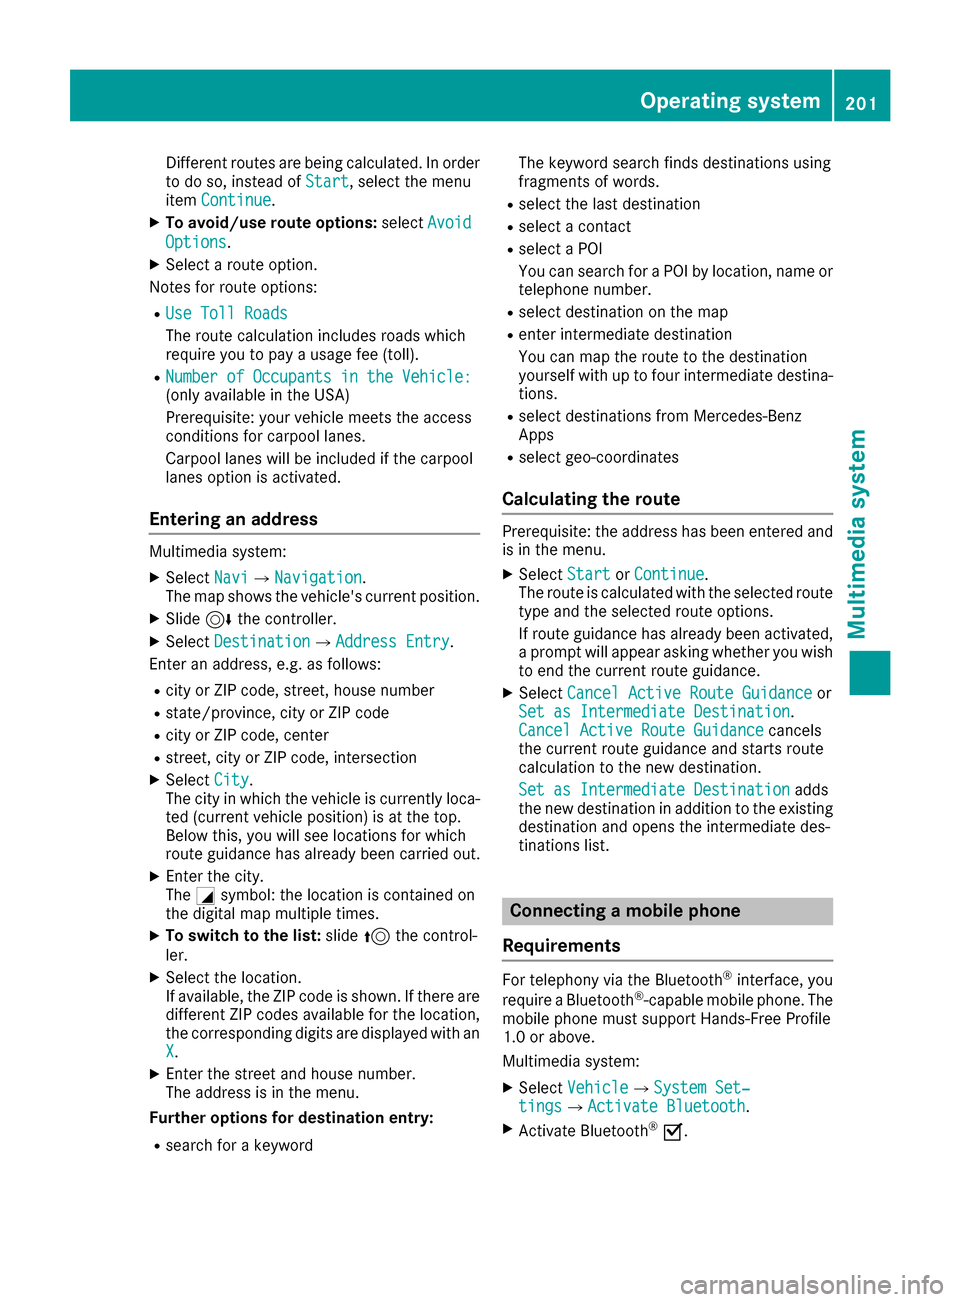
Different routes arebeing calculated. In order
to do so, instea dofStart,s elect the menu
item Continue.
XTo avoid/use rout eoptions: selectAvoid
Options.
XSelect aroute option.
Notesf or route options:
RUse TollR oads
The route calculation includes roads which
require youtopayau sage fee (toll).
RNumber of Occupants in the Vehicle:(only availabl einthe USA)
Prerequisite: your vehicl emeets the access
conditions for carpool lanes.
Carpool lanes will be included if the carpool
lanes optio nisa ctivated.
Entering an address
Multimedia system:
XSelect NaviQNavigation.
The maps hows the vehicle's current position.
XSlide6the controller.
XSelect DestinationQAddressE ntry.
Enter an address, e.g .asfollows:
Rcity or ZI Pcode, street, house number
Rstate/province ,city or ZI Pcode
Rcity or ZI Pcode, center
Rstreet, city or ZI Pcode, intersection
XSelect City.
The city in which the vehicl eiscurrentl yloc a-
ted (current vehicl eposit ion) is at the top.
Below this, yo uwills ee locations for which
route guidance hasa lready been carrie dout.
XEnter the city.
The Gsymbol: the location is containe don
the digital mapm ultipl etimes.
XTo switc htothe list: slide5the control-
ler.
XSelect the location.
If available, the ZI Pcodeiss hown. If there are
different ZI Pcodes availabl efor the location,
the corresponding digits ar edisplayed with an
X
.
XEnter the street and house number.
The address is in the menu.
Furthero ptionsfor destinatio nentry:
Rsearch for akeyword The keyword search find
sdestinations using
fragments of words.
Rselect the last destination
Rselect acontact
Rselect aPOI
Yo uc an search for aPOI by location, nam eor
telephon enumber.
Rselect destination on the map
Rente rintermediate destination
Yo uc an mapt he route to the destination
yoursel fwithuptof ourintermediate destina-
tions.
Rselect destinations fromM ercedes-Benz
Apps
Rselect geo-coordinates
Calculatin gthe route
Prerequisite: the address hasb eene ntered and
is in the menu.
XSelect StartorContinue.
The route is calculate dwitht he selecte droute
typ eand the selecte droute options.
If route guidance hasa lready been activated,
ap rompt will appear asking whether yo uwish
to end the current route guidance.
XSelect Cancel Active Route Guidanceor
Set as Intermediate Destination.
Cancel Active Route Guidancecancels
the current route guidance and starts route
calculation to the new destination.
Set as Intermediate Destination
adds
the new destination in additio ntothe existing
destination and opens the intermediate des-
tinations list.
Connectin gamobilephone
Requirements
For telephon yvia the Bluetooth®interface, you
require aBluetooth®-capable mobil ephone.The
mobil ephone must support Hands-FreeP rofile
1.0 or above.
Multimedia system:
XSelect VehicleQSystem Set‐tingsQActivate Bluetooth.
XActivate Bluetooth®O.
Operatin gsystem201
Multimedia system
Z
Page 204 of 286
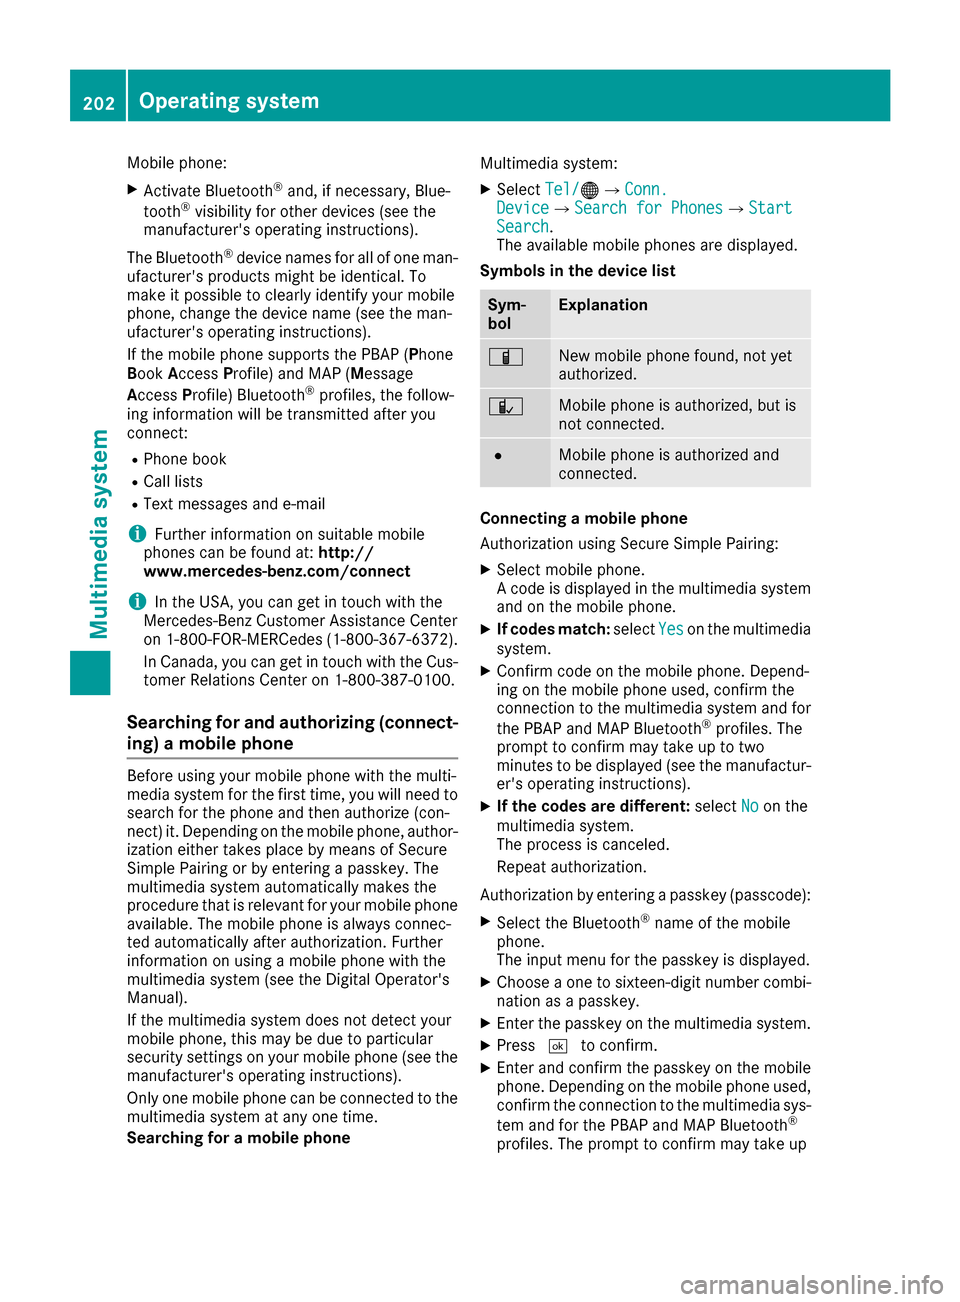
Mobile phone:
XActivate Bluetooth®and, if necessary, Blue-
tooth®visibility for other devices (see the
manufacturer's operating instructions).
The Bluetooth
®device names for all of one man-
ufacturer's products might be identical. To
make it possible to clearly identify your mobile
phone, change the device name (see the man-
ufacturer's operating instructions).
If the mobile phone supports the PBAP (Phone
Book Access Profile) and MAP (Message
Access Profile) Bluetooth
®profiles, the follow-
ing information will be transmitted after you
connect:
RPhone book
RCall lists
RText messages and e-mail
iFurther information on suitable mobile
phones can be found at: http://
www.mercedes-benz.com/connect
iIn the USA, you can get in touch with the
Mercedes-BenzC ustomer Assistanc eCenter
on 1-800-FOR-MERCedes (1-800-367-6372).
In Canada,y ou can get in touch with the Cus-
tomer Relations Center on 1-800-387-0100.
Searching for and authorizing (connect-
ing) amobile phone
Before using your mobile phone with the multi-
media system for the first time, you will need to
search for the phone and then authorize (con-
nect)i t. Depending on the mobile phone, author-
ization either takes place by means of Secure
Simple Pairing or by enterin gapasskey. The
multimedia system automatically makes the
procedure that is relevant for your mobile phone
available. The mobile phone is always connec-
ted automatically after authorization. Further
information on using amobile phone with the
multimedia system (see the Digital Operator's
Manual).
If the multimedia system does not detect your
mobile phone, this may be due to particular
security settings on your mobile phone (see the
manufacturer's operating instructions).
Only one mobile phone can be connected to the
multimedia system at any one time.
Searching for amobile phone Multimedia system:
XSelect
Tel/®QConn.DeviceQSearch for PhonesQStartSearch.
The available mobile phones are displayed.
Symbols in the device list
Sym-
bolExplanation
ÏNew mobile phone found, not yet
authorized.
ÑMobile phone is authorized, but is
not connected.
#Mobile phone is authorized and
connected.
Connecting amobile phone
Authorization using Secure Simple Pairing:
XSelect mobile phone.
Ac ode is displayed in the multimedia system
and on the mobile phone.
XIf codes match: selectYeson the multimedia
system.
XConfirm code on the mobile phone. Depend-
ing on the mobile phone used, confirm the
connection to the multimedia system and for
the PBAP and MAP Bluetooth
®profiles. The
prompt to confirm may take up to two
minutes to be displayed (see the manufactur-
er's operating instructions).
XIf the codes are different: selectNoon the
multimedia system.
The process is canceled.
Repeata uthorization.
Authorization by enterin gapasskey (passcode):
XSelect the Bluetooth®name of the mobile
phone.
The input menu for the passkey is displayed.
XChoose aone to sixteen-digit number combi-
nation as apasskey.
XEnter the passkey on the multimedia system.
XPress ¬to confirm.
XEnter and confirm the passkey on the mobile
phone. Depending on the mobile phone used,
confirm the connection to the multimedia sys-
tem and for the PBAP and MAP Bluetooth
®
profiles. The prompt to confirm may take up
202Operating system
Multimedia system
Page 205 of 286
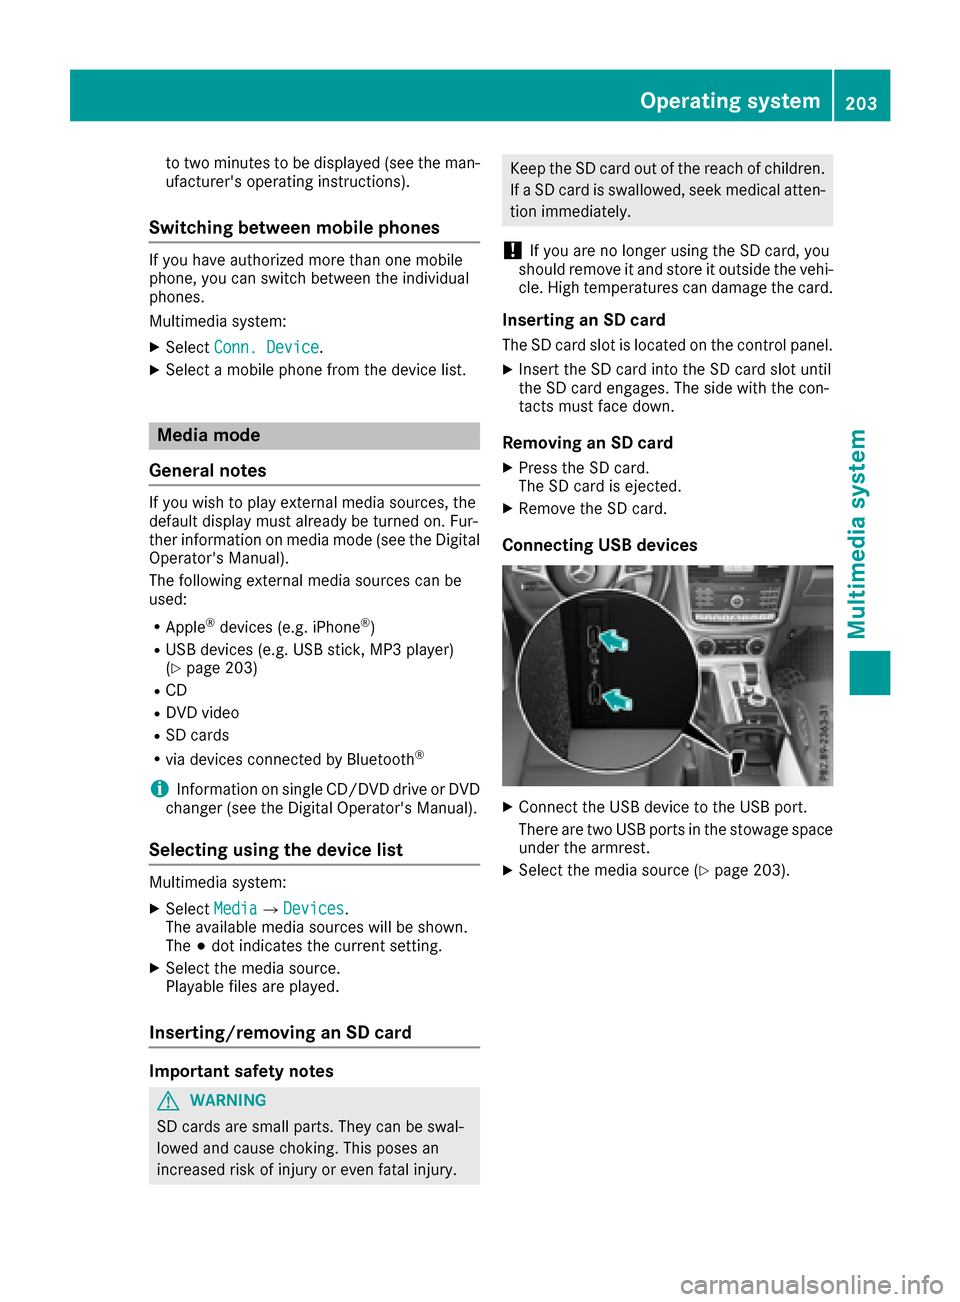
to two minutestobedisplayed (see the man-
ufacturer's operating instructions).
Switchin gbetween mobil ephones
If yo uhavea uthorize dmoret hano ne mobile
phone ,you can switch between the individual
phones.
Multimedia system:
XSelect Conn. Device.
XSelectamobilephone fromt he devicelist.
Media mode
General notes
If yo uwishtop laye xternalm edia sources ,the
defaul tdisplay must already be turned on. Fur-
theri nformation on media mod e(seet he Digital
Operator' sManual).
The following externalm edia sources can be
used:
RApple®devices (e.g. iPhone®)
RUSB devices (e.g. USB stick, MP3p layer)
(Ypage 203)
RCD
RDVD video
RSD cards
Rvia devices connected by Bluetooth®
iInformatio nonsingleC D/DV Ddrive or DVD
change r(se et he Digita lOperator' sManual).
Selecting using the devic elist
Multimedia system:
XSelect MediaQDevices.
The availabl emedia sources will be shown.
The #do tindicates the current setting.
XSelect the media source.
Playable files ar eplayed .
Inserting/removing an SD card
Important safety notes
GWARNING
SD cards ar esmall parts. The ycan be swal-
lowe dand cause choking .Thisp oses an
increasedr iskofi njury or eve nfatal injury.
Kee pthe SD car doutof the reach of children.
If aSDc ardiss wallowed ,see km edica latten-
tio nimm ediately.
!If yo uareno longeru sing the SD card, you
shoul dremove it and stor eitoutside the vehi-
cle .Hight emperatures can damage the card.
Insertin ganSDc ard
The SD car dslotisl ocate dont he contro lpan el.
XInsert the SD car dinto the SD car dslotu ntil
the SD car dengages .The sid ewitht he con-
tacts must face down.
Removing an SD card
XPress the SD card.
Th eSDc ardise jected.
XRemov ethe SD card.
Connectin gUSBdevices
XConnect the USB devic etothe USB port.
There ar etwo USB ports in the stowag espace
under the armrest.
XSelect the media source (Ypage 203).
Operatin gsystem203
Multimedia system
Z