2017 MERCEDES-BENZ G-Class oil
[x] Cancel search: oilPage 229 of 286
GWARNING
Opening the hood when the engine is over-
heated or when there is afire in the engine
compartment coul dexpose you to hot gases
or other service products. There is arisk of
injury.
Let an overheated engine cool downb efore
opening the hood. If there is afire in the
engine compartment, keep the hood closed
and contact the fire department.
Notes on the oil level
Depending on you rdriving style ,the vehicle
consumes up to 0.9 US qt (0.8 liters )ofoil per
600 mile s(1000 km). The oil consumption may
be higher than this whe nthe vehicle is new or if
you frequently drive at high engine speeds.
Depending on the engine, the oil dipstick may be
in ad ifferent location.
When checking the oil level:
Rpark the vehicle on alevels urface
Rthe engine should be switched off for approx-
imately five minutes if the engine is at normal
operating temperature
Rif the engine is not at normal operating tem-
perature, e.g. if the engine wa sonly started
briefly,w aita pproximately 30 minutes before
carrying out the measurement
Checking the oil level usingt he oil dip-
stick
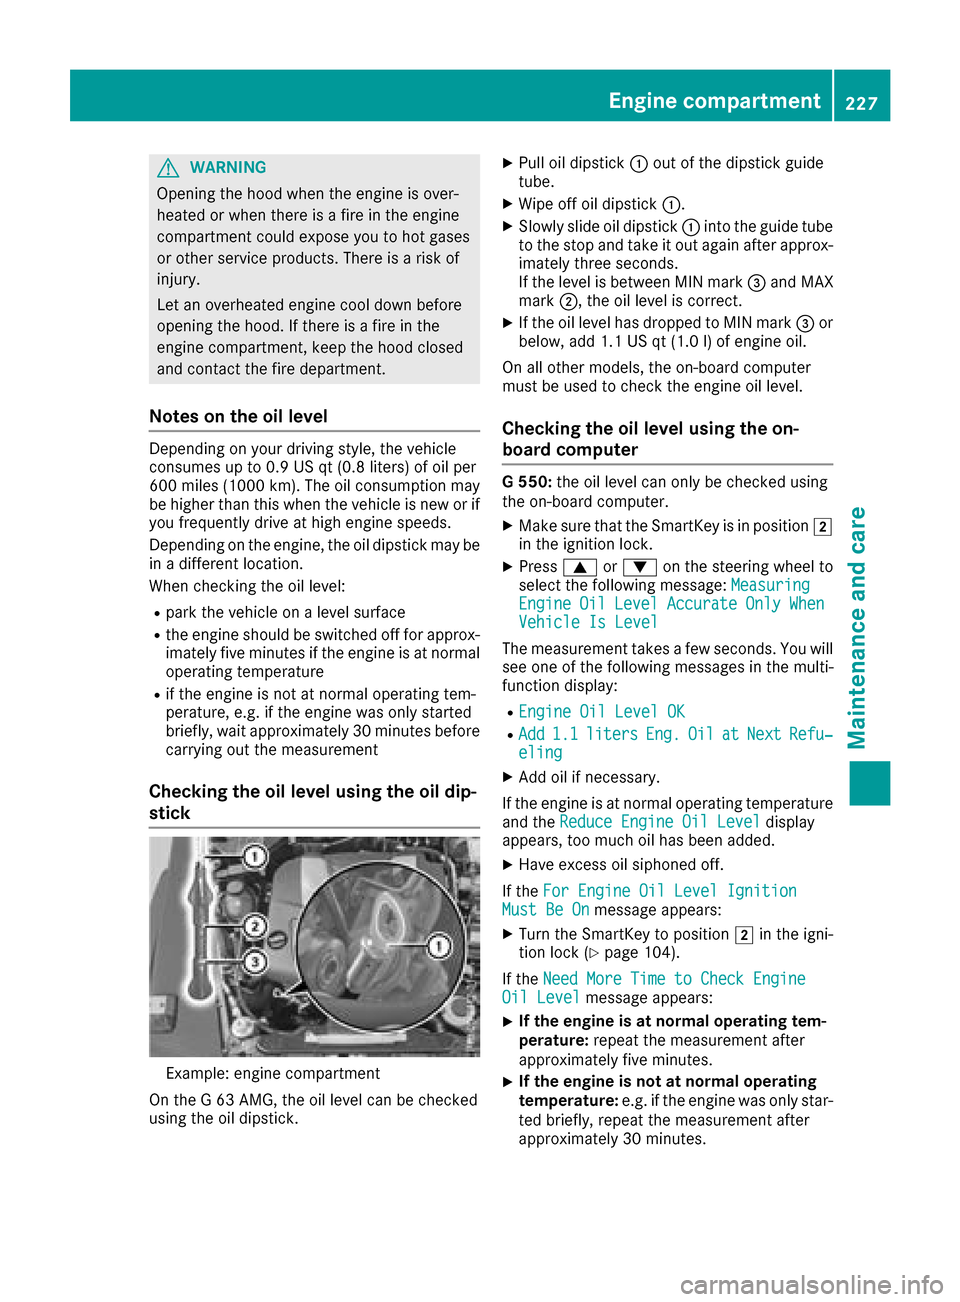
Example: engine compartment
On the G63AMG, the oil levelc an be checked
using the oil dipstick.
XPul loil dipstick :out of the dipstick guide
tube.
XWipeo ff oil dipstick :.
XSlowly slide oil dipstick :into the guide tube
to the stop and take it out again after approx-
imately three seconds.
If the levelisb etween MIN mark =and MAX
mark ;,the oil levelisc orrect.
XIf the oil levelh as dropped to MIN mark =or
below, add 1.1 US qt (1.0 l)of engine oil.
On all other models, the on-board computer
must be used to check the engine oil level.
Checking the oil level using the on-
board computer
G5 50: the oil level can only be checked using
the on-board computer.
XMake sure that the SmartKey is in position 2
in the ignition lock.
XPress 9or: on the steering wheel to
select the following message: Measuring
EngineOilLevelAccurateOnlyWhenVehicle Is Level
The measurement takesafew seconds. You will
see one of the following messages in the multi-
function display:
REngine Oil Level OK
RAdd1.1litersEng.OilatNextRefu‐eling
XAdd oil if necessary.
If the engine is at normal operating temperature and the Reduce Engine Oil Level
display
appears, too much oil has been added.
XHave excess oil siphoned off.
If the For Engine Oil Level Ignition
Must Be Onmessage appears:
XTurn the SmartKey to position 2in the igni-
tion lock (Ypage 104).
If the Need More Time to Check Engine
Oil Levelmessage appears:
XIf the engine is at norma loperating tem-
perature: repeat the measurement after
approximately five minutes.
XIf the engine is not at norma loperating
temperature: e.g. if the engine was only star-
ted briefly, repeat the measurement after
approximately 30 minutes.
Engine compartment227
Maintenance and care
Z
Page 230 of 286
If theEngine Oil Level Not Measurablewith Running Enginemessage appears:
XSwitch off the engine.
XIf the engine is at normal operating tem-
perature: waitabou tfive minutes before car-
rying out the measurement.
XIf the engine is not at normal operating
temperature: e.g. if the engine was only star-
ted briefly, wai tapproximately 30 minutes
before carrying out the measurement.
If you wish to cancel the measurement, press
the 9 or: button on the multifunction
steering wheel.
Adding engine oil
!Use only engine oils and oil filters that are
approved for vehiclesw ithaservice system. A
list of the engine oils and oil filters that have
been tested and approved in accordance with
Mercedes-Benz Specifications for Service
Products is available at any authorized
Mercedes-Benz Center.
The following cause engine failure or damage
to the exhaust system:
RUse of engine oils and oil filters that have
not been expressly approved for the service
system
RReplacement of engine oil and oil filter after
the replacement interval specifiedbyt he
service system has expired
RUse of engine oil additives
!Do not add too much oil. If the oil level is
above the "max" mark on the dipstick, too
much oil has been added. This can leadt o
damage to the engine or the catalytic con-
verter. Have excess oil siphoned off.
HEnvironmental note
When adding oil, take care not to spilla ny. If
oil enters the soil or waterways ,itisharmful to
the environment.
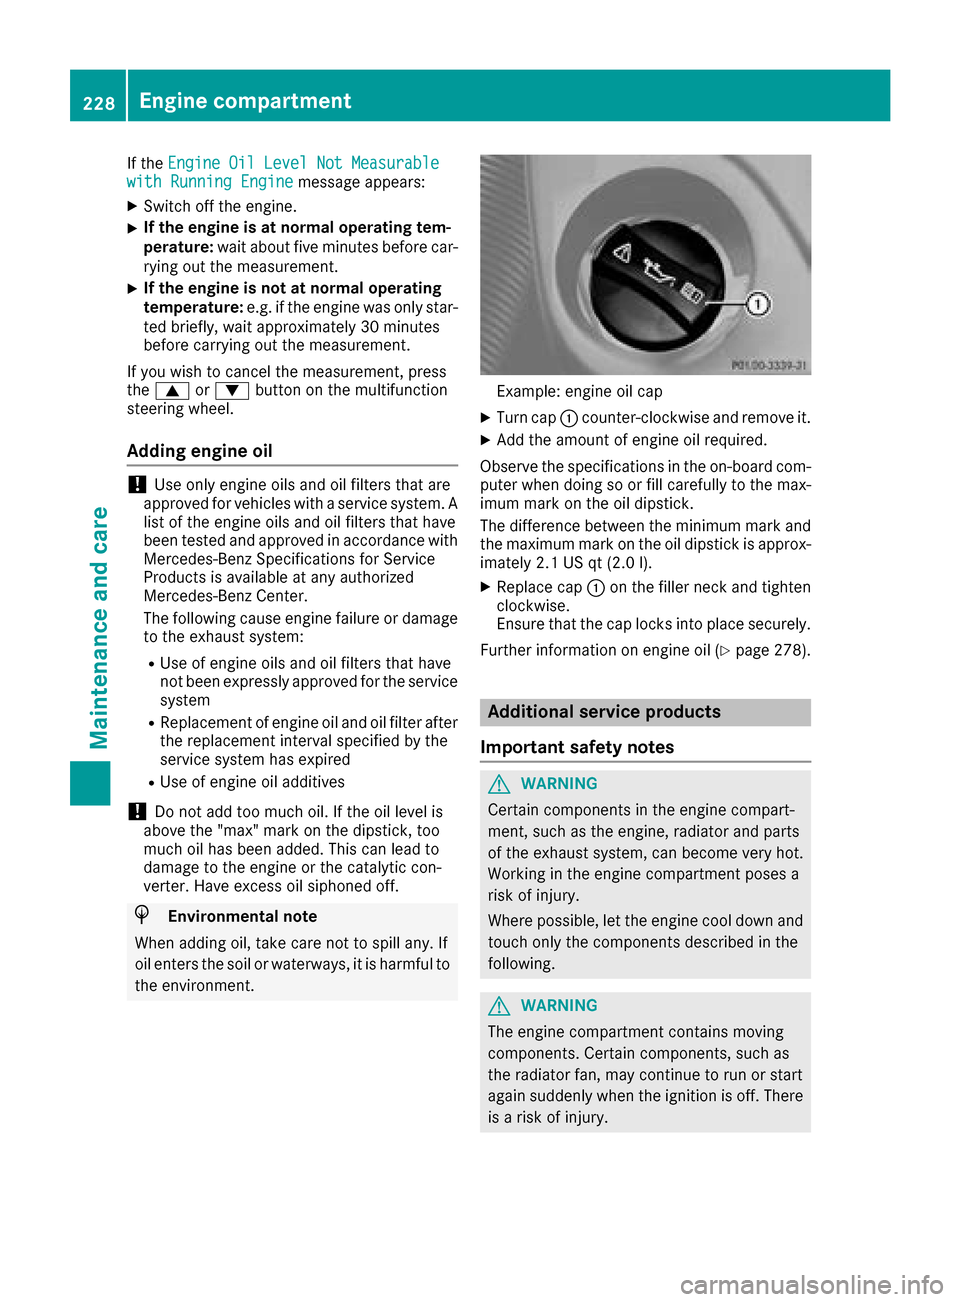
Example: engine oil cap
XTurn cap :counter-clockwise and remove it.
XAdd the amount of engine oil required.
Observe the specifications in the on-board com-
puter when doing so or fill carefully to the max-
imum mark on the oil dipstick.
The difference betweent he minimum mark and
the maximum mark on the oil dipstick is approx-
imatel y2.1 US qt (2.0 l).
XReplace cap :on the fille rneck and tighten
clockwise.
Ensur ethat the cap locks into place securely.
Further information on engine oil(
Ypage 278).
Additional servic eproducts
Important safety notes
GWARNING
Certai ncomponents in the engine compart-
ment, such as the engine, radiator and parts
of the exhaus tsystem, can become very hot.
Working in the engine compartment poses a
ris kofi njury.
Where possible ,let the engine cool dow nand
touch only the components described in the
following.
GWARNING
The engine compartment contains moving
components .Certai nc omponents ,suc ha s
the radiator fan, may continu etorun or start
agai nsudde nlyw hent he ignition is off. There
is ar iskofi njury.
228Engine compartment
Maintenancea nd care
Page 233 of 286
Hidingaservice message
XTo hide the service message, press the %
back button on the multifunction steering
wheel(
Ypage1 58).
Displayings ervice messages
Use the buttons on the multifunction steering
wheel.
XSwitch on the ignition.
XPress=or; to select the standard
display menu on the steering wheel
(
Ypage1 60).
XPress9or: to select the service
interval display.
The ¯ or± service symbol and the ser-
vice due date are displayed.
Points to remember
The specified maintenance interval takes only
the normal operation of the vehiclei nto
account. Under arduous operating conditions or
increased loadont he vehicle, maintenance
work must be carrie dout more frequently, for
example:
Rregular city driving with frequent intermediate
stops
Rif the vehicleisp rimarily usedtotravel short
distances
Ruse in mountainous terrainoronp oor road
surfaces
Rif the engine is often left idling for long periods
Under these or similar conditions, have ,for
example, the air filter, engine oil and oil filter
replaced or changed more frequently. Under
arduous operating conditions, the tires must be
checked more often. Further information can be obtained at aqualified specialist workshop, e.g.
an authorized Mercedes-Benz Center.
Care
General notes
!
For cleaning you rvehicle, do not use any of
the following:
Rdry, roug horhard cloths
Rabrasive cleaning agents
Rsolvents
Rcleaning agents containing solvents
Do not scrub.
Do not touch the surfaces or protective films
with hard objects, e.g. aring or ice scraper.
You coul dotherwise scratch or damage the
surfaces and protective film.
!Do not park you rvehiclef oralong period of
time directly after cleaning, particularly after
cleaning the wheelr im with wheelcleaner.
Wheelc leaner can leadtot he increased cor-
rosionoft he brake discs and pads. Therefore,
drive for afew minutes after cleaning. By
heating up the brakes ,the brake discs and
padsd ry. The vehiclec an then be parked for a
long period of time.
HEnvironmental note
Disposeofe mpty packaging and cleaning
cloths in an environmentally responsiblem an-
ner.
Regula rcare of you rvehicleisac ondition for
retaining the quality in the long term.
Use care products and cleaning agents recom-
mended and approved by Mercedes-Benz.
Washing the vehicle and cleaning the
paintwork
Automatic car wash
GWARNING
Braking efficiency is reduced after washing
the vehicle. There is arisk of an accident.
After the vehicleh as been washed, brake
carefully while paying attention to the traffic
conditions until full braking power is restored.
!When DISTRONIC PLUS or the HOLD func-
tion is activated, the vehicleb rakes automat-
ically in certain situations.
To avoi ddamage to the vehicle, deactivate
DISTRONIC PLUS and the HOLD function in
the following or similar situations:
Rwhen towing the vehicle
Rin the car wash
!Never cleany ourv ehicleinaT ouchless
Automatic Ca rWash as these use special
Care231
Maintenance and care
Z
Page 235 of 286

Cleaning thepaintwork
!Do no taffix:
Rstickers
Rfilms
Rmagnetic plates or similar items
to painte dsurfaces .You coul dotherwise
damag ethe paintwork.
Scratches, corrosive deposits ,areas affected by
corrosion and damag ecaused by inadequate
car ecanno talways be completely repaired .In
suchc ases, visit aqualified specialist workshop.
XRemove dirt immediately, wherep ossible,
while avoiding rubbing to ohard.
XSoak insect remains withi nsect removerand
rinse off th etreated areas afterwards.
XSoak bird droppings withw aterand rinse off
th et reated areas afterwards.
XRemove coolant ,brak efluid ,tre er esin, oils,
fuels and greases by rubbing gently witha
cloth soaked in petroleum ether or lighter
fluid.
XUse tar remove rtoremove tar stains.
XUse siliconer emovertoremove wax.
If wate rnolonger forms "beads"o nthe paint
surface, use th epaintc arep roduct srecommen-
ded and approved by Mercedes-Benz. This is the
cas eapproximately every three to fiv emonths,
dependingont heclimate conditionsa nd the
car eproduct used.
The cleanin gproduct PaintC leaner, whichh as
been recommended and approved by
Mercedes-Benz, should be used when dirt has
penetrated th epaints urface.
Als ouse PaintC leaner on paintt hath as become
dull.
Do no tuse these car eproduct sinthesun or on
th eh ood while th ehood is hot .
XUse
asuitable touch-up stick ,e.g.MBT ouch-
Up Stick ,torepair slightd amagetothepaint-
work quickly and provisionally.
Matt efinish care
!Never polisht hevehicle or th elight alloy
wheels. Polishingc auses thefinish to shine.
!The followingm ay causethe paintt o
become shinya nd thus reducethe matte
effect:
Rstron grubbing of th epaintwork with
unsuitable materials
Rfrequentu se of automatic car washes
Rwashingthevehicle in direct sunlight
!Never use paintc leaner, buffing or polishing
products, or glossp reserver, e.g.wax. These
product sare only suitable for high-gloss sur-
faces. Theiru se on vehicleswithm atte finish
leads to considerable surface damage( shiny,
spotte dareas).
Always have paintwork repairs carried out at a
qualified specialist workshop.
!Do no tuse wash program swithah ot wax
treatmen tunde rany circumstances.
Observ ethese note sifyour vehicle has aclear
matte finish. This will help you to avoid damage
to th epaintwork due to incorrect treatment.
Thesen otesalso apply to light alloy wheelsw ith
ac lear matte finish.
The vehicle should ideally be washedbyh and
usingas oftsponge, car shampoo and plenty of
water.
Use only insect remove rand car shampoo from
th er ange of approved Mercedes-Ben zcare
products.
Cleaning th evehicle parts
Cleaning th ewheels
GWARNING
The wate rjet from acircular je tnozzle (dirt
blasters)c an causeinvisible exterior damage
to th etires or chassis components .Compo-
nent sdamaged in this way may fail unexpect-
edly. Thereisar iskofana ccident.
Do no tuse power washers withc ircular jet
nozzles to clean th evehicle .Haved amaged
tires or chassis components replaced imme-
diately.
!Do no tuse acidic wheel cleanin gproducts
to remove brak edust.T his coul ddamage
wheel boltsa nd brakecomponents.
Care233
Maintenance and care
Z
Page 237 of 286

XClean sensors:of th edriving systems with
water, car shampoo and asoftc loth.
Cleaning th erearv iew camera
!Do no tclean th ecamera lensa nd thearea
aroun dthe rear view camera withap ower
washer.
XUse clear wate rand asoftc loth to clean cam-
era lens :.
Cleaning chrome parts
Impurities co mbinedwit hthe effect sofroad grit
and corrosivee nvironmental factors may cause
flas hrust to for monthesurface. You can
restore th eoriginal shineofc hrom epartsb y
cleanin gthe mr egularly, especiall yinwinter and
after washing.
XClean chrom epartsw ithac hrom ecarep rod-
uct tested and approvedbyM ercedes-Benz.
Cleaning th eexhaust pipe
GWARNING
The exhaust tail pipeand tail pipetrim can
become ver yhot.Ify ou come int ocontac t
witht hese part softhevehicle ,you could burn
yourself. Thereisar iskofi njury.
Always beparticularly careful aroun dthe
exhaust tail pipeand th etail pipe trim. Allow
these component stocooldown before touch-
ing them.
!Do no tclean th eexhaust pipe wit hacid-
based cleanin gagents ,suchasb athroom
cleane rorwheel cleaner.
Impurities combined withthe effect sofroad grit
and corrosivee nvironmental factors may cause
flas hrust to for monthesurface. You can
restore th eoriginal shineoft heexhaust pipeby
cleanin gitregularly, especiall yinwinter and
after washing.
XClean th eexhaust pipe wit hacarep roduct
tested and approve dbyMercedes-Benz.
Cleaning th etrailer tow hitch
!Do no tclean th eball couplingw ithapower
washer. Do no tuse solvents.
!Pleasen otet he car einstructionsint he
trailer couplingm anufacturer'soperating
instructions.
HEnvironmental note
Dispose of rags soaked in oil and grease in an
environmentall yresponsible manner.
The ball couplingm ust be cleanedifitbecomes
dirt yorc orroded.
XRemo verust ,e.g.w ithaw ire brush.
XAftercleaning, lightly oil or grease th eball
coupling.
XCheckt hatthe vehicle's trailer to whitch is
working properly.
You can also have th emaintenance work on the
ball couplinga nd thetrailer to whitch carried out
by aq ualified specialist workshop.
Care235
Maintenance and care
Z
Page 238 of 286
Interior care
Cleaning th edisplay
!Forcleaning ,donotuse any of th efollowing:
Ralcohol-base dthinner or gasolin e
Rabrasive cleaning agents
Rcommercially-available household cleaning
agents
Thes emay damag ethe display surface. Do
no tp ut pressur eonthedisplay surfac ewhen
cleaning .This could lead to irreparable dam-
age to th edisplay.
XBefore cleaning th edisplay, mak esuret hatit
is switched off and has cooled down .
XClean thedisplay surfac eusingac omme r-
cially available microfiber cloth and TFT/LCD
display cleaner.
XDr yt he display surfac eusingad ry microfiber
cloth .
Cleaning th eplastic trim
GWARNIN G
Care products and cleaning agents containing solvents caus esurfaces in th ecockpi tto
become porous. As aresult ,plastic part smay
come loos eintheevent of air bag deploy-
ment. Ther eisariskofi njury.
Do no tuse any car eproducts and cleaning
agents to clean th ecockpit.
!Never attach th efollowin gtoplastic surfa-
ces:
Rstickers
Rfilm s
Rperfum eoil container or similar
You could otherwise damag ethe plastic.
!Do no tallow cosmetics ,insec trepellen tor
sunscree ntocomeintoc ontac twitht he plas-
ti ct rim. This maintains th ehigh-qualit ylook of
th es urfaces.
XWipe th eplastic trim wit hadamp,lint-free
cloth ,e.g.a microfiber cloth .
XHeavy soiling:use careand cleaning prod-
uct srecommended and approve dby
Mercedes-Benz.
The surfac emay chang ecolor temporarily.
Wait until th esurfac eisd ry again .
Cleaning th esteering wheel and selec-
tor lever
XThoroughly wipe wit hadamp cloth or use
leather car eagents that have been recom-
mended and approve dbyMercedes-Benz.
Cleaning genuine wood and trim ele-
ments
!Do notuse solvent-base dcleaning agents
suc hast ar remover, whee lcleaners, polishes
or waxes. Ther eisotherwise ariskofd amag-
ing th esurface.
!Do no tuse chrom epolis hfor trim strips .The
trim strips have achrom elook but are mostl y
made of anodized aluminum and can lose
their shin eifchrom epolis hisu sed. Use a
damp ,lint-free cloth instead when cleaning
th et rims trips .
If th echrome-plated trim strips are ver ydirty,
you can use achrom epolish. If you are unsure
as to whether th etrims trips are chrome-
plated or not, consult an authorize d
Mercedes-Ben zCenter.
XWipe th ewooden trim and trim pieces wit ha
damp ,lint-free cloth ,e.g.a microfiber cloth .
XTrim elementswith piano black finish :
wipe wit hasoft, damp cotton cloth .Use clean
water.
XHeavy soiling: use careand cleaning prod-
uct srecommended and approve dby
Mercedes-Benz.
Cleaning th eseat covers
Gene raln otes
!Do no tuse am icrofiber cloth to clean cover s
made out of real leather ,artificial leather or
DINAMICA .Ifused often ,the se can damag e
th ec over.
!Observ ethe followin gwhen cleaning :
Rclean artificial leather cover swithac loth
moistened wit hasolution containing 1%
detergen t(e.g. dish washing liquid).
Rclean cloth cover switham icrofiber cloth
moistened wit hasolution containing 1%
detergen t(e.g. dish washing liquid). Rub
carefully and always wipe entire seat sec -
tion stoa voidleaving visible lines. Leav e
th es eat to dry afterwards .Cleaning result s
236Care
Maintenance and care
Page 270 of 286
Recommendedtire pressures
The recommended tire pressure applie stothe
tire sm ounted at the factory.
The Tir eand Loading Information placard con-
tains the recommended tire pressures for cold
tire sonaf ully loaded vehicle and for the maxi-
mum permissible vehicle speed.
The tire pressure table contains the recommen- ded pressures for coldt iresfor variou soperat-
ing conditions ,i.e .d iffering loa dand speed con-
ditions.
Increasedv ehicle weight due to optional
equipment
The combined weigh tofallstandard and
optionale quipment available for the vehicle,
regardless of whether it is actually installed on
the vehicle or not.
Rim
Thisist he part of the wheel on which the tire is
mounted.
GAW R(Gross Axle Weight Rating)
The GAW Risthe maximum grossa xlew eight
rating. The actual loa donanaxlem ustn ever
excee dthe grossa xlew eigh trating. The gross
axl ew eigh trating can be found on the vehicle
identification plate on the B-pillar on the driver's
side.
Speed rating
The speed rating is part of the tire identification. It specifies the speed rang efor which the tire is
approved.
GTW (Gross Trailer Weight)
The GT Wisthe weigh tofatraile rincluding the
weigh tofthe load, luggage, accessorie setc. on
the trailer.
GVW (Gross Vehicl eWeight)
The grossv ehicle weigh tincludes the weigh tof
the vehicle including fuel, tools, the spare wheel,
accessorie sinstalled, occupants, luggage and
the drawbar noseweight, if applicable. The gross
vehicle weigh tmustn ot excee dthe grossv ehi-
cle weigh trating GVW Rasspecified on the vehi-
cle identification plate on the B-pillar on the
driver'ss ide.
GVWR (Gross Vehicl eWeight Rating)
The GVW Risthe maximum permissible gross
weigh tofafully loaded vehicle (the weigh tofthe
vehicle including al laccessories, occupants,
fuel, luggage and the drawbar noseweight, if
applicable). The grossv ehicle weightrating is
specified on the vehicle identification plate on
the B-pillar on the driver'ss ide.
Maximum loaded vehicle weight
The maximum weightist he sumo f:
Rthe curb weigh tofthe vehicle
Rthe weigh tofthe accessories
Rthe loa dlim it
Rthe weigh tofthe factory installed optional
equipment
Kilopascal (kPa)
Metricu nitf or tire pressure. 6.9 kPa corre-
sponds to 1psi.A nother uni tfor tire pressure is
bar. 100 kilopascals (kPa )are the equivalent of
1b ar.
Load index
In addition to the load-bearing index, the load
index may also be imprinte donthe sidewal lof
the tire .Thiss pecifies the load-bearing capacity
of the tire more precisely.
Curb weight
The weigh tofavehicle with standard equipment
incl uding the maximum capacity of fuel, oil and
coolant. It also includes the air-conditioning sys-
tem and optionale quipment if thesea re instal-
le dint he vehicle ,but doe snot includ epassen-
ger sorl uggage.
Maximum load rating
The maximum tire loa disthe maximum permis-
sible weigh tinkilograms or lb sfor which atire is
approved.
Maximum permissiblet ire pressure
Maximumpermissible tire pressure for one tire.
Maximum load on on etire
Maximu mloadono ne tire .Thisisc alculate dby
dividing the maximum axl eloa dofo ne axl eby
two.
268Al la bout wheels and tires
Wheels and tires
Page 272 of 286
!On vehicles equipped withatire pressure
monitor, electronic componentsa re located
in the wheel.
Tire-mounting tools should not be used near
the valve. This could damage the electronic
components.
Only have tires changed at aqualified spe-
cialist workshop.
Alwayso bserve the instructionsa nd safety
notes under "Installing awheel" (
Ypage 270).
The wear patterns on the front and rear tires
differ, depending on the operating conditions.
Rotate the wheels before aclear wear pattern
has formed on the tires. Front tires typically
wear more on the shoulders and the rear tires in the center.
On vehicles that have the same size front and
rear wheels, you can rotate the wheels accord-
ing to the intervals in the tire manufacturer's
warranty book in your vehicle documents. If no
warranty book is available, the tires should be
rotated every 3,000 to 6,000 miles (5,000 to
10,000 km). Depending on tire wear, this may
be required earlier. Do not change the direction
of wheel rotation.
Cleant he contact surfaces of the wheel and the
brake disc thoroughly every time awheel is rota-
ted. Check the tire pressure and reactivate the
tire pressure monitor if necessary (
Ypage 259).
Direction of rotation
Tires with aspecified direction of rotation have
additional benefits, e.g. if there is arisk of hydro-
planing. You will only gain these benefits if the
correct direction of rotation is observed.
An arrow on the sidewall of the tire indicates its
correct direction of rotation.
You may mount the spare wheel against the
direction of rotation. Adhere to the time restric-
tion on use as well as the speed limitation speci-
fied on the spare wheel.
Storing wheels
Store tires that are not being used in acool, dry
and preferably dark place. Protect the tires from
oil, grease, gasoline and diesel.
Mounting awheel
Preparing the vehicle
GWARNING
When you remove the spare wheel from the
spare wheel bracket, the vehicle’s weight dis-
tribution changes. If the vehicle is already
raised, the jack could tip over. There is arisk
of injury.
Remove the spare wheel from the spare wheel
bracket before lifting the vehicle.
XStop the vehicle on solid, non-slippery and
level ground.
XApply the parking brake.
XBring the front wheels into the straight-ahead
position.
XShift the automatic transmission to position
P.
XSwitch off the engine.
XRemove the vehicle tools and jack from the
vehicle (Ypage 120).
XRemove the spare wheel from the spare wheel
bracket (Ypage 239).
XSafeguard the vehicle against rolling away.
Securing the vehicletop revent it from
rolling away
XPlace chocks or other suitablei tems under
the front and rear of the wheel that is diago-
nally opposite the wheel you wish to change.
Raising the vehicle
GWARNING
If you do not position the jack correctly at the
appropriate jacking point of the vehicle, the
jack could tip over with the vehicle raised.
There is arisk of injury.
Only position the jack at the appropriate jack-
ing point of the vehicle. The base of the jack
must be positioned vertically, directly under
the jacking point of the vehicle.
!Only position the jack at the appropriate
jacking point of the vehicle. Otherwise, you
could damage the vehicle.
270Changing awheel
Wheels and tires