2017 MERCEDES-BENZ CLS-Class change time
[x] Cancel search: change timePage 78 of 206

RUSA: download data from the Internet if an
Internet address is available and mbrace is
activated for Internet access (
Ypage 94).
RCanada: download data from the Internet if
an Internet address is available and a
mobile phone is connected to the multime-
dia system via Bluetooth
®(Ypage 94) or
USB (Ypage 164)
Taking an alternative route
If the CalculateAlternativeRoutessetting
is activated O, different routes will be offered
each time a route is calculated (
Ypage 54).
You can call up alternative routes to the current
route.
Route 1 is calculated with the current settings
for the route type and route options and shown
with a dark blue line.
Routes 2 and 3 are alternatives to route 1 and
also displayed with a dark blue line.
Route 4 is the most economic route and is dis-
played with a green line.
XTo switch to navigation mode: press the
Ø button.
XTo show the menu: slide6the controller.
XTo select Route, turn and press the controller.
XSelectAlternative Route.
Route 1 is shown.
XTo display additional routes: select Nextor
Previous.
XTo start a new route guidance: select
Start
.
Route list
XTo switch to navigation mode: press the
Ø button.
XTo show the menu: slide6the controller.
XTo select Route, turn and press the controller.
XSelectRoute List.
The route list shows the next change of direc-
tion and the immediate distances from the
current vehicle position.
XTo display additional route sections: turn
the controller.
The position of the change of direction that
belongs to the respective route section is
indicated on the map with a cross.
Where am I?
XTo switch to navigation mode: press the
Ø button.
XTo show the menu: slide6the controller.
XTo select Position, turn and press the con-
troller.
XSelect Where am I?.
The street you are currently on and the pre-
vious and next intersections are displayed.
76Route guidance
Navigation
Page 88 of 206
Rotating the 3D map
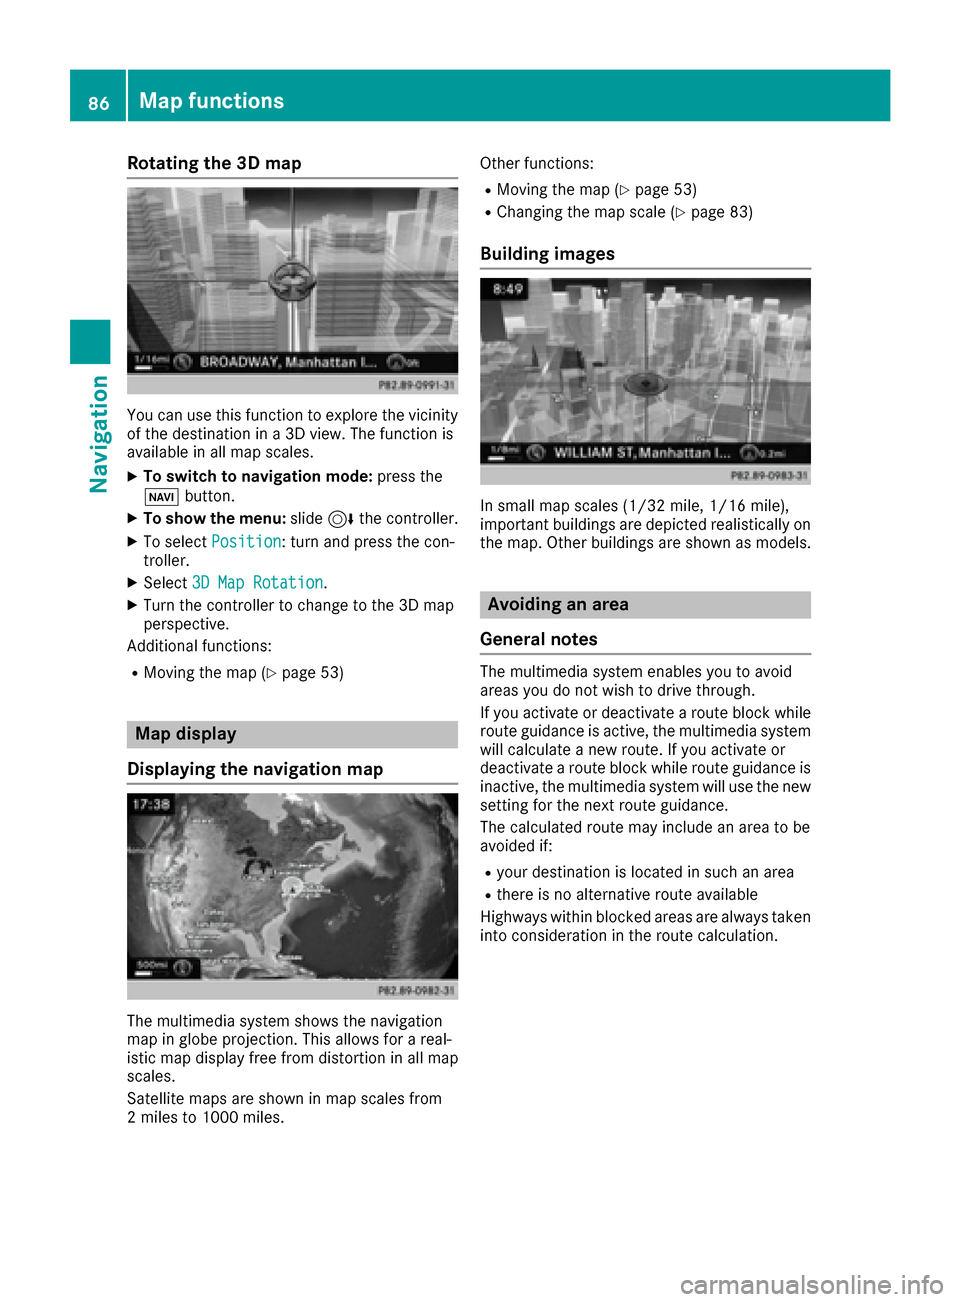
You can use this function to explore the vicinity
of the destination in a 3D view. The function is
available in all map scales.
XTo switch to navigation mode:press the
Ø button.
XTo show the menu: slide6the controller.
XTo select Position: turn and press the con-
troller.
XSelect 3D Map Rotation.
XTurn the controller to change to the 3D map
perspective.
Additional functions:
RMoving the map (Ypage 53)
Map display
Displaying the navigation map
The multimedia system shows the navigation
map in globe projection. This allows for a real-
istic map display free from distortion in all map
scales.
Satellite maps are shown in map scales from
2 miles to 1000 miles. Other functions:
RMoving the map (Ypage 53)
RChanging the map scale (Ypage 83)
Building images
In small map scales (1/32 mile, 1/16 mile),
important buildings are depicted realistically on
the map. Other buildings are shown as models.
Avoiding an area
General notes
The multimedia system enables you to avoid
areas you do not wish to drive through.
If you activate or deactivate a route block while
route guidance is active, the multimedia system
will calculate a new route. If you activate or
deactivate a route block while route guidance is
inactive, the multimedia system will use the new
setting for the next route guidance.
The calculated route may include an area to be
avoided if:
Ryour destination is located in such an area
Rthere is no alternative route available
Highways within blocked areas are always taken
into consideration in the route calculation.
86Map functions
Navigation
Page 90 of 206
XTo change the size of the area, press the con-
troller.
XTurn the controller.
XTo apply the changes, press the controller.
A message appears stating that the area has
been set.
Deleting one/all areas
XTo switch to navigation mode:press the
ß button.
XTo show the menu: slide6the controller.
XTo select Options: turn and press the con-
troller.
XSelect Route Settings.
XSelectAvoid Options.
XSelectAvoid Area.
A list appears.
XTo delete an area: mark an area by turning
the controller.
XSlide 9the controller.
XSelect DeleteorDelete All.
A prompt appears asking whether you wish to
delete the area.
XSelect YesorNo.
After selecting Yes, the area is deleted.
XTo delete all areas: when the list appears,
slide 9 the controller.
XSelect Delete All.
A prompt appears asking whether you wish to
delete all areas.
XSelect YesorNo.
After selecting Yes, all areas are deleted.
SIRIUS XM service
Displaying SIRIUS XM service informa-
tion
You can display the SIRIUS XM service informa-
tion.
XTo switch to navigation mode: press the
Ø button.
XTo show the menu: slide6the controller.
XTo select Traffic: turn and press the con-
troller.
XSelect SIRIUS Service.
The provider's phone number (SIRIUS XM)
and the serial number of your service module
are displayed.
Registering the SIRIUS XM service
XCall the provider telephone number shown on
the multimedia system display.
iYou can also have the satellite service acti-
vated online. To do so, visit the SIRIUS XM
Radio website at http://www.sirius.com
(USA).
Once the connection has been established:
XFollow the service employee's instructions.
The activation process may take up to
10 minutes.
If registration is not included when purchasing
the system, your credit card details will be
required to activate your account.
Updating the digital map
Introduction
The digital maps generated by the map software
become outdated in the same way as conven-
tional road maps. Optimal route guidance can
only be provided by the navigation system in
conjunction with the most up-to-date map soft-
ware.
Information about new versions of the digital
map can be obtained from an authorized
Mercedes-Benz Center. You can have the digital
map updated there using a data medium, or you
can update it yourself.
For North American countries, it is possible to
update the map data for the multimedia system
free of charge for a period of three years. Infor-
mation on the availability of this service for your
vehicle can be obtained from an authorized
Mercedes-Benz Center.
Entitlement to the free update
For the first three years after your vehicle is reg-
istered, you are entitled to all available updates
to the map software for the multimedia system.
They are usually installed during a regular vehi-
cle service. After this period, you can purchase
88Map functions
Navigation
Page 91 of 206
further updates from an authorized Mercedes-
Benz Center.
The free updates relate to the vehicle and not to
an individual. If there is a change of ownership
within the three years after first registration, the
new owner is entitled to the map software
updates.
Updating at an authorized Mercedes-
Benz Center
If an update for your map software is available,
you will receive it free of charge at an authorizedMercedes-Benz Center during your vehicle's
annual service. You can arrange a separate
appointment for this at an authorized Mercedes-
Benz Center on request.
The update can only be performed:
Rat an authorized Mercedes-Benz Center
Rfor navigation data for North America
The map software is not provided on DVD.
Carrying out a manual update
After the free update of the map data has
expired or when buying map data, you can
update the data yourself.
The update process may take some time (up to
45 minutes), depending on the size of the digital
map. The update will be completed more quickly
if the vehicle is stationary. If you begin the
update while the vehicle is stationary and the
starter battery has insufficient power, the mul-
timedia system may switch off automatically.
This protects the battery. In order to prevent
this, a suitable power supply to the vehicle must
be maintained.
Navigation functions
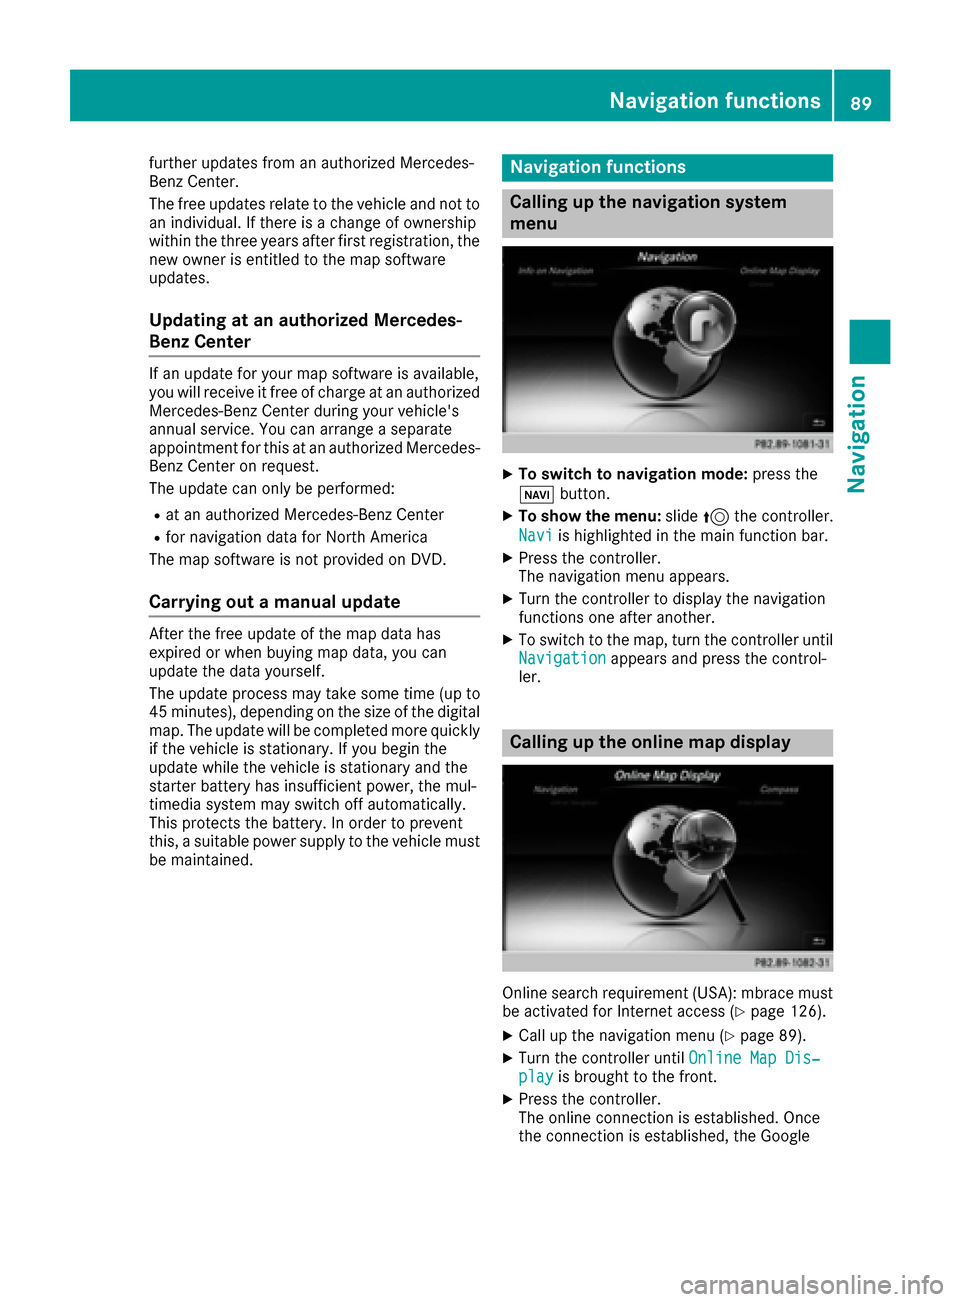
Calling up the navigation system
menu
XTo switch to navigation mode: press the
ß button.
XTo show the menu: slide5the controller.
Navi
is highlighted in the main function bar.
XPress the controller.
The navigation menu appears.
XTurn the controller to display the navigation
functions one after another.
XTo switch to the map, turn the controller until
Navigationappears and press the control-
ler.
Calling up the online map display
Online search requirement (USA): mbrace must
be activated for Internet access (Ypage 126).
XCall up the navigation menu (Ypage 89).
XTurn the controller until Online Map Dis‐playis brought to the front.
XPress the controller.
The online connection is established. Once
the connection is established, the Google
Navigation functions89
Navigation
Z
Page 106 of 206
names are identical. The next different char-
actersAandOare offered for selection.
XSelect the characters of the contact you are
searching for one by one, pressing and con-
firming with the controller each time.
XTo end the search: select ¬.
The contacts in the phone book are displayed.
XTo highlight a contact: turn the controller.
XTo call the contact: press the controller.
The Gsymbol indicates that a contact contains
more than one phone number.
XTo select a contact with the Gsymbol: turn
the controller and press to confirm.
The phone numbers are displayed. The G
symbol changes to I.
XTo call a telephone number: turn and press
the controller.
Back to the character bar
XPress the %button repeatedly until the
character bar is displayed.
Further information about character entry
(
Ypage 28).
Using the number keypad on the upper
section of the center console
You determine the first letter of the contact you
are looking for with the first character you enter.
XFor example, to enter the letter C: press the
l number key briefly three times in suc-
cession.
The character appears the first time the key is
pressed and shows all the available charac-
ters. It switches to the next character each
time the key is pressed.
Using the touchpad
You determine the first letter of the contact you
are looking for with the first character you enter.
XDraw the letter on the touchpad surface.
The first contact with the selected first char-
acter is highlighted in the phone book.
Further information on handwriting recogni-
tion on the touchpad (
Ypage 23).
XDraw additional letters on the touchpad sur-
face one after another.
XTo complete the search and return to the
phone book: press the touchpad.
XTo select and call the contact: glide up or
down and press.
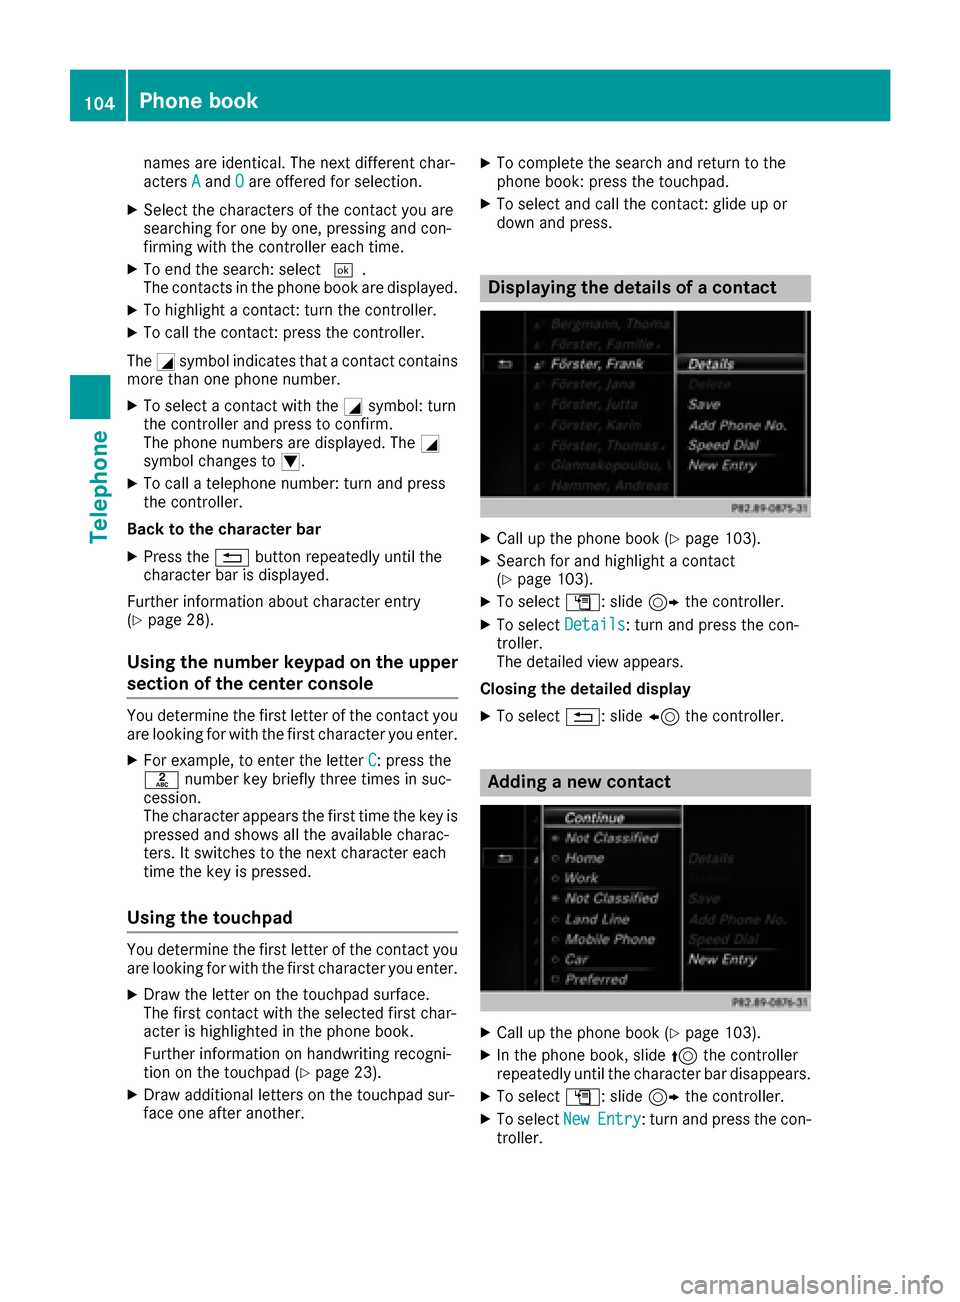
Displaying the details of a contact
XCall up the phone book (Ypage 103).
XSearch for and highlight a contact
(Ypage 103).
XTo select G: slide 9the controller.
XTo select Details: turn and press the con-
troller.
The detailed view appears.
Closing the detailed display
XTo select %: slide 8the controller.
Adding a new contact
XCall up the phone book (Ypage 103).
XIn the phone book, slide 5the controller
repeatedly until the character bar disappears.
XTo select G: slide 9the controller.
XTo select NewEntry: turn and press the con-
troller.
104Phone book
Telephone
Page 108 of 206
Saving a contact
Saved contacts are indicated in the phone book
by different symbols (Ypage 103).
XCall up the phone book (Ypage 103).
XSearch for and highlight a contact from the
mobile phoned(Ypage 103).
XTo select G: slide 9the controller.
XTo select Save: turn and press the controller.
The contact has now been saved. The contact
is identified by the ¥symbol in the phone
book.
iSaved contacts are also displayed in the
address book.
Saving or editing the contact data in the mul-
timedia system does not change the contacts
on the mobile phone. If automatic calling-up
of phone contacts is activated, the multime-
dia system displays the copy ¥with the
changed data.
Deleting a name
You can delete contacts that have been added,
supplemented, saved or imported in the multi-
media system.
If there are one or several phone numbers saved under the contact, the contact is deleted from
the phone book and the address book.
If there are additional entries under the contact,
such as a navigable destination, only the phone
numbers are deleted. The contact is retained in the address book with the remaining entries.
XCall up the phone book (Ypage 103).
XSearch for and highlight a contact in the
phone book (Ypage 103).
XTo select G: slide 9the controller.
XTo select Delete: turn and press the control-
ler.
A prompt appears asking whether the contact
should be deleted.
XTo select Yes: turn and press the controller.
The phone number is deleted.
or
XTo select No: turn and press the controller.
The process is canceled.
Closing the phone book
XTo select &from the character bar: turn the
controller and press to confirm.
or
XPress the %button.
Address book
Introduction
Always pay attention to traffic conditions.
Familiarize yourself with the address book func-
tions before beginning your journey.
You can use the multimedia system when the
road and traffic conditions permit. You could
otherwise become involved in an accident in
which you or others could be injured.
The address book displays all the contacts from
the various sources (mobile phone, memory
card, USB device, the phone book of the multi-
media system, navigation).
You can use the contacts to make telephone
calls, navigate and to write messages.
If a mobile phone is connected to the multimedia
system and automatic calling up is activated
(
Ypage 111), the mobile phone's contacts are
displayed in the address book. If you disconnect
the mobile phone from the multimedia system,
these contacts are no longer displayed in the
address book.
When you import, save, edit or add contacts,
they will be saved in the multimedia system.
These contacts will remain available even when
you connect the multimedia system to a differ-
ent mobile phone. You can view these contacts
even without a mobile phone.
iThe address book can store a total of 5000
contacts.
R2000 entries are reserved for permanently
saved contacts.
R3000 entries are reserved for contacts that
you can load from the mobile phone.
iBefore selling your vehicle, delete the con-
tacts saved in the multimedia system using
the reset function (
Ypage 43).
106Address book
Telephone
Page 113 of 206

Automa tically importing contacts
fr om the phone
Dependin gon th emobile phone used ,you can
set whether th econtact sshould be called up
automatically after th emobile phone is connec -
te dto th emultimedia system.
XConnect amobile phone (Ypage 94).
XCall up th eaddress book (Ypage 107).
XTo switch to th emen ubar: slid e6 thecon-
troller .
XTo select Options:tur nand press th econ-
troller .
XTo select Automaticall yImport Con ‐tacts fromPhone:tur nand press th econ-
troller .
You can allow Oor suppres sª theauto -
matic download. If th efunction is deactiva-
ted, contact swhic hhav ealready been called
up will continu eto be displayed.
Saving a contact
Saved contact sare indicated in th ephone book
by differen tsymbols (Ypage 103).
XCall up th eaddress book (Ypage 107).
XTo selectacontact :tur nand press th econ-
troller .
The details for th econtact are displayed.
XTo select G:slide9 thecontroller .
XTo selectSave:tur nand press th econtroller .
The contact has no wbeen saved.
iIf th esaved address book entr ycontain s a
phone number ,th eentr yis also displayed in
th ephone book .
Saving or editing th econtact dat ain th emul-
timedia system does no tchang eth econtact s
on th emobile phone .If automatic download-
ing of phone contact sis activated, th emulti-
media system displays th ecopy ¥withth e
changed data. To add additional data, suc has
additional phone number sor e-mail
addresses, select this contact .In this way,
you avoi dcreating additional copies of th e
mobile phone entry.
Deleting a name
XCall up th eaddress book (Ypage 107).
XSearchfor acontact (Ypage 107).
XTo select G:slide9 thecontroller .
XTo select Delete Entry:tur nand press th e
controller .
XTo select Yes:tur nand press th econtroller .
The contact is deleted.
or
XTo select No:tur nand press th econtroller .
The process is canceled.
Closing the address book
XPress the% button.
Import ing contacts
Information and requirements
Contacts can be imported as vCards (vc ffiles). A
vCar dis an electronic business card. Amemory
card, US Bdevice or aBluetoot h
®connection
can be used for importing .
iUp to 2000 entries can be imported int oth e
address book . Amessage notifie syou when
th emaximum number is reached. In order to
be able to then import ne wcontacts, you hav e
to delete existing contact s (
Ypage 111).
SourcePrerequisites
Memory cardThe SD memory car dis inser-
ted. It contain simportable
contact details.
US BdeviceThe US Bdevice is inserted
int oth eUS Bport. It contain s
importable contact details.
Bluetoot h®
connection
If thesendin gof vCards is
supported via Bluetoot h®,
vCards can be received on
mobile phone sor netbooks,
for example.
Bluetoot h
®mustbe activa-
te din th emultimedia system
and on th erespective device
(see th emanufacturer' s
operating instructions).
Importing contacts111
Telephone
Z
Page 123 of 206
XEnter characters using the controller
(Ypage 28) or the number keypad.
XTo adopt changes to the text template, select
¬: turn and press the controller.
The text template has been changed.
Calling a text message sender
XDisplay the message (Ypage 117).
XTo call up a menu: press the controller.
XTo selectCall Sender: turn and press the
controller.
The call is made.
Using a phone number in the text
Numbers in text messages that are highlighted
can be used.
XTo highlight and select a usable phone num-
ber while the message is displayed: turn and
press the controller.
XTo select Use: press the controller.
XTo selectCall Number: turn and press the
controller.
The call is made.
iIt is possible that a highlighted numerical
sequence may not contain a telephone num-
ber.
iYou can use the "New entry" or "Add no."
functions to save this telephone number or to
add it to an existing entry.
Storing sender as a new contact
Storing the sender of a text message
XTo call up the menu when a text message is
displayed: press the controller.
XTo select Save Number: turn and press the
controller.
XSelect a number category, e.g. Home.
XSelect a telephone category, e.g. MobilePhone.
XSelectContinue.
The input line for the name of the new contact
is displayed. The input line for the telephone
number is filled in automatically.
XEnter characters using the controller
(Ypage 28) or the number keypad.
XTo finish the entry: select OK.
The new contact has been created.
Saving the sender of an e-mail
XTo call up the menu when an e-mail is dis-
played: press the controller.
XTo select SaveSender'sE-MailAddress:
turn and press the controller.
The input line for the name of the new contact
is displayed. The input line for the e-mail
address is filled in automatically.
XEnter characters using the controller
(Ypage 28) or the number keypad.
XTo finish the entry: select OK.
The new contact has been created.
Deleting messages
XCall up the message folder (Ypage 118).
XTo select the message: turn and press the
controller.
XTo select G: slide 9the controller.
XTo select Delete: turn and press the control-
ler.
XTo select Yes: turn and press the controller.
The message is deleted in the multimedia sys-
tem and from the mobile phone.
or
XTo select No: turn and press the controller.
The process is canceled.
iThis delete function is not supported by all
mobile phones. The Delete failed.mes-
sage then appears.
Dictation function
Prerequisites
To use the dictation function, the connected
mobile phone must support the MAP Bluetooth®
profile. When connecting the mobile phone, you
may have to accept the prompt for the MAP
Bluetooth
®profile.
With some mobile phones, some settings still
have to be made after connecting to the multi-
media system (see the manufacturer's operat-
ing instructions).
Dictation function121
Telephone
Z