Page 112 of 571
3-20
Convenient features of your vehicle
This system helps to protect your
vehicle and valuables. The horn will
sound and the hazard warning lights
will blink continuously if any of the
following occur :
-A door is opened without using the
remote key or smart key.
-The boot is opened without using
the remote key or smart key.
-The engine bonnet is opened.
The alarm continues for 30 seconds,
then the system resets. To turn off
the alarm, unlock the doors with the
remote key or smart key.
The Theft Alarm System automati-
cally sets 30 seconds after you lock
the doors and the boot. For the sys-
tem to activate, you must lock the
doors and the boot from outside the
vehicle with the remote key or smar t
key or by pressing the button on the
outside of the door handles with the
smart key in your possession.
The hazard warning lights will blink
and the chime will sound once to
indicate the system is armed.
Once the security system is set, open-
ing any door, the boot, or the bonnet
without using the remote key or smart
key will cause the alarm to activate.
The Theft Alarm System will not set if
the bonnet, the boot, or any door is
not fully closed. If the system will not
set, check the bonnet, the boot, or
the doors are fully closed.
Do not attempt to alter this system or
add other devices to it.
Information
• Do not lock the doors until all pas-
sengers have left the vehicle. If the
remaining passenger leaves the
vehicle when the system is armed,
the alarm will be activated.
• If the vehicle is not disarmed with
the remote key or smart key, open
the doors by using the mechanical
key and place the ignition switch in
the ON position (for remote key) or
start the engine (for smart key) and
wait for 30 seconds.
•When the system is disarmed but a
door or boot is not opened within 30
seconds, the system will be rearmed.
Information
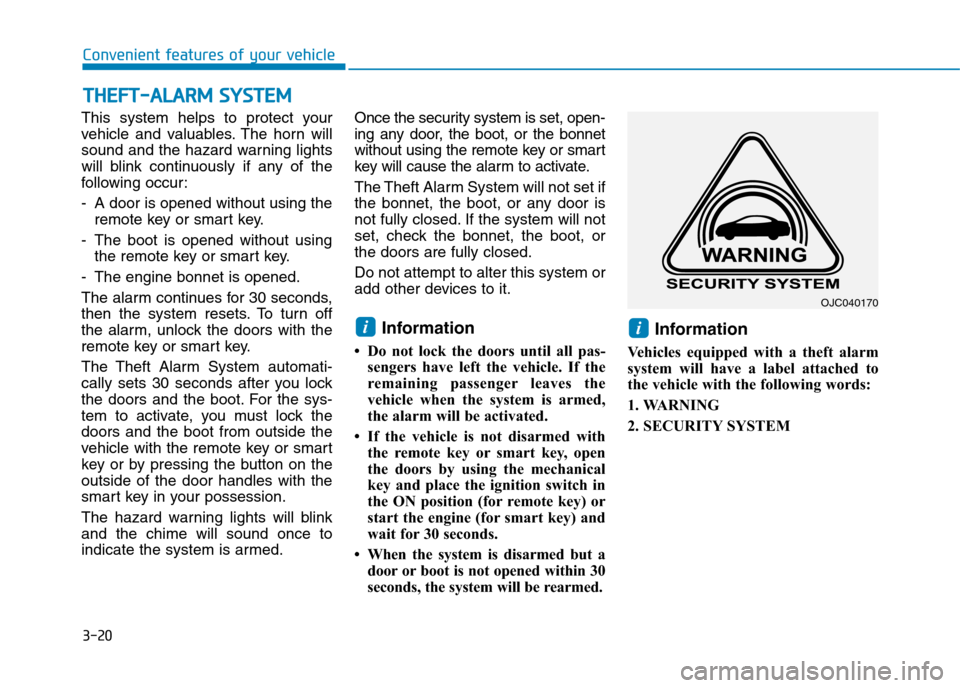
Vehicles equipped with a theft alarm
system will have a label attached to
the vehicle with the following words:
1. WARNING
2. SECURITY SYSTEM
ii
TTHHEEFFTT--AALLAARRMM SSYYSSTTEEMM
OJC040170
Page 116 of 571
3-24
Convenient features of your vehicle
Tilt steering / Telescope steering
Information
After adjustment, sometimes the lock-
release lever may not lock the steering
wheel.
It is not a malfunction. This occurs
when two gears are not engaged cor-
rectly. In this case, adjust the steering
wheel again and then lock the steering
wheel.
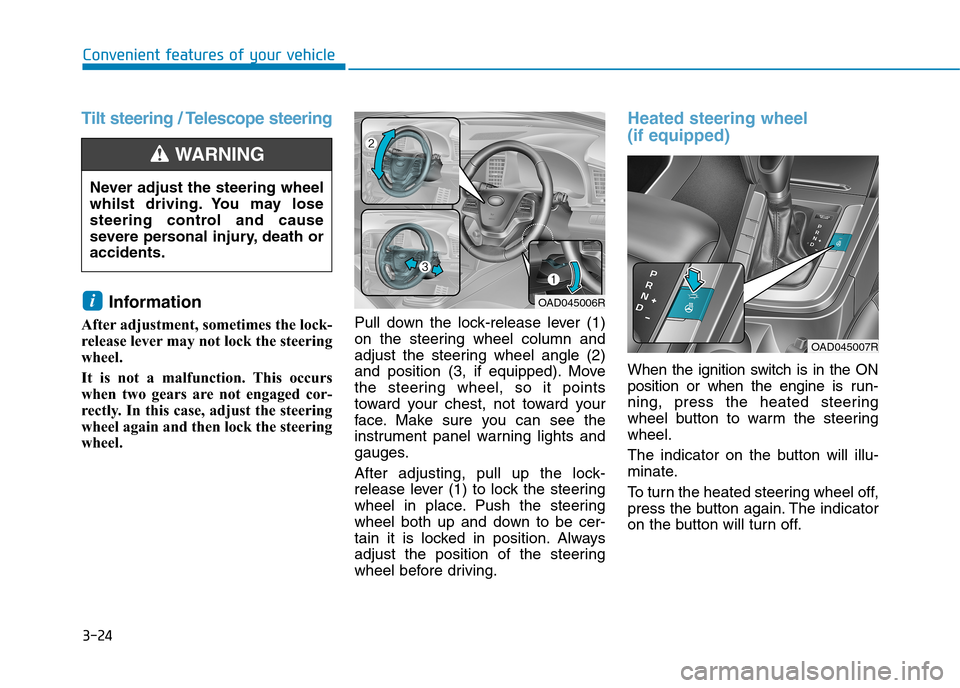
Pull down the lock-release lever (1)
on the steering wheel column and
adjust the steering wheel angle (2)
and position (3, if equipped). Move
the steering wheel, so it points
toward your chest, not toward your
face. Make sure you can see the
instrument panel warning lights and
gauges.
After adjusting, pull up the lock-
release lever (1) to lock the steering
wheel in place. Push the steering
wheel both up and down to be cer-
tain it is locked in position. Always
adjust the position of the steering
wheel before driving.
Heated steering wheel
(if equipped)
When the ignition switch is in the ON
position or when the engine is run-
ning, press the heated steering
wheel button to warm the steering
wheel.
The indicator on the button will illu-
minate.
To t u r n t h e h e a t e d s t e e r i n g w h e e l o f f ,
press the button again. The indicator
on the button will turn off.
i
Never adjust the steering wheel
whilst driving. You may lose
steering control and cause
severe personal injury, death or
accidents.
WA R N I N G
OAD045006R
OAD045007R
Page 119 of 571
3-27
Convenient features of your vehicle
3
Day/night rearview mirror
(if equipped)
Make this adjustment before you
start driving and whilst the day/night
lever is in the day position.
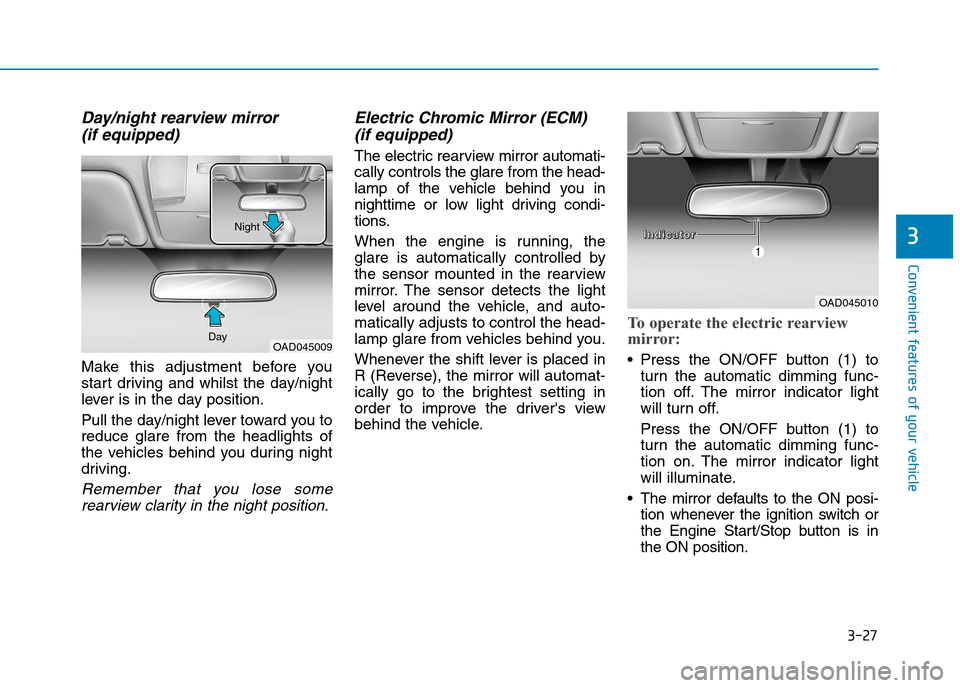
Pull the day/night lever toward you to
reduce glare from the headlights of
the vehicles behind you during night
driving.
Remember that you lose some
rearview clarity in the night position.
Electric Chromic Mirror (ECM)
(if equipped)
The electric rearview mirror automati-
cally controls the glare from the head-
lamp of the vehicle behind you in
nighttime or low light driving condi-
tions.
When the engine is running, the
glare is automatically controlled by
the sensor mounted in the rearview
mirror. The sensor detects the light
level around the vehicle, and auto-
matically adjusts to control the head-
lamp glare from vehicles behind you.
Whenever the shift lever is placed in
R (Reverse), the mirror will automat-
ically go to the brightest setting in
order to improve the driver's view
behind the vehicle.
To operate the electric rearview
mirror:
•Press the ON/OFF button (1) to
turn the automatic dimming func-
tion off. The mirror indicator light
will turn off.
Press the ON/OFF button (1) to
turn the automatic dimming func-
tion on. The mirror indicator light
will illuminate.
•The mirror defaults to the ON posi-
tion whenever the ignition switch or
the Engine Start/Stop button is in
the ON position.
OAD045010
OAD045009Day
NightIIIInnnnddddiiiiccccaaaattttoooorrrr
Page 136 of 571
3-44
Convenient features of your vehicle
How to use the Smart Boot
The boot can be opened with no-
touch activation when the following
conditions are met:
•After 15 seconds when all doors
are closed and locked.
•Positioned in the detecting area for
more than 3 seconds.
Information
• The Smart Boot does not operate
when:
- The smart key is detected within
15 seconds after the doors are
closed and locked, and is continu-
ously detected.
- The smart key is detected within
15 seconds after the doors are
closed and locked, and 1.5 m from
the front door handles (for vehicles
equipped with a Welcome Light).
- A door is not locked or closed.
- The smart key is in the vehicle.
1. Setting
To a c t i v a t e t h e S m a r t B o o t , g o t o
User Settings Mode and select
Smart Boot on the LCD display.
For more details, refer to "LCD
Display" in this chapter.
2. Detect and Alert
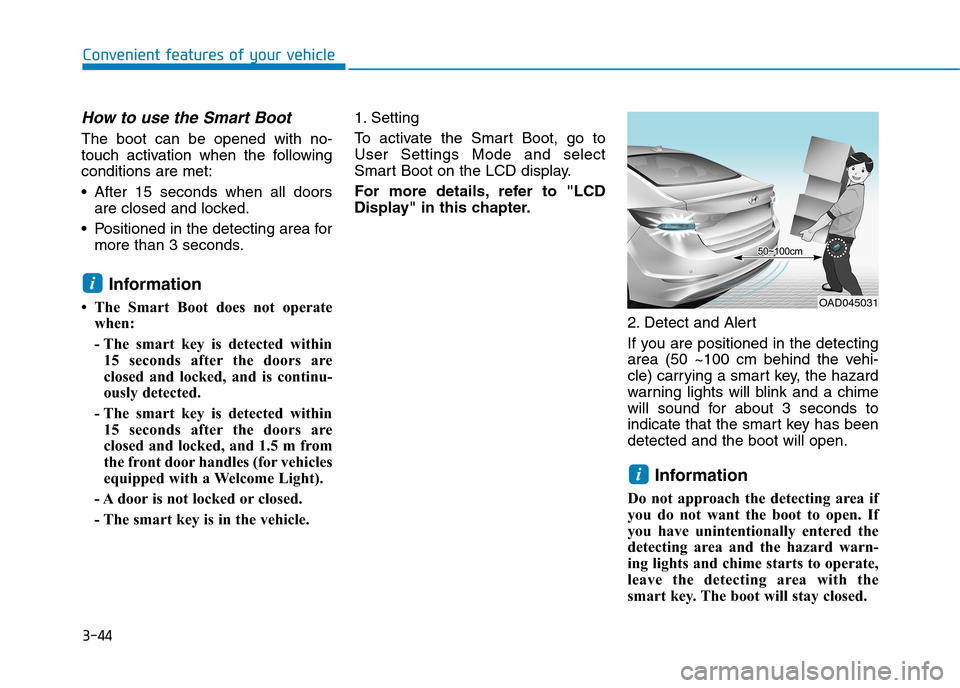
If you are positioned in the detecting
area (50 ~100 cm behind the vehi-
cle) carrying a smart key, the hazard
warning lights will blink and a chime
will sound for about 3 seconds to
indicate that the smart key has been
detected and the boot will open.
Information
Do not approach the detecting area if
you do not want the boot to open. If
you have unintentionally entered the
detecting area and the hazard warn-
ing lights and chime starts to operate,
leave the detecting area with the
smart key. The boot will stay closed.
i
i
OAD045031
Page 137 of 571
3-45
Convenient features of your vehicle
3
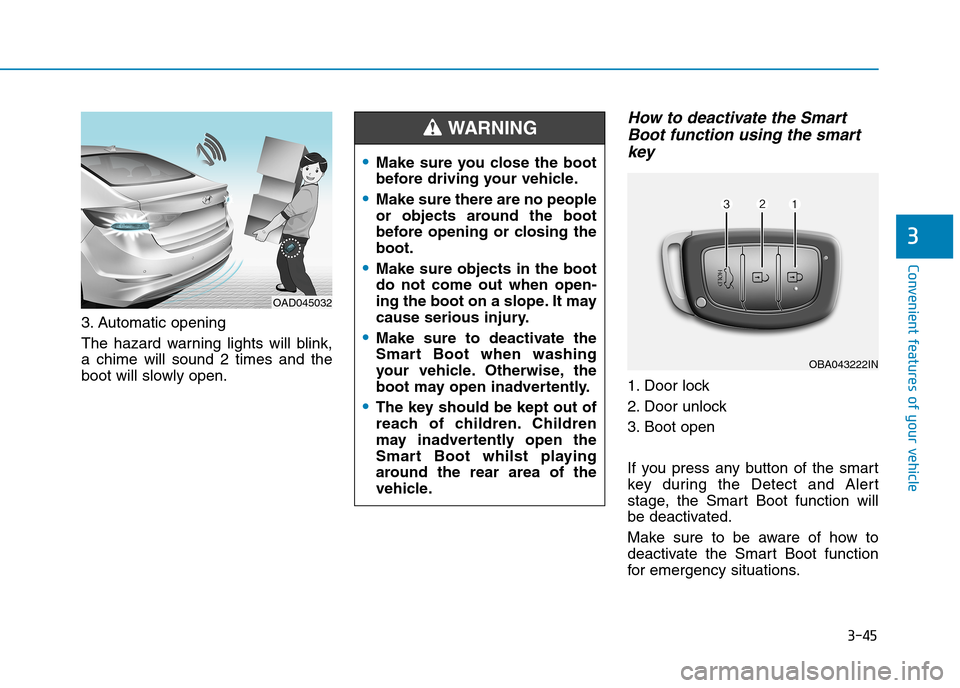
3. Automatic opening
The hazard warning lights will blink,
a chime will sound 2 times and the
boot will slowly open.
How to deactivate the Smart
Boot function using the smart
key
1. Door lock
2. Door unlock
3. Boot open
If you press any button of the smart
key during the Detect and Aler t
stage, the Smart Boot function will
be deactivated.
Make sure to be aware of how to
deactivate the Smart Boot function
for emergency situations.
OAD045032
•Make sure you close the boot
before driving your vehicle.
•Make sure there are no people
or objects around the boot
before opening or closing the
boot.
•Make sure objects in the boot
do not come out when open-
ing the boot on a slope. It may
cause serious injury.
•Make sure to deactivate the
Smart Boot when washing
your vehicle. Otherwise, the
boot may open inadvertently.
•The key should be kept out of
reach of children. Children
may inadvertently open the
Smart Boot whilst playing
around the rear area of the
vehicle.
WA R N I N G
OBA043222IN
Page 142 of 571
3-50
Convenient features of your vehicle
IINNSSTTRRUUMMEENNTT CCLLUUSSTTEERR
1. Tachometer
2. Speedometer
3. Engine coolant temperature gauge
4. Fuel gauge
5. Warning and indicator lights
6. LCD display (including Trip computer)
OAD045100R
■■Conventional cluster
The actual cluster in the vehicle may
differ from the illustration.
For more details, refer to the "Gauges"
in this chapter.
Page 143 of 571
3-51
Convenient features of your vehicle
3
1. Tachometer
2. Speedometer
3. Engine coolant temperature gauge
4. Fuel gauge
5. Warning and indicator lights
6. LCD display (including Trip computer)
OAD045101R/OAD045102R
■■Supervision cluster (Type A)
The actual cluster in the vehicle may
differ from the illustration.
For more details, refer to the "Gauges"
in this chapter.
■■Supervision cluster (Type B)
Page 144 of 571
3-52
Convenient features of your vehicle
Instrument cluster control
Instrument panel illumination
When the vehicle's parking lights or
headlights are on, press the illumina-
tion control button to adjust the
brightness of the instrument panel
illumination.
When pressing the illumination con-
trol button, the interior switch illumi-
nation intensity is also adjusted.
•The brightness of the instrument
panel illumination is displayed.
•If the brightness reaches the maxi-
mum or minimum level, a chime
will sound.
Never adjust the instrument clus-
ter whilst driving. This could
result in loss of control and lead
to an accident that may cause
death, serious injury, or property
damage.
WA R N I N G
OAD045108R
OAD045115
■Conventional cluster
■ Supervision cluster(Type A)■ Supervision cluster(Type B)
OTL045150L/OTL045151L